Gourmia GPK-390 User manual

USER
MANUAL
Model# GPK-390
Electric Kettle

Model: GPK-390
© 2017 Gourmia
www.gourmia.com
The Steelstone Group
Brooklyn, NY
All rights reserved. No portion of this manual may be reproduced by any means
whatsoever without written permission from The Steelstone Group, except for the
inclusion of quotations in a media review.
Although every precaution has been taken in the preparation of this manual, The
Steelstone Group assumes no responsibility for errors or omissions. Nor is any
liability assumed for damages resulting from the use of the information contained
herein. Although every eort has been made to ensure that the information
contained in this manual is complete and accurate, The Steelstone Group is not
engaged in rendering professional advice or services to the individual consumer;
further, The Steelstone Group shall not be held responsible for any loss or damage
allegedly arising from any information or suggestion in this manual.
Welcome to the Convenience of
Electric Kettles from Gourmia
Congratulations on your purchase of your Electric Kettle from Gourmia! This
electric kettle is the ideal solution for any need in the kitchen that calls for
boiling water in a hurry. It’s perfect for soothing tea, an easy bowl of noodles,
an invigorating cup of instant coee, a hearty helping of oatmeal, delicious hot
chocolate and much more.
With the purchase of your Electric Kettle, you are ready to enjoy the conve-
nience and energy saving rewards of using an electric kettle over stove top.
Your new kettle will boil water at a quick speed. There is no need to worry
about a forgotten kettle, as the kettle shuts o automatically once water has
boiled. The compact, sleek design and stainless steel nish is made to blend
seamlessly and stylishly into your kitchen.
The pages of this manual oer full and comprehensive instructions to guide
you through the functions and features of the Gourmia Electric Kettle. Inside
this guide you will also nd information on its modes of operation, complete
step-by-step instructions for the operation, assembly, cleaning, and mainte-
nance of your appliance.
Please read all safety instructions thoroughly to ensure safe usage at all times.
Thank you for your purchase! We sincerely hope you will enjoy this as well as all
the many innovative products brought to you by our family at Gourmia.
Read this manual thoroughly
before using and save it for
future reference
2 3

TABLE OF CONTENTS
4 5
IMPORTANT SAFEGUARDS
TABLE OF CONTENTS
Important Safety Instructions
1. Read all instructions.
2. Do not touch hot surfaces- Use handles or knobs.
3.To protect against re, electric shock and injury to persons do not immerse cord, plug or unit in
water or other liquid.
4. Never leave the appliance unattended when in use.
5. Unplug from outlet when not in use, no wateer in kettle, lling water, moving kettle and before
cleaning. Allow appliance to cool before putting on or taking o parts, and before cleaning the
appliance.
6. Do not use use the base unit other than the one supplied.The use of accessory attachmnets
not recommended by the appliance manufacturer may result in re, electric shock or injury to
persons.
7. Do not use outdoors.
8. Do not let cord hang over edge of table or counter, or touch hot surface.
9. Electric kettle must be opertaed on a at surface. Do not place on or near a hot gas or electric
burner, or in a heated oven, or on top of other electric appliances.
10. Do not use appliance for other than intended use.
11.To avoid circuit overload, do not operate another high wattage appliance on the same
circuit.
12. Do not ll the kettle when positioned on base. Remove all moisture on the bottom of the body
before placing it onto the power base.
13. Beware of steam escaping from the spout or lid especially during relling. Do not remove lid
during boiling cycle.
14. Do not use the kettle to heat anything other than water. Do not ll above the “Max”line . If the
kettle is overlled, the water will boil over. Only use the kettle base provided.
15. Do not insert any objects into the slots or holes of the kettle.
16. Scalding may occur if the lid is removed while the water is boiling.
17. For household use only.
SAVE THESE INSTRUCTIONS
Know Your Electric Kettle.......................6
Using Your Electric Kettle ......................8
Cleaning & Maintenance......................10
Warranty & Services.............................11

KNOW YOUR KETTLE
6
KNOW YOUR KETTLE
Lid
Handle
On/O
Switch
Spout
Base
KNOW YOUR KETTLE
7
Before Using your Kettle
1. Remove all packaging before using for the rst time.
2. Clean the kettle thoroughly before using for the rst time.
(see section: cleaning your kettle)
3. Remove the kettle from the base.
4. Take o the lid.
5. Fill the kettle with water-
upto the MAX line.
6. When water is in the kettle -
insert the lid with the holes facing
towards the handle.
7. Connect the power plug
to a wall outlet.
8. Push down the on/o switch
to the“on”position to start boiling the water.
The indicator light will light up.
9 . After boiling is nished- the kettle
turns o automatically.
10. When using for the rst time- boil water
at least two times- and dispose the
hot water in the sink.
11. Let the appliance cool down one minute before boiling water again.
WARNING: Be careful when handling hot water. You can burn yourself.
WARNING: Do not immerse the base or the kettle in water or in any liquids.
This may cause electric shock or damage the appliance.
Indicator
Light

8 9
USING YOUR KETTLE
Using Your Kettle
• Set the base on a at, even and steady surface.
• Remove the kettle from the base. Take o the lid.
• Fill the kettle with water under the MAX line. Do not go over the MAX line.
• After lling the kettle with water- insert the lid into the kettle with holes facing
towards the handle.
• Plug in the appliance.
• Press the on/o switch downward to start
boiling the water.
• The indicator light will turn on.
• When the kettle inishes boiling- the
appliance will turn o automatically.
• Pour the hot water into a heat
resistance container.
• Let the appliance cool down for one
minute before boiling water again.
• To manually interrupt the boiling process-
simply lift up the on/o switch or lift the
kettle o the base.
• After each use remove the power plug from
the wall outlet.
Customizing the kettle lid tension:
If you feel the kettle lid is too hard or too easy to take
from the kettle- follow the steps below to adjust:
1. Take o the lid from the kettle.
2. Use a tool to adjust the three tabs of the kettle lid.
• Push in the tab- the lid will be easier to put
in and take out.
• Pull out the tab- the lid will be
harder to put in and take out.
3. Adjust the tab- replace the
lid and take o to see if the
adjustment is correct.
4. Repeat steps 2 and 3 until you have customized
the lid to your preference.
WARNING:
• The appliance is very hot during use.
• Do not touch the kettle it is very hot.
• Never leave the kettle unattended while boiling water.
• Do not leave kettle in use near children.
• Do not open the lid while boiling water.
USING YOUR KETTLE
9

10 11
CLEANING & MAINTENANCE
WARRANTY & SERVICES
CLEANING
• Always unplug the kettle and allow it to cool down completely before
cleaning.
• Clean the kettle regularly.
• Clean the outside of the base and the kettle with a damp soft cloth.
• Clean the inside of the kettle with dishwasher detergent and rinse
thoroughly with water.
• Do not use an abrasive sponge.
• After cleaning dry the kettle and the base thoroughly.
Warning: never immerse the kettle or the base in water or other liquids.
DECALCIFYING
When mineral scale builds up in your kettle, it can eect tempertaure
consistency and slow down the boiling time. To ensure optimum
performance- Gourmia recommends descaling the kettle when there is
visible mineral build up inside the kettle.
Note: Vinegar may not eectively descale the kettle and can be dicult to rinse
thoroughly. Vinegar also leaves behind an odor that could aect future uses.
Gourmia recommends
using Full Circle Descaler.
How to use Full Circle Descaler:
1. Mix 1 bottle or 1 packet with
32 oz of lukewarm water.
2. Pour into the kettle.
3. Bring solution to a boil.
4. Let cool for 15 minutes,
then discard solution.
5. Rinse thoroughly with fresh water.
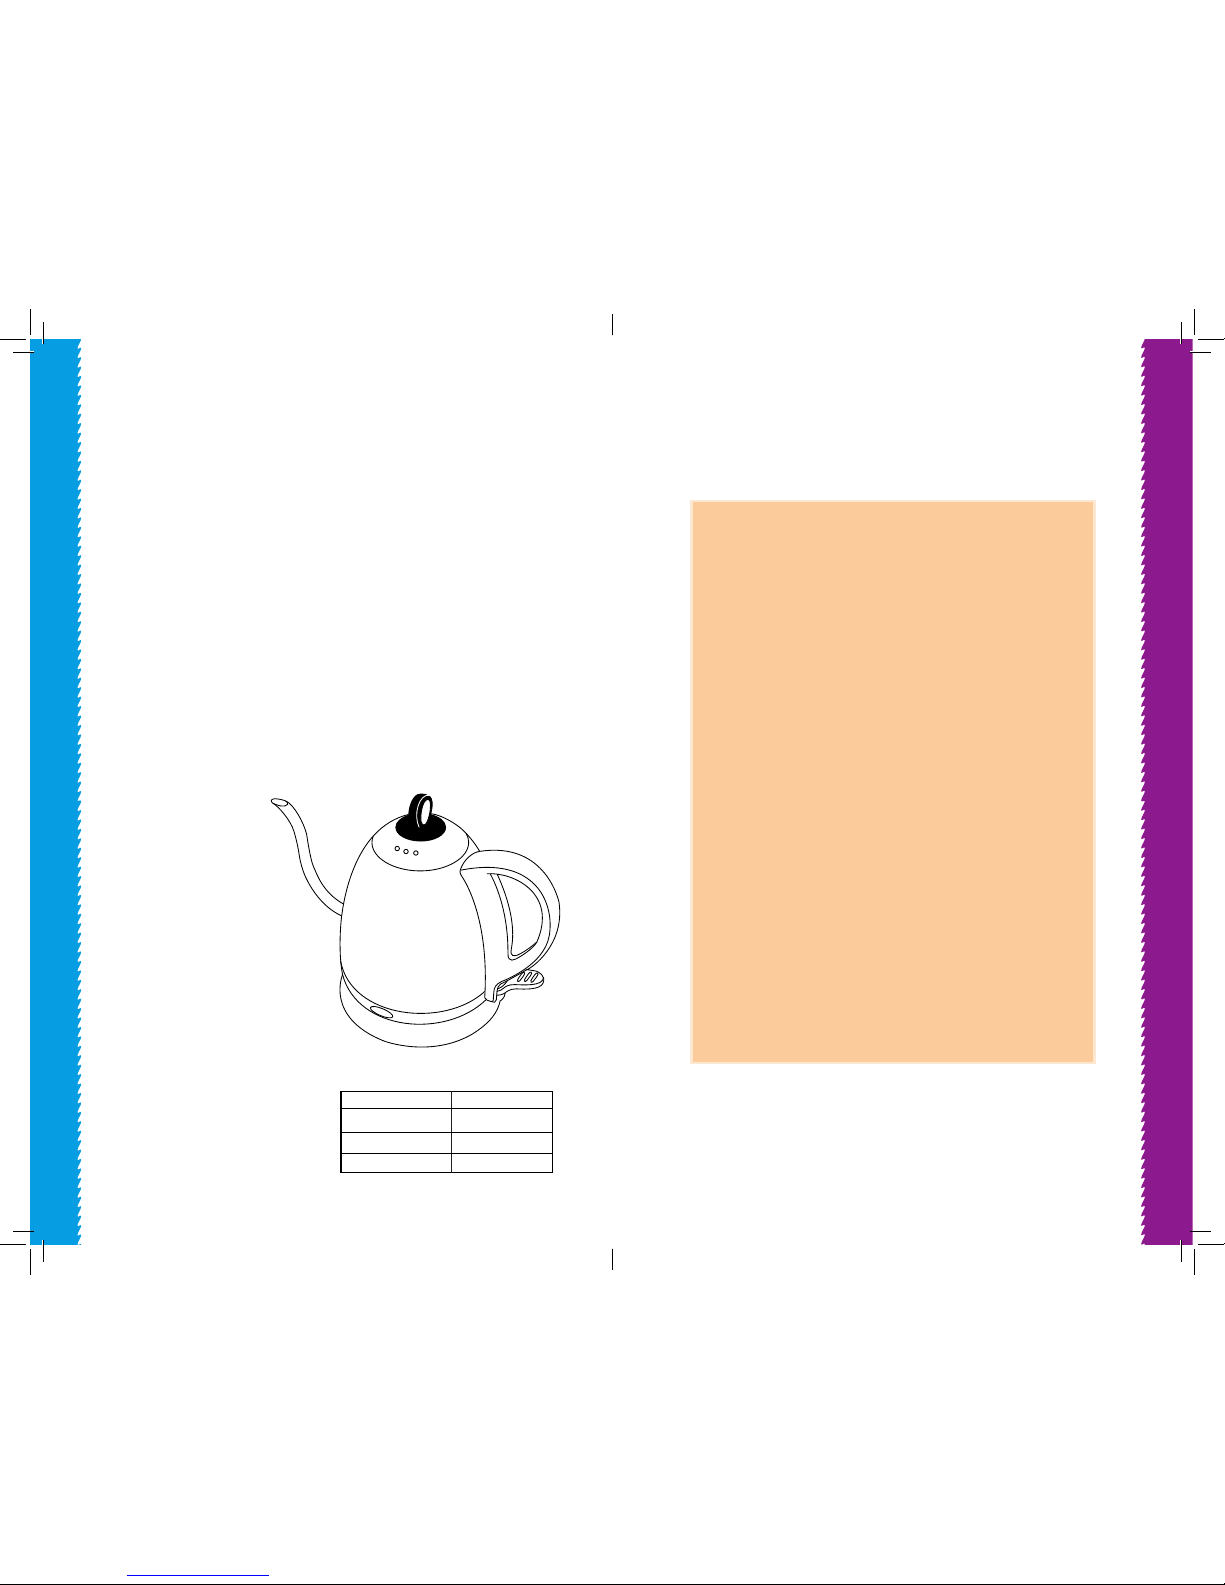
Rated voltage:
Rated current: 8.3 A
1000 W
Rated power input:
120 V- 60Hz
Capacity: max. 33.8 oz (1.0 L)
WARRANTY & SERVICE
2 years limited warranty from the date of original purchase.
1. This warranty extends only to the original consumer
purchaser or gift recipient. Keep the original sales receipt, as
proof of purchase is required to make a warranty claim.
2. Defects that occured due to improper connection, improp-
er handling or repair attempts by non-authorized persons
are not covered by the warranty. The same applies for failure
to comply with the use of consumables (e.g. cleaning and
decalcifying agents or water lters) that do not correspond
to the original specications.
3. Routine parts (e.g. Seals and valves, permanent lter) and
fragile parts like glass are excluded from the warranty.
4. The device was designed and built for household use only.
It is not intended for other use.
5. Damages which are not under responsibility of the man-
ufacturer are not coveres by the warranty. This is valid espe-
cially for claims arising from the improper use (e.g. operation
with wrong type of current or voltage).
6. The guarantee becomes void if repairs are carried out by
third parties which are not authorized by the manufacturer
and/or if spare parts are used other then the original ones.
TECHNICAL DATA
STORAGE
Clean and dry all parts before stor-
ing. Store the kettle in its box or in
a clean, dry place. Never wrap the
power cord around the kettle.

FOR CUSTOMER SERVICE
QUESTIONS OR COMMENTS
VISIT US @ GOURMIA.COM
OR CALL 888.552.0033
Table of contents
Other Gourmia Kettle manuals

Gourmia
Gourmia GK320 User manual

Gourmia
Gourmia GPK-610 User manual

Gourmia
Gourmia GK360 User manual

Gourmia
Gourmia GDK380 User manual

Gourmia
Gourmia GPK-720 User manual

Gourmia
Gourmia GDK260 User manual

Gourmia
Gourmia GK378 User manual

Gourmia
Gourmia GK240 User manual

Gourmia
Gourmia GK360 User manual

Gourmia
Gourmia GPK-720 User manual

Gourmia
Gourmia GDK290 User manual

Gourmia
Gourmia GDK385 User manual

Gourmia
Gourmia GK-220 User manual

Gourmia
Gourmia GDK368 User manual

Gourmia
Gourmia GDK340 User manual

Gourmia
Gourmia GDK240 User manual

Gourmia
Gourmia GK378 User manual

Gourmia
Gourmia GK338 User manual

Gourmia
Gourmia GPK-510 User manual

Gourmia
Gourmia GK360 User manual