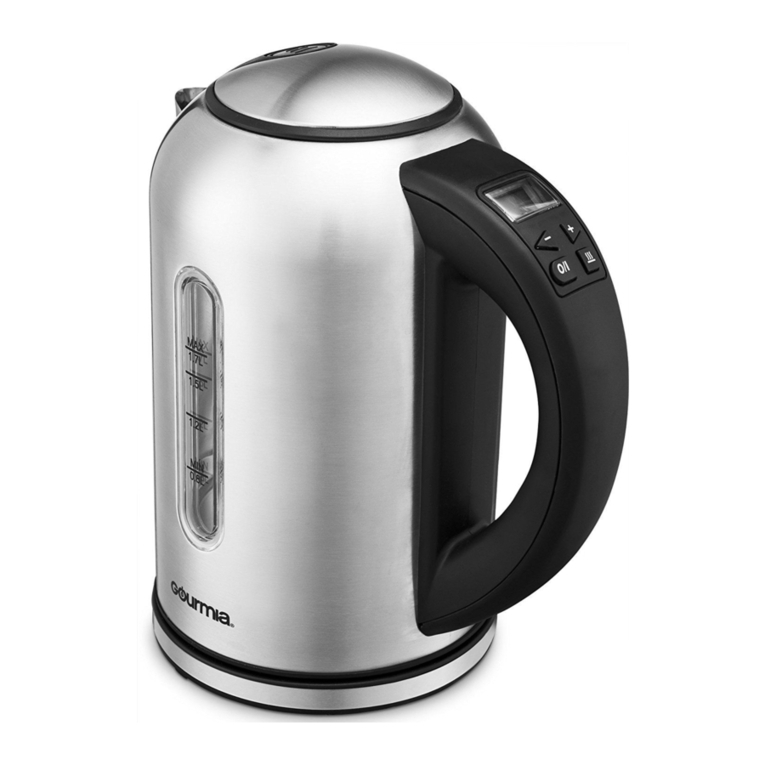
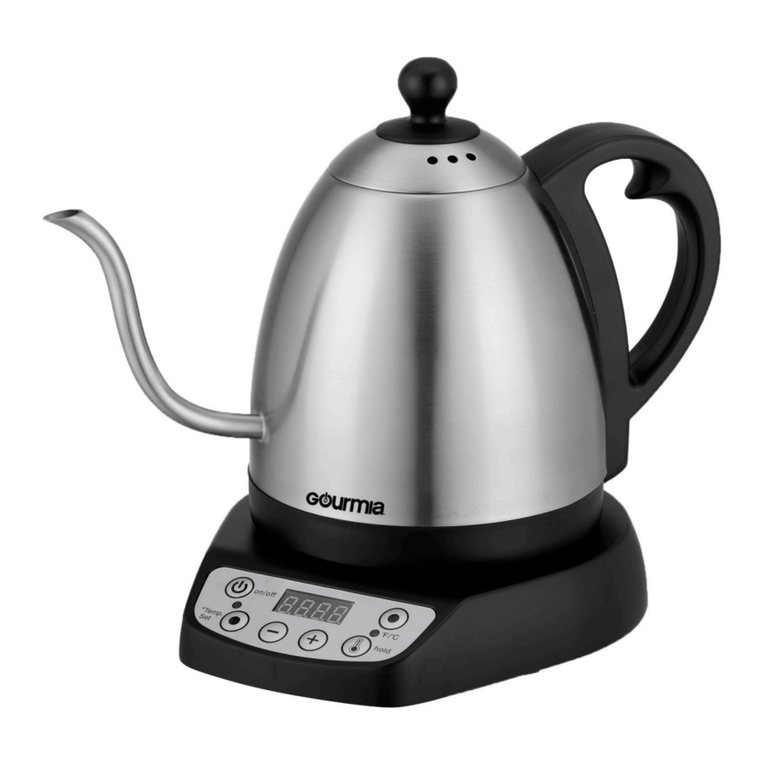
Gourmia GPK-610 User manual

USER
MANUAL
Model# GPK-610
Electric Kettle

Model: GPK-610
© 2017 Gourmia
www.gourmia.com
The Steelstone Group
Brooklyn, NY
All rights reserved. No portion of this manual may be reproduced by any means
whatsoever without written permission from The Steelstone Group, except for the
inclusion of quotations in a media review.
Although every precaution has been taken in the preparation of this manual, The
Steelstone Group assumes no responsibility for errors or omissions. Nor is any
liability assumed for damages resulting from the use of the information contained
herein. Although every eort has been made to ensure that the information
contained in this manual is complete and accurate, The Steelstone Group is not
engaged in rendering professional advice or services to the individual consumer;
further, The Steelstone Group shall not be held responsible for any loss or damage
allegedly arising from any information or suggestion in this manual.
Read this manual thoroughly
before using and save it for
future reference
2

Welcome to the Convenience of
Electric Kettles from Gourmia
Congratulations on your purchase of your Electric Kettle from Gourmia! This
electric kettle is the ideal solution for any need in the kitchen that calls for boiling
water in a hurry. It’s perfect for soothing tea, an easy bowl of noodles, an invigo-
rating cup of instant coee, a hearty helping of oatmeal, delicious hot chocolate
and much more.
With the purchase of your Electric Kettle, you are ready to enjoy the convenience
and energy saving rewards of using an electric kettle over stove top.
The Gourmia Digital Kettle oers a variety of features that will take water boiling
and coee brewing to the next level. The sleek gooseneck design allows you to
pour the water over your coee grounds in a controlled and accurate way that
will enhance your coee immensely. Additionally, the digital display screen on
the kettle allows you to control the temperature of the water and boil it to your
preference. We’re condent that you’ll nd your new Kettle from Gourmia easy
and fun to use.
The pages of this manual oer full and comprehensive instructions to guide
you through the functions and features of the Gourmia Digital Kettle. Inside this
guide, you will also nd information on its modes of operation, complete step-by-
step instructions for the assembly, cleaning, and maintenance of your appliance.
Please read all safety instructions thoroughly to ensure safe usage at all times.
Thank you for your purchase! We sincerely hope you will enjoy this as well as all
the many innovative products brought to you by our family at Gourmia.
3

4
IMPORTANT SAFEGUARDS
Important Safety Instructions
1. Read the instruction manual carefully before using the kettle.
2. Always unplug the appliance when not in use.
3. Do not use the appliance for other than intended use.
4. The kettle is intended to heat water only. Using it for any other liquids may damage the
appliance.
5. Only carry the kettle using the handle.The surfaces of the kettle are hot and can cause
burns.
6. Test the electrical kettle and cable regularly for damage. If there is any damage, do not use
it.
7. If the supply cord is damaged, it must be replaced by the manufacturer, or an authorized
service station in order to avoid danger.
8. Do not repair the device yourself; always consult an authorized expert.
9. Keep the electrical kettle and cable away from heat, direct sunlight, moisture, sharp edges,
etc.
10. Only use accessories that were provided by the manufacturer.
11. Do not remove the lid while kettle is in use.
12. Do not ll the kettle above the MAX line.
13. Do not use the electrical kettle outdoors.
14. Do not plug in the kettle before adding water. In case of overheating, allow the kettle to
cool down for at least 15 minutes.
15. Do not place the electrical kettle in water or any other liquid.
16. Do not plug in or operate the electrical kettle with wet hands. If the kettle does get wet,
unplug it immediately.
17. To turn o the appliance, press the power button, or manually remove the kettle from the
base.
18. In order to protect children from the dangers of electrical appliances, never leave children
unattended near the electrical kettle. Keep kettle out of reach of children and make sure the
cable does not hang down the edge of the table or counter.
19. This appliance is not intended for use by persons (including children younger 8) with
reduced physical, sensory or mental capabilities, or lack of experience and knowledge, unless
they have supervision.
20. Cleaning and maintenance should not be done by children younger than 8 and
supvised.
SAVE THESE INSTRUCTIONS.

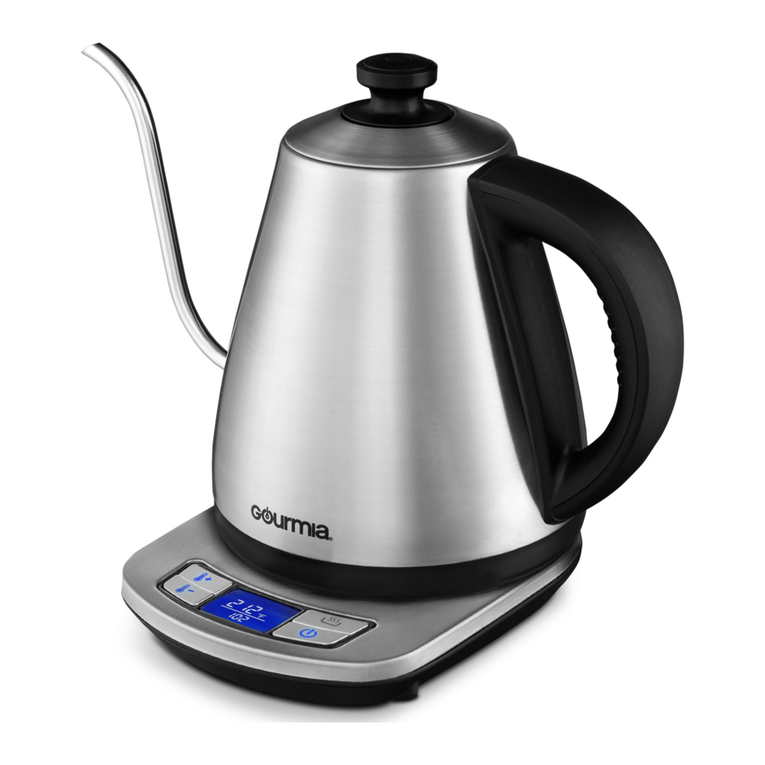
TABLE OF CONTENTS
5
TABLE OF CONTENTS
Know Your Electric Kettle.......................6
Using Your Electric Kettle ......................7
Cleaning & Maintenance......................10
Warranty & Services.............................13

KNOW YOUR KETTLE
Before Using Your Kettle
6
KNOW YOUR KETTLE
Lid
Lid
Handle
Base
Spout
Spout
Power
Button
Digital Display
Screen Keep Warm
Button
Increase/Decrease
Temp Button

Before Using Your Kettle
Increase/Decrease
Temp Button
USING YOUR KETTLE
7
1. Remove all packaging before use.
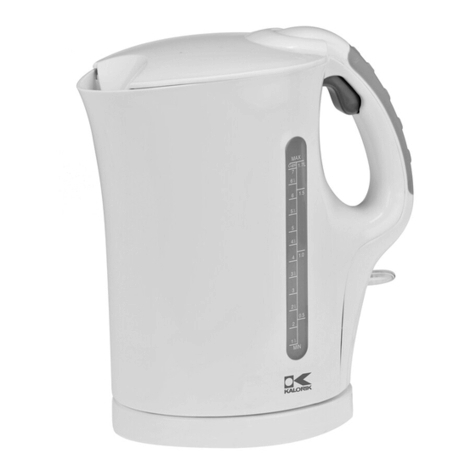
2. Place the kettle on a at and dry surface.
3. Plug the appliance into a wall outlet.
4. Fill the kettle with water- upto the MAX line, boil the water, then pour it
out and rinse. Repeat several times.
5. After the water has boiled or the kettle has been turned o, wait several
seconds before switching it on again.
6. If you turn on the kettle before adding water, the overheat protection
will automatically shut the appliance o. Allow the kettle to cool down
for about 15 minutes before relling it with water for the next use.
The Kettles sleek gooseneck
design is specically made to
control the water ow during
your pour. The precision
spout is used to improve the
accuracy and control of your
pour, so you can slowly and
evenly saturate your coee
grounds and extract the
best avor from your beans.
With the built in temperature
control, your beverage will
be perfect, quick and easy to
make.

8
USING YOUR KETTLE
Using Your Kettle
1. Remove the kettle from the base.
2. Remove the lid and ll the kettle
with water to the desired level. Do
not ll the kettle past the MAX line,
located on the inside of the kettle,
near the side of the handle.
3. Plug the base into a wall outlet.
4. Cover the kettle with the removable
lid and place it on the base.
Lid
Base
5. The kettle will beep once
and all the indicator lights
will turn on, indicating that
the base is connected and
the kettle is in place. 000 will
be shown on the LED display
screen.
6. The current temperature of
the water will be shown on the
digital display screen and will
be visible for about 5 seconds.
If no option is chosen, the
kettle will go into standby
mode and the power button
will blink slowly, until the base
is unplugged.
NOTE: The kettle may be used only with the
base provided. Do not open the lid when
boiling water.

9
USING YOUR KETTLE
9
11. Once the water is boiled, the kettle
will beep once and turn o.
12. In order to maintain the temperature
of the water, press the keep warm
button. If no button was pressed for
30 minutes in keep warm mode,
the kettle will turn o.
7. Press the power button
again and it will turn red.
8. When the power button
is red, you can
adjust the temperature
according to your
preferred temperature.
9. Use the increase or decrease
button to adjust the temperature
For farenheit press once for every
2ºF, and long-press for every 9ºF. For
celcius press once for every 1ºC, and
long-press for every 5ºF.
10. Select between the preset
temperature settings: from
104ºF up to 212ºF.
If the temperature that it is
set to, is lower than the water
temperature in the kettle,
the kettle will turn o.
To change from celcius to farenheit hold the temperature
increase and decrease button for ve seconds

10
CLEANING & MAINTENANCE
Cleaning and Maintenance
• Before cleaning, unplug the electrical kettle
and make sure it cooled down.
Cleaning the Exterior of the kettle:
• Wipe the exterior of the kettle with a
damp cloth and then dry it thoroughly.
• Do not use harsh chemicals or abrasive
cleaners, these will damage the nish of
your kettle.
Interior of the kettle:
• After using the kettle several times, lime
scaling will build up inside the kettle.
To remove lime scale:
1. Fill the kettle with water. Add vinegar or lemon juice.
2. Allow the kettle to sit for 1 hour, then boil the water.
3. Empty the kettle and rinse it thoroughly with cold water.
4. If necessary, repeat 1-3 times.
5. To eliminate the smell of vinegar, boil water several times and pour it out.
6. Wipe the interior and exterior surfaces of the kettle with a cloth.
Descaling protects the kettle from damages.
NOTE: It is important to remove lime scale deposits from the kettle regularly, as descaling
protects the kettle from damages.
WARNING: Do not immerse the appliance or
any part of the appliancein water.
STORAGE
Clean and dry all parts before storing. Store the kettle in its box or in a
clean, dry place. Never wrap the power cord around the kettle.

11
CLEANING & MAINTENANCE
TEMPERATURE FOR TEA AND COFFEE:
Blends for babies- 104-140°F
Green and white tea -175-185°F
Instant coee - 194°F
Black tea - 212°F
WARNING:
• The appliance is very hot during use.
• Do not touch kettle surface it is extremely hot.
• Never leave the kettle unattended while boiling water - especially
when children are nearby.
• Do not open the lid while boiling water.
• Do not immerse the base or the kettle in water or any liquids. This
can cause electric shock or damage to the appliance.
• Be careful when handling hot water- you can burn yourself.
Customizing the kettle lid tension:
If you feel the kettle lid is too hard or too easy to remove from the
kettle, please follow the steps below to adjust the tension:
• Take o the lid from the kettle.
• Use a tool to adjust the tabs of the kettle lid.
• If you push in the tab, the lid tension
will decrease and will be easier to take on and o.
• If you pull out the tab, the lid will be harder to take on and o.
• Adjust the tab, take the lid on and o to see if the
adjustment is correct.
• Repeat, until you have customized the lid to your
preference.


WARRANTY & SERVICE
This Limited Warranty is for one full year from the date
of purchase. It is applicable to the original purchaser
only and is not transferable to a third party user. Repair
or replacement of defective parts is solely at the seller’s
discretion. In the event that repair isn’t possible, the
seller will replace the product/part. If product repair/
replacement won’t suce, the seller has the option of
refunding the cash value of the product or component
returned.
Product defects not covered under the Warranty
provisions include normal wear and damage incurred
from use or accidental negligence, misuse of instruction
specications or repair by unauthorized parties.
The manufacturing company is not liable for any
incidental or consequential damages incurred by such
circumstances.
13
13
WARRANTY & SERVICES

FOR CUSTOMER SERVICE
QUESTIONS OR COMMENTS
VISIT US @ GOURMIA.COM
OR CALL 888.552.0033
Table of contents
Other Gourmia Kettle manuals

Gourmia
Gourmia GPK-390 User manual

Gourmia
Gourmia GDK380 User manual

Gourmia
Gourmia GK348 User manual

Gourmia
Gourmia GDK290 User manual

Gourmia
Gourmia GPK-510 User manual

Gourmia
Gourmia GPK-720 User manual

Gourmia
Gourmia GK378 User manual

Gourmia
Gourmia GK-220 User manual

Gourmia
Gourmia GPK-720 User manual

Gourmia
Gourmia GK360 User manual

Gourmia
Gourmia GDK385 User manual

Gourmia
Gourmia GDK260 User manual

Gourmia
Gourmia GK320 User manual

Gourmia
Gourmia GDK350 User manual

Gourmia
Gourmia GPK-510 User manual

Gourmia
Gourmia GK378 User manual

Gourmia
Gourmia GK360 User manual

Gourmia
Gourmia GK360 User manual

Gourmia
Gourmia GDK290 User manual

Gourmia
Gourmia GDK340 User manual