2
308–607
Table
of Contents
Terms 2.
. . . . . . . . . . . . . . . . . . . . . . . . . . . . . . . . . . . . . . .
Symbols 3
. . . . . . . . . . . . . . . . . . . . . . . . . . . . . . . . . . . . . .
Warning 3
. . . . . . . . . . . . . . . . . . . . . . . . . . . . . . . . . . . . . .
Pre-installation
Checklist
4.
. . . . . . . . . . . . . . . . . . . . .
Installation
Checklist
6.
. . . . . . . . . . . . . . . . . . . . . . . . .
Hardware Installation 8.
. . . . . . . . . . . . . . . . . . . . . . . . .
Flush
the System
8.
. . . . . . . . . . . . . . . . . . . . . . . . . .
Install
Solenoids and Meters
8.
. . . . . . . . . . . . . . . .
Set
Control Module Addresses
8.
. . . . . . . . . . . . . .
To
Change from 120 V
AC to 240 V
AC 9.
. . . . . . . .
Mount
the Control Module and Keypad Bracket
10
Cable Routing and Connection 11.
. . . . . . . . . . . . . . .
Connect
the AC Electrical Power
11.
. . . . . . . . . . .
Route
the Solenoid and Meter Cables
12.
. . . . . . .
Connect
the Solenoid and Meter Cables
12.
. . . . .
Connect
the Control Modules to the CAN
13.
. . . .
Connect
the Keypad Cable
14.
. . . . . . . . . . . . . . . .
Connect
the Printer or Computer Cable
14.
. . . . . .
Visually
Check the Wire Connections
14.
. . . . . . . .
System
Setup
15.
. . . . . . . . . . . . . . . . . . . . . . . . . . . . . . .
Startup 15
. . . . . . . . . . . . . . . . . . . . . . . . . . . . . . . . . . .
Modify
or New
17.
. . . . . . . . . . . . . . . . . . . . . . . . . . . .
Clear
Setup
18.
. . . . . . . . . . . . . . . . . . . . . . . . . . . . . .
Print
Setup
19.
. . . . . . . . . . . . . . . . . . . . . . . . . . . . . .
Update Tables 20.
. . . . . . . . . . . . . . . . . . . . . . . . . . . .
Diagnostics 21
. . . . . . . . . . . . . . . . . . . . . . . . . . . . . . .
Time
and Date
24.
. . . . . . . . . . . . . . . . . . . . . . . . . . .
Operator
Access
24.
. . . . . . . . . . . . . . . . . . . . . . . . .
Save
Setup
25.
. . . . . . . . . . . . . . . . . . . . . . . . . . . . . .
Control
Modules
25.
. . . . . . . . . . . . . . . . . . . . . . . . . .
Fluids 26
. . . . . . . . . . . . . . . . . . . . . . . . . . . . . . . . . . . .
Dispense
Areas
27.
. . . . . . . . . . . . . . . . . . . . . . . . . .
Connection
Assignments
28.
. . . . . . . . . . . . . . . . . .
Meter
Calibration
29.
. . . . . . . . . . . . . . . . . . . . . . . . .
Inventory 30
. . . . . . . . . . . . . . . . . . . . . . . . . . . . . . . . .
Report
Options
31.
. . . . . . . . . . . . . . . . . . . . . . . . . . .
Run
Options
31.
. . . . . . . . . . . . . . . . . . . . . . . . . . . . .
System T
ime Outs
31.
. . . . . . . . . . . . . . . . . . . . . . . .
Run Mode 32.
. . . . . . . . . . . . . . . . . . . . . . . . . . . . . . . . . .
Dispensing 32
. . . . . . . . . . . . . . . . . . . . . . . . . . . . . . .
Review
Jobs
36.
. . . . . . . . . . . . . . . . . . . . . . . . . . . . .
Troubleshooting 38
. . . . . . . . . . . . . . . . . . . . . . . . . . . . .
Maintenance 39
. . . . . . . . . . . . . . . . . . . . . . . . . . . . . . . . .
Shutdown
Procedure
39.
. . . . . . . . . . . . . . . . . . . . . .
Power
Failure
39.
. . . . . . . . . . . . . . . . . . . . . . . . . . . .
Control
Module is Not User Repairable
39.
. . . . . .
To
Clean The Keypad
39.
. . . . . . . . . . . . . . . . . . . . .
To
Install New Software
39.
. . . . . . . . . . . . . . . . . . .
To
Replace the Complete Pulse Meter
40.
. . . . . . .
To
Replace the Electronic Pulse Module
40.
. . . . .
To
Replace the Metering Unit
40.
. . . . . . . . . . . . . . .
To
Clean the Solenoid V
alve 41.
. . . . . . . . . . . . . . .
Horizon
System Components
42.
. . . . . . . . . . . . . . . .
Control
Modules
42.
. . . . . . . . . . . . . . . . . . . . . . . . . .
Keypads 44
. . . . . . . . . . . . . . . . . . . . . . . . . . . . . . . . . .
Keypad
W
all-mount Bracket
45.
. . . . . . . . . . . . . . . .
Fluid
Solenoid V
alves 46.
. . . . . . . . . . . . . . . . . . . . .
Air
Solenoid V
alves 46.
. . . . . . . . . . . . . . . . . . . . . . .
Pulse
Meters
47.
. . . . . . . . . . . . . . . . . . . . . . . . . . . . .
System
Cables
48.
. . . . . . . . . . . . . . . . . . . . . . . . . . .
Pressure
Relief Kit
50.
. . . . . . . . . . . . . . . . . . . . . . . .
Fluid
Check V
alve 50.
. . . . . . . . . . . . . . . . . . . . . . . .
40
Column Thermal Printer
50.
. . . . . . . . . . . . . . . .
Appendix
Horizon
Software Features
52.
. . . . . . . . . . . . . . . . . . .
System Configuration 53.
. . . . . . . . . . . . . . . . . . . . . . .
Installation
Considerations
53.
. . . . . . . . . . . . . . . . .
Steps
For Configuring A System
53.
. . . . . . . . . . . .
System
Design Suggestions
53.
. . . . . . . . . . . . . . .
System
Configuration Examples
54.
. . . . . . . . . . . .
Horizon
Forms #1–6
(Guide to Initial Setup)
56.
System
Dynamics And Design Factors
67.
. . . . . . .
Pressure
Relief Kit
67.
. . . . . . . . . . . . . . . . . . . . . . . .
Dispense
Fluid During System Failure
67.
. . . . . . .
Avoiding
Pulsation
69.
. . . . . . . . . . . . . . . . . . . . . . . .
Selecting
a Supply Pump
69.
. . . . . . . . . . . . . . . . . .
Technical
Data
70.
. . . . . . . . . . . . . . . . . . . . . . . . . . . . . .
Graco
W
arranty and Limitation of Liability 72.
. . . .
Graco
Phone Number
72.
. . . . . . . . . . . . . . . . . . . . . . .
Terms
CAN:
Controller Area Network; network that
interconnects the control modules in the system.
Dispense Point:
The combined designation of the
dispense area and fluid number
.
Fluid Zone:
The groups of reels that share a pulse
meter.
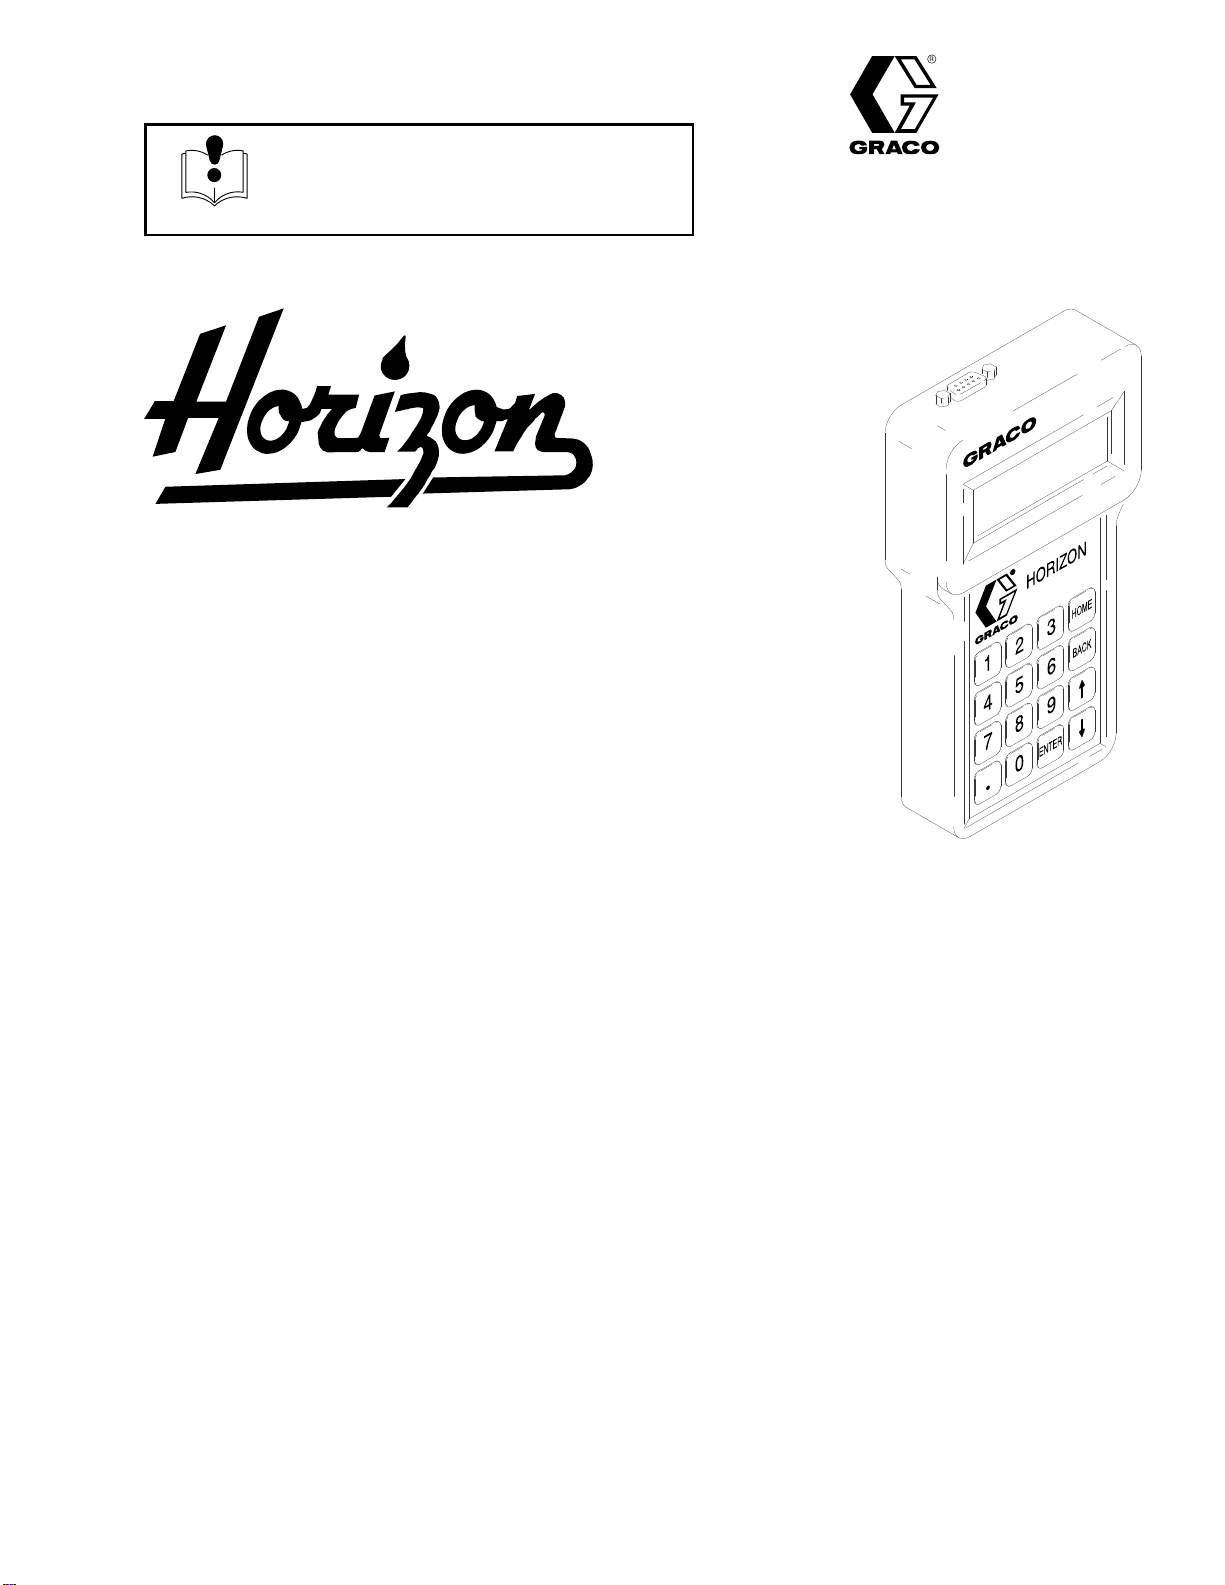
Keypad:
Hand-held device with display screen and
keys that communicates with the control module it is
connected to.
Master Control Module:
In addition to the functions of
a
Slave Control Module
, it controls activity over the
CAN
, has additional memory
, provides printer or
computer interface, and continuously tracks the time
and date.
Non-volatile Memory:
Data is retained when the
power is shut of
f.
Simultaneous Dispensing:
The ability for more than
one hose reel in the Horizon system to be dispensing
fluid at the same time. The Horizon allows up to 12
dispenses to take place at a time.
Slave Control Module:
Drives air and fluid solenoids
and counts pulses of the meters that are connected
to it.