manuals.online logo
Brands
  1. Home
  2. •
  3. Brands
  4. •
  5. Graco
  6. •
  7. Paint Sprayer
  8. •
  9. Graco A KP 115 User manual

Graco A KP 115 User manual

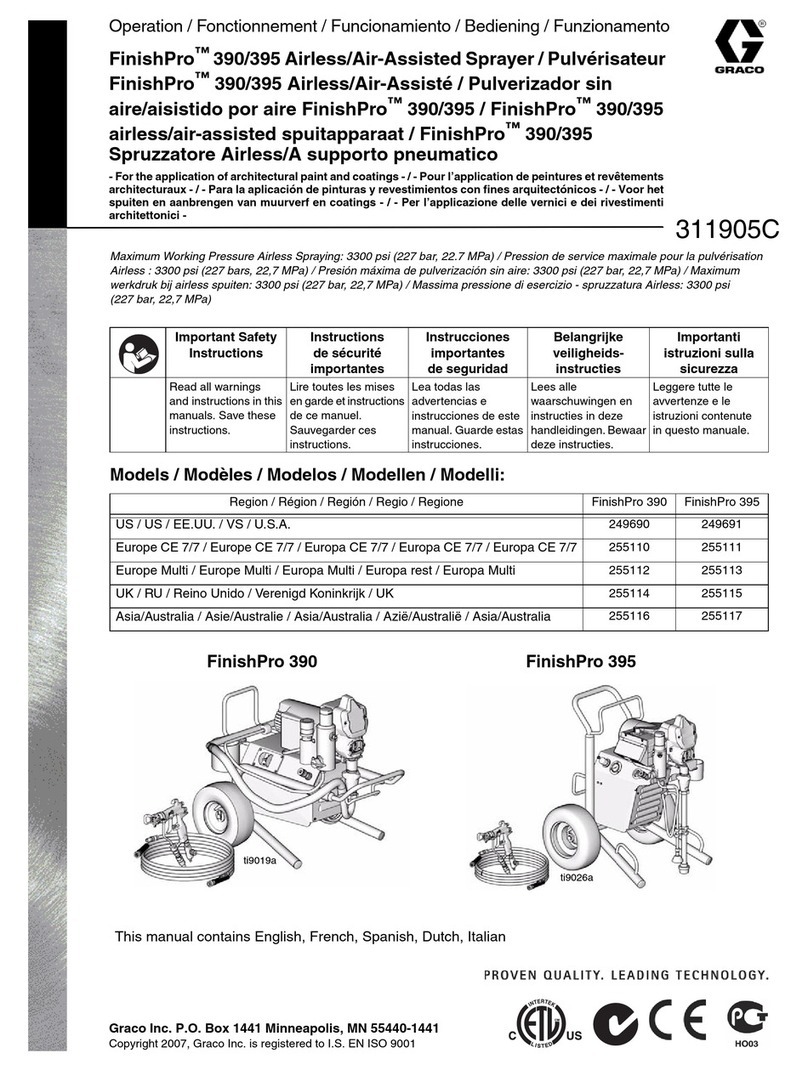
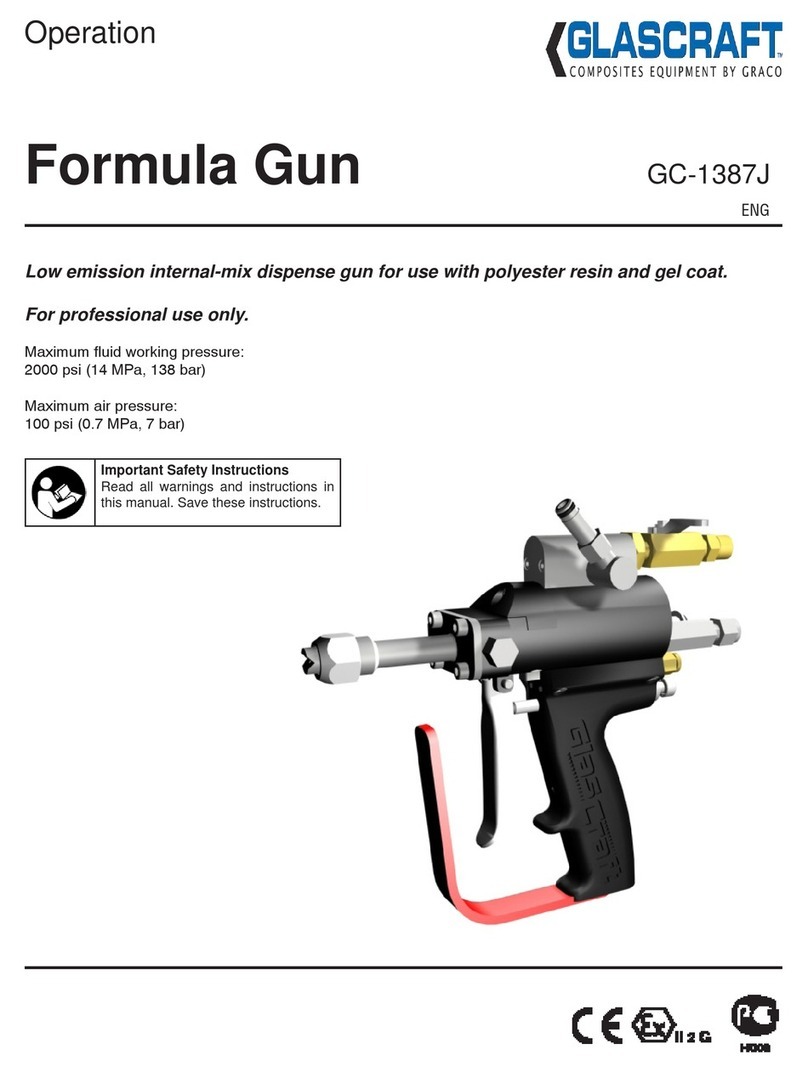
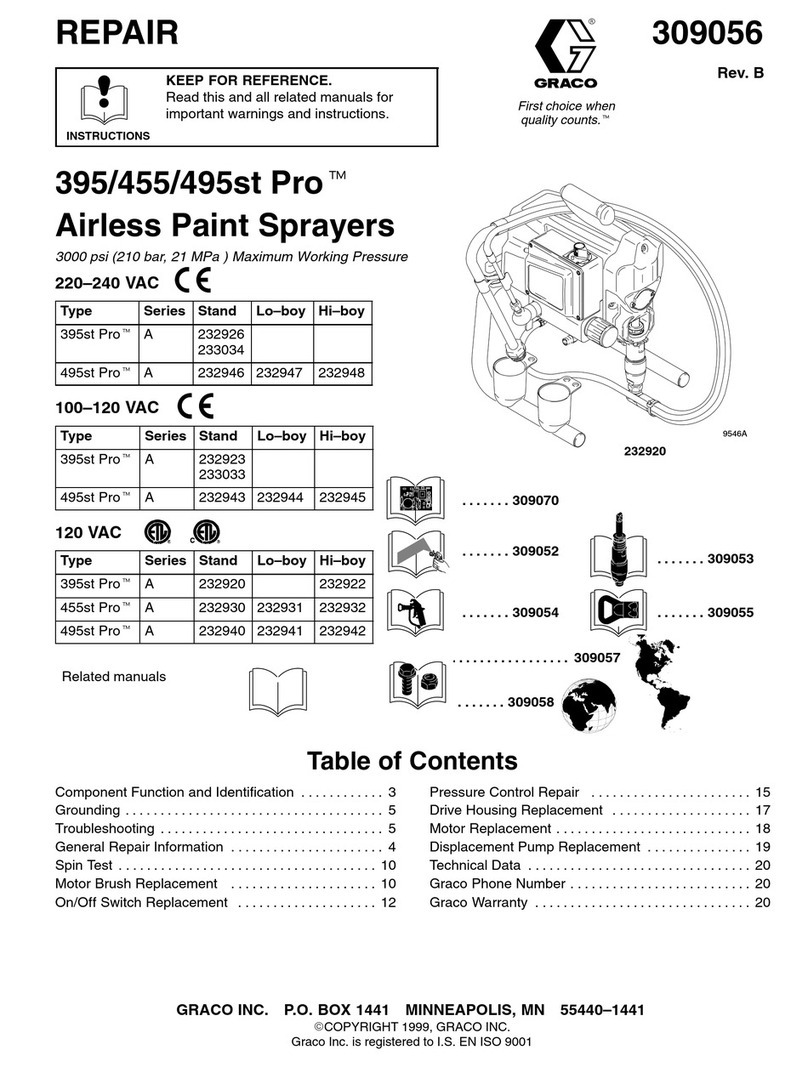
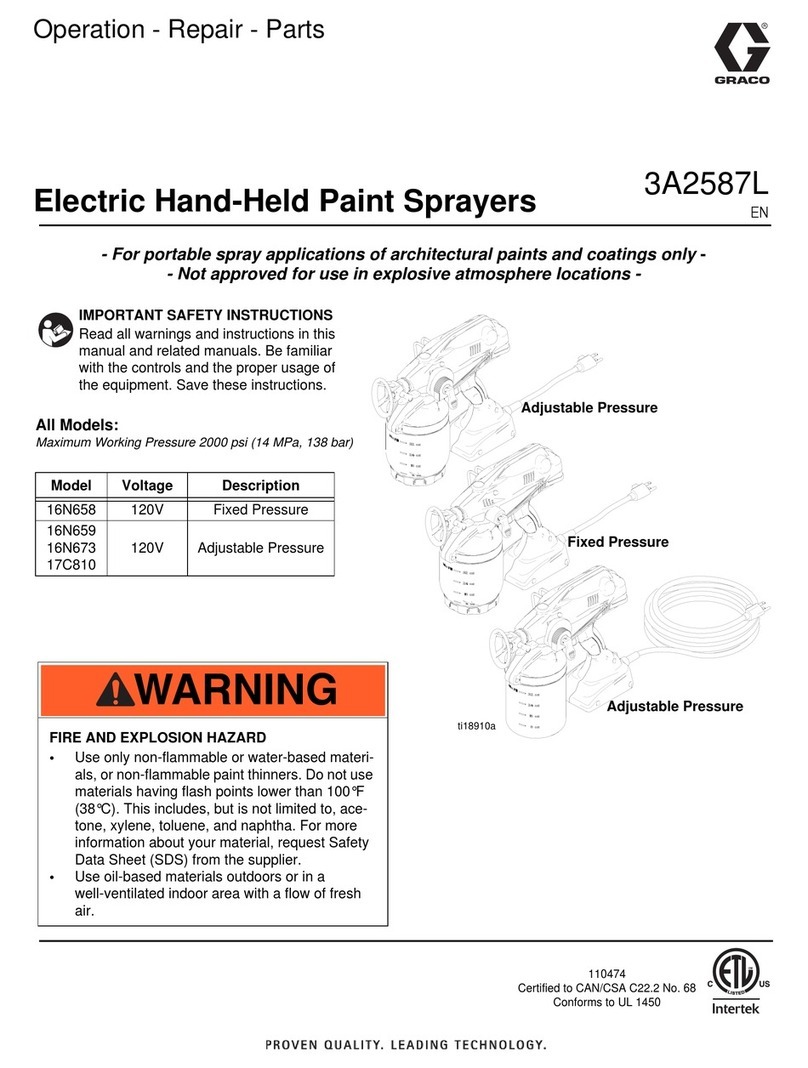
Continued on pages 2 to 9
%%
*5$&2 6000329E, Rev. A
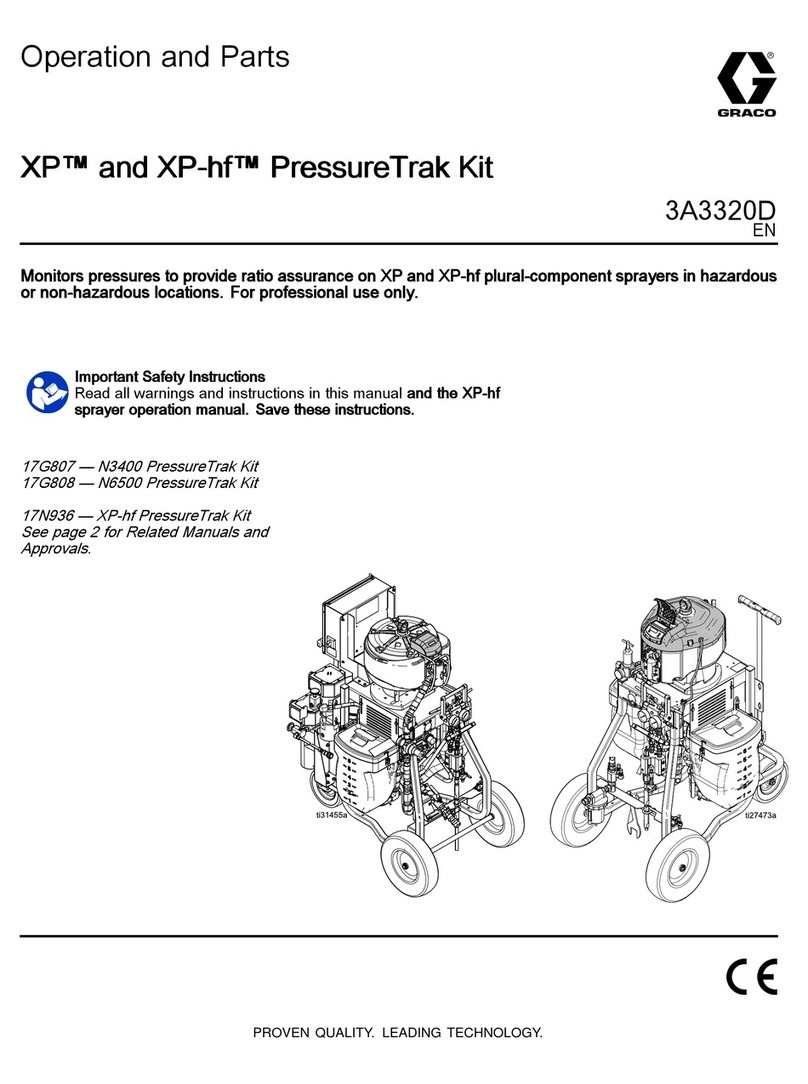
Pneumatically operated automatic air-assisted spray gun for spraying liquid materials with air boost
(Airless Plus®), - also possible without air boost (Airless).
The original manufacturer’s nameplate can be
found on the spray gun. Please compare the
specifications and complete if necessary.
Read and understand the operator manual
and the safety instructions before taking the
gun into operation
This symbol appears in the operator
manual at all points regarding safety.
Ensure that all other users know and
understand all safety directions.
CORRECT USE
The spray gun A KP 115 is exclusively manufactured for normal use in surface technology (for
spraying coating substances) or for similar work.
Any other purpose above and beyond this is considered as incorrect use. We are not liable for any
damage or injury resulting from this; the user will bear sole liability in such cases.
Correct use includes observing operating, maintenance and inspection conditions and regulations
laid down by us.
The spray gun A KP 115 may only be installed, maintained and repaired by personnel familiar with,
and trained to recognize the inherent dangers.
The relevant accident prevention regulations as well as safety rules must be respected.
Unilateral changes to the spray gun will cause us to waive our responsibility for any damage or injury
caused.
The user is responsible for the correct installation of the appliance.
THE USER INFORMATION SHOULD BE KEPT FOR FUTURE USE
CONTENTS Page
DESCRIPTION 2
FUNCTIONAL DIAGRAM 3
FLUID 3
MATERIALS IN CONTACT WITH THE FLUID 3
TECHNICAL DATA 4
DIMENSIONAL DRAWING 4
SPRAY GUN FASTENING 5
TORQUES, LIST OF TOOLS 5
START-UP, OPERATION, MAINTENANCE AND INSPECTION 5, 6 and 7
TROUBLESHOOTING 7
GENERAL SAFETY INFORMATION 7
LIST OF SPARE PARTS (SETS) 8 and 9
ACCESSORIES Sales catalogue
Subject to change
Prepared 31.07.95 by Stengele
Approved 04.08.95 by Kuhn
Issued 09.99USER INFORMATION
- OPERATING INSTRUCTIONS -
SPRAY GUN A KP 115
79990 012001
B.2.20.83-B
- 2 -
DESCRIPTION
The spray gun A KP 115 is operated pneumatically.
The atomizing air 1, connection marked with "Z" is supplied permanently.
After switching on, the control air 2•, (connection without any marking) first opens the path for the
atomizing air and then the fluid valve. The reverse order applies when switching off.
In the gun, the path for the atomizing air is divided into horn air 3and atomizing air 4.
The horn throttle valve 5, marked "F", influences the fan jet (F = fan jet).
The atomizing air throttle valve 6without any marking improves spraying.
The throttle valve screws are provided with thread sealing rings 7; they can be used to shut off the
respective air path.
With the air paths shut off, airless spraying up to 115 bar fluid pressure is possible.
The parts of the spray gun in contact with the fluid are suitable for water-based paints (stainless
steel).
The needle 8is made of hardened steel throughout.
The valve seat (diffuser) 9and the body of the gun bl are designed in such a way that a filter
element bm of varying mesh size can be inserted and that an additional filter does not obstruct the
flow of fluid through the gun.
The spray gun is fixed centrally at the rear end bn.
The spray gun includes the air cap and union nut.
Nozzles (cartridge), pre-atomizer, filter elements and connections should be specified separately by
the operator.
Connected air
Applied air
%%

FUNCTIONAL DIAGRAM
MATERIAL
Solids content Compatibility Behavior Compatibility
low
low to 1 %
medium 1 to 6 %
over 6%
over 50%
highly suitable
suitable
suitable under
certain conditions
suitable under
certain conditions
not suitable
neutral
corrosive
abrasive
caustic
inflammable 1)
highly suitable
highly suitable
suitable under
certain conditions
suitable under
certain conditions
highly suitable
1) danger class AI, AII, AIII, the spray
gun must be properly grounded.
Kinematic
viscosity in mm2/s Compatibility
up to 500
500 to 750
over 750
highly suitable
suitable
suitable under
certain conditions
(Application must be
tested)
Please consult us when processing
highly abrasive and aggressive
materials.
MATERIALS IN CONTACT WITH THE FLUID
Pos. Description Material
1
2
3
4
5
6
7
Gun body
Valve seat (diffuser)
Needle
Frame
Profile sealing ring
Grooved ring
Spacer
SST 1.4305
SST 1.4305
Hardened steel
Hardened steel
POM
PE
POM
Take care with materials that contain chlorinated hydrocarbons such as trichloro-ethane or
methylene chloride. They react with aluminum to form metal-organic compounds.
These compounds are explosive and extremely caustic.
– The use is not permissible
Atomizing air
Operating air
(control air)
A Automatic spray gun
B 3/2-way valve
C Air pressure regulator
D Pressure gauge
B.2.20.83-B
- 4 -
TECHNICAL DATA
Spray gun A KP 115 - 0
Spray gun A KP 115 (in the standard version) Part nbr.: 79331 004002
Fluid inlet pressure max. perm. 115 bar
Fluid temperature max. perm. 90 °C
Compressed air temperature max. perm. 50 °C
- Higher compressed air temperature require consultation
Operating air pressure max. perm. 4 bar
Atomizer air pressure < 4 bar
Recommended switching frequency not more than 160 strokes/min
Air flow rate at 4 bar operating air pressure, connection tube DN 6, length 4 m,
with air cap and opened throttle valves 315 l/min
Mesh size of the filter elements 0.08 0.18 0.30
Weight of the spray gun without accessories 800g
DIMENSIONAL DRAWING
Nominal diameter of the air pressure hose preferred DN 6.
- Hose length: < 1.5 m DN 4, > 4.5 m DN 8
Without nozzle cartridge
Max. permissible fluid inlet pressure
Conventional Airless Plus
Automatic
Fluid connection G 1/4, 9 deep
On both sides
Thread M10, for gun fastening
8 deep
Air pressure inlet
G 1/4, 8 deep
Throttle valve screw for atomizin
g
ai
r
Throttle valve screw for horn air
(fan jet)
%%

SPRAY GUN FASTENING
- Centrally at the rear end
TORQUES, LIST OF TOOLS
Torque for the cheese-head screws M5, 7 Nm
Tool for the spray gun in its standard version
Tubular socket wrench
DIN 659, SW 10
Allen screw
DIN 911, SW4, SW5
Pliers
DIN 5256 C
For locking ring ø16
Drift
Part nbr.
70641 001002
Drift
Part nbr.
70642 001002
Tools for the spray gun accessories
Open-end spanner DIN 895
SW 15 for fluid connection (angular connection)
SW 14 for air pressure connection (plug-in screw connection for DN 4 and DN 6)
SW 17 for air pressure connection (plug-in screw connection for DN 8)
Allen screw DIN 911 SW 6 for fluid connection (locking screw)
Bolt Part nbr. 76131 058001
Drift Part nbr. 70641 005002
START-UP, OPERATION, MAINTENANCE AND INSPECTION
Fasten spray gun
The threaded connection M 10 must be locked.
The leakage holes should point downwards.
Connect hoses and hose line(s)
Then check for tightness.
Install the in-line filter element
Automatic spray guns are delivered without filter element.
The filter element (choice of mesh size depends on the nozzle used) must be fitted later.
- On a stationary support or a bracket,
Leakage hole
M 10.8 deep
- By means of a rod,
- Reciprocating arm
B.2.20.83-B
- 6 -
Before dismantling the valve seat (diffuser), the needle must be brought
into the opened position.
Switching on the control air (Pos. 2, page 2), does this.
Then - Screw out the valve seat (diffuser)
- Place the filter element on the valve seat (diffuser)
Note the mounting position for the seal
- Install the valve seat (diffuser) with filter element
The needle is in the opened position.
Install the nozzles (cartridge) and pre-atomizer
- Insert the nozzle cartridge in the air cap
- Insert the pre-atomizer in the nozzle cartridge
- Install the air cap with nozzle and tighten the union nut by hand.
Do not use any extra seals (nozzle and pre-atomizer are self-sealing). It is recommended to
install the sealing ring Part nbr. 76194 015002 when no pre-atomizer is used.
OPERATION
Do not exceed the specified technical data (page 4).
MAINTENANCE AND INSPECTION
- The automatic spray gun A KP 115 requires little maintenance.
• Flush thoroughly before operating pauses
• Drain the condensed water every day from the filter or filter regulator if there is no automatic
water drainage in the compressed air supply to the spray gun.
• Regularly dismantle the filter element and clean thoroughly.
- The cleaning interval depends on the process fluid or solvent, and must be determined by the
user.
• Check leakage behavior (air or fluid escaping from the leakage holes) at regular intervals –
e.g. once per week.
- The seals should be replaced when large amounts of air or fluid are escaping. Special tools
are necessary for this (drift, socket, see page 9).
The parts should be greased lightly before assembly.
– We recommend “grease OKS 270” (Tube 100g, Part nbr. 70950 003001).
• The service life of the hose line is adversely affected, and thus shortened, by surrounding
influences (oxygen in air, temperature, light, etc.), even if correctly handled.
It is recommended that they undergo regular visual checks and occasional checking of
performance.
As a precaution, the hose lines should be replaced by new ones at intervals set by the operator
(- after 2 to 3 years).
NEVER dismantle a spray gun under pressure.
Seal Part nbr. 76193 043002
Filter element
Valve seat (diffuser)
TROUBLESHOOTING
Component group Nature of defect Defect symptoms Possible cause Counter measure
Nozzle, filter element Irregular fluid delivery Alteration of the spray
pattern
no fluid delivery
Nozzle or pre-atomizer
obstructed
Filter element clogged up
Clean nozzle, pre-
atomizer and filter
element
Throttle valve screws Fluid delivery not uniform Formation of stripes,
coarse atomization Throttle valve screws
closed or not sufficiently
open
Correct the adjustment of
the throttle screws
Sealing system
(Needle seal, piston
seal)
Leakage at the body of
the gun Air or fluid escaping from
the leakage holes Seal(s) worn out Replace seals
Air connections Spray gun does not work No connection, no air to
the nozzle Air supply interrupted Check the plug
connection and air hose
GENERAL SAFETY INFORMATION
For noise level see the instructions of the manufacturer of the machine (automatic machine, robot).
Only to be used in well ventilated areas.
Do not point the spray gun in the direction of persons or animals.
During operating pauses and shutdowns no energy potential (fluid and/or air pressure and/or electricity) should be
present at the spray gun.
The recommendations of the manufacturer of the fluid should be followed.
Protective equipment should be worn in the operating area of the spray gun.
B.2.20.83-B
7
TROUBLESHOOTING
%%
- 8 -
LIST OF SPARE PARTS
Replacement part set, air valve Part nbr. 79978 916002
Pos. 10
Pos 20
Pos. 30
Pos. 40
Pos 60
Pos 70
1 off
1 off
1 off
1 off
1 off
1 off
Ring piston
O-ring
Drive pin
Split taper socket
Sealing washer
O-ring
D34.8x9.5
8.5 x 1.5B
D12.5 L43
7.8 x 1.85 x 7
7.8 x 12.5 x 1.5
32x2B
Repair kit, fluid valve Part nbr. 79978 916003
Pos 80
Pos 90
Pos 100
1 off
1 off
1 off
Valve seat (diffuser) complete
Profile sealing ring
Needle complete
M 16 x 1 x 34.5
9.5 x 14 x 3.2
D3 L107.5
Repair kit, throttle valve screws Part nbr. 79978 916004
Pos. 130 2 off Throttle valve screw complete M 10 x 1
Spare part
Pos 110
Pos 120 1 off
1 off Air cap
Union nut KP
M 32 x 1.5 76562 006002
76089 084002
Greased with grease OKS 270
%%
Note assembly position
Repair kit, seals Part nbr. 79978 330003
Pos. 10
Pos. 20
Pos. 30
Pos. 40
Pos 50
Pos 60
Pos 70
Pos 80
1 off
1 off
1 off
1 off
2 off
2 off
1 off
1 off
Seal
Washer
Bearing bushing complete
Grooved ring
Washer
Grooved ring
Bearing bush
Spacer
15x12x1.5
3.7x7.4x1
3x7.5x3.35
11 x 15.9 x 1.5
9.2 x 16.1 x 3
9.55 x 16 x 6
6 x 7.5 x 0.6
NOTES
GRACO N.V.
Industrieterrein “Oude Bunders”
Loc. 2206 - Slakweidestraat 31
3630 Maasmechelen - Belgium
Tel. : 32 89 770 700
Fax: 32 89 770 777
Valve housing complete
Drift as tool for Pos. 70
Part nbr. 70642 001002
Drift as tool for Pos. 30 and Pos. 40
Part nbr. 70641 001002
GRACO STANDARD WARRANTY
Graco warrants all equipment referenced in this document which is manufactured by Graco and bearing its
name to be free from defects in material and workmanship on the date of sale by an authorized Graco
distributor to the original purchaser for use. With the exception of any special, extended, or limited warranty
published by Graco, Graco will, for a period of twelve months from the date of sale, repair or replace any part
of the equipment determined by Graco to be defective. This warranty applies only when the equipment is
installed, operated and maintained in accordance with Graco´s written recommendations.
This warranty does not cover, and Graco shall not be liable for general wear and tear, or any malfunction,
damage or wear caused by faulty installation, misapplication, abrasion, corrosion, inadequate or improper
maintenance, negligence, accident, tampering, or substitution of non-Graco component parts. Nor shall
Graco be liable for malfunction, damage or wear caused by the incompatibility of Graco equipment with
structures, accessories, equipment or materials not supplied by Graco, or improper design, manufacture,
installation, operation or maintenance of structures, accessories, equipment or materials not supplied by
Graco.
This warranty is conditioned upon the repaid return of equipment claimed to be defective to an authorized
Graco distributor for verification of claimed defect. If the claimed defect is verified, Graco will repair or
replace free of charge any defective parts. The equipment will be returned to the original purchaser
transportation prepaid. If inspection of the equipment does not disclose any defect in material or
workmanship, repairs will be made at a reasonable charge, which charges may include the costs of parts,
labor, and transportation.
THIS WARRANTY IS EXCLUSIVE, AND IS IN LIEU OF ANY OTHER WARRANTIES, EXPRESS OR
IMPLIED, INCLUDING BUT NOT LIMITED TO WARRANTY OF MERCHANTABILITY OR WARRANTY OF
FITNESS FOR A PARTICULAR PURPOSE.
Graco´s sole obligation and buyer´s sole remedy for any breach of warranty shall be as set forth above. The
buyer agrees that no other remedy (including, but not limited to, incidental or consequential damages for lost
profits, lost sales, injury to person or property, or any other incidental or consequential loss) shall be
available. Any action for breach of warranty must be brought within two (2) years of the date of sale.
Graco does not extend its warranty to accessories, appliances, materials or components which are sold by
Graco but are not manufactured by Graco and makes no guarantee, however implied, with regard to the
brand capability and suitability for a certain purpose. These parts sold by Graco but not manufactured by
Graco (such as electric motors, switches, hoses, etc.) are covered by the warranties of the respective
manufacturers. Graco will support the buyer in enforcing any warranty claim with the proviso that in no event
can Graco be made liable for indirect, incidental, special or consequential damages which arise from the
supply of appliances by Graco under the conditions governed by these provisions, or the supply,
performance or use of any products or other goods which are sold under the conditions governed by these
provisions, whether as the result of breach of contract, breach of warranty, negligence on the part of Graco
or for any other reason.
GRACO N.V.
Industrieterrein “Oude Bunders”
Loc. 2206 - Slakweidestraat 31
3630 Maasmechelen – Belgium
Tel.: 32 89 770 700 Fax: 32 89 770 *5$&2


Other Graco Paint Sprayer manuals

Graco Optimiser 02017 User manual

Graco

Graco Optimiser 02017 User manual

Graco 2300 Hi-Boy Guide

Graco

Graco 2300 Hi-Boy Guide

Graco Mark IV 249636 Use and care manual

Graco

Graco Mark IV 249636 Use and care manual

Graco REACTOR E-20 Assembly instructions

Graco

Graco REACTOR E-20 Assembly instructions

Graco Reactor A-25 Use and care manual

Graco

Graco Reactor A-25 Use and care manual

Graco Xtreme 244463 User manual

Graco

Graco Xtreme 244463 User manual

Graco RentalPro 210PC Guide

Graco

Graco RentalPro 210PC Guide

Graco Project Series User manual

Graco

Graco Project Series User manual

Graco MAGNUM TRUEAIRLESS DIY Series User manual

Graco

Graco MAGNUM TRUEAIRLESS DIY Series User manual

Graco 311772H Operating instructions

Graco

Graco 311772H Operating instructions

Graco Contractor II User manual

Graco

Graco Contractor II User manual

Graco 231-547 Operation manual

Graco

Graco 231-547 Operation manual

Graco 295530 Quick start guide

Graco

Graco 295530 Quick start guide

Graco RentalPRO 210 262906 User manual

Graco

Graco RentalPRO 210 262906 User manual

Graco 1095 Premium Hi Guide

Graco

Graco 1095 Premium Hi Guide

Graco 255107 User manual

Graco

Graco 255107 User manual

Graco 311736A User manual

Graco

Graco 311736A User manual

Graco XT Series User manual

Graco

Graco XT Series User manual

Graco GH 200 Instruction Manual

Graco

Graco GH 200 Instruction Manual

Graco Series D User manual

Graco

Graco Series D User manual

Graco UNICARB Pro AA4500 Operation manual

Graco

Graco UNICARB Pro AA4500 Operation manual

Graco FOAM-CAT 200 Operation manual

Graco

Graco FOAM-CAT 200 Operation manual

Graco 255108 User manual

Graco

Graco 255108 User manual

Graco SG2 User manual

Graco

Graco SG2 User manual

Popular Paint Sprayer manuals by other brands

AMCOL 3063 Operator's manual

AMCOL

AMCOL 3063 Operator's manual

Keeper FOREST 1 user manual

Keeper

Keeper FOREST 1 user manual

Gilson Performer III OPERATING & SERVICE MANUAL

Gilson

Gilson Performer III OPERATING & SERVICE MANUAL

GFL 3005 operating instructions

GFL

GFL 3005 operating instructions

Hagie STS 10 manual

Hagie

Hagie STS 10 manual

WAGNER Super Finish 23 PLUS operating manual

WAGNER

WAGNER Super Finish 23 PLUS operating manual

Efco AT 2062 owner's manual

Efco

Efco AT 2062 owner's manual

3M Performance Spray Gun owner's manual

3M

3M Performance Spray Gun owner's manual

Lafferty 901008 Installation & operation instructions

Lafferty

Lafferty 901008 Installation & operation instructions

Goizper E+ NG instruction manual

Goizper

Goizper E+ NG instruction manual

Electron ASA101A user manual

Electron

Electron ASA101A user manual

Fimco 65-5N-UTV-GS owner's manual

Fimco

Fimco 65-5N-UTV-GS owner's manual

Shop fox SHOP FOX D3277 instruction sheet

Shop fox

Shop fox SHOP FOX D3277 instruction sheet

SAMES KREMLIN Inogun M user manual

SAMES KREMLIN

SAMES KREMLIN Inogun M user manual

Uni-ram UG1000 Series operating manual

Uni-ram

Uni-ram UG1000 Series operating manual

ASM ASM Zip-Spray 2100 Plus 110V: 247482 Operation

ASM

ASM ASM Zip-Spray 2100 Plus 110V: 247482 Operation

Daewoo DASP700 user manual

Daewoo

Daewoo DASP700 user manual

Smithco Spray Star 2004 Operator's manual

Smithco

Smithco Spray Star 2004 Operator's manual

manuals.online logo
manuals.online logoBrands
  • About & Mission
  • Contact us
  • Privacy Policy
  • Terms and Conditions

Copyright 2025 Manuals.Online. All Rights Reserved.