manuals.online logo
Brands
  1. Home
  2. •
  3. Brands
  4. •
  5. Graff
  6. •
  7. Plumbing Product
  8. •
  9. Graff GN-6836-LM47W Series User manual

Graff GN-6836-LM47W Series User manual

Model
Modelo
GN-6835-LM47W-**
IOG 2877.00
For care, use soft towel with soap and water only! Under no
circumstances should you use any chemicals.
ATTENTION!
ATENCIÓN!
Para el cuidado, utilice solamente una toalla suave con jabón y
aqua! Bajo ninguna circunstancia no use productos químicos.
Dear Customer Estimado Cliente
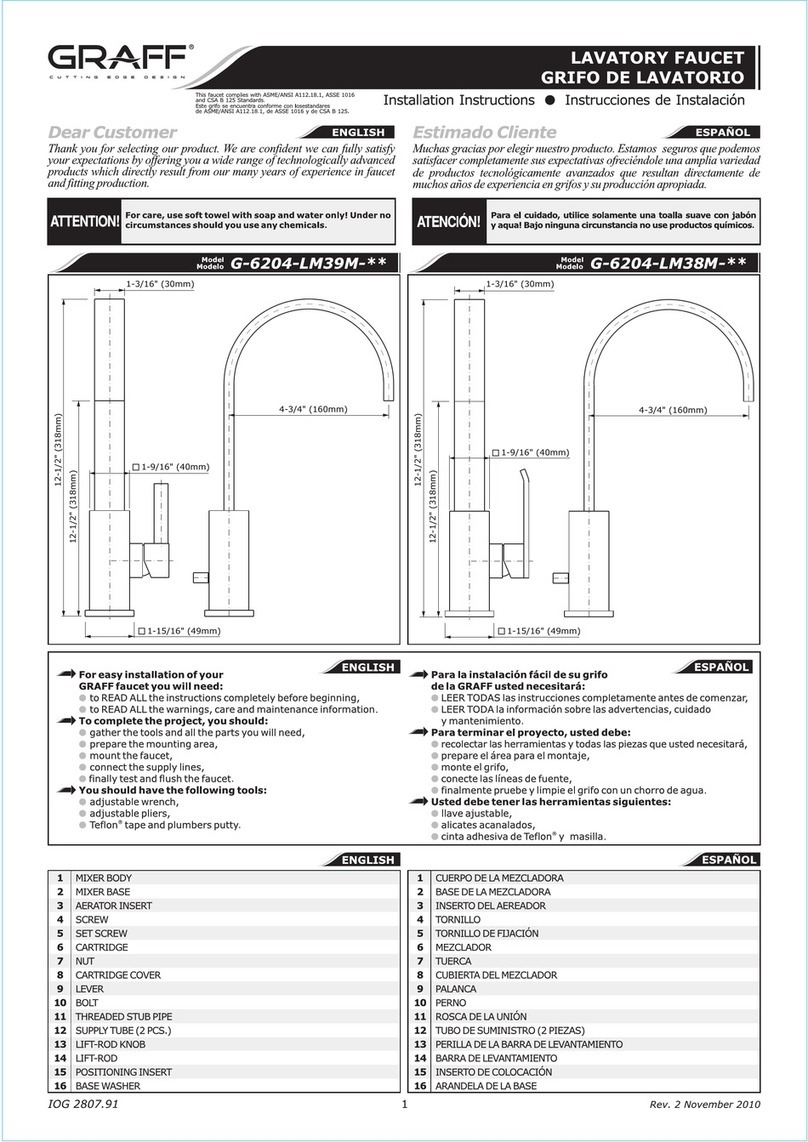
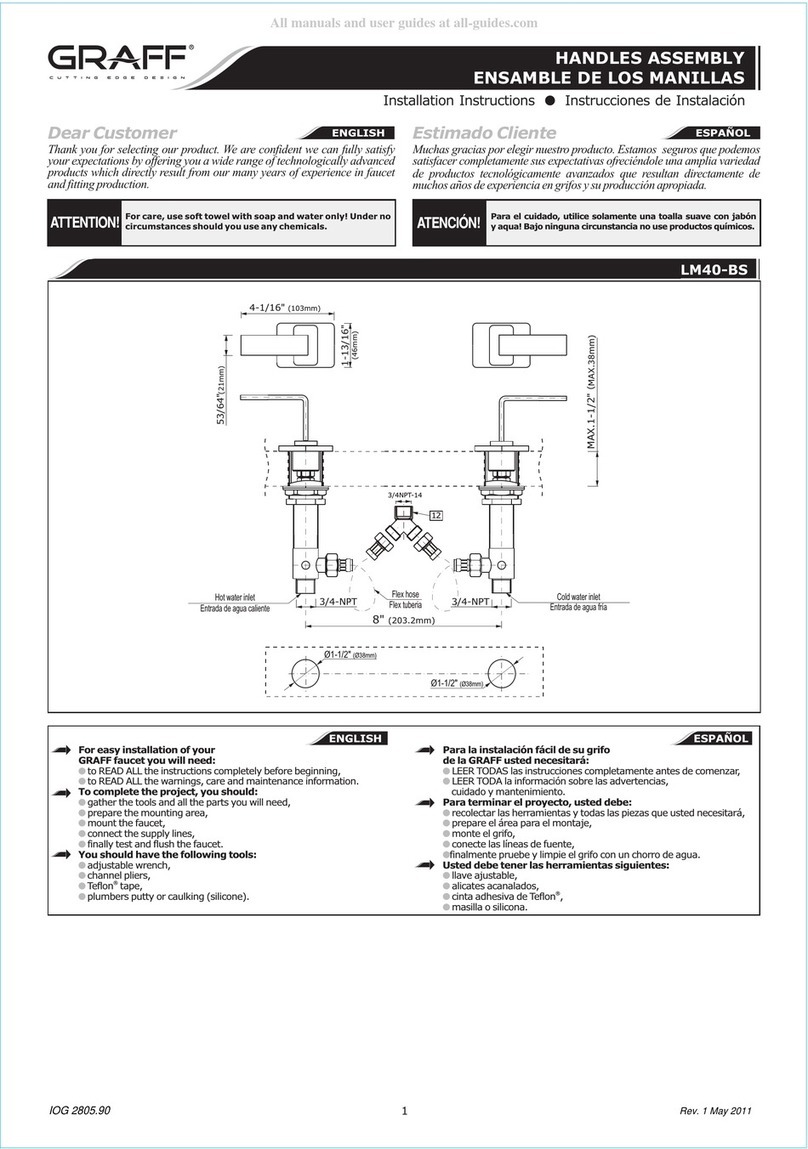
Thank you for selecting our product. We are confident we can fully satisfy
Muchas gracias por elegir nuestro producto. Estamos seguros que podemos
your expectations by offering you a wide range of technologically advanced
satisfacer completamente sus expectativas ofreciéndole una amplia variedad
de productos tecnológicamente avanzados que resultan directamente de
products which directly result from our many years of experience in faucet
muchos años de experiencia en grifos y su producción apropiada.
and fitting production.
ENGLISH ~
ESPANOL
Installation Instructions ●Instrucciones de instalación
WALL-MOUNT LAVATORY FAUCET
GRIFO DE MONTADOS EN LA PARED
This faucet complies with NSF61/9, ASME/ANSI A112.18.1
and CSA B 125 Standards.
Este grifo se encuentra conforme con losestandares de NSF61/9,
de ASME/ANSI A112.18.1 y de CSA B 125.
2-3/4”
□
(70mm)
min 2-1/2”
(54mm)
max 3”
(76mm)
7-1/2”
(193mm)
3-1/2”
(89mm)
2-3/4”
□
(70mm)
4-1/2”
(115mm)
2-11/16”
(68mm)
Rev. 2 July 2016
Model
Modelo
GN-6836-LM47W-**
2-3/4”
□
(70mm)
min 2-1/2”
(54mm)
max 3”
(76mm)
9-1/4”
(237mm)
3-1/2”
(89mm)
2-3/4”
□
(70mm)
4-1/2”
(115mm)
2-11/16”
(68mm)
IOG 2877.00
7
8
9
5
10 6
2
2
1
3
11
4
Rough
GN-1020
K1 K3
K2
1
1.1 1.2
B
P1
A
Finished wall
Acabado de la pared
1
B
A
OR
K3
11
Finished wall
Acabado de la pared
2
Installation Instructions ●Instrucciones de instalación
WALL-MOUNT LAVATORY FAUCET
GRIFO DE MONTADOS EN LA PARED
This faucet complies with NSF61/9, ASME/ANSI A112.18.1
and CSA B 125 Standards.
Este grifo se encuentra conforme con losestandares de NSF61/9,
de ASME/ANSI A112.18.1 y de CSA B 125.
12 13
K1
K1
SPOUT WITH ESCUTCHEON
O-RING SEAL
AERATOR INSERT
SCREW
DECORATIVE SLEEVE
HEX SOCKET CAP SCREW
LEVER
ESCUTCHEON
DECORATION COVER
HEX KEY 1,5MM
HEX KEY 2MM
SPECIAL KEY FOR THE AERATOR
K2
K3
CAÑO CON ROSETA
JUNTA TÓRICA
CARTUCHO DEL PERLATOR
TORNILLO
CAMISA DECORATIVA
TORNILLO CON ASIENTO HEXAGONAL
MANGO
ROSETA
ZÓCALO DECORATIVO
LLAVE ALLÉN 1,5MM
LLAVE ALLÉN 2MM
LLAVE ESPECIAL PARA EL AEREADOR
K2
K3
HOLE PLUG
SCREW (2 PCS.)
OBTURADOR
TORNILLO (2 UNID.)
12
BRIDA 1.2 GPM (4.5L/MIN.)
CONECTADOR
13
12
ORIFICIE MR05 1.2 GPM (4.5L/MIN.)
CONNECTOR
13
Rev. 2 July 2016
IOG 2877.00
3
2.1 2.2
2.4
2.3
C
A
P2
Finished wall
Acabado de la pared
A
59
D
Finished wall
Acabado de la pared
A
582
Finished wall
Acabado de la pared
A7
D
610
K3
See fig. 2.1 - 2.4 Vea fig. 2.1 - 2.4
ENGLISH ~
ESPANOL
Remove plaster guard (P2) by turning and pulling.
Slide handle cover (5) over the tube of cartridge (C).
Next screw on the valve cover (9).
Slide handle cover (8) over the tube of cartridge (C) until snug
against finished wall. Make sure that the o-ring (2) is properly
seated in recess at handle cover (8).
Put the complete handle (7) on to the cartridge stem (D).
Attach the handle (7) with hex socket screw (6) .
hex key.
Quite el protección del enlucido (P2) girando y tirando.
Deslizar la cubierta del caño (5) por el tubo del caño y enrosque
la cubierta de la válvula (C).
Deslizar la cubierta del caño (8) por el tubo del caño (C) hasta
querepose soble la pared acabada Asegurarse de que el anillo
(2)
está correctamente colocado en el agujero sobre la cubierta del
caño (8).
Colocar la llave completa (7) sobre la fuste del cartucho (D).
Fijar la llave (7)con el tornillo hexagonal de mandril (6). Usar la
llave hexagonal adjunta.
If a worn out mixing tap needs to be replaced, remove the lever
screw with the Allen key, remove the lever (7) with the shroud
(9). Remove the nut (E) with a 1-1/16” (27 mm) spanner and
remove the mixing tap (F). Reinstall by reversing the
disassemblysteps (see fig. 3).
En caso de reemplazar el mezclador usado, destornillar con llave
Allén el tornillo de la palanca y, luego, quitar la palanca (7) y la
caperuza (9). Destornillar la tuerca (E) con el empleo de la llave
1-1/16” (27 mm) y sacar el mezclador (F). El montaje del todo
deberá realizarse en orden inverso (fig. 3).
3
HANDLE INSTALLATION INSTALACIÓN DE LA MANILLA
●
Use provided
Installation Instructions ●Instrucciones de instalación
WALL-MOUNT LAVATORY FAUCET
GRIFO DE MONTADOS EN LA PARED
This faucet complies with NSF61/9, ASME/ANSI A112.18.1
and CSA B 125 Standards.
Este grifo se encuentra conforme con losestandares de NSF61/9,
de ASME/ANSI A112.18.1 y de CSA B 125.
1
SPOUT INSTALLATION INSTALACIÓN DEL GRIFO (CAÑO)
●
B
B
1
1
1
3
11
B
B
1
1
1
11 3
Rev. 2 July 2016
IOG 2877.00
4
F
E9
7
6
4
ENGLISH
~
ESPANOL
4
CARE AND MAINTENANCE

CUIDADO Y MANTENIMIENTO
Your Graff faucet is designed and engineered in accordance with the
highest quality and performance standards. Be sure not to damage the
finish during installation. Care should be given to the cleaning of this
product. Although its finish is extremely durable, it can be damaged by
harsh abrasives or polish. Never use abrasive cleaners, acids,
solvents, etc. to clean any Graff product. To clean, simply wipe
gently with a damp cloth and blot dry with a soft towel.
Su grifo de la Graff esta diseńado y dirigido acuerdo con los estándares de
funcionamiento y calidad más altos. Este seguro no dańar las terminaciones
del grifo durante la instalación. Cuide el producto manteniendolo siempre
limpio. Aunque su acabado es extremadamente durable, puede ser dańado
por los abrasivos o pulientes ásperos. Nunca utilice limpiadores
abrasivos, ácidos, solventes, el etc. para limpiar cualquier producto
de la Graff. Para limpiar, simplemente use un pańo húmedo y seque
con una toalla suave.
ENGLISH
~
ESPANOL
WARRANTY

GARANTÍA
Warranty conditions and warranty registration card are outlined on a
separate sheet.
Las condiciones de la garantía y la tarjeta del registro de la garantía se
encuentran en una pagina separada.
All dimensions and drawings are for reference only. For details, please refer to actual products.
Todas las dimensiones y dibujos sirven únicamente de referencia. Para consultar detalles, ver los productos.
Installation Instructions ●Instrucciones de instalación
WALL-MOUNT LAVATORY FAUCET
GRIFO DE MONTADOS EN LA PARED
This faucet complies with NSF61/9, ASME/ANSI A112.18.1
and CSA B 125 Standards.
Este grifo se encuentra conforme con losestandares de NSF61/9,
de ASME/ANSI A112.18.1 y de CSA B 125.
Rev. 2 July 2016

This manual suits for next models

1

Other Graff Plumbing Product manuals

Graff INCANTO 5313000 Operator's manual

Graff

Graff INCANTO 5313000 Operator's manual

Graff UNI-BOX 3/4 Operator's manual

Graff

Graff UNI-BOX 3/4 Operator's manual

Graff 8550 User manual

Graff

Graff 8550 User manual

Graff G-6855-LM47B User manual

Graff

Graff G-6855-LM47B User manual

Graff AMETIS- GN- 6460 LM43 User manual

Graff

Graff AMETIS- GN- 6460 LM43 User manual

Graff VINTAGE Operator's manual

Graff

Graff VINTAGE Operator's manual

Graff 2196300 Operator's manual

Graff

Graff 2196300 Operator's manual

Graff CAMDEN 5149700 Operator's manual

Graff

Graff CAMDEN 5149700 Operator's manual

Graff G-6951-C16B User manual

Graff

Graff G-6951-C16B User manual

Graff G-9971AU User manual

Graff

Graff G-9971AU User manual

Graff MALI 2105-LM20 User manual

Graff

Graff MALI 2105-LM20 User manual

Graff LM42B User manual

Graff

Graff LM42B User manual

Graff GN-11400 Series User manual

Graff

Graff GN-11400 Series User manual

Graff TOPAZ THREE-HOLE BIDETMIXER Operator's manual

Graff

Graff TOPAZ THREE-HOLE BIDETMIXER Operator's manual

Graff G-6204-LM39M Series User manual

Graff

Graff G-6204-LM39M Series User manual
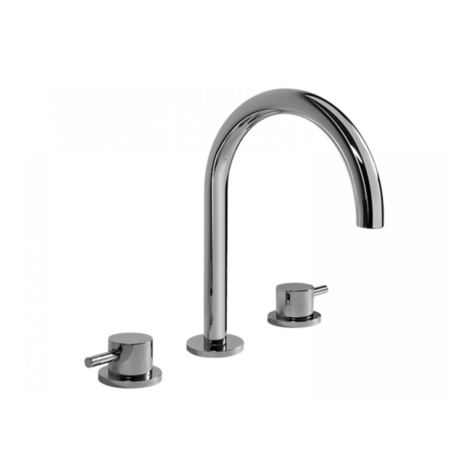
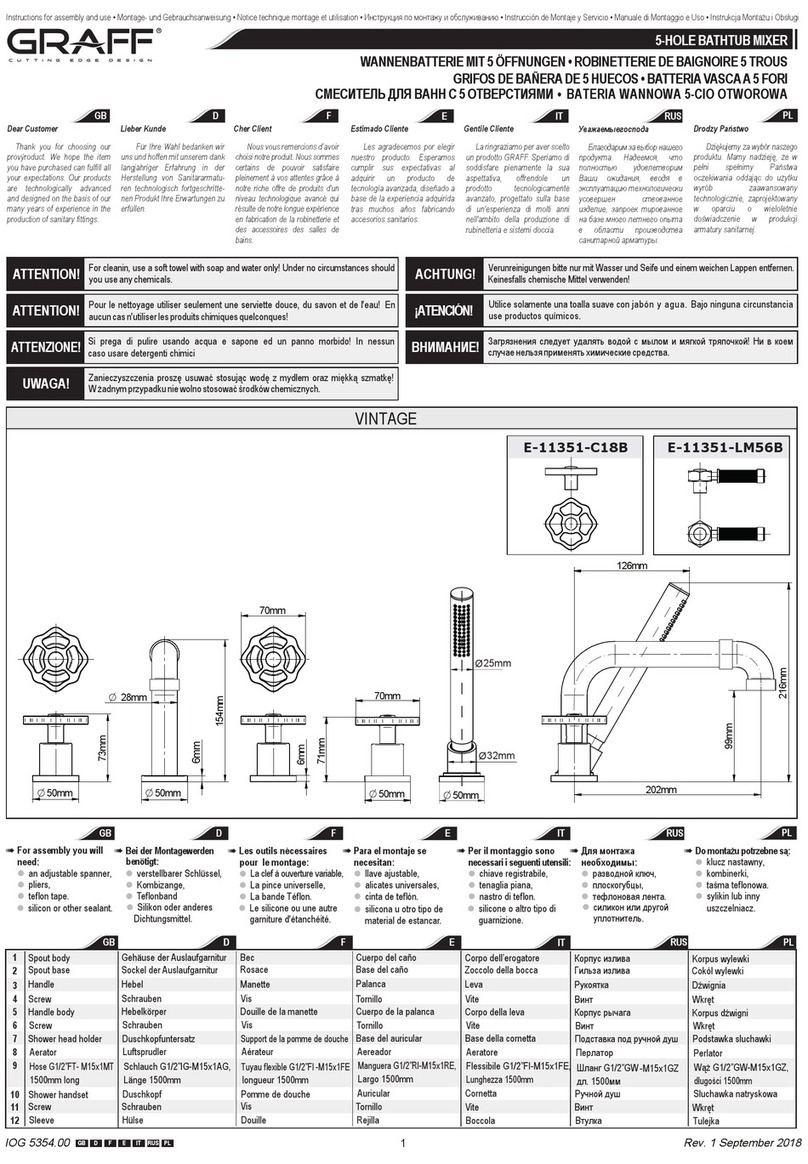
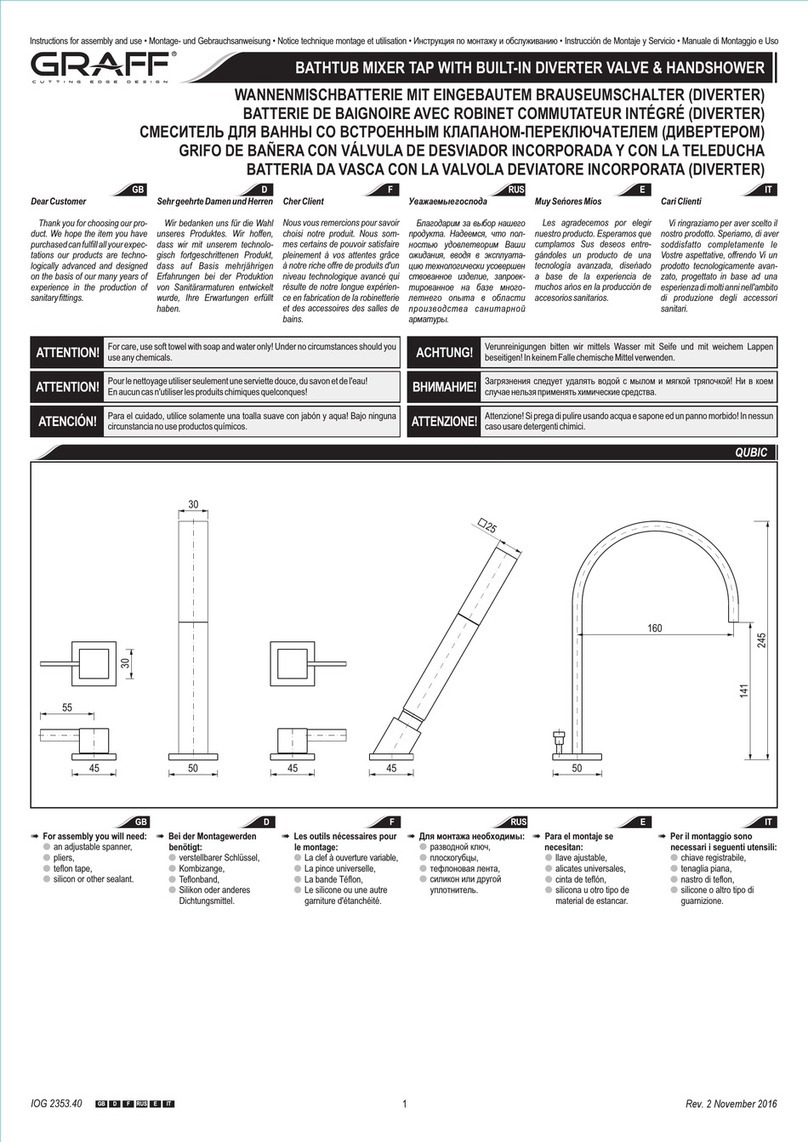
Graff G-11520 L1 Series User manual

Graff

Graff G-11520 L1 Series User manual

Graff G-8220 User manual

Graff

Graff G-8220 User manual

Graff BALI 2368200 Operator's manual

Graff

Graff BALI 2368200 Operator's manual
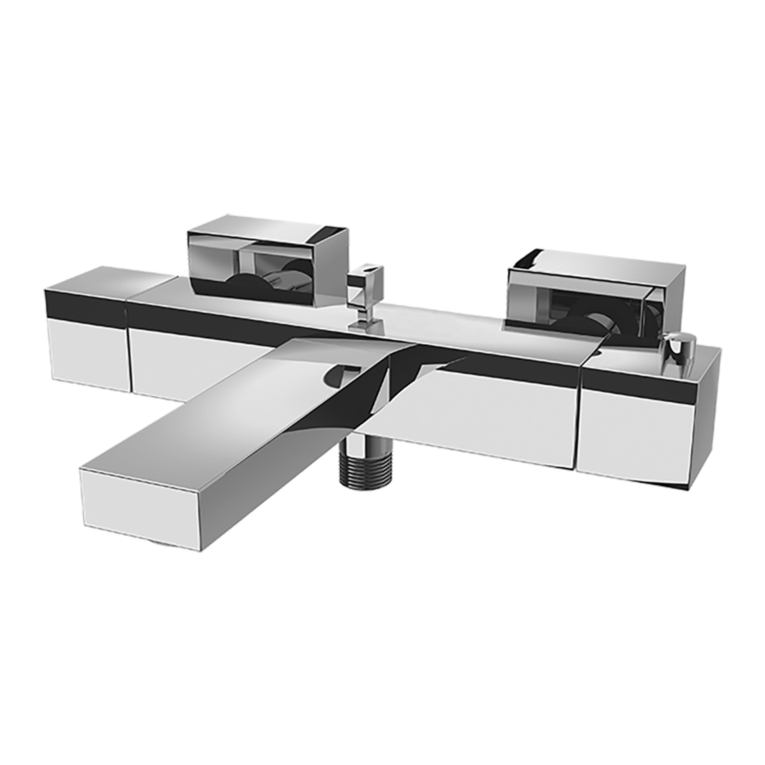
Graff PESARO 1500-C3 User manual

Graff

Graff PESARO 1500-C3 User manual

Graff ME25 2329500 User manual

Graff

Graff ME25 2329500 User manual

Graff LUNA 5363400 User manual

Graff

Graff LUNA 5363400 User manual

Graff SENTO E-6300-LM42 Operator's manual

Graff

Graff SENTO E-6300-LM42 Operator's manual

Graff G-6461-LM44 User manual

Graff

Graff G-6461-LM44 User manual

Graff SOLAR 3715-LM31 User manual

Graff

Graff SOLAR 3715-LM31 User manual

Popular Plumbing Product manuals by other brands

hernest H200045 user manual

hernest

hernest H200045 user manual

Sanela SLU 57 03570 Instructions for use

Sanela

Sanela SLU 57 03570 Instructions for use

Moen SANI-STREAM 8130 installation instructions

Moen

Moen SANI-STREAM 8130 installation instructions

Glacier bay HD67859-0001 Installation and care guide

Glacier bay

Glacier bay HD67859-0001 Installation and care guide

Kohler K-7259 Installation and care guide

Kohler

Kohler K-7259 Installation and care guide

Price Pfister Pfister F-WK1-68 manual

Price Pfister

Price Pfister Pfister F-WK1-68 manual

Hans Grohe 16181181 Installation

Hans Grohe

Hans Grohe 16181181 Installation

Omnires Sacramento SC2340 Installation and Maintenance

Omnires

Omnires Sacramento SC2340 Installation and Maintenance

Kallista P21586 installation instructions

Kallista

Kallista P21586 installation instructions

VADO ORIGINS ORI-233-CP user guide

VADO

VADO ORIGINS ORI-233-CP user guide

Allen + Roth 21-B481H-ARCH manual

Allen + Roth

Allen + Roth 21-B481H-ARCH manual

Optima OPS293 Mounting instruction

Optima

Optima OPS293 Mounting instruction

Moen ioDIGITAL TS3495 Series manual

Moen

Moen ioDIGITAL TS3495 Series manual

Clou Wash Me CL/02.13032 installation instructions

Clou

Clou Wash Me CL/02.13032 installation instructions

Moen T393 installation guide

Moen

Moen T393 installation guide

Hans Grohe Crometta S 240 1jet Showerpipe Reno 27342007 Instructions for use/assembly instructions

Hans Grohe

Hans Grohe Crometta S 240 1jet Showerpipe Reno 27342007 Instructions for use/assembly instructions

Fresca FFT3001CH installation instructions

Fresca

Fresca FFT3001CH installation instructions

Hans Grohe AXOR Starck 10030000 Instructions for use/assembly instructions

Hans Grohe

Hans Grohe AXOR Starck 10030000 Instructions for use/assembly instructions

manuals.online logo
manuals.online logoBrands
  • About & Mission
  • Contact us
  • Privacy Policy
  • Terms and Conditions

Copyright 2025 Manuals.Online. All Rights Reserved.