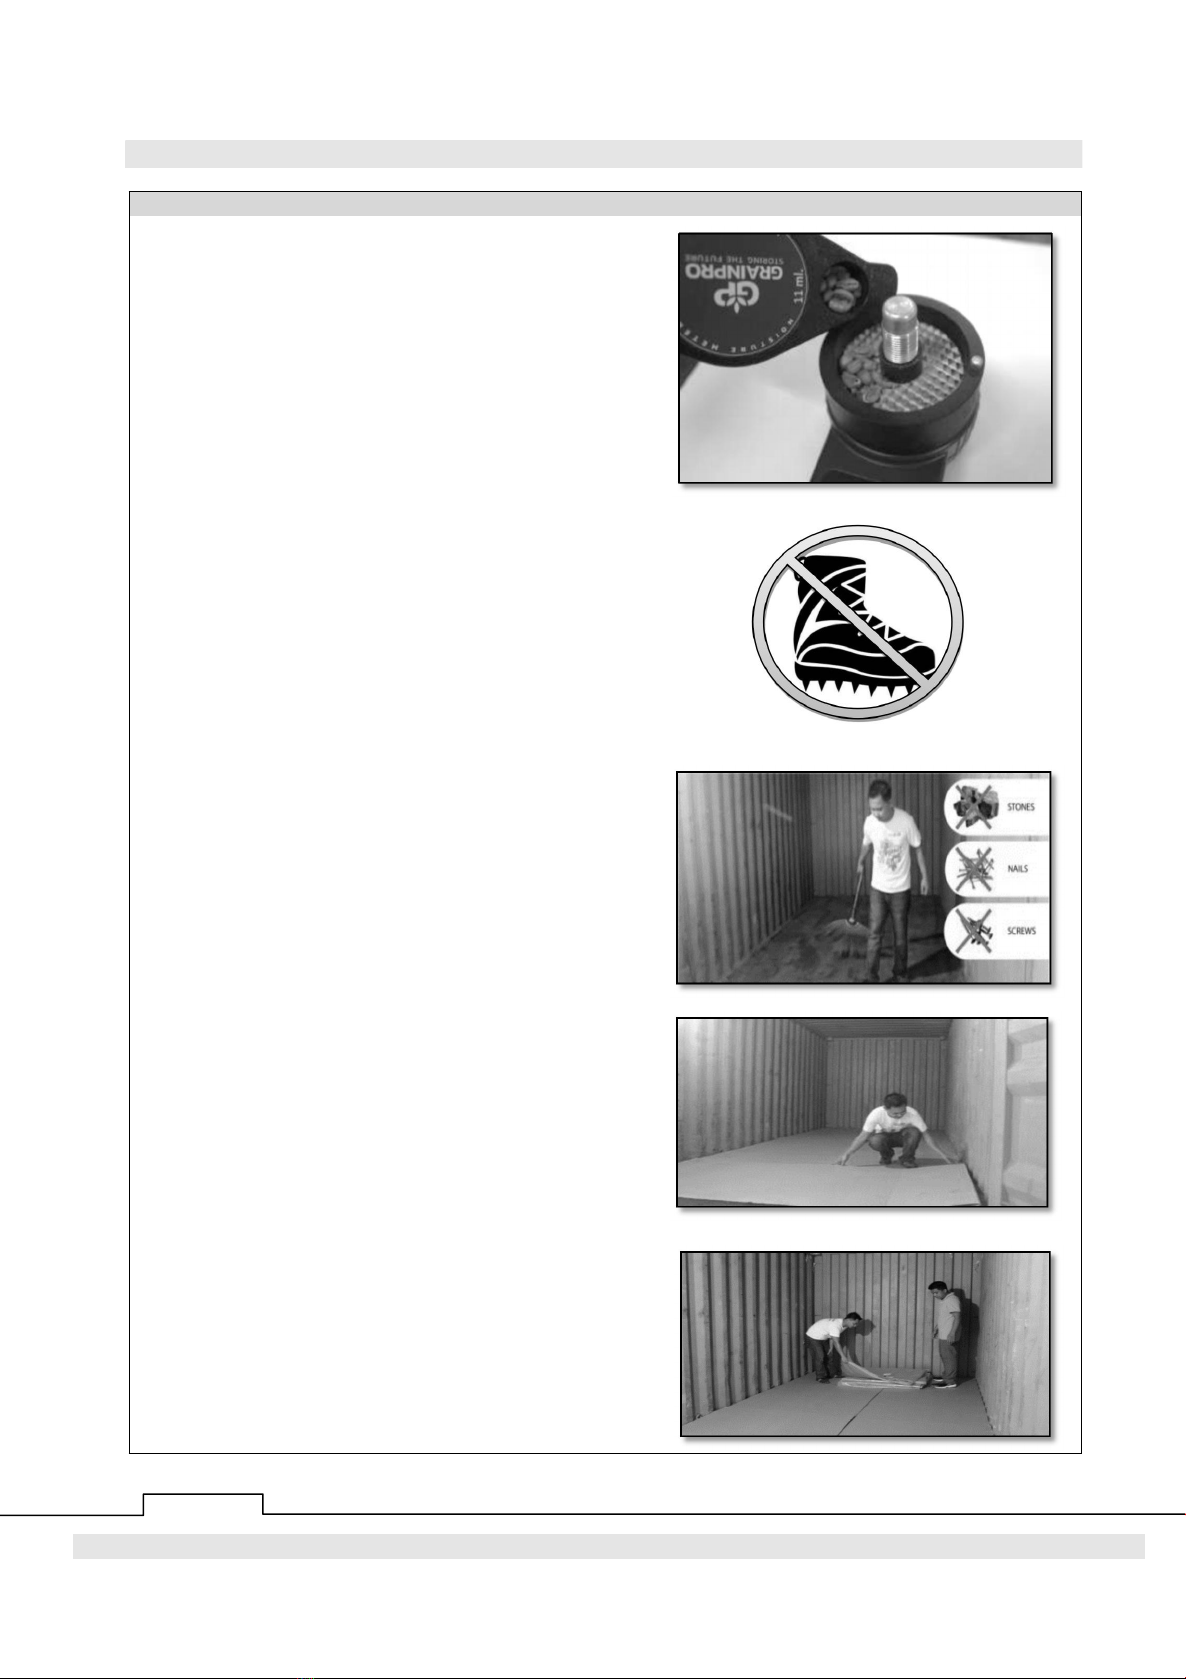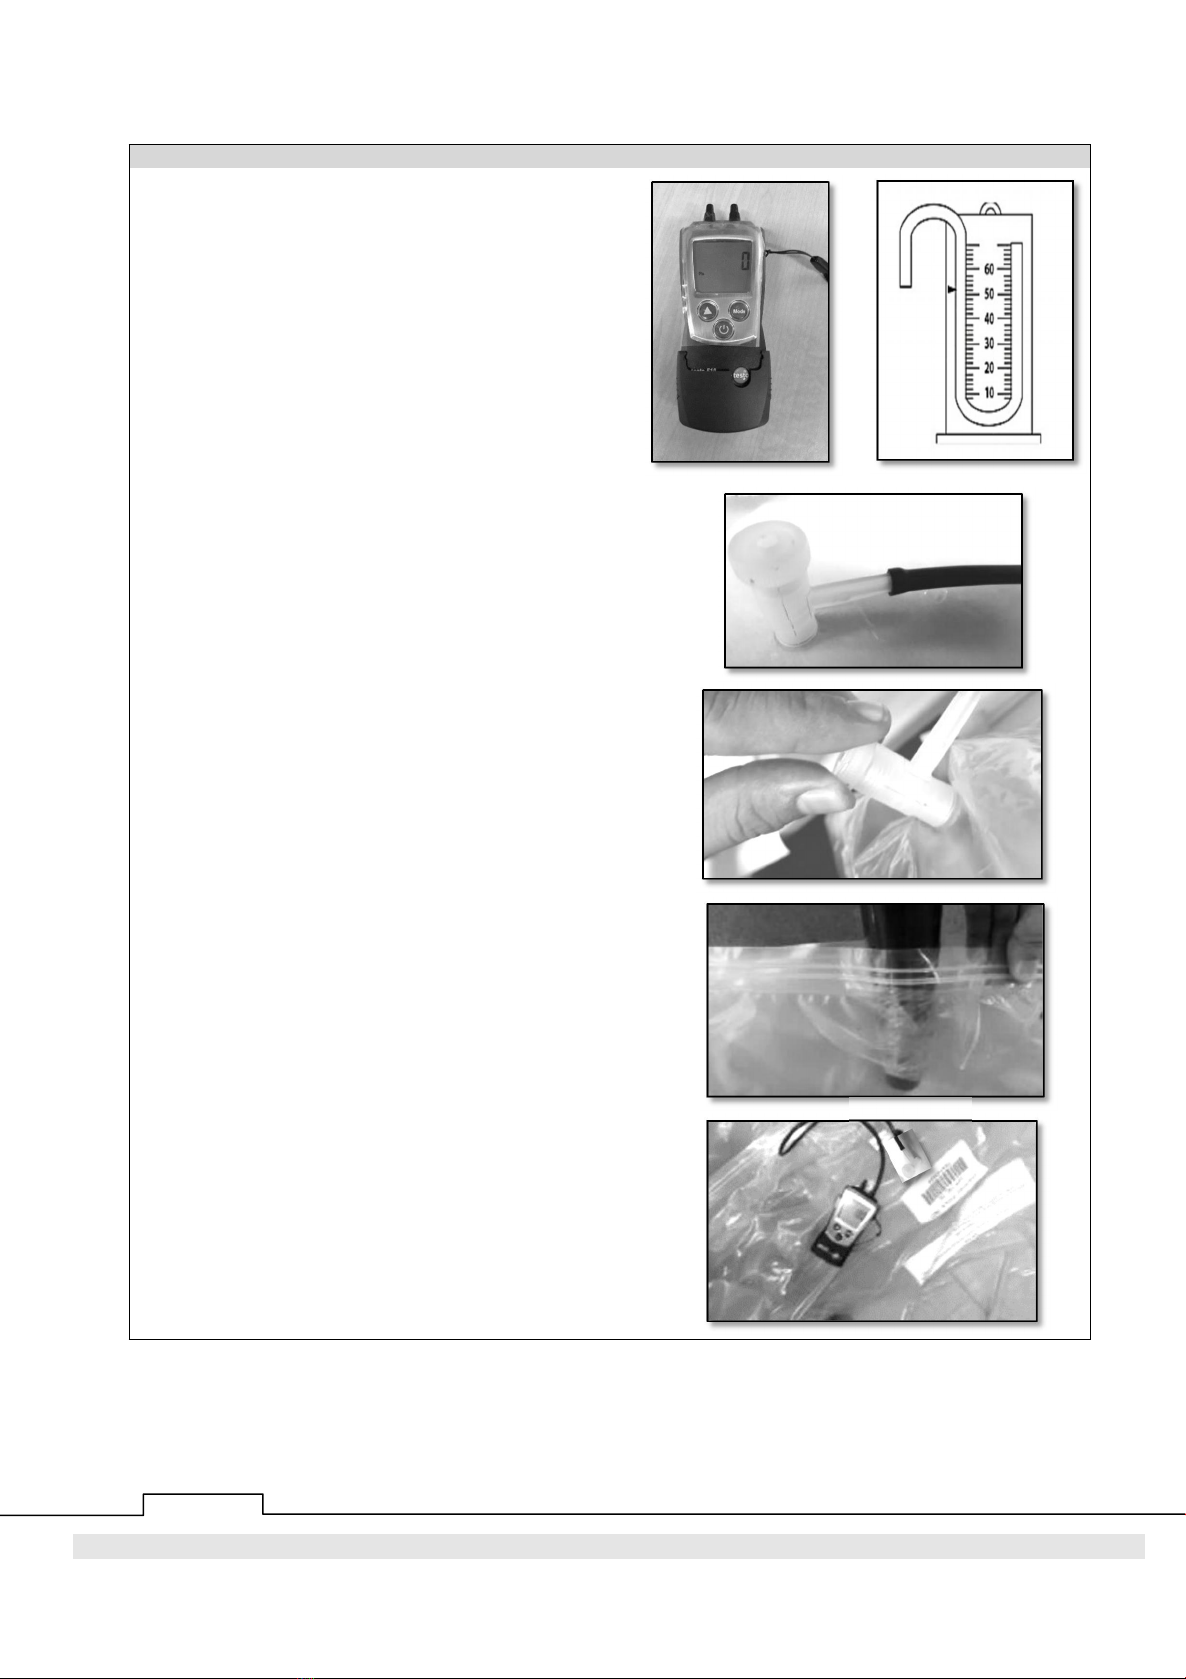
GrainPro® TranSafeliner™ Instruction Manual (Rope Method)
GrainPro®, Inc.
1401 K Street NW, Suite 502, Washington D.C. 20005 USA
Phone: 202-921-6700 Website: www.grainpro.com
Email: sales@grainpro.com
GrainPro® Philippines, Inc.
Lot 46 Efficiency Avenue, Subic Bay Gateway Park I, Subic Bay Freeport Zone 2222 Philippines
Phone: +63 47 252 7884 Fax: +63 47 252 7885 Website: www.grainpro.com
Email: salesasia@grainpro.com
GrainPro® Kenya
Shop A2, Space Apartments Mai Mahiu Road, Near T Mall Nairobi, KENYA
Phone: +254 710 933 717 Website: www.grainpro.com
Email: saleseafrica@grainpro.com
GrainPro® Mexico
Cto. Garona No. 903, Sección Tres, Col. Amberes, 37237, León, Gto. Mexico
Phone (Mobile): +52 1 (477) 392-0851 Website: www.grainpro.com
GrainPro® Costa Rica
Paseo Colón, Centro Colón, en Bufete Robles Oreamuno District Merced, San José, Costa Rica
Phone: +506 4701-1173Website: www.grainpro.com
Email: chema@grainpro.com
GrainPro® India Postharvest Technology Pvt Ltd
B305, Grande View 7 Hsg. Soc. Ltd., Phase - I, Near Ashok Leyland, Ambegaon BK, PUNE,
Pune, Maharashtra, India, 411046
Phone (Mobile): +91 9970157263Website: www.grainpro.com
Email: avinash@grainpro.com
GrainPro®Inc., 1401 K Street NW, Suite 502, Washington D.C. 20005 USA
Copyright 2019 GrainPro®, Inc.