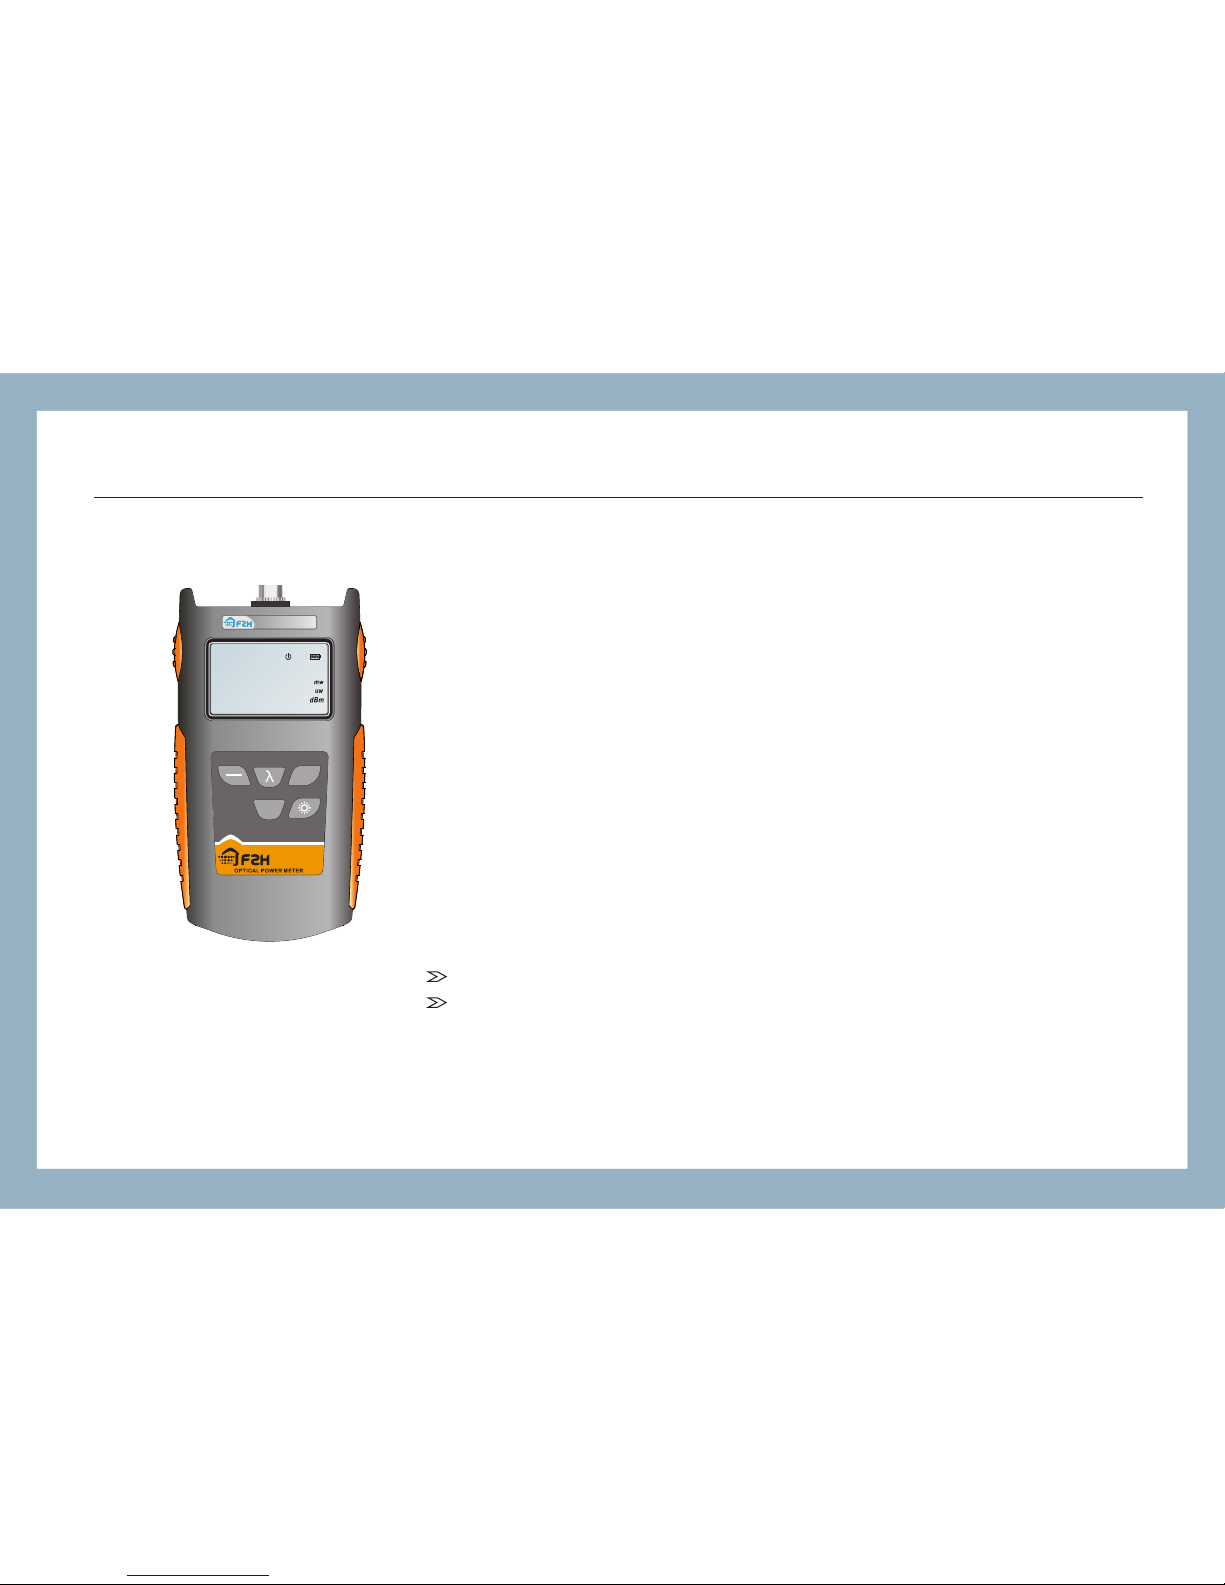
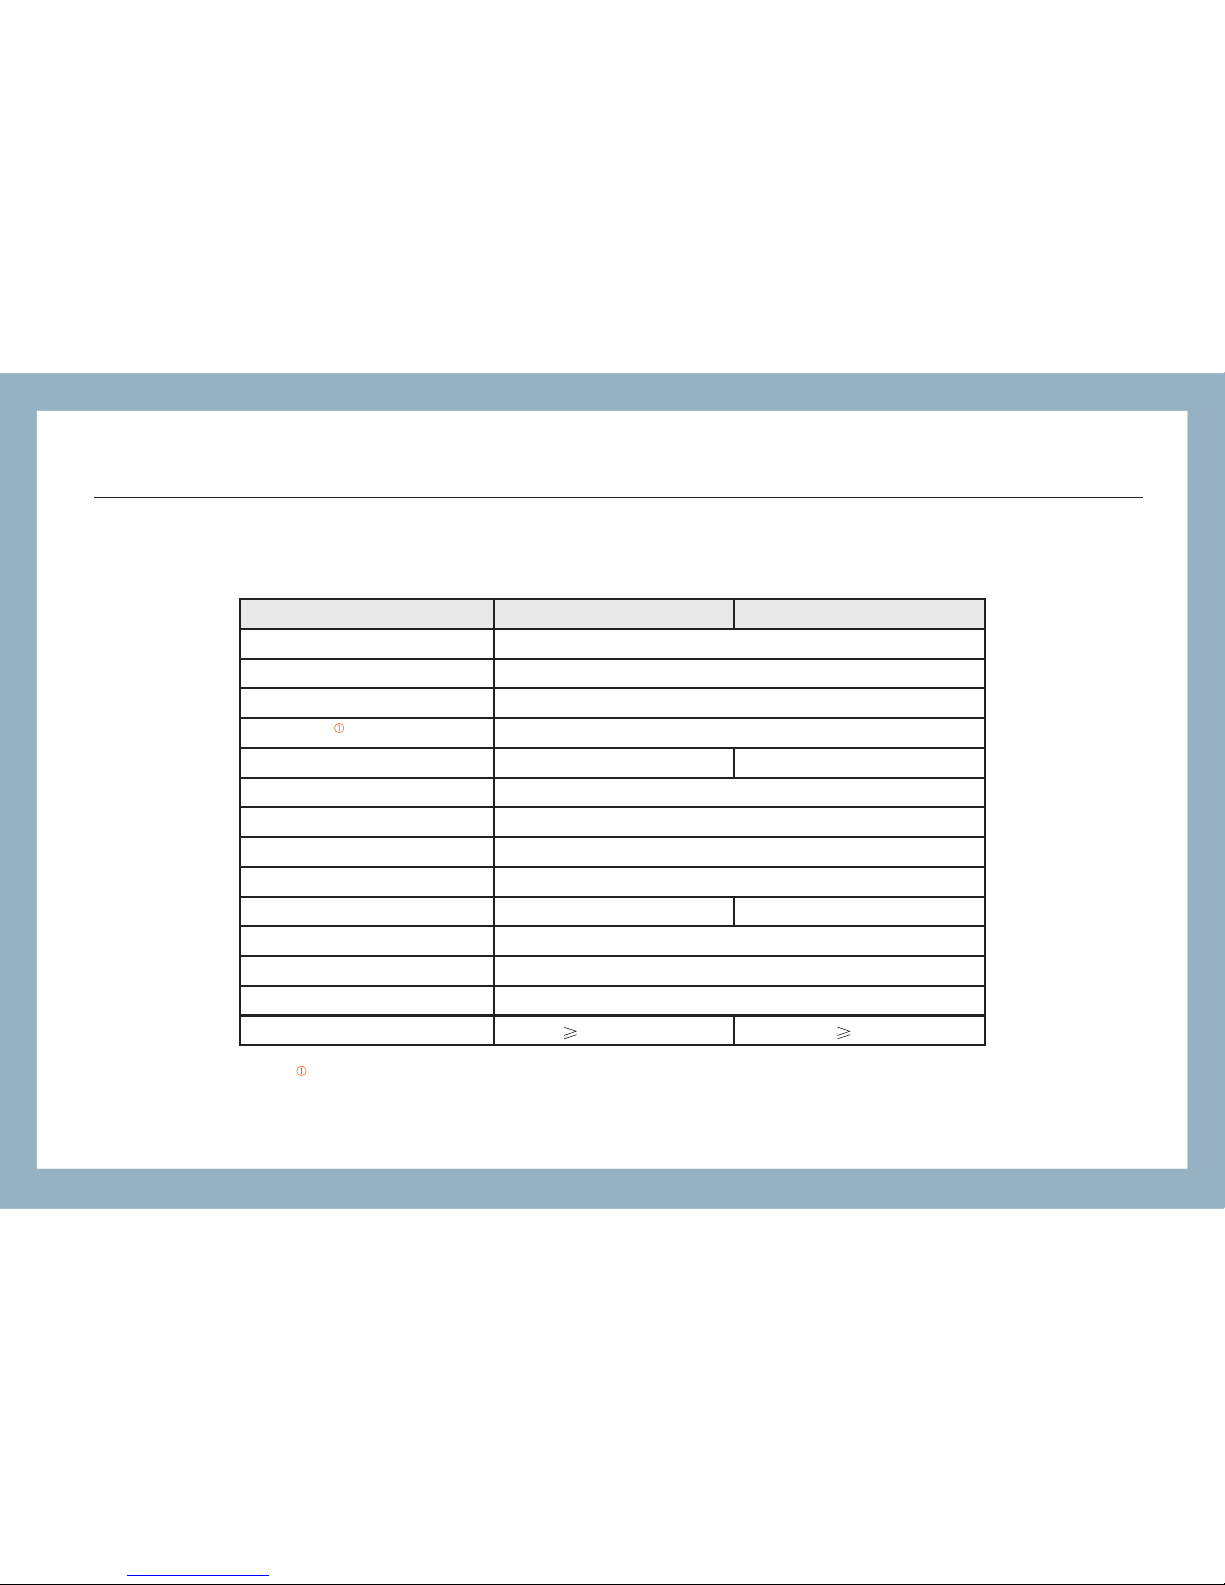
Grandway FHP1A User manual

User's Guide to the FHP1A/B02
Mini Optical Power Meter
English Version
FHP1A/B02

User's Guide to the FHP1A/B02
Mini Optical Power Meter

1
FHP1A/B02 / Introduction
1 Introduction
The FHP1 series are full featured mini sized optical power meters
designed for use with an optical laser source to perform optical loss
measurements on optical fiber cables.
Utilizing state-of-the-art SMT in its manufacture, optical connections to
the FHP1 are made via the universal adapter interface on the top of the
unit. The instrument has 7 working wavelengths to totally satisfy your
needs. It can be extensively used in telecommunication projects and
other situations where optical power of wavelengths close to infrared
ray needs to be measured.
Small size with light weight, saving power and easy to carry
Supply with linear and logarithmic optical power display
Main Features:
FHP1A 02
.8.8.8.8
REF
18 8 8
-
nm
FHP1 series
ON d Bm/
REF
dB/mw
OFF
>2s PERM
>2s SET

2
FHP1A/B02 / Warranty
2 Warranty
Three Years Limited Warranty
Grandway products are warranted against the defective components and workmanship for a period
of three years from the date of delivery to the original customer. Any product found to be defective
within the warranty period would be returned to Grandway authorized service center for repair,
replacement and calibration.
Exclusions
The warranty on your equipment shall not apply to defects resulting from the following:
Unauthorized repair or modification
Misuse, negligence, or accident
Returning Product
To return product, you may contact Grandway to obtain additional information if necessary.
To serve you better, please specify the reasons for the return.
All delivery and mails should be sent to the following address:

3
Grandway Customer Service
6F, Xin'an building No. 99 Tianzhou Road
Shanghai, 200233 P.R. China
Contact Us
Tel: 0086-21-54451260/61/62/63
Fax: 0086-21-54451266
E-mail: heyong@grandway.com.cn
or
overseas@grandway.com.cn
Website: www.grandway.com.cn
FHP1A/B02 / Warranty

4
FHP1A/B02 / Safety Information
3 Safety Information
Never look directly into optical outputs or a fiber while the equipment is on.Invisible laser beam
may damage your eyes.
Do not short-circuit the terminal of charger and the batteries.Excessive electrical current may
cause personal injury due to fumes,electric shock or equipment damage.
Do not operate the equipment near hot objects, in hot environments, in dusty/ humid atmosphere
or when condensation is present on the equipment. This may result in electric shock , product
malfunction or poor performance.
Warnings!

5
FHP1A/B02/ Preparing for Operation
4 Preparing for Operation
4.1 Unpacking the instrument
Packing material
We suggest that you keep the original packing material. Using the original packing material is your
guarantee of protecting the instrument during transit.
Checking the package contents
The standard accessories of FHP1 are as follows:
Main Unit User's Guide
Carrying Case 3pcs of AAA Battery
Quality Check Report
FC/PC, SC/PC,ST/PC Interchangeable Connectors
Checking for damage in transit
After unpacking the instrument, check to see whether it was damaged in transit. This is particularly likely
if the outer casing is clearly damaged. If there is damage, do not attempt to operate the instrument or to
repair it without authorization. Doing so can cause further damage and you may lose your warranty
qualification.

6
4.2 Discharged batteries
There is a battery indicator on the screen to show the remaining charge. There are four status the
indicator may show, full, with 2 blacks, with 1 black and empty. If an empty battery indicator flashes it
means the power is almost out. If the discharged batteries get to their limitations after long-time use,
please replace it with a new one. To replace the batteries, please remove the battery plate on the back
of instrument with a screwdriver.
When the battery charge is extremely low to supply the necessary power, the instrument will
automatically switch off.
Note: To eliminate the possibility of acid leakage, please take out the battery if the unit is not used for
a long time.
FHP1A/B02 / Preparing for Operation

8
FHP1A/B02 / Operation
5 Specifications
Optical Specifications
Note: Valid at 1550nm, CW,23±3℃, Relative Humidity ≤70%, with an FC connector.
Calibrated Wavelength (nm)
Detector Type
Connector
Accuracy
Resolution
Linearity
Auto Power Off
Back Light
Reference Value
Measuring Range(dBm)
USB Interface
Data Storage
Wavelength Recognize
Tone Detection (dBm)
850/1300/1310 /1490/1550/1625/1650
FHP1A02 FHP1B02
InGaAs
FC/PC SC/PC ST/PC Universal
0.01dB
±5%
Yes
Yes
Yes
-60 to +10@1550nm
N/A
N/A
N/A
-20
-40
≥ ≥
≥
± 0.35dB±1nW ± 0.35dB±10nW
-40 to +26@1550nm

9
FHP1A/B02 / Operation
General Specifications
Operating Temperature
Storage Temperature
Power Supply
Dimension (mm)
Net Weight
o o
-10 C to +50 C
o o
-20 C to +70 C
3pcs*AAA Battery;
115L*62W*30H
140g

FH P1 A0 2
.8.8.8.8
REF
18 8 8
-
nm
FHP1 series
ON d Bm/
REF
dB/ mw
OFF
>2s P ERM
>2s S ET
10
FHP1A/B02 / Operation
The FHP1 keypad is used to access a wide range of instrument functions.
Sw i tc he s in s tr um e nt on/ off. Lo n g keyp r e s s over 2 se c on ds
while powering on is to activate the instrument without Auto-off function.
NO. Key Function
1
2
3
4
5
Selects measurement wavelengths.
Switches measurement units among dBm, dB and mw.
Switches backlighting on/off.
5
Short keypress to display reference level of present test wavelength.
Long keypress to set a new reference level of present test wavelength.
ON
OFF
>2s PERM
dBm/
dB/mw
REF
>2s SET
6 Operation
6.1 Display and controls
6.1.1 Keypad

11
FHP1A/B02 / Operation
6.1.2 Back
Adaptor; FC, SC, ST is available and selectable
Battery cover

12
FHP1A/B02 / Operation
.8.8.8.8
REF
18 8 8
-
nm
Wavelength
Reference
Measurement Unit
Power value
Auto-off
Battery Charge
6.1.3 LCD

13
FHP1A/B02 / Operation
6.2 Turning the instrument on and off
4.2.1. Press the "ON/OFF" key briefly.
The instrument powers on, and The LCD screen switches on with the short beeper
of the buzzer.
Please check the battery capacity and the connection of the battery in the battery
plate if it fails.
4.2.2. Press the "ON/OFF" key briefly again.
The instrument powers off, and backlighting switches off with the short beeper of
the buzzer. When the battery capacity indicator flashes on the LCD, please
recharge the battery or change new batteries. Otherwise, the instrument will be
damaged by the shortage of the power.
4.2.3. Turn on/off the auto-off function
The instrument powers off automatically if no keypress in 10 minutes.
Press the "ON/OFF" key for about 2 seconds to deactivate the auto-off function
and the indicator will be disappear on the LCD.
The instrument will be power off if the battery capacity is too low to support the
operation.
.8.8.8.8
REF
18 8 8
-
nm
ON d Bm/
dB/ mw
OFF
>2s P ERM
.8.8.8.8
REF
18 8 8
-
nm
ON d Bm/
REF
dB/ mw
OFF
>2s P ERM
>2s S ET
.8.8.8.8
REF
18 8 8
-
nm

14
FHP1A/B02 / Operation
6.3 Setting the wavelength
Press the "λ" key repeatedly until the desired wavelength is displayed. You can select from six
possible wavelengths: 850nm, 1300nm, 1310nm, 1490nm, 1550nm, 1625nm . The
instrument defaults to the wavelength of 1550nm.
.
and 1650nm
6.4 Setting and checking reference level
6.4.1. Setting the reference level
Press and hold the "REF" key over 2 seconds to store the presently
measured value as the new reference level for the current
wavelength. Once the new reference level is set, the LCD displays
0.00dB with the beeper of the buzzer and the FHP1 switches to the
dB measurement mode.
6.4.2. Checking the reference level
Press the "REF" key to display the stored reference level for the
current wavelength and a sign of "REF" will be displayed on the LCD
to indicate that it is a reference value. The displayed value only lasts
1 seconds. The instrument switches to the dB measurement mode.
Note: 1.Long keypress for over 2 seconds, the unit will be
shifted to "dB" automatically.
2.When the input laser power is modulated laser source, it will
affect the setting of REF value. Please guarantee the input laser
source is CW laser when setting REF value.
.8.8.8.8
REF
18 8 8
-
nm
ON dB m/
REF
dB/ mw
OFF
>2s PE RM
>2s SE T
.8.8.8.8
REF
18 8 8
-
nm
ON dB m/
REF
dB/ mw
OFF
>2s PE RM
>2s SE T
05.88
13 10
nm
20.00
REF
13 10
-
nm
REF
short
keypress RE F

6.7 Switching backlighting of the LCD on and off
Press the backlighting key.
Backlighting switches on.
Press the backlighting key again.
Backlighting switches off.
15
FHP1A/B02 / Operation
6.5 Switching measurement mode
Press the "dBm/dB/mw" key, you can select three
measurement modes: dBm for the power value, dB for the
relative value and the mw value.
.8.8.8.8
REF
18 8 8
-
nm
ON d Bm/
REF
dB/ mw
OFF
>2s P ERM
>2s S ET
25.08
13 10
nm
-
.8.8.8.8
REF
18 8 8
-
nm
ON d Bm/
REF
dB/ mw
OFF
>2s P ERM
>2s S ET
20.00
13 10
nm
-
6.6 The overflow of the measured power value
If the measured power value is higher than the highest value of the measuring
range,the LCD screen will display "HI".
If the measured power value is lower than the lowest value of the measuring
range,the LCD screen will display "LO".
13 10
nm
13 10
nm
L 0
.8.8.8.8
REF
18 8 8
-
nm
.8.8.8.8
REF
18 8 8
-
nm

16
FHP1A/B02 / Operation
6.8 Connection with the optial laser source
Connecting with FHS1D series dual-wavelength laser source, FHP1A02 optical power meter can
make accurate measurement of the fiber loss at the largest distance of more than300km(@1550).
On-the-spot measurement will differ with the working wavelength, fiber attenuation and the testing
environment.
FH P1A 02
.8.8.8.8
REF
18 8 8
-
nm
FHP1 ser ies
ON dB m/
REF
dB/ mw
OFF
>2s PE RM
>2s SE T
.8.8.8.8
18 8 8
-
nm
270 Hz 1kHz 2k Hz

FHP1A/B02 / Maintenance
7 Maintenance
Please cover the protective dust cap once you finish using.
It is a good idea to clean the connector and the instrument when they get dirty through use.
Optical cleaning pads and anhydrous alcohol is recommended. And please be careful not to
get the detergent inside the instrument.
To ensure the measurement accuracy, please send the instrument to Grandway Service
Center for calibration once a year.
17
This manual suits for next models
1
Table of contents
Other Grandway Measuring Instrument manuals

Grandway
Grandway FHS2T01F User manual

Grandway
Grandway FIM-7 WiFi User manual

Grandway
Grandway FHS2D02 User manual

Grandway
Grandway FHP3P01 User manual

Grandway
Grandway FHS1D02 User manual

Grandway
Grandway VLS-8-10 User manual

Grandway
Grandway FHO2000 OTDR User manual

Grandway
Grandway FHO1000 User manual

Grandway
Grandway 6200 User manual

Grandway
Grandway FHP2P01 User manual