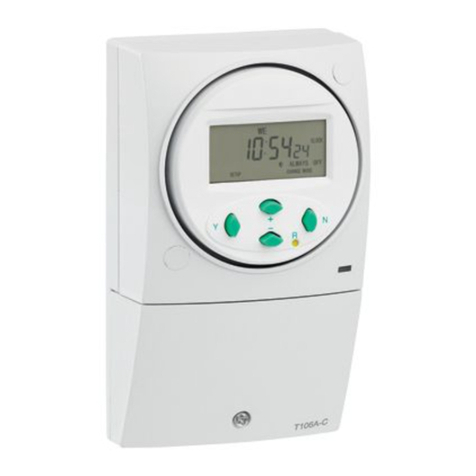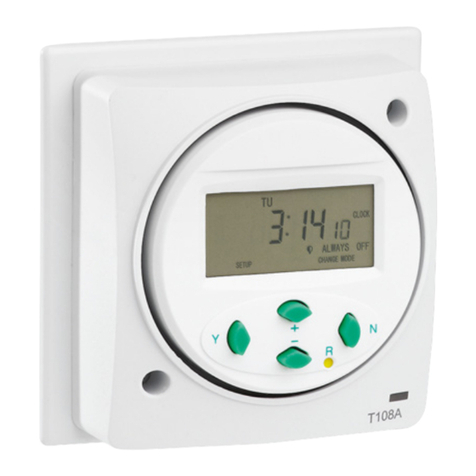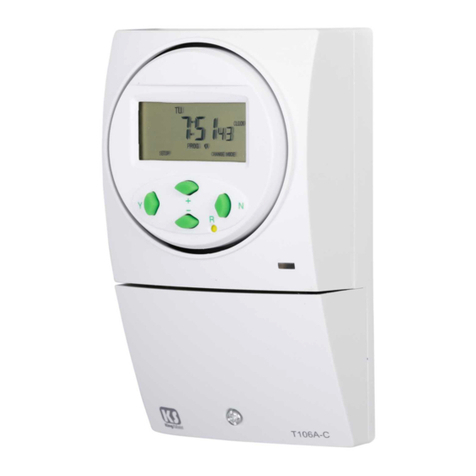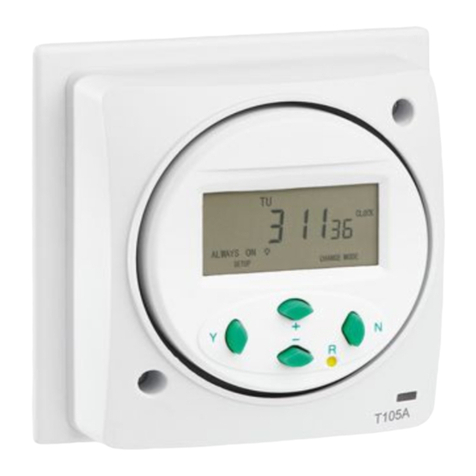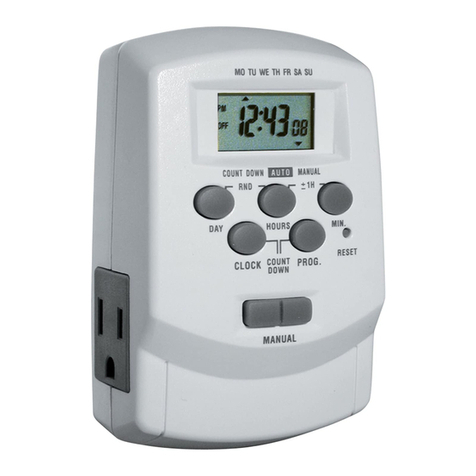
1.3 Clock setting
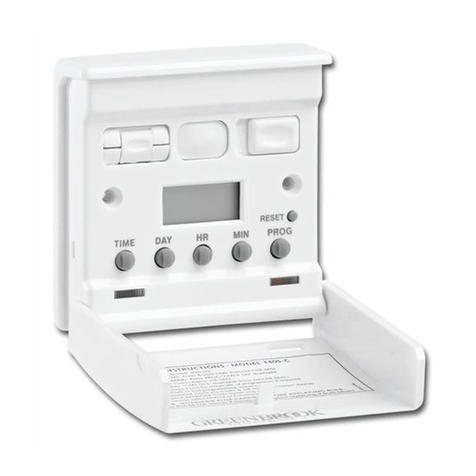
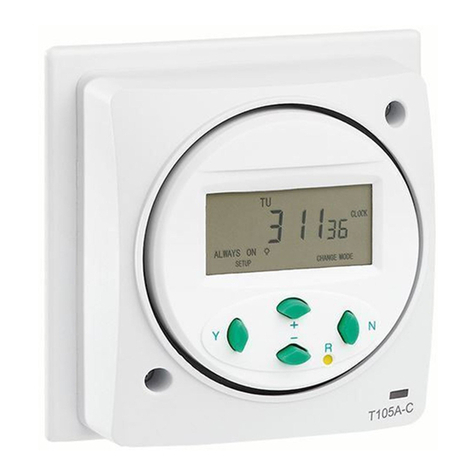
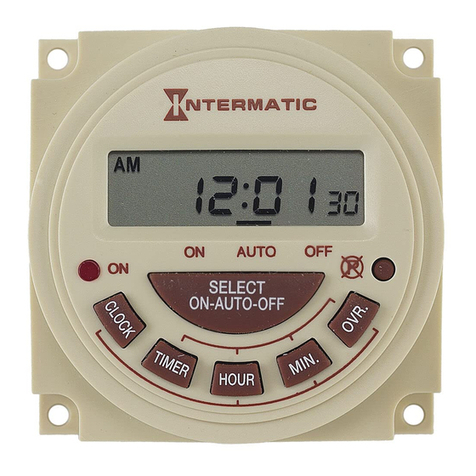
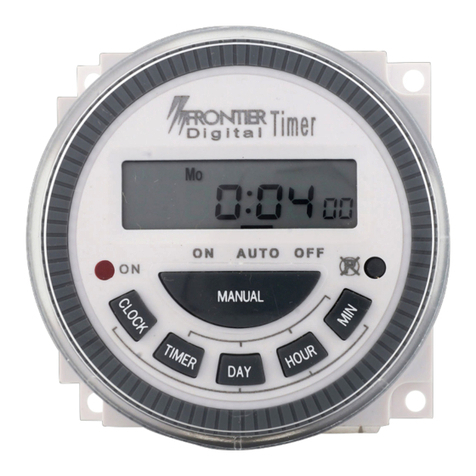
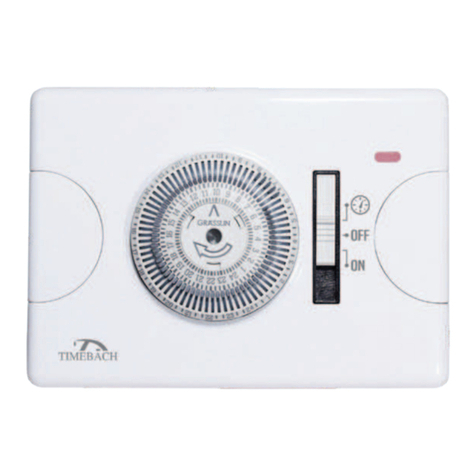
Press CLOCK and then press DAY to set the day of the week. Press HOUR+
and Hour to set the hour of the day. Press HOUR+ or Hour- and hold for
2secs and the hour digits will be changed continuously. Press MIN+ or
Min- to set the minute of the clock. Press MIN+ or MIN- and hold for two
seconds, the minute digits will be changed continuously.
2. AUTO MODE
2.1 There are three groups of programs in each channel.
2.2 The start and end time must be both set. Otherwise the timer will ignore the
settings that have been entered.
2.3 Progr m setting
Take Channel 1( CH1) as an example :-
Press PROG and CH1simultaneously, the AUTO and ON icons of channel 1
will light up. The LCD display will show 1START - -: - -. Press DAY to select
the following combinations:-
. Mon to Sun
b. Mon to Fri
c. Sat and Sun
d. Any day in a week
Press Hour+ or Hour- to set the hour digits. Press the key for 2seconds and
the hour digits will change continuously. Press MIN+ or MIN- to set minute
digits. Press the key for 2seconds and the minutes digits will change
continuously. Press PROG to confirm START time and enter to set END time
of channel 1 (CH1).
The AUTO and OFF icons of channel 1will light up. The LCD will display 1
END - -: - -. The setting procedure is the same as the START time above. Press
PROG to confirm the END time of the first program. It automatically goes
into the setting of the START time of the second program.This procedure
repeats until the END time of the third program has been set. Press Clock to
go back to the normal LCD display.
2.4 Progr m review
Take Channel 1(CH1) as an example. Press Clock and CH1at the same time.
The START time and END time of each program will be displayed for 2/3
seconds one by one automatically. After completion, the display will return
back to the normal LCD display. If, there is no time setting in a program. The
screen will display - START - - : — or + END - -: - - respectively.
2.5 The program setting procedure is the same for all the channels.
3. BOOST FUNCTION
Take CH1as an example.
3.1 Press BOOST and CH1simultaneously to enable BOOST function. Channel 1
loading is activated and channel 1LED turns on. After one hour, channel 1
loading will be deactivated automatically.
3.2 Press BOOST and CH1again to cancel BOOST mode.
3.3 In BOOST mode, icon B on the LCD screen turns on. Icon B on LCD will be
off while BOOST function is disabled. NOTE: BOOST can be enabled in
manual mode and auto mode. This procedure applies to every channel.
AD ANCE and BOOST do not work at the same time.
4. ADVANCE FUNCTION
Take CH1as an example.
4.1 Press AD ANCE and CH1simultaneously to enable AD ANCE function.
Channel 1LED will turn on. Icon A on the LCD screen will turn on. The
AD ANCE function will finish at the end time of the current program and the
‘A’ icon will turn off.
WEST ROAD . HARLOW
ESSEX . CM20 2BG . UK
sales@greenbrook.co.uk
WWW.GREENBROOK.CO.UK
Issue No: 702419
4.2 Press AD ANCE and CH1again to disable AD ANCE function. Icon A on the
screen will be off while AD ANCE function is disabled.
NOTE: AD ANCE will only work when in auto mode. AD ANCE and BOOST
do not work at the same time.
5. MANUAL MODE
Take CH1as an example.
5.1 Press CH1. The wording CH1will be shown on the LCD display and the ‘CH1
ON’ icon will turn on. The loading of CH1will be activated. The auto mode of
CH1is manually overridden by your set program.
5.2 Press CH1again , the wording CH1will still be shown on the LCD display.
The CH1OFF icon turns on and CH1ON icon turns off. The loading of
CH1will be deactivated. The auto mode of CH1is manually overridden.
5.3 Press CH1again, the wording CH1will be still shown on LCD display.
The CH1Auto icon turns on and CH1OFF icon turns off. The unit is now
working in AUTO mode. The loading of CH1will be activated according
to the user defined program.
5.4 Press CH1continuously and repeat steps 5.1 to 5.3. This procedure applies
to every channel.
6. NORMAL LCD DISPLAY
Suppose all the channels are activated and all the channel LED’s are on,
CH1is the default display even if the timer is in manual or auto mode.
7. RESET FUNCTION
Press RESET to erase all time settings. All the segments on LCD will turn on
then the LCD screen will go back to the normal LCD display. All the channels
will work in AUTO mode. The AUTO icon of each channel will turn on.
Monday is selected.
8. AUTOMATIC RETURN FUNCTION
The LCD screen display will return to normal 60secs after the last button
was pressed.
9. SUMMER TIME FUNCTION
To change the time so it is one hour ahead simply press DAY and MIN+ once
and one hour will be added to the current time. Press DAY and MIN+ to
cancel this function.
10. BACKLIGHT FUNCTION
The backlight is set to stay on for 10 seconds after a button is pressed.
11. MEMORY KEPT BY BACKUP BATTERY
When the power to the timer is lost (i.e. there is a power cut), the built-in
battery back up will ensure the timer stays on. The battery back up can last up
to 7days.
Display: LCD
Working oltage: 230 -50Hz
Max Load of Single Channel:
Resistive - 3A, 690W
Inductive - 1.25A, 230W
at 0.8 power factor
Working Condition: Indoor use only
TECHNICAL INFORMATION


