Digital Timer Quick Installation Guide
Note before installation
Do not use tools for installation
Clean the water inlet lter regularly
Please place the timer indoors in advance
to prevent frost in anticipation of freezing
weather.
For outdoor use with cold water only
1 .Check the water inlet lter
Congratulations, you have completed the installation of the timer, now please
see the instructions to sta programming your watering schedule.
3 .Mount the timer on a 3/4" garden faucet 4 .Activate the valve in the timer
Warning
Water inlet should be higher than all
water outlets
5 .Pre-use inspection/troubleshooting
Turn on the faucet and repeat the Step 4
Check: ① Whether the water ows out or shut o when the valve is opened or closed.
② Is there water leakage at the water inlet.
The display is as veical as possible to
the ground to prevent rainwater from
accumulating and leaking into the
interior
Tips: In order to extend the seice life, we recommend that the
product display is not exposed to the sun and heavy rain.
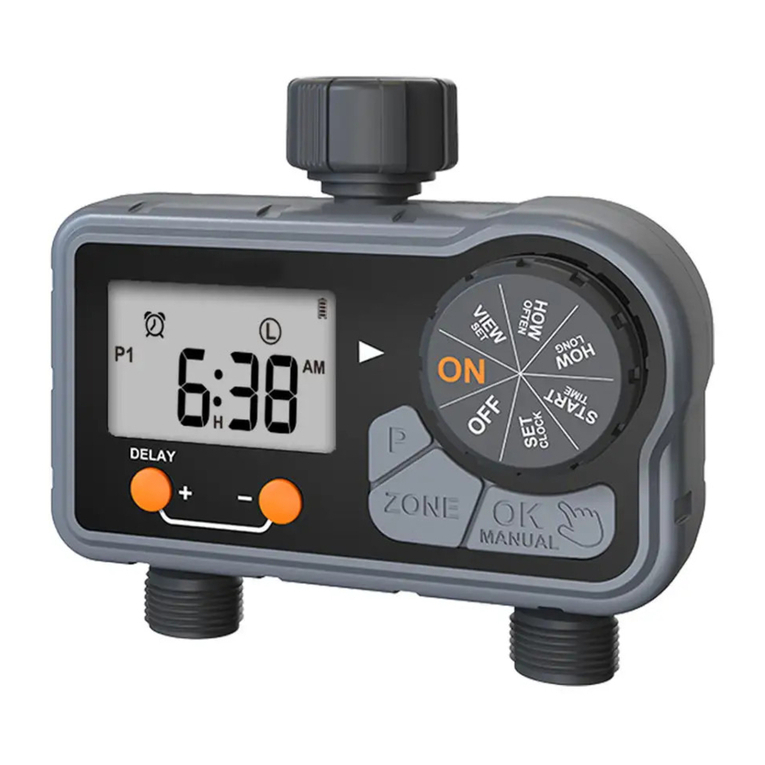
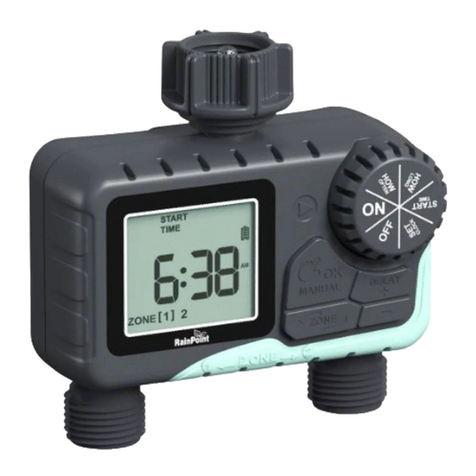
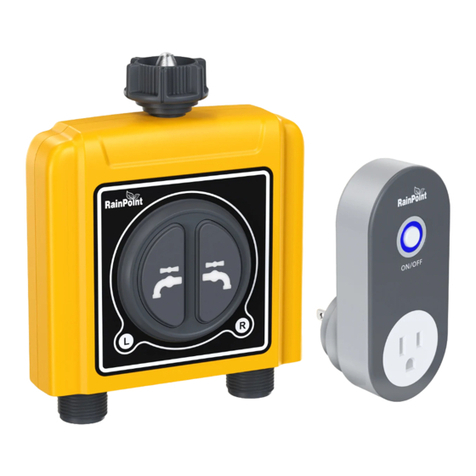
If you have a timer with 2 outlets, please activate
the valves for each of the 2 outlets.
If you have any questions, please contact the U.S. seice hotline at 1-833-3815659
or email to seice@rainpointus.com
2 .Correctly load the new alkaline d batteries, cover tightly the
batte compament cover / tray
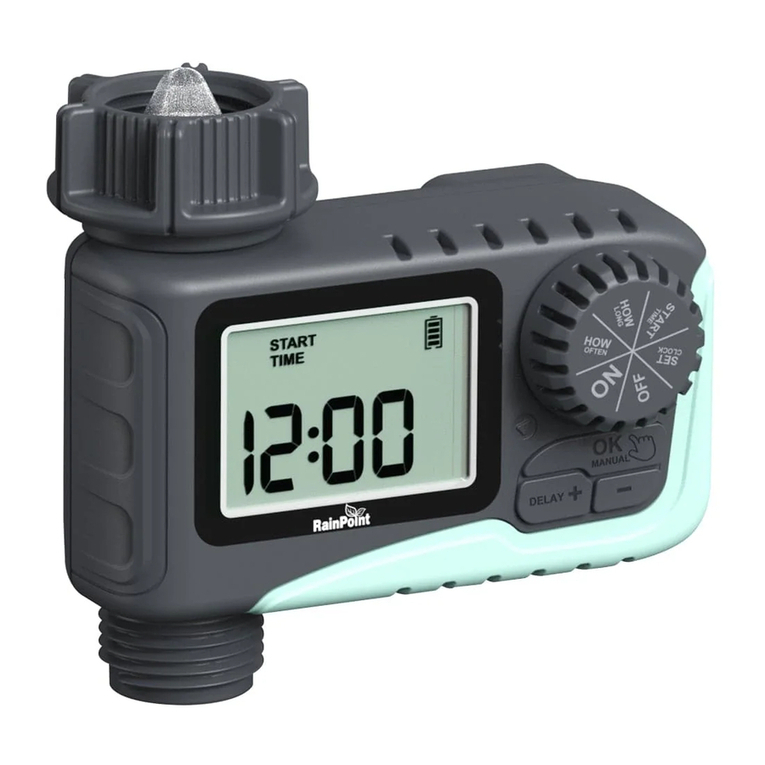
Turn the dial to ON, press and hold the OK button
to manually turn the valve on or o for 3-5 times.
