manuals.online logo
Brands
  1. Home
  2. •
  3. Brands
  4. •
  5. Green Brook
  6. •
  7. Timer
  8. •
  9. Green Brook T106A-C Manual

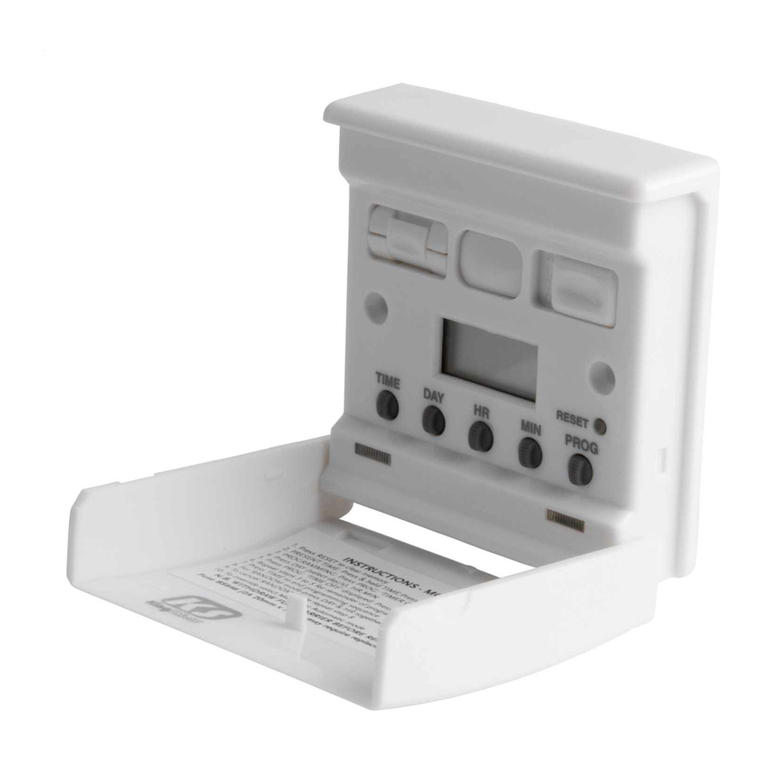
Green Brook T106A-C Manual

Installation/ Operating
Instructions for 7 Day
Electronic Immersion Heater Timer
- T106A-C
WIRING THE TIMER
Drill two 6mm holes 97mm vertically apart in the
wall. Insert plastic anchor (supplied) into holes and
fit one o.6 screw to top hole leaving a gap under
the screw head of approximately 4.75mm. Place
the keyhole slot over the screw and slide the timer
down; if the timer is loose remove it, tighten the
screw and refit the timer. Continue to do this until
the timer fits securely against the wall. Remove
terminal cover “D” by undoing screw “C”. lnsert
the second o.6 screw into slot “B ”and tighten.
Your timer is now ready for wiring.
FIXING THE TIMER
TO THE WALL
Ensure the correct cable cut-outs have been
removed in terminal cover “D” and refit terminal
cover “D ” and tighten screw “C”.
N.B. Ch ck all t rminal scr ws ar tight.
Your GreenBrook timer should be wired from a fused spur.
We recommend a PowerBreaker H92 RCD model.
Switch off the mains and isolate
the supply by emoving the app op iate fuse
befo e sta ting the installation.
Prepare cables for connection to the timer, (see
Diagram A).
The maximum size cable that can be used with this
timer is 2.5mm. If flat twin and earth cable is used
the bare earth cable must be fitted with
green/yellow sleeving before fitting the earth
terminal.
Fit the bare wire ends into the correct terminals
(see diagram A). You must ensure that there are
no loose strands left out of the terminals.
Firmly tight n all th scr ws.
Using the cable clamps and screws provided and
ensuring the cable clamp is fitted the correct way
round, tightly secure the cable into position.
Red or Brown
Black or Blue
Green or yellow
Diagram A
From mains
L = R d or Brown
N = Black or Blu
= Gr n or Y llow
To appliance
1. Press the R button to reset the timer to its
default settings, activate using a pencil or
simular pointed instrument. (pressing R will
delete all stored programmes)
2. Press Y to enter function setup. ( ote: if
another button is not pressed within 10 seconds
the display will revert to the normal screen).
3. Use the + or - button to scroll to the clock icon
(flashing) and press Y to enter the current time
setting mode (hours flashing).
4. If you keep the + or - buttons pressed for more
than 3 seconds, the display will enter fast scroll
mode.
5. Use the + or - button to adjust the hours and
press Y to confirm, minutes will flash.
6. Use the + or - button to adjust the minutes and
press Y to confirm, day will flash.
7. Use the + or - button to adjust the day and
press to exit.
CURRENT TIME AND
DAY SETTING
PROGRAMMING THE
SWITCHING TIMES
1. There are 24 O /OFF programmes available.
2. Press the Y button twice to enter the
programming setting mode.( ote: if another
button is not pressed within 10 seconds the
display will revert to the normal screen).
Please read the instructions fully before attempting
installation.
IMPORTANT
This unit should be installed to cu ent
IET wi ing egulations if in doubt
consult a qualified elect ician.
• Timer must not be mounted on a flammable
surface.
• Ensure that the timer does not come into
contact with any combustible materials such
as towels or bedding.
• Ensure at least a 300mm air space is allowed
around the timer.
B
CD
T106A-C In Feb 18.qxp_Layout 1 23/02/2018 14:06 Page 1
CE INFORMATION
ACTION TYPE: IB
POLLUTION SITUATION: NORMAL
CLASS 2INSULATION:
:MICRO-DISCONNECTION LIVE
POLE ONLY
MANUAL OVERRIDE
SUMMER TIME SETTING
TIMER COUNTDOWN
FUNCTION
1. Timer has a 100 hour countdown feature i.e. the
timer can be set to any period from 1 minute to
100 hours and will countdown in the O state
and turn OFF at the end of the countdown
period.
2. Press the Y button then use the + or - button to
select the “down” icon on the right hand side
of the display, press Y again to enter the count
down mode.
3. Use the + or - button to adjust the hours and
press Y to confirm. minutes will flash.
4. Use the + or - button to adjust the minutes and
press Y to confirm and complete the
countdown time setting.
5. Press the button to start the countdown.
6. Output switched to O during the countdown
period.
7. Press the button to pause the countdown
(output switched to OFF)
8. To resume countdown simply press the button
again.
9. Press and hold the button for more than 3
seconds to exit the countdown function.
1. When in normal clock mode, pressing the
button will scroll through the following switching
options.
•ALWAYS O - timer is permanently O .
• PROG - timer is in programme O mode,
will switch off at the next programme OFF time.
• ALWAYS OFF - timer is permanently OFF.
•PROG - timer is in programme OFF mode,
will switch on at the next programme O time.
1. Press the Y button, then use the + or - buttons to
scroll through to “summer” (flashing).
2. Press the Y button again to access the summer
time setting.
3. Press the + or - button to change between
summer on or off.
4. Press Y to confirm summer setting, time will
advance 1 hour.
5. A “SUMMER” icon will appear in the display.
6. Use the same procedure to remove the
“SUMMER” icon when reverting to GMT in the
winter.
TECHNICAL INFORMATION
RESET
READING YOUR
PROGRAMMED TIMES
Pressing the reset button R with a pencil or similar
will reset all programmed times and set time of
day to zero.
1. Press Y button twice to enter programme
mode.
2. Press the + or - buttons to scroll through the 24
O /OFF programmes to check settings.
3. Press the button to exit and revert to clock
mode.
3. Default is programme 01 O , this can be
changed if required by pressing + or - button to
scroll through the 24 O /OFF programmes as
required, pressing the Y will confirm the
programme.
4. Press the Y button to confirm programme 01
O , hours will flash.
5. Use the + or - button to adjust the hours and
press Y to confirm, minutes will flash.
6. Use the + or - button to adjust the minutes and
press Y to confirm, days will flash.
7. Apart from individual days of the week, the
following day combinations of multiple day
blocks can be selected by pressing the + or -
buttons.
• Monday to Sunday
• Monday to Friday
• Saturday to Sunday
•Monday to Saturday
• Monday + Wednesday + Friday
• Tuesday + Thursday + Saturday
• Monday + Tuesday + Wednesday
• Thursday + Friday + Saturday
8. Select day or day block as required and press
the Y button to confirm.
9. Press the + button, this will select the
programme 01 OFF, press Y to confirm.
10.Follow 4 to 7 above to set the 01 OFF
programme (day or day block must be the
same as programme O ).
11.If no more programmes are required, press the
button to exit.
12.If more programmes are required follow step 3.
13.To cancel a programme once set, press and
hold the button for more than 3 seconds
when the desired programme number is
flashing i.e. to cancel programme 01 O , press
the Y button twice and hold the button down
for more than 3 seconds to delete. Pressing the
+ button again will select 01 OFF.
14.Repeat 13 to delete 01 OFF. This procedure can
be repeated to delete any of the 24
programmes.
Issue no: 705214
WEST ROAD . HARLOW
ESSEX . CM20 2BG . UK
info@greenbrook.co.uk
www.gr nbrook.co.uk
GUARANTEE
You G eenB ook 7 Day Elect onic Time
is gua anteed fo 1 yea f om
the date of pu chase.
This is in addition to you statuto y ights.
PLEASE KEEP THESE INSTRUCTIONS
SAFE FOR FUTURE REFERENCE
Switching Capacity: 230V AC, 16A resistive,
2A Inductive
Ambient Temperature: -10°C to + 55°C
Battery Back Up: 150 hours
Memory Location: 24
Shortest Switching Time: 1 minute
Wattage: 3000W
Conforms To: BS E 60730-1,
BS E 60730-2-7
T106A-C In Feb 18.qxp_Layout 1 23/02/2018 14:06 Page 2

Other Green Brook Timer manuals

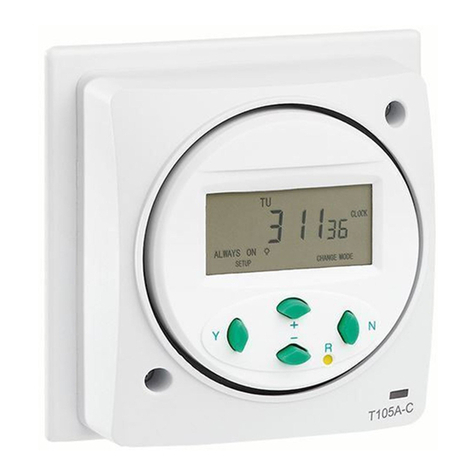
Green Brook T105A-C Installation and user guide

Green Brook

Green Brook T105A-C Installation and user guide

Green Brook T40S Manual

Green Brook

Green Brook T40S Manual

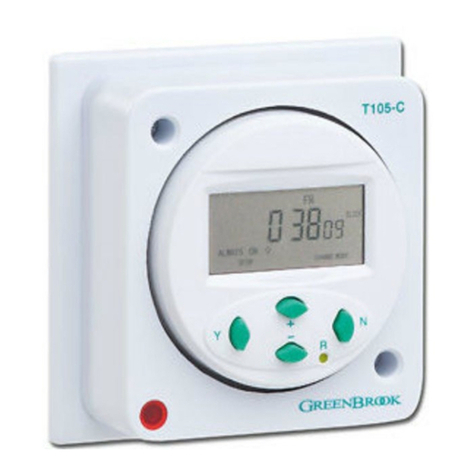
Green Brook T105-C Operating instructions

Green Brook

Green Brook T105-C Operating instructions

Green Brook T40S-C User manual

Green Brook

Green Brook T40S-C User manual

Green Brook T105-C Operating instructions

Green Brook

Green Brook T105-C Operating instructions

Green Brook KingShield T106A-C Manual

Green Brook

Green Brook KingShield T106A-C Manual

Green Brook TLS Manual

Green Brook

Green Brook TLS Manual

Green Brook T612-C Manual

Green Brook

Green Brook T612-C Manual

Green Brook T109 Manual

Green Brook

Green Brook T109 Manual

Green Brook T80-C User manual

Green Brook

Green Brook T80-C User manual

Green Brook T612-C User manual

Green Brook

Green Brook T612-C User manual

Green Brook KingShield T102-C User manual

Green Brook

Green Brook KingShield T102-C User manual

Green Brook T108A Manual

Green Brook

Green Brook T108A Manual

Green Brook T17B Manual

Green Brook

Green Brook T17B Manual

Green Brook T612-C Installation manual

Green Brook

Green Brook T612-C Installation manual

Green Brook T108A-C Manual

Green Brook

Green Brook T108A-C Manual

Green Brook T40S-C Manual

Green Brook

Green Brook T40S-C Manual

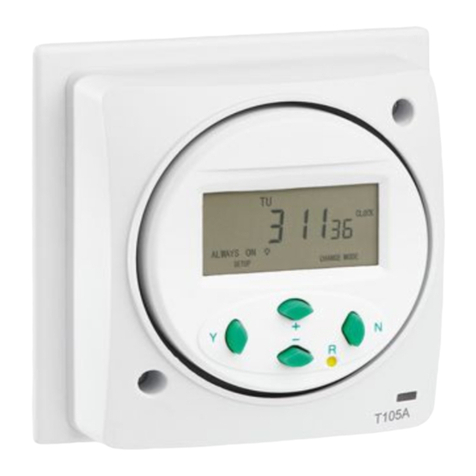
Green Brook T105A Manual

Green Brook

Green Brook T105A Manual

Popular Timer manuals by other brands

Jasco UltraPro 53634 manual

Jasco

Jasco UltraPro 53634 manual

Intermatic Grasslin talento smart B15 operating manual

Intermatic

Intermatic Grasslin talento smart B15 operating manual

VWR 62344-641 instruction manual

VWR

VWR 62344-641 instruction manual

Redback A 1709 operating manual

Redback

Redback A 1709 operating manual

EAPL ST-4M1 V2.0 instruction manual

EAPL

EAPL ST-4M1 V2.0 instruction manual

Novatek-electro REV-302.01 Operation manual

Novatek-electro

Novatek-electro REV-302.01 Operation manual

Tempatron UMT500 manual

Tempatron

Tempatron UMT500 manual

Burda PERFECTCLIME TS2-C Instructions for use

Burda

Burda PERFECTCLIME TS2-C Instructions for use

red lion CUB7T manual

red lion

red lion CUB7T manual

DARKROOM AUTOMATION F-STOP instruction manual

DARKROOM AUTOMATION

DARKROOM AUTOMATION F-STOP instruction manual

Traceable 5026 instructions

Traceable

Traceable 5026 instructions

Melnor AquaTimer 65035-AMZ User instructions

Melnor

Melnor AquaTimer 65035-AMZ User instructions

Orbit 56233D user manual

Orbit

Orbit 56233D user manual

Monroe Electronics 631A instruction sheet

Monroe Electronics

Monroe Electronics 631A instruction sheet

tripus ALV 2 instruction manual
tripus

tripus ALV 2 instruction manual

Nakayama PRO GH9136 instructions

Nakayama

Nakayama PRO GH9136 instructions

Tense ERD-48M instructions

Tense

Tense ERD-48M instructions

Dretec T-593 instruction manual

Dretec

Dretec T-593 instruction manual

manuals.online logo
manuals.online logoBrands
  • About & Mission
  • Contact us
  • Privacy Policy
  • Terms and Conditions

Copyright 2025 Manuals.Online. All Rights Reserved.