manuals.online logo
Brands
  1. Home
  2. •
  3. Brands
  4. •
  5. Green Brook
  6. •
  7. Timer
  8. •
  9. Green Brook T17B Manual

Green Brook T17B Manual

Please read these instructions fully
before attempting installation.
Installation / Operating
Instructions for
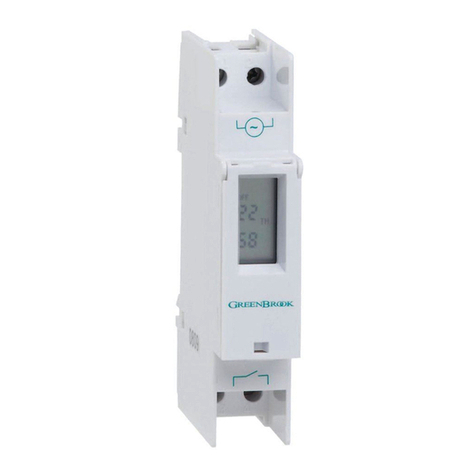
7 Day Electronic Plug-in Timer
Model: T17B
CURRENT TIME AND
DA SETTING
OPERATING
INSTRUCTIONS
PROGRAMMING THE
SWITCHING TIMES
• Timer uses a standard AAA size
non-rechargeable battery to back up
the timer memory function. The
battery allows for programming while
the unit is not plugged in and provides
for memory retention during power
failures.The battery back up will last at
least 150 hours.
7. Apart from individual days of the
week, the following day
combinations of multiple day blocks
can be selected by pressing the +
or - buttons.
• Monday to Sunday
• Monday to Friday
• Saturday & Sunday
• Monday to Saturday
• Monday + Wednesday + Friday
• Tuesday + Thursday + Saturday
• Monday + Tuesday + Wednesday
• Thursday + Friday + Saturday
8. Select day or day block as required
and press the Y button to confirm.
9. Press the + button, this will select the
programme 01 OFF, press Y to
confirm.
10. Follow 4 to 7 above to set the 01
OFF programme.(day or day block
must be the same as programme
ON)
11. If no more programmes are
required, press the N button to exit.
12. If more programmes are required,
follow 3 above.
13. To cancel a programme once set,
press and hold the N button for
more than 3 seconds when the
desired programme number is
flashing, i.e. to cancel programme
01 ON, press the Y button twice and
hold the N button down for more
than 3 seconds to delete. Pressing
the + button again will select the 01
OFF.
14. Repeat 13 to delete 01 OFF. This
procedure can be repeated to
delete any of the 24 programmes.
1. When the timer is powered up set
current time & day. If no display is
showing leave on charge for 30 mins &
display should then show, If not gently
press the reset button.
2. Press Y to enter function setup.
(Note: If another button is not pressed
within 10 seconds the display will
revert to the normal screen)
3. Use the + or - button to scroll to the
clock icon (flashing) and press Y to
enter the current time setting mode
(hours flashing).
4. If you keep the + or - buttons pressed
for more than 3 seconds, the display
will enter fast scroll mode.
5. Use the + or - button to adjust the
hours and press Y to confirm, minutes
will flash.
6. Use the + or - button to adjust the
minutes and press Y to confirm, day
will flash.
7. Use the + or - button to adjust the day
and press N to exit.
1. There are 24 ON/OFF programmes
available
2. Press the Y button twice to enter the
programme setting mode.
(Note: If another button is not pressed
within 10 seconds the display will
revert to the normal screen)
3. Default is programme 01 ON, this can
be changed if required by pressing
the + or - button to scroll through the
24 ON/OFF programmes as required,
pressing the Y will confirm the
programme.
4. Press the Y button to confirm
programme 01 ON, hours will flash.
5. Use the + or - button to adjust the
hours and press Y to confirm, minutes
will flash.
6. Use the + or - button to adjust the
minutes and press Y to confirm, days
will flash.
TIMER COUNTDOWN
FUNCTION
1. Timer has a 100 hour countdown
feature i.e. The timer can be set to
any period from 1 minute to 100
hours and will countdown in the ON
state and turn OFF at the end of the
countdown period.
2. Press the Y button then use the + or -
button to select the "down" icon on
the right hand side of the display,
press Y again to enter the
countdown mode.
3. Use the + or - button to adjust the
hours and press Y to confirm, minutes
will flash.
4. Use the + or - button to adjust the
minutes and press Y to confirm and
complete the countdown time
setting.
5. Press the N button to start the
countdown.
6. Output switched to ON during the
countdown period.
7. Press the N button to pause the
countdown (output switched to OFF)
8. To resume countdown simply press
the N button again.
9. Press and hold the N button for more
than 3 seconds to exit the
countdown function.
T17B-C Ins July 21. xp_Layout 1 20/09/2021 16:07 Page 1
Switching 230V AC, 3000W,
capacity: 13A resistive
2A inductive
Battery Back Up: 150 Hours +
Memory location: 24
Shortest
switching time: 1 minute

Programmable: Every minute
Conforms To: BS 1363,
BS EN 60730-2
READING OUR
PROGRAMMED TIMES
SUMMER TIME SETTING
RANDOM SETTING
RESET
1. When in normal clock mode, pressing
the N button will scroll through the
following switching options.
• A WAYS ON - timer is permanently
ON.
• PROG - timer is in programme
ON mode, will switch off at the next
programme OFF time.
• A WAYS OFF - timer is permanently
OFF
• PROG - timer is in programme OFF
mode, will switch on at the next
programme ON time.
1. Press the Y button, then use the + or -
buttons to scroll through to "summer"
(flashing).
2. Press the Y button again to access the
summer time setting.
3. Press the + or - button to change
between summer on or off.
4. Press Y to confirm summer setting,
time will advance by 1 hour.
5. A "SUMMER" icon will appear in the
display.
6. Use the same procedure to remove
the "SUMMER" icon when reverting to
GMT in the winter.
The random setting allows the timer to
switch ON and OFF with a random delay
of between 2 and 32 minutes. This
function will only operate if one or more
switching programmes have been
programmed into the timer.
1. Press the Y button, then use the + or -
buttons to scroll through to "RANDOM"
(flashing).
2. Press the Y button again to access the
random setting.
3. Pressing the + or - buttons will toggle
the random icon on and off.
4. Press the Y button to confirm random
function.
5. A "RANDOM" function icon will appear
in the display.
6. Timer will now operate in the random
mode.
7. To cancel random feature use the
procedure above to remove the
"RANDOM" icon from the display.
Pressing the reset button R with a pencil
or similar will reset all programmed times
and set time of day to zero.
BATTER REPLACEMENT
If the display disappears when the timer
is unplugged or during a power failure,
the AAA battery needs replacing.
Remove the battery cover at the top
rear of the timer, and replace battery
with a new AAA non-chargeable
battery. Ensure that the battery polarities
(+ and -) match those inside the battery
compartment. Replace into timer and
check display. Current time of day and
programmes can now be entered.
TECHNICAL INFORMATION
MANUAL OVERRIDE
1. Press the Y button twice to enter
programme mode.
2. Press the + or - buttons to scroll
through the 24 ON/OFF programmes
to check settings.
3. Press the N button to exit and revert to
clock mode.
Issue no: 706356
WEST ROAD . HARLOW
ESSEX . CM20 2BG . UK
info@greenbrook.co.uk
www.greenbrook.co.uk
GUARANTEE
Your GreenBrook 7 Day Electronic
Plug-in Timer is guaranteed
for 1 year from the date of urchase.
This is in addition to your statutory rights.
PLEASE KEEP THESE INSTRUCTIONS
SAFE FOR FUTURE REFERENCE
IMPORTANT:
When you have completed the
programme setting ensure you set
correct operating mode as shown in
manual override.
NOTE: Product & Packaging Disposal
When dis osing of this item and its ackaging
lease follow local regulations and use an
a ro riate waste dis osal centre.
See GreenBrook website for further details.
T17B-C Ins July 21. xp_Layout 1 20/09/2021 16:07 Page 2

Other Green Brook Timer manuals

Green Brook T80-C User manual

Green Brook

Green Brook T80-C User manual

Green Brook T105A-C Installation and user guide

Green Brook

Green Brook T105A-C Installation and user guide

Green Brook T612-C Manual

Green Brook

Green Brook T612-C Manual

Green Brook T40S-C Manual

Green Brook

Green Brook T40S-C Manual

Green Brook TLS Manual

Green Brook

Green Brook TLS Manual

Green Brook T105A Manual

Green Brook

Green Brook T105A Manual

Green Brook T612-C User manual

Green Brook

Green Brook T612-C User manual

Green Brook T105-C Operating instructions

Green Brook

Green Brook T105-C Operating instructions

Green Brook KingShield T102-C User manual

Green Brook

Green Brook KingShield T102-C User manual

Green Brook T40S Manual

Green Brook

Green Brook T40S Manual

Green Brook T612-C Installation manual

Green Brook

Green Brook T612-C Installation manual

Green Brook T109 Manual

Green Brook

Green Brook T109 Manual

Green Brook T105-C Operating instructions

Green Brook

Green Brook T105-C Operating instructions

Green Brook T40S-C User manual

Green Brook

Green Brook T40S-C User manual

Green Brook T106A-C Manual

Green Brook

Green Brook T106A-C Manual

Green Brook T108A Manual

Green Brook

Green Brook T108A Manual

Green Brook T108A-C Manual

Green Brook

Green Brook T108A-C Manual

Green Brook KingShield T106A-C Manual

Green Brook

Green Brook KingShield T106A-C Manual

Popular Timer manuals by other brands

C-LOGIC 300-PT instruction manual

C-LOGIC

C-LOGIC 300-PT instruction manual

Elko SHT-1 manual

Elko

Elko SHT-1 manual

Century BND-60/U78 manual

Century

Century BND-60/U78 manual

Durant E42DI24 Series instruction sheet

Durant

Durant E42DI24 Series instruction sheet

EAPL ST-4M1 V2.0 instruction manual

EAPL

EAPL ST-4M1 V2.0 instruction manual

Dayasa GongTimer manual

Dayasa

Dayasa GongTimer manual

CHDD KG316T quick start guide

CHDD

CHDD KG316T quick start guide

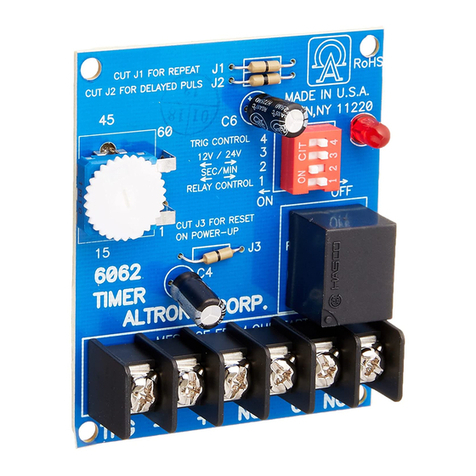
Altronix 6062 installation instructions

Altronix

Altronix 6062 installation instructions

CEBEK I-218 quick start guide

CEBEK

CEBEK I-218 quick start guide

MS Electronics E314 Product guide

MS Electronics

MS Electronics E314 Product guide

B-hyve 57946 user manual

B-hyve

B-hyve 57946 user manual

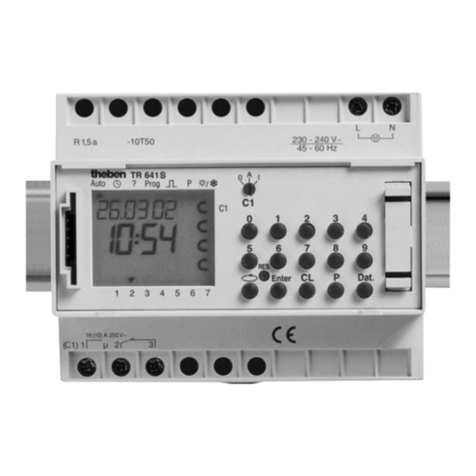
Theben TR 644 S operating instructions

Theben

Theben TR 644 S operating instructions

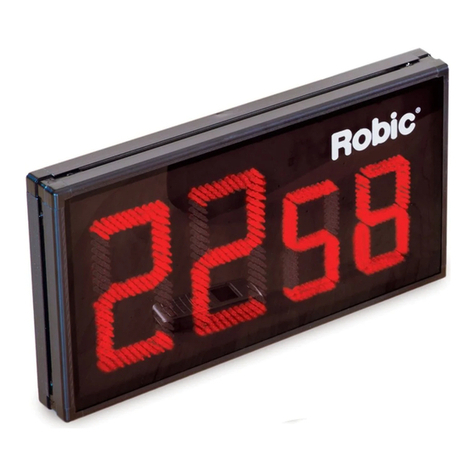
Robic M903 instructions

Robic

Robic M903 instructions

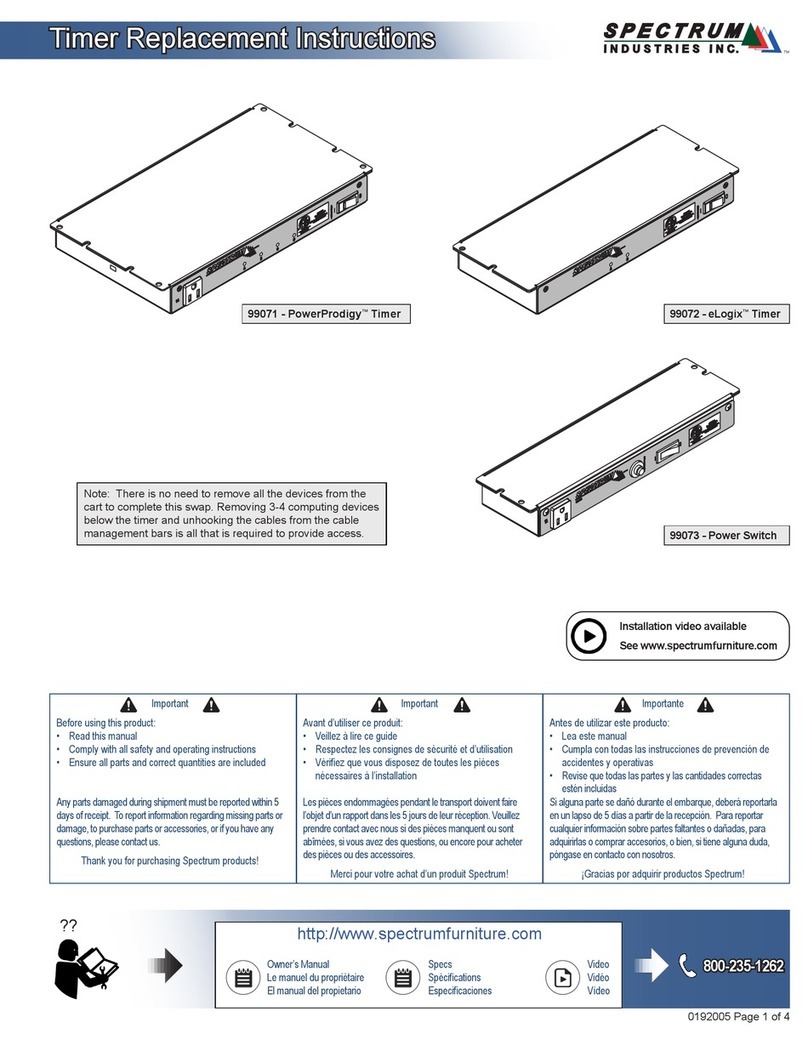
Spectrum Industries eLogix 99072 Replacement instructions

Spectrum Industries

Spectrum Industries eLogix 99072 Replacement instructions

Diivoo WT-03 user manual

Diivoo

Diivoo WT-03 user manual

Ecoxotic 0-10 Ramp Timer instructions

Ecoxotic

Ecoxotic 0-10 Ramp Timer instructions

Velleman EDIN305N user manual

Velleman

Velleman EDIN305N user manual

TabTimer TTS8 instructions

TabTimer

TabTimer TTS8 instructions

manuals.online logo
manuals.online logoBrands
  • About & Mission
  • Contact us
  • Privacy Policy
  • Terms and Conditions

Copyright 2025 Manuals.Online. All Rights Reserved.