Greiner Bio-One VACUETTE MultiMixer User manual

MultiMixer
USER MANUAL
page 1 of 18
VACUETTE®MultiMixer
including Software (Vers. 1.0)
USER’S MANUAL
MAN-127 –Revision 02
Revision date: January, 2019

MultiMixer
USER MANUAL
page 2 of 18
This user manual follows the directions as prescribed by the CEN/TC 140
recommendations for in -vitro diagnostic instruments:
INSTRUMENT NAME: VACUETTE®MultiMixer
including Software (Vers. 1.0)
Short cut name: MultiMixer
Device for mixing of blood or other
biological liquids
Greiner Bio-One GmbH
Bad Haller Straße 32
A-4550 Kremsmünster
AUSTRIA
Tel.: +43 (0)7583 6791-0
Fax.: +43 (0)7583 6318
PLEASE READ THIS ENTIRE PRODUCT MANUAL
BEFORE USING THE INSTRUMENT FOR THE FIRST TIME

MultiMixer
USER MANUAL
page 3 of 18
CONTENTS Page
1. INTRODUCTION................................................................................................................................. 4
1.1 GENERAL DESCRIPTION...................................................................................................................... 4
2. POTENTIAL DANGERS AND SAFETY PRECAUTIONS.................................................................... 4
3. INSTALLATION.................................................................................................................................. 7
3.1 DELIVERY CONTENTS ......................................................................................................................... 7
3.2 POSITIONING OF THE ANALYZER .......................................................................................................... 7
4. FUNCTIONS....................................................................................................................................... 9
4.1 THE INSTRUMENT CONTROL PANEL ...................................................................................................... 9
4.2 SELECTING ROTATION FUNCTIONS ....................................................................................................... 9
4.3 MIXING SPEED..................................................................................................................................10
4.4 START MIXING ..................................................................................................................................10
4.5 TUBES MIXING .................................................................................................................................10
5. MAINTENANCE.................................................................................................................................10
5.1 CLEANING AND DECONTAMINATION INSTRUCTIONS................................................................................10
5.2 SPARE PARTS ..................................................................................................................................11
6. TECHNICAL SPECIFICATIONS ........................................................................................................12
7. APPENDIX.........................................................................................................................................13
THE INFORMATION CONTAINED IN THIS MANUAL IS SUBJECT TO CHANGE WITHOUT NOTICE. IT
HAS BEEN GIVEN WITHOUT ANY KIND OF GUARANTEE.
All risks deriving from the use of this information are exclusively charged to the addressee. The
producer/distributor refuses any responsibility for possible direct, indirect, accidental, special, moral or any
other type of damages (including, without limits, damages derived from a missed profit, ceased activity, etc.).
The clause is valid independently from negligence or other responsibility from both parties and independently
from the case that it derives from contract or negligence hypothesis, civil illicit or any other theory of legal
responsibility and not withstanding the missed essential goal of each limited reparation.

MultiMixer
USER MANUAL
page 4 of 18
1. INTRODUCTION
1.1 General description
The VACUETTE®MultiMixer is a simple and reliable device designed to perform the
mixing of blood or other biological liquids. Different styles of tubes can be accommodated
by a variety of rack adapters.
The microprocessor of the VACUETTE®MultiMixer controls different programs and
speeds of mixing to ensure accuracy and reproducibility of results. To ensure proper
mixing, the VACUETTE®MultiMixer mixes for five minutes. At the end of five minutes,
the operator is alerted by an acoustic signal and a flashing display. Samples are now
ready for analysis.
In case of interruption of power supply or in case of a fault the equipment will not re-start
alone but will go in stand-by.
To restart the equipment, refer to §3 of this manual.
1.2 Proper Use
The VACUETTE®MultiMixer must be used accordingly to the following prescriptions:
1) The device must be used only in association with its own racks.
2) Use different racks only to mix the proper test tubes and vials.
3) The device has to be used only by trained personnel for working in laboratory.
4) The device must be used by user always in safety conditions wearing gloves, glass,
and all the safety tools recommended for laboratory work.
5) Use the devise following always the instructions contained in this manual.
6) Equipment not to be used in hazardous atmosphere and with hazardous materials
for which the equipment is not designed.
1.3 Improper Use
Every kind of use or action, not included in proper use, is considered improper use.
Moreover, also the following points are considered improper use:
1) The voluntary hindrance of racks movement during mixing.
2) The use of racks not belonging to the device and not indicated by manufacturer.
3) The use of device near centrifuges or on a not flat surface (please follow the
instructions written in section INSTALLATION of this manual).
2. Potential Dangers and Safety Precautions
2.1 User Precautions
Before beginning the use of the mixing device, the operator must know the rules for handling
potentially infectious materials and for handling Electro-mechanical systems
2.1.1 User Identification
This mixing device is intended for professional use only. The operator must be trained for
working in laboratory using hazardous materials and professional equipment. The use of
this mixing device by a not trained operator is considered an improper use.
2.2 Electrical equipment
As all electrical equipment, the power supply is a potential source of danger. Please avoid
handling electrical parts before disconnecting them from the power supply. Never carry out

MultiMixer
USER MANUAL
page 5 of 18
maintenance on the instrument when it is under electrical tension. Until the instrument is
packaged, as supplied, the operator is protected against electric shock. Pay attention to the
power supply. The VACUETTE® MultiMixer is powered by low voltage, and it doesn’t present
the same dangers of the equipment’s powered by an electrical line. Even though it has a
voltage elevator circuit inside, and it could provoke strong electrical shocks, it is not dangerous
for the service assistance personnel. We suggest disconnecting the power supply every time a
technical operator make instrument maintenance.
2.3 Mechanical equipment
For the mechanical part of the mixing device we suggest do not open the machine before
having disconnected it from the power supply. If the power is on, it is not dangerous for the
operator, but instrument would damage if brought into contact with the parts in movement
2.4 Biohazardous material
As with all in vitro diagnostic equipment, patient samples and quality control (QC) products
that are assayed on this system, should be treated as potentially bio-hazardous. All
materials should be handled according to your facility's biohazard procedure. Always wear
the personal protective equipment recommended by your facility when using the mixing
device.
2.4.1 Human samples
Always wear gloves and eye protective glasses when handling human samples. Treat all
samples as potentially bio-hazardous and infectious. If any sample is spilt on the
instrument, utilize the correct personal protective equipment (PPE-gloves, lab coat, etc.),
wipe it up immediately and clean the contaminated surface with a disinfectant (e.g. Sodium
hypochlorite 0.5%) solution.
2.4.2 Waste solution and solid waste
Avoid direct contact with waste solution and/or solid waste. Both should be handled as
potentially bio-hazardous. Dispose of waste solution and/or solid waste according to local
governmental regulations.
2.5 Notes on safety measure
Please pay attention to the sample collection. The vacuum test tubes used for this
instrument, have been studied to draw the right level of blood. To fill the test tube with a
higher volume of blood, could cause a serious infection risk for tube leakage. Furthermore
the leakage could damage the inner optical part of the instrument and annul the guarantee.
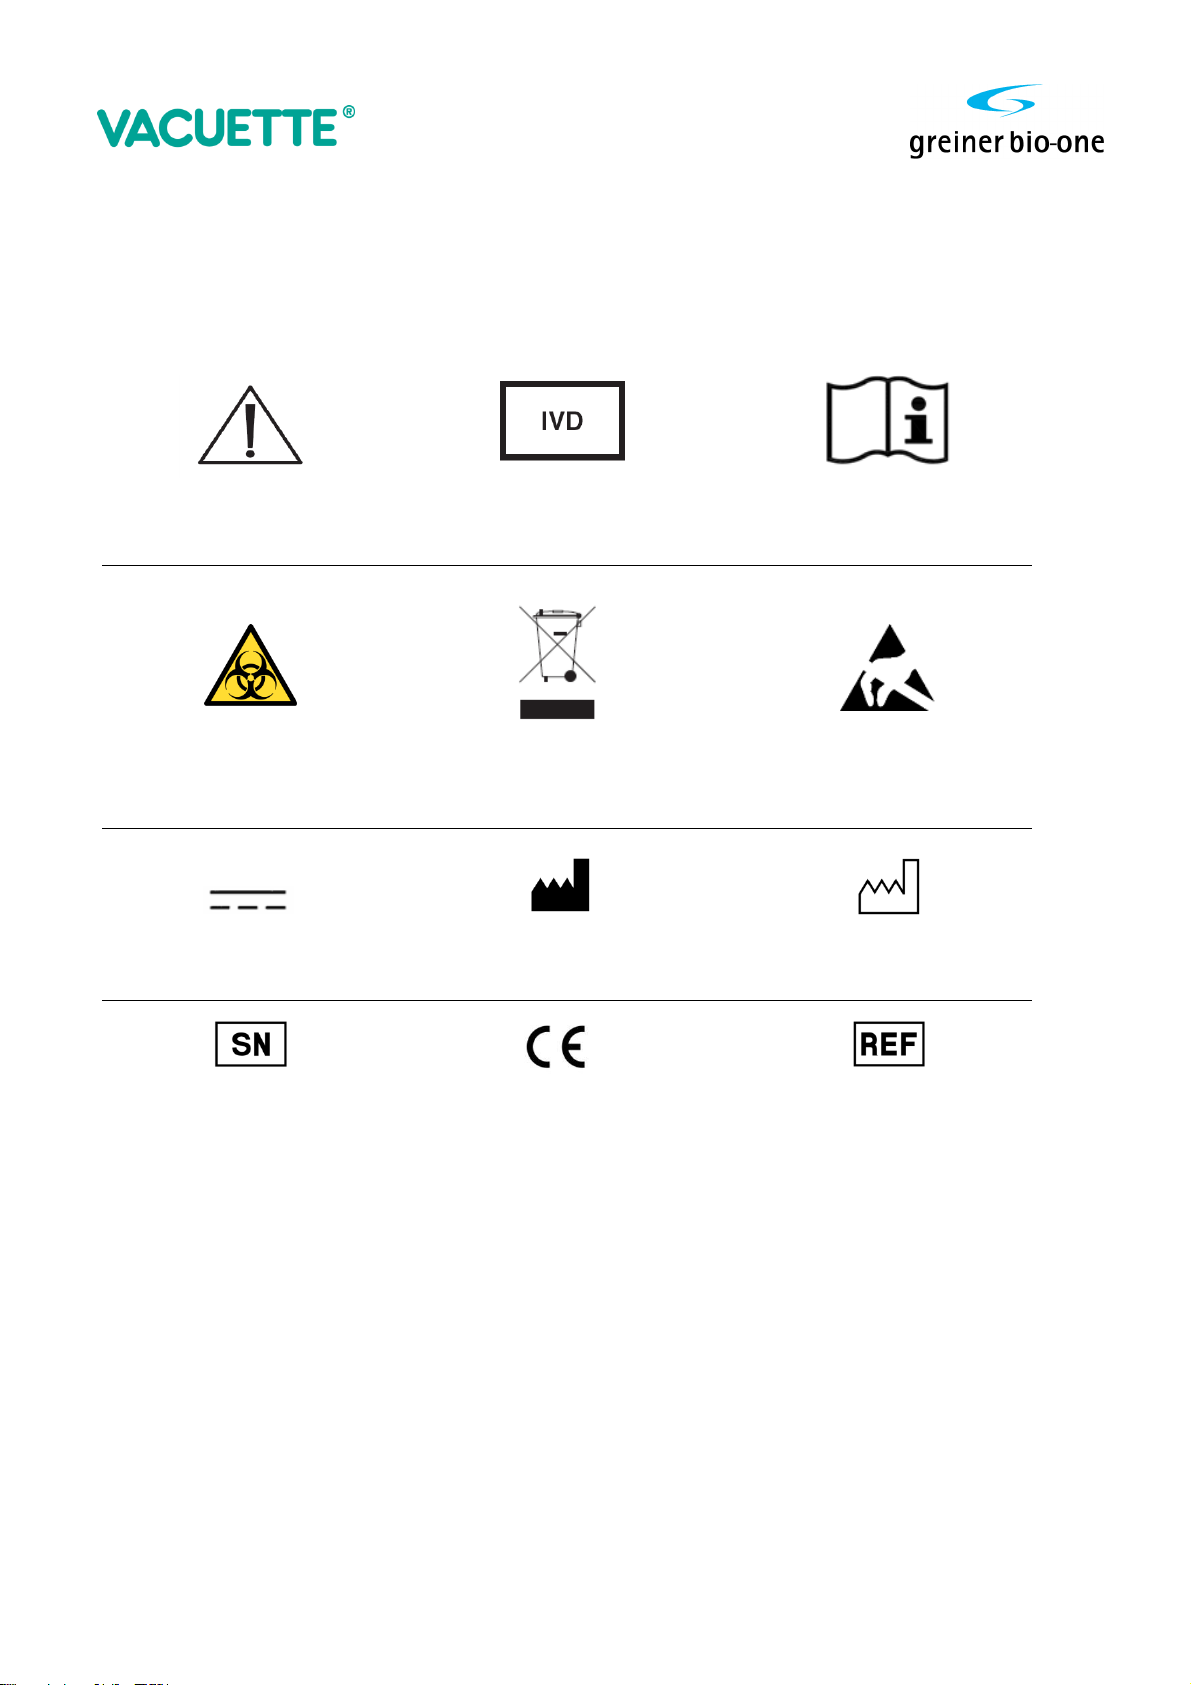
2.6 Disposal and Recycling
Herewith we declare that this instrument is subject to the European Directive 2011/65/EU
(RAEE Directive) and 2011/65/EU). Therefore the instrument must be disposed
separately, not as urban waste and delivered to the specific collection centre in
accordance with the Directive 2011/65/EUand 2011/65/EU).
The user may request that the supplier collect the instrument for correct disposal, if a new
instrument is ordered
2.7 Bio-Hazardous Parts Disposal
All parts which have a direct contact with samples must be disposed as POTENTIALLY

MultiMixer
USER MANUAL
page 6 of 18
INFECTIOUS. Follow local regulations.
2.8 Additional Precautions
The following symbols are placed on the instrument and/or on the outer box to assure correct
usage:
Caution
In vitro diagnostic
medical device
Consult instructions
for use
Biological risks
See chapter 2.6
‘Disposal and recycling’
Electrostatic discharge
sensitive device (ESDS)
DC (direct current)
Manufacturer
Date of manufacture
Serial number
Conformité Européenne
(European Conformity)
Catalogue number

MultiMixer
USER MANUAL
page 7 of 18
3. Installation
3.1 Delivery contents
Check contents of carton using this list
1x VACUETTE®MultiMixer
1x 12-volt power supply
1x Power cable with Schuko plug
1x Certificate of Quality
Optional –not included in the packaging
836578 Rack for VACUETTE®20-Pos. MultiMixer for 9 mm VACUETTE® Tubes
836579 Rack for VACUETTE®20-Pos. MultiMixer for 13 mm VACUETTE® Tubes
3.2 Positioning of the analyzer
The VACUETTE®MultiMixer must not be placed near centrifuges, oscillating agitators or
other vibrating instruments which might cause movement of the bench. The workbench must
be flat and leveled.
Direct light on the instrument and sudden changes in temperature should be avoided.
Do not use this device in close proximity to sources of strong electromagnetic
radiation (e.g. unshielded intentional RF sources), as these may interfere with proper
operation.
This equipment has been designed and tested to CISPR 11 Class A.
In a domestic environment it may cause radio interference, in which case, you may
need to take measures to mitigate the interference.
Therefore the electromagnetic environment should be evaluated prior to operation of
the device.
The instrument is not intended to be integrated into a system.
Do not replace the detachable power cord by an inadequately rated power cord.
Connect the VACUETTE®MultiMixer to the electricity supply by plugging the 12V power
supply into the
intended power inlet on the VACUETTE®MultiMixer. Only use the power supply provided.

MultiMixer
USER MANUAL
page 8 of 18
Keep a free area of at least 15 cm around the instrument to allow instrument cooling by the
internal back panel fan. Use the mains plug to disconnect the apparatus from the mains
supply. The mains plug must be accessible always. Take care to connect the power supply to
a socket with ground connection.
3.3 Rack assembly
Racks can be removed or inserted by pressing the
button as shown in the picture.
Connect the power supply outlet to the mixer and
insert the power supply plug into the electrical
socket on the rear of the mixer.
Once connected, the VACUETTE®MultiMixer
automatically turns on.
Each time the VACUETTE®MultiMixer turns on, it
carries out an electronic and mechanic initialization
and performs an instrument self-test to check for
proper operation.

MultiMixer
USER MANUAL
page 9 of 18
4. FUNCTIONS
4.1 The instrument control panel
The VACUETTE®MultiMixer is controlled by two buttons:
A: START/STOP button
C: SPEED button
B: The four LEDs indicate the level of rotation speed
4.2 Selecting rotation functions
When the VACUETTE®MultiMixer is in stand-by mode, it is possible to select 4 different
programs. To do that, press the SPEED button for 2 seconds. Once in the program mode, the
LED will flash. Press the START/STOP button to change program.
Once you selected the desired program, to confirm and exit from the “program mode”
Select program
Enter/Exit Programming mode

MultiMixer
USER MANUAL
page 10 of 18
press the SPEED button ( C ).
Attention: Remember that it is possible to change the program only when the rack is in
the home position and not mixing.
4.3 Mixing speed
To select the mixing speed, press the SPEED button (C ). The speed will increase from
level 1 (1 led on) to level 4 (4 led on).
4.4 Start mixing
To start mixing, press the START button. The VACUETTE®MultiMixer will start mixing
using the program currently selected. To stop mixing, press the STOP button; the rack will
go to the home position.
After five minutes of mixing, the VACUETTE®MultiMixer beeps and the indicators start to
blink. To stop mixing, press START/STOP button.
If the mixer has not been used for 10 minutes, it will switch to a SLEEP mode to save
energy. All LED indicators will turn off. To activate the device again, simply press the
START/STOP button.
4.5 Tubes Mixing
The best program to mix tubes is the Program F3, at second speed level.
Five minutes mixing is enough to assure a complete mixing of blood.
After five minutes of mixing, the VACUETTE®MultiMixer beeps and the indicators start to
blink. To stop mixing, press START/STOP button.
A longer mixing will not damage blood into tubes, on the contrary will assure a better
erythrocyte mixing.
5. Maintenance
The VACUETTE®MultiMixer should be cleaned, when it is necessary, or after about 40
hours of work. Before cleaning, you should unplug the mixer from the outlet.
5.1 Cleaning and decontamination instructions
Dust can be removed using an ordinary vacuum cleaner. Pay particular attention to the
test tube: it must be well closed and the cap should not be never removed. The label must
be correctly positioned and well stuck to the test tube surface. Label fragments could stick
into the tube position and obstruct a correct holding during mixing.
Although the Instrument only uses closed ESR tubes and therefore the contamination of
the Instruments is reducing to an absolute minimum one has to treat any foreign material
on any surface of the Instrument as a biohazard for safety. Treated surface should remain
in contact with decontamination solution for at least 10 minutes. Perform the following
steps that are applicable to the area of the instrument that is being serviced.
1. Remove all samples from the Instrument.

MultiMixer
USER MANUAL
page 11 of 18
2. Make sure no liquid is dripping into the Instrument.
3. Only use a moistened cloth.
4. Wipe the complete outer surface with one of the Appendix mentioned disinfectants.
5. Wipe the tube positions underneath the transparent tube cover (when applicable).
5.2 Spare parts
SAP
MultiMixer - SPARE PARTS LIST
Code
Description
836250
ESR-Spare part SEM30-001 Fan
for SRT 10/II, MultiMixer
12 Vdc; 40x40x10
836256
ESR-Spare part ELE10-029
Power supply (Voltage 12 Vdc) for:
- SRT 10 & SRT 10/II
- MultiMixer
836578
Rack for VACUETTE® 20-Pos. MultiMixer for 9 mm VACUETTE® Tubes
836579
Rack for VACUETTE® 20-Pos. MultiMixer for 13 mm VACUETTE® Tubes
WARNING: in order to assure the safety and performance of the instrument do not
use other spare parts than the ones specified above.

MultiMixer
USER MANUAL
page 12 of 18
6. Technical Specifications
Area of application: Biological liquid mixing
Instrument size: Width 350 mm
Depth 170 mm
Height 170 mm
Weight: about 2 kg
Instrument input and output: 12 VDC 1.5 A (external power supply unit)
External power supply unit input: 100 - 240 VAC +/-10%, 1.8A, 50/60 Hz
Operating Conditions: temperature 15° - 32° C room temperature
humidity: 0% - 95%
altitude: up to 2.000 m
overvoltage: category II
pollution: degree 2
for indoor use only
sound level <60 dBA
Applicable standards ISO 9001:2008, EN-ISO 13485:2012 and LV Directive
2014/35/EU and following amendments.
General Directives: 2011/65/EU
2012/19/EU
EMC Standards: EN 61326-6:2006
Safety Standards: IEC/EN 61010-1:2010
IEC/EN 61010-2-051:2015
IEC/EN 61010-2-101:2015
Machine Directives: 98/79/EC
Transport and storage: Do not refrigerate during transport
Storage temperature: 4 –30°C
Appropriate decontamination shall be performed prior to
transportation, removal from use and/or disposal. See
Decontamination instruction ESR Instrument for details.
Do not throw the packaging away.
The packaging can be used to transport the MultiMixer
if you change location or return the instrument in case
of a complaint.

MultiMixer
USER MANUAL
page 13 of 18
7. APPENDIX
Read this document first and keep it for later reference.
© 2018 Greiner Bio-One
All rights reserved.
No part of this publication may be re-produced and/or published by being printed, photocopied, placed on microfilm or in any
other manner without the prior written permission of Greiner Bio-One. This also applies to the appended drawings and diagrams.
The contents of this instruction can also be changed without prior warning.
Greiner Bio-One cannot be held responsible for any damage resulting from changes made to the instrument after it was supplied.
Greiner Bio-One cannot be held responsible for any damage resulting from not complying to the specifications supplied with the
instrument.
Greiner Bio-One GmbH
Bad Haller Str. 32
4550 Kremsmuentser
Austria
Tel.: +43 7583 6791-0
Fax: +43 7583 6318
E-mail: faq.at@gbo.com

MultiMixer
USER MANUAL
page 15 of 18
Dear Customer,
This document is intended to offer guidance for decontaminating ESR Instruments that have been used to
process specimens that may constitute a biological hazard. This procedures can be performed by the
operator of the Instrument.
The last page, “Decontamination Certificate of ESR Instruments”, of this document should be filled in and
signed by the executor which clarifies that this decontamination procedure has been followed as described
in this document. This certificate needs to be returned with the decontaminated Instrument.
We always try to be as complete as possible but we can imagine that questions remain after reading this
document. Please feel free to contact us in case of any questions.
Product Management Preanalytics
Greiner Bio-One.
Austria

MultiMixer
USER MANUAL
page 16 of 18
Safety Requirements and Restrictions.
Personal protections.
When performing this procedure, wear, at a minimum, safety glasses, gloves and disposable lab
coat (according Good Laboratory Practice).
Spills of fluid waste prior to decontamination.
Wipe up spills with paper towels.
Clean area with decontamination solution.
Dispose of paper towels in a container designated for biohazard waste or autoclave before
putting in general trash.
Unprotected contact with biohazard material.
Eye contact –Flush with water.
Ingestion –Report to nearest available medical facility.
Skin contact –Wash thoroughly with soap and water (use a germicidal soap, if available).
Notify your supervision.
Be sure to check that items representing a biohazard or a chemical hazard are removed.
Preparation of Decontamination Solution
One of the following disinfectants can be used
Cleaning Solution SLNA-5900 as decontamination solution
A solution of a 1:10 dilution of Clorox® Bleach should be used (one part of bleach plus nine parts of
water). This solution should be fresh.
A solution of 70% alcohol can also be used.
Other commercial available disinfectant used in the laboratory.

MultiMixer
USER MANUAL
page 17 of 18
Decontamination Procedure
Although the Instrument only uses closed ESR tubes and therefore the contamination of the Instruments is
reducing to an absolute minimum one has to treat any foreign material on any surface of the Instrument as
a biohazard for safety. Treated surface should remain in contact with decontamination solution for at least
10 minutes. Perform the following steps that are applicable to the area of the instrument that is being
serviced.
6. Remove all samples from the Instrument.
7. Make sure no liquid is dripping into the Instrument.
8. Only use a moistened cloth.
9. Wipe the complete outer surface with one of the above-mentioned disinfectants.
10. Wipe the tube positions underneath the transparent tube cover (when applicable).
The Instrument is now reasonable decontaminated.
Universal precaution is recommended when handling this instrument after it has been
decontaminated. Apply the completed certificate to the decontaminated instrument as described in
the accompanied instruction of the return kit.

MultiMixer
USER MANUAL
page 18 of 18
Decontamination Certificate
of
ESR Instruments
Underneath named and signed executor engineer clarifies that concerned Instrument has been
decontaminated as described in the document “Decontamination Procedure for ESR Instruments”
documented as MAN-100-Rev.00.
***
For completeness mark the check-box of each separated item if it has been decontaminated and/or
disinfected and fill-in the requested information. Mention exceptions as remarks when (partly) not being
able by following the decontamination procedure.
Outer surface
Tube area
Type of instrument:
Serial number of instrument:
Decontamination date (dd/mm/yyyy):
***
Executor Engineer: Distributor stamp:
Date (dd/mm/yyyy):
Name:
Signature:
Greiner Bio-One GmbH –Bad Haller Str. 35 - 4550 - Kremsmuenster - Austria
Tel.: +43 7583 6791-0 - Fax: +43 7583 6318 - E-mail: faq.at@gbo.com - Website: www.gbo.com
Table of contents
Other Greiner Bio-One Laboratory Equipment manuals
Popular Laboratory Equipment manuals by other brands

Sakura
Sakura Tissue-Tek Film Quick reference guide

Pentair
Pentair BIOSHIELD installation guide

Altronix
Altronix NetWay1DWP installation guide

Miele
Miele A 203 operating instructions

Thermo Scientific
Thermo Scientific BF51842C Installation and operation manual

Nichiryo
Nichiryo Nichipet Premium user manual