manuals.online logo
Brands
  1. Home
  2. •
  3. Brands
  4. •
  5. Griven
  6. •
  7. Dj Equipment
  8. •
  9. Griven Jupiter B User manual

Griven Jupiter B User manual

Jupiter B Remote PSU User Manual
Griven S.r.l. - Via Bulgaria, 16
46042 Castel Goffredo
Mantova - Italy
© Copyright Griven 2018 -Griven reserves the right to make
changes to this product and related instructions at any time
without prior notice and such changes shall be effective
immediatly.
Tel. +39.0376.779483
E-mail: [email protected]
Web: www.griven.com
Rev. 2.0
Date:09/06/2022
page 1 of 4
186
7.32
223.3
8.79
8.5
0.33
6.5
0.26
40°
60
2.36
134.1
5.28
172
6.77
47.5
1.87
551126
Jupiter B
Code / Codice AL5351
Power consumption
Consumo di energia 54W max.
Power supply
Alimentazione elettrica 48V DC
Electrical class
Classe elettrica III
Weight / Peso 2.8 Kg / 6.2 lb
Operating temperature
Temperatura di funzionamento -40°C to 50°C / (-40°F to 122°F)
IP rating / Grado IP IP67
IK rating / Grado IK IK07
Size / Dimensioni
Jupiter B Remote PSU Rev. 2.0
page 2 of 4
551126
Important notices / Avvertimenti importanti
- This product must be installed in accordance with applicable national and local
electrical and construction codes by a person familiar with the construction and
operation of the product and the hazards involved. Failure to comply with the
following installation instructions may result in death or serious injury.
- Do not stare at the operating light source.
- The fi xture might be damaged by excess voltage. The installation of an overvolta-
ge protection device on the electrical system (SPD) is recommended for
reduce the risk of damage.
- The use of an adequate magnetothermic switch along the power supply line is
recommended.
-Connect the fi xtures to each other only when disconnected from mains.
- Never leave cables and connectors unconnected or unprotected for long periods.
- Disconnect power before installing or servicing to avoid electrical shock.
- Disconnect power before any connection operation.
- Check voltage and frequency before powering the fi xture. Do not exceed fi xture
specifi ed voltage.
- Do not handle the unit with wet hands or in wet environments.
- Apply to qualifi ed staff for any maintenance service not described in this instruc-
tions manual.
- Do not exceed the maximum quantity of fi xtures per line in order to avoid power
surges.
- Before powering the unit, ensure to use cables and connectors with proper
section and length, according to its power consumption.
- Fix the projector by using screws, hooks or other adequate supports that can
bear its weight.
- Questo prodotto deve essere installato secondo le normative locali, da personale
specializzato. La mancata osservanza delle istruzioni di installazione può portare
a situazioni di pericolo all’incolumità della persone.
- Non fi ssare la sorgente luminosa durante il suo funzionamento.
- Apparecchiatura sensibile alle sovratensioni. Si consiglia l’installazione di un
dispositivo di protezione delle sovratensioni (SPD) sull’impianto elettrico per
attenuare l’intensità di questi fenomeni proteggendo gli apparecchi dal rischio che
vengano danneggiati.
- E’ consigliato l’uso di un adeguato interruttore magnetotermico/differenziale sulla
linea di alimentazione.
- Collegare tra loro i proiettori solo quando nessuno di essi è collegato alla rete
elettrica.
- Non lasciare mai per lungo tempo agli agenti atmosferici cavi e connettori non
collegati o non protetti.
- Togliere l’alimentazione prima di effettuare qualsiasi operazione all’interno
dell’apparecchiatura.
- Togliere l’alimentazione prima di effettuare qualsiasi operazione di connessione
tra gli apparecchi.
- Prima di connettere l’apparecchio alla rete elettrica, verifi cate la compatibilità di
tensione e frequenza.
- Non maneggiate il prodotto con mani bagnate o in presenza di acqua.
- Rivolgersi ad un tecnico qualifi cato per qualsiasi operazione di manutenzione
ordinaria non descritta nel presente manuale.
- Non superare il numero massimo specifi cato di apparecchi per linea per evitare
pericolori sovraccarichi di corrente.
- Prima di effettuare le connessioni verifi care la portata dei cavi / connettori e la
lunghezza dei cavi tenendo conto dell’assorbimento del prodotto.
- Fissare il proiettore con viti, ganci o altri supporti in grado di sostenerne il peso.
CAUTION: Prolonged staring at the LED source should be
avoided by placing the xture in a proper position.
ATTENZIONE! Fissare la sorgente LED per un periodo prolungato va
evitato posizionando l’apparecchio nella posizione appropriata.
WARNING ! Fixing and connecting operations must
mandatorily be carried out by qualied personnel only !
ATTENZIONE ! Le operazioni di ssaggio e collegamento
devono essere eseguite solo e obbligatoriamente da perso-
nale qualicato!
WARNING ! Make sure that power supply is o before
connecting or disconnecting xtures !
ATTENZIONE ! Assicurarsi che l’alimentazione sia spenta
prima di collegare o scollegare i dispositivi!
Replaceable control gear by a professional Alimentatore sostituibile da un professionista
Replaceable (LED only) light source by a professional Sorgente luminosa (solo LED) sostituibile da un
professionista
La possibilità di riutilizzare alcune parti elettriche del disposi-
tivo è subordinata alla totale responsabilità dell’utilizzatore.
Nell’etichetta è stato riportato il simbolo indicato nel D.lgs n.49
del14Marzo2014cherecepisceladirettiva2012/19/UE,ilquale
indica la necessità di smaltire il prodotto nei riuti dierenzia-
ti, nello specico nei riuti di tipo elettrico ed elettronico. Fare
riferimento al centro di raccolta riuti situato nella Vostra zona.
The possibility of reusing some electrical parts of the devi-
ce is subject to the total responsibility of the user. The la-
bel shows the symbol indicated in Legislative Decree n.49
of 14 March 2014 which transposes Directive 2012/19 / EU,
which indicates the need to dispose of the product in sepa-
rate waste, specically in electrical waste. and electronic.
Refer to the waste collection center located in your area.

Jupiter B Remote PSU Rev. 2.0
page 3 of 4
551126
186
7.32
223.3
8.79
8.5
0.33
6.5
0.26
40°
60
2.36
134.1
5.28
172
6.77
47.5
1.87
WARNING ! xing and connecting operations must
mandatorily be carried out by qualied personnel only !
ATTENZIONE ! le operazioni di installazione e connessione
devono obbligatoriamente essere eseguite solo da
personale specializzato !
WARNING ! Ensure power supply is o󰀨 before connecting
or disconnecting xtures !
ATTENZIONE ! Assicurarsi che l’alimentazione sia
disattivata prima di collegare o scollegare i proiettori!
Step 1 / Passo 1
Step 3 / Passo 3
Step 2 / Passo 2
1st
2nd
B
A
Fixing / Fissaggio
Beam aiming / Orientamento
A=size 3 (ISO) / B=size 2 (ISO)
A=Cacciaviti 3 (ISO) / B=Cacciaviti 2 (ISO)
Jupiter B Remote PSU Rev. 2.0
page 4 of 4
551126
Note: the power and signal connections can be carried out by using the optional connection kit. Follow the
instructions provided along with the connection kit.
Blue= VDC -
Brown= VDC +
Type cable: JUPITER B - Monocable
POWER IN
Nota: i collegamenti di potenza e di segnale possono essere eettuati utilizzando il kit di collegamento
opzionale. Seguire le istruzioni fornite insieme al kit di connessione.
Connection Detail
BROWN = VDC +
BLUE = VDC -
Junction Box
(Not supplied by Griven)
(Minimum IP Rating: IP67)
Connection Junction Box
VDC -
Junction Box
(Not supplied by Griven)
(Minimum IP Rating: IP67)
C
POWER
SUPPLY UNIT
48Vdc
VDC +
B
C C CC
A
B
C
Power Input
Jupiter B
Junction Box (Not Included) Minimun IP Rating: IP67
CABLE
Brown
Blue
VDC +
VDC -
A
AL5351
AL4450 / AL8291
POWER
SUPPLY UNIT
48Vdc
VDC -
VDC +
CABLE
Brown
Blue
VDC +
VDC -
Power Supply Unit AL8291 - MAXIMUM 1 FIXTURE
AL4450 - MAXIMUM 4 FIXTURES
Connection / Connessioni

This manual suits for next models

1

Other Griven Dj Equipment manuals

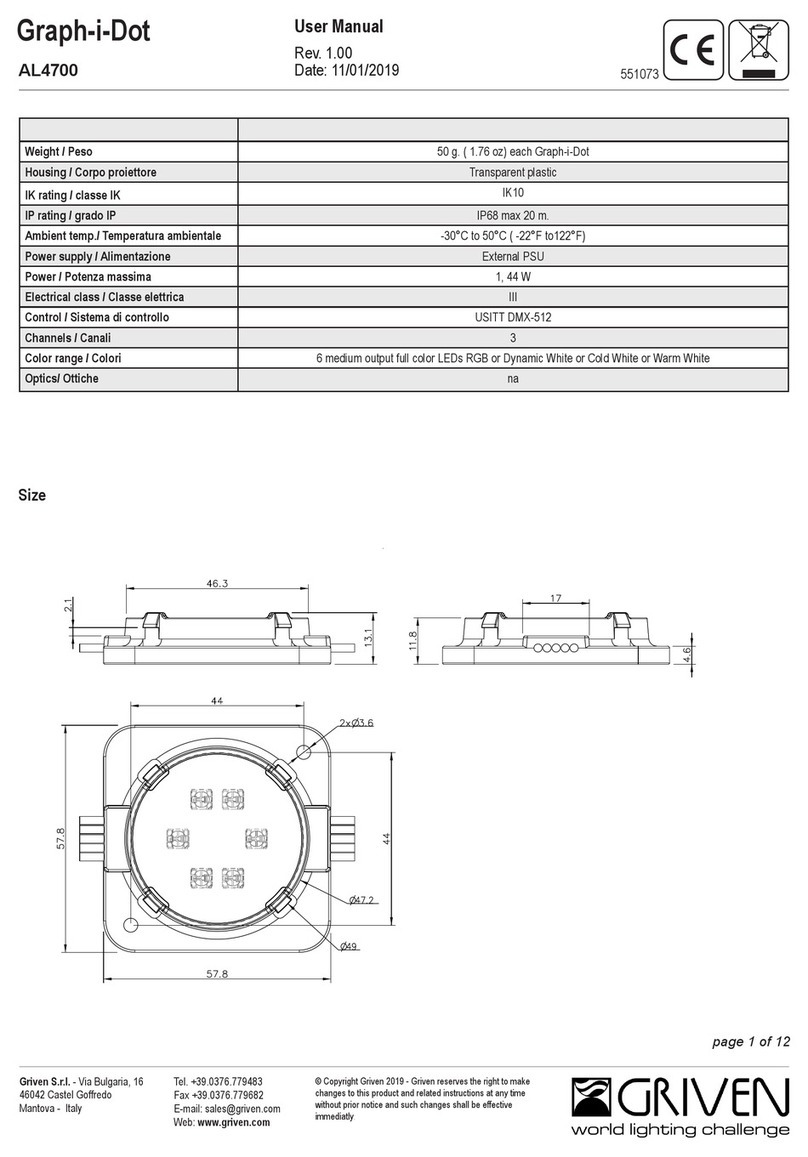
Griven Graph-i-Dot AL4700 User manual

Griven

Griven Graph-i-Dot AL4700 User manual

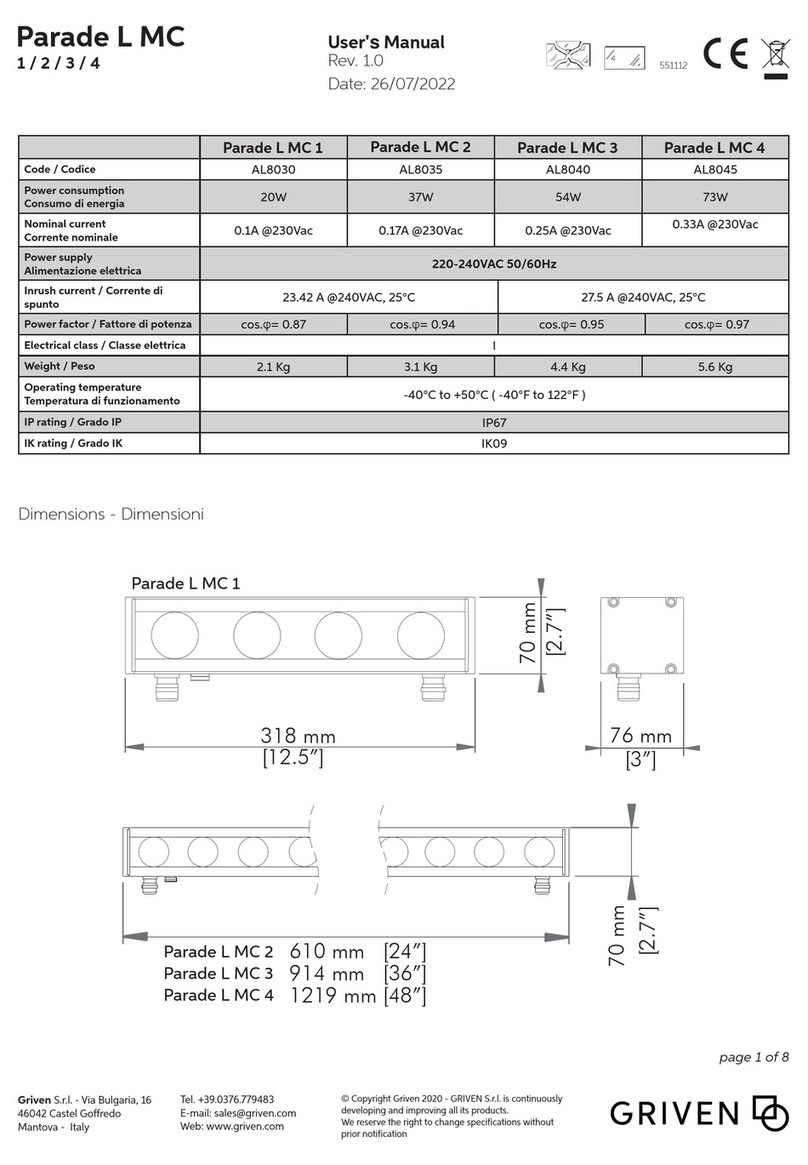
Griven Parade L MC 1 User manual

Griven

Griven Parade L MC 1 User manual

Griven Jade 16 AL4050 User manual

Griven

Griven Jade 16 AL4050 User manual

Griven Manta User manual

Griven

Griven Manta User manual

Griven ACROBAT FE User manual

Griven

Griven ACROBAT FE User manual

Griven Jasper AL4360 User manual

Griven

Griven Jasper AL4360 User manual

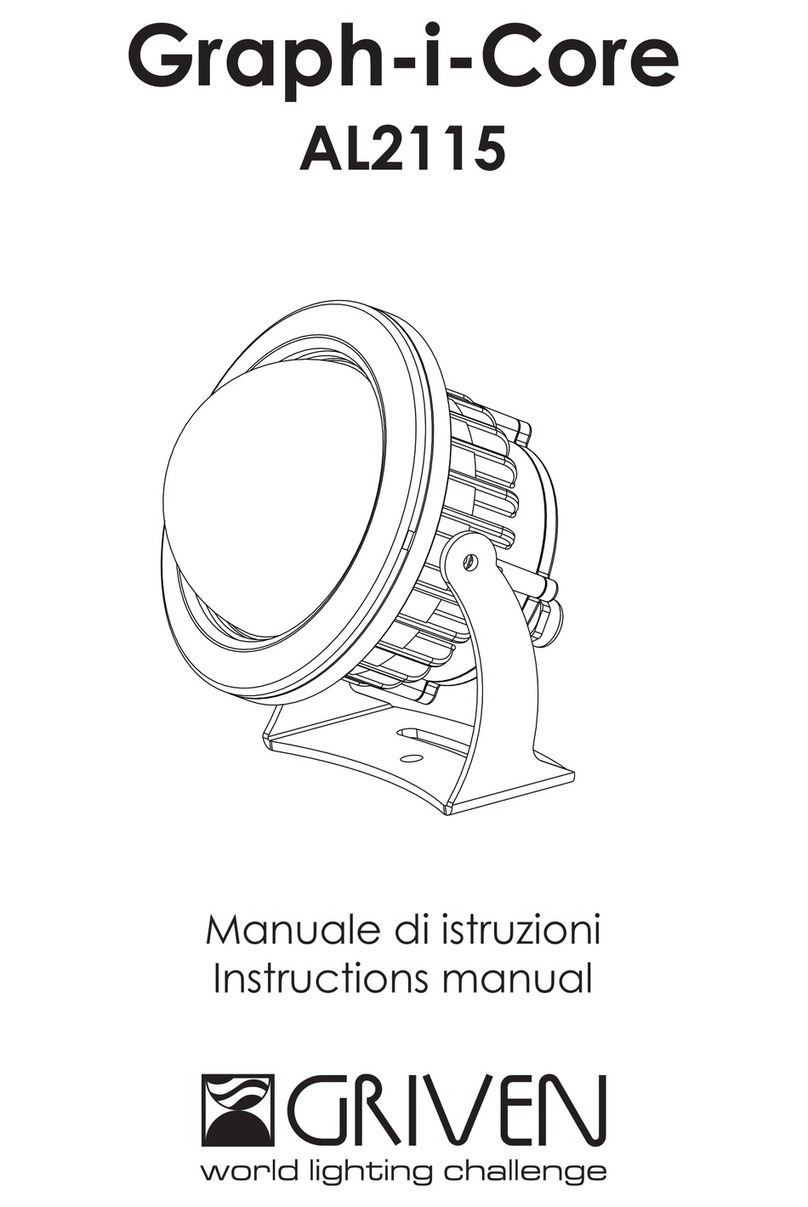
Griven Graph-i-Core AL2115 User manual

Griven

Griven Graph-i-Core AL2115 User manual

Griven ACROBAT PE 575 Manual

Griven

Griven ACROBAT PE 575 Manual

Griven GR0632 User manual

Griven

Griven GR0632 User manual

Griven MAITRE User manual

Griven

Griven MAITRE User manual

Griven Jasper MK2 User manual

Griven

Griven Jasper MK2 User manual

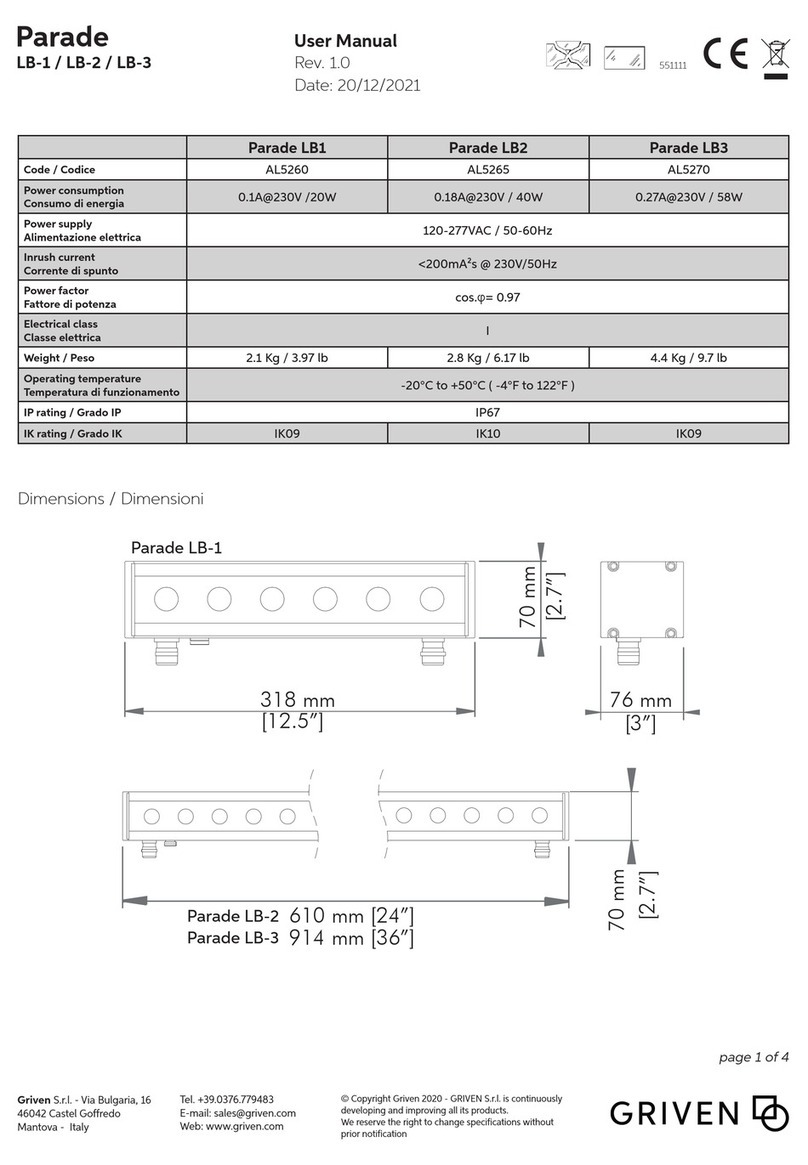
Griven Parade LB1 User manual

Griven

Griven Parade LB1 User manual

Griven HELIOS MK2 Series User manual

Griven

Griven HELIOS MK2 Series User manual

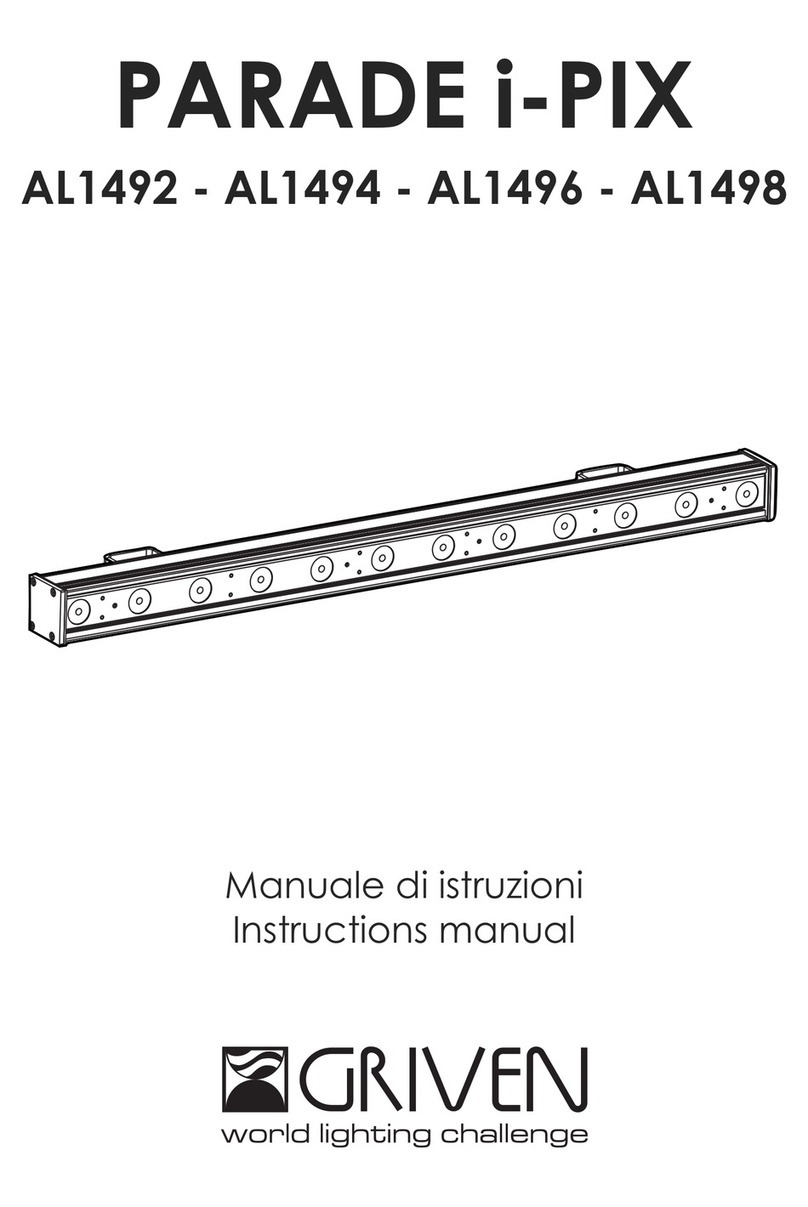
Griven PARADE i-PIX User manual

Griven

Griven PARADE i-PIX User manual

Popular Dj Equipment manuals by other brands

KAM KCD550 instruction manual

KAM

KAM KCD550 instruction manual

EFX EFF700 Instructions for use

EFX

EFX EFF700 Instructions for use

Liivatera 5-Channel Attenuverter & Offset with Mixer manual

Liivatera

Liivatera 5-Channel Attenuverter & Offset with Mixer manual

EXALite EXL-XL Profile Zoom CW 300W user manual

EXALite

EXALite EXL-XL Profile Zoom CW 300W user manual

Beamz Pro BWA532 user manual

Beamz Pro

Beamz Pro BWA532 user manual

Cameo CLZW300 user manual

Cameo

Cameo CLZW300 user manual

Algam Lighting MW19X15Z user manual

Algam Lighting

Algam Lighting MW19X15Z user manual

American DJ Jewel User instructions

American DJ

American DJ Jewel User instructions

EuroLite LED Bar RGB 252/10 Indoor user manual

EuroLite

EuroLite LED Bar RGB 252/10 Indoor user manual

Pure Reliability PILOT 150 PR-2150 user manual

Pure Reliability

Pure Reliability PILOT 150 PR-2150 user manual

ACME LED-920D user manual

ACME

ACME LED-920D user manual

CK Light 192CH DMX CONTROLLER II user manual

CK Light

CK Light 192CH DMX CONTROLLER II user manual

Numark DJio quick start guide

Numark

Numark DJio quick start guide

involight LEDMH50 DUAL user manual

involight

involight LEDMH50 DUAL user manual

Numark NDX900 quick start guide

Numark

Numark NDX900 quick start guide

Chauvet Professional ONAIRPANEL2IP Quick reference guide

Chauvet Professional

Chauvet Professional ONAIRPANEL2IP Quick reference guide

Tong-Da INDIGO 2000 user manual

Tong-Da

Tong-Da INDIGO 2000 user manual

Formula Sound ZMR 80 user manual

Formula Sound

Formula Sound ZMR 80 user manual

manuals.online logo
manuals.online logoBrands
  • About & Mission
  • Contact us
  • Privacy Policy
  • Terms and Conditions

Copyright 2025 Manuals.Online. All Rights Reserved.