manuals.online logo
Brands
  1. Home
  2. •
  3. Brands
  4. •
  5. Grizzly
  6. •
  7. Water Filtration System
  8. •
  9. Grizzly H3258 User manual

Grizzly H3258 User manual

To install the Model H3258 to your pneumatic
device:
1. Disconnect the compressor system from the
power source!
2. Drain the air pressure out of the tank and lines
before connecting the Model H3258 to your air
line.
3. Mount the Model H3258 (in the upright position
shown in Figure 1) on a wall close to the area of
air tool operation, using the wall mount guide
holes. You can also connect it directly onto the
compressor shut off valve. Note—Place the
Model H3258 away from direct sun or hazardous
materials.
Air Hose Air Hose
Figure 1. Identification and mounting orientation.
Figure 2. Connection diagram.
Wall
Mounts
Oil Fill Cap
Screw
Pressure
Gauge
Drain
Valve
Control
Knob
When installed in an air system, the Model H3258
removes micro-particles and moisture droplets, lubri-
cates your air tools, and regulates air flow.
INSTALLING REGULATOR
Model H3258
Air Filter/ Regulator/ Lube
with Gauge
From Compressor To Air Tool
A B DC E F G
5. Connect the air line (A) to the line-IN 1⁄4"NPT
threads (B) on the Model H3258 as shown in
Figure 2. Note—Use as short of an air line
as possible, with minimal bends, to maintain
an accurate working pressure.
6. Thread on a male connector (D) to the Line
“OUT” threads (C) followed by a quick cou-
pler (E) as shown in Figure 2.
7. The quick coupler will accept a hose
connector (F) that attaches to the air hose
(G) going to your tool.
8.Fill the oil cup to the designated fill level with
air tool oil.
9. When the set up is complete and the fittings
are secure, start your air compressor and let
the air pressure build to the operating level.
10. Check for air leaks along the line by using
soapy water. If there are leaks present, dis-
connect the line on both sides of the leak.
Reseal the leaking fittings with teflon tape
and reconnect the line.
If you need additional help with this procedure,
call our service department at: (570) 546-9663.
4. Connect a 1⁄4" NPT air line (A), in Figure 2, to the
shut-off valve on your air compressor. Seal all
the fittings with teflon tape to prevent leaks and
product failure.
INSTALL THIS SYSTEM AS CLOSE TO THE AIR
TOOL AS POSSIBLE FOR BEST PERFORMANCE!
Figure 3. Pressure adjustment.
Figure 4. Lubrication adjustment points.
To adjust the regulator air pressure on the
Model H3258:
1. When the air tank has reached operating pres-
sure, pull the regulator knob on the Model
H3258 up to unlock it (Figure 3).
2. Turn the knob clockwise to increase the pres-
sure and counter-clockwise to decrease the
pressure (Figure 3). The maximum pressure
for this regulator is 150 PSI. DO NOT exceed
this maximum setting.
3. Once the desired PSI level is set, press the
knob back down into the locked position
(Figure 3).
Locked Unlocked
ADJUSTING REGULATOR
To maintain your Model H3258 in proper work-
ing condition:
1. Always disconnect the power from the air sup-
ply and release the air pressure from the tank
and air lines before performing any mainte-
nance.
2. Never let the water collect past the maximum
drainage line. Drain out the water by opening
the drain valve located at the bottom of the fil-
ter housing (Figure 1).
3. Clean the transparent polycarbonate water
and oil cups with a clean, dry cloth. DO NOT
use any chemical that would be hazardous to
the polycarbonate material.
MAINTENANCE
Never use the lubricator with a spray gun or
spray nozzle.
To adjust the lubrication on the Model H3258:
1. Turn the needle valve clockwise for less oil
drip and counter-clockwise for more oil drip.
(Figure 4). Note—Refer to the tool manufac-
turer for oil drip requirements.
2. After the needle valve has been set, the air
flow will also regulate the oil flow. (The more
air flow, the more oil flow and the less air flow,
the less oil flow.)
3. Before filling the oil reserve, release all air
pressure in the tank and lines, then remove
the cap screw above the oil reservoir shown in
Figure 4.
4. Fill the oil cup between the minimum and max-
imum level marks on the side of the bowl.
5. Replace the cap screw.
ADJUSTING LUBRICATION
Needle Valve
Cap Screw
Certain chemicals, household cleaners,
solvents, and fumes will attack polycarbon-
ate material and cause bowl failure. Avoid
using paint thinner, nitric acid, sulfuric
acid, kerosene and other organic solvents.

Other Grizzly Water Filtration System manuals

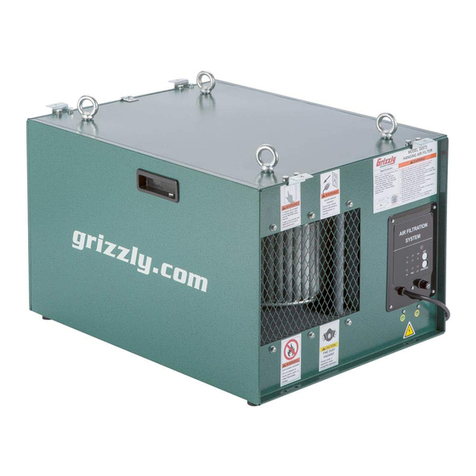
Grizzly G0572 User manual

Grizzly

Grizzly G0572 User manual

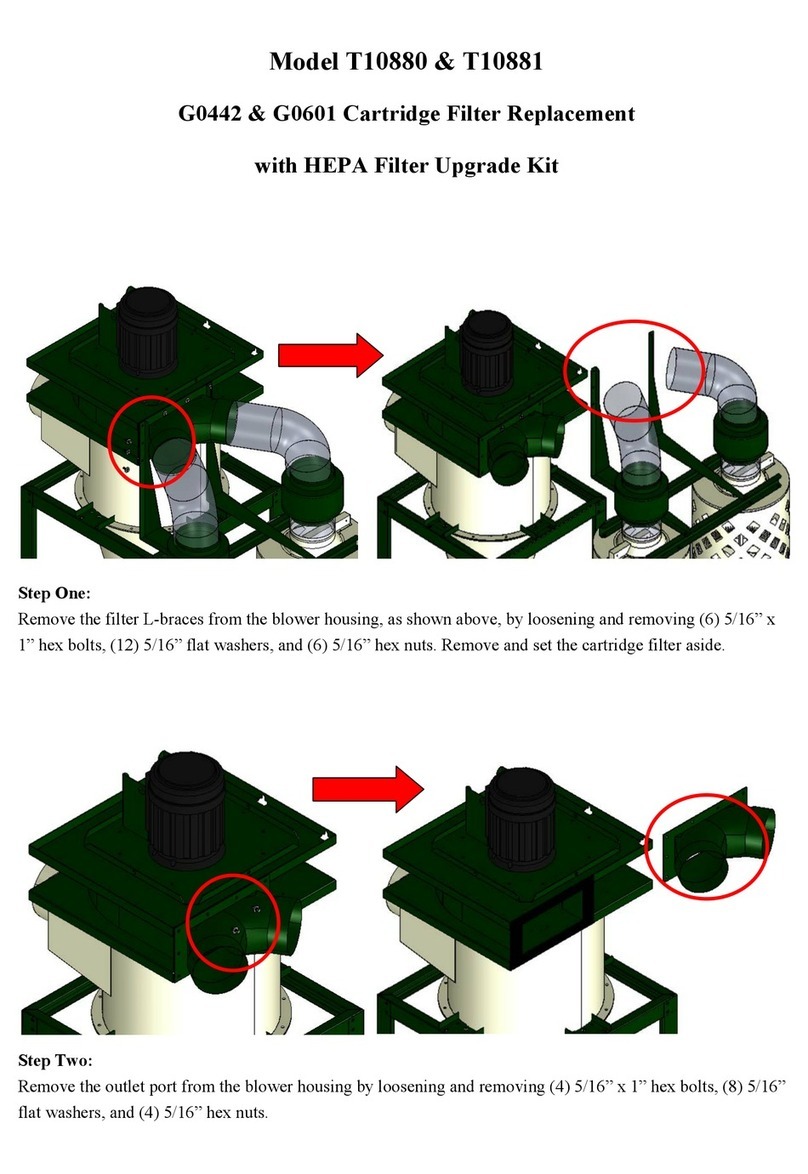
Grizzly T10880 User manual

Grizzly

Grizzly T10880 User manual

Grizzly G0572 User manual

Grizzly

Grizzly G0572 User manual

Grizzly G5955 User manual

Grizzly

Grizzly G5955 User manual

Grizzly T10882 User manual

Grizzly

Grizzly T10882 User manual

Grizzly G9956 User manual

Grizzly

Grizzly G9956 User manual

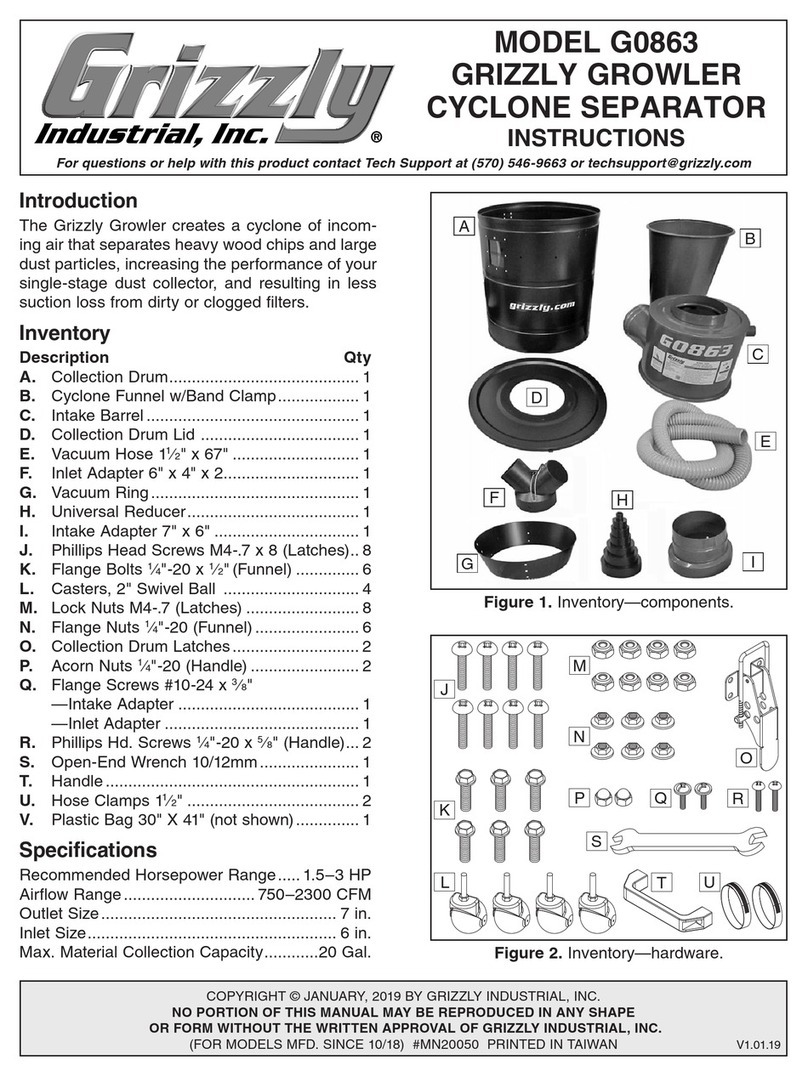
Grizzly G0863 User manual

Grizzly

Grizzly G0863 User manual

Grizzly T33150 User manual

Grizzly

Grizzly T33150 User manual

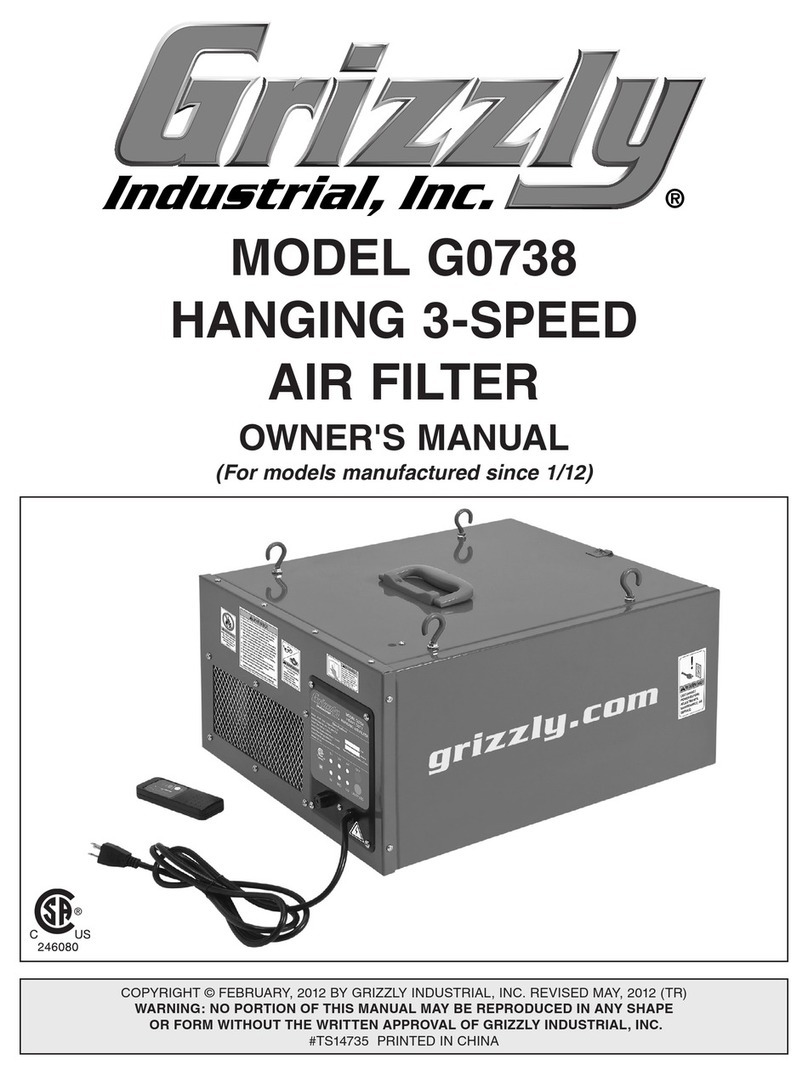
Grizzly G0738 User manual

Grizzly

Grizzly G0738 User manual

Popular Water Filtration System manuals by other brands

Antunes VZN-441VC owner's manual

Antunes

Antunes VZN-441VC owner's manual

Nordson Saturn 1045928A instruction sheet

Nordson

Nordson Saturn 1045928A instruction sheet

Fluval BIO-CO2 PRO 125 instruction manual

Fluval

Fluval BIO-CO2 PRO 125 instruction manual

Pure Water Systems Stainless Steel Bench Top Water Filter installation manual

Pure Water Systems

Pure Water Systems Stainless Steel Bench Top Water Filter installation manual

Lakos STS Series Installation and operator's manual

Lakos

Lakos STS Series Installation and operator's manual

HYDAC International OF 5 C Operating and maintenance instructions

HYDAC International

HYDAC International OF 5 C Operating and maintenance instructions

norweco Singulair 960 owner's manual

norweco

norweco Singulair 960 owner's manual

TCi HGP HarmonicGuard Series Installation, operation and maintenance manual

TCi

TCi HGP HarmonicGuard Series Installation, operation and maintenance manual

Vertiv Liebert AF4 user manual

Vertiv

Vertiv Liebert AF4 user manual

Midea JL1669S-UF Service manual

Midea

Midea JL1669S-UF Service manual

Insignia NS-LT600P-2 Quick setup guide

Insignia

Insignia NS-LT600P-2 Quick setup guide

ELECTOR PUROFILL operating manual

ELECTOR

ELECTOR PUROFILL operating manual

amiad Arkal 014000 Series Assembly instructions

amiad

amiad Arkal 014000 Series Assembly instructions

DiaSys Maxi+ Operator's manual

DiaSys

DiaSys Maxi+ Operator's manual

Coway P-07FR user manual

Coway

Coway P-07FR user manual

PROSEP FILTER SYSTEMS RP615139715 Installation and operating instructions

PROSEP FILTER SYSTEMS

PROSEP FILTER SYSTEMS RP615139715 Installation and operating instructions

purway Crystal Group PUR Quick 6 UF installation manual

purway Crystal Group

purway Crystal Group PUR Quick 6 UF installation manual

Tetra EX 600 operating instructions

Tetra

Tetra EX 600 operating instructions

manuals.online logo
manuals.online logoBrands
  • About & Mission
  • Contact us
  • Privacy Policy
  • Terms and Conditions

Copyright 2025 Manuals.Online. All Rights Reserved.