3
Revision date: 10.25.12
ASSEMBLY PROCEDURE
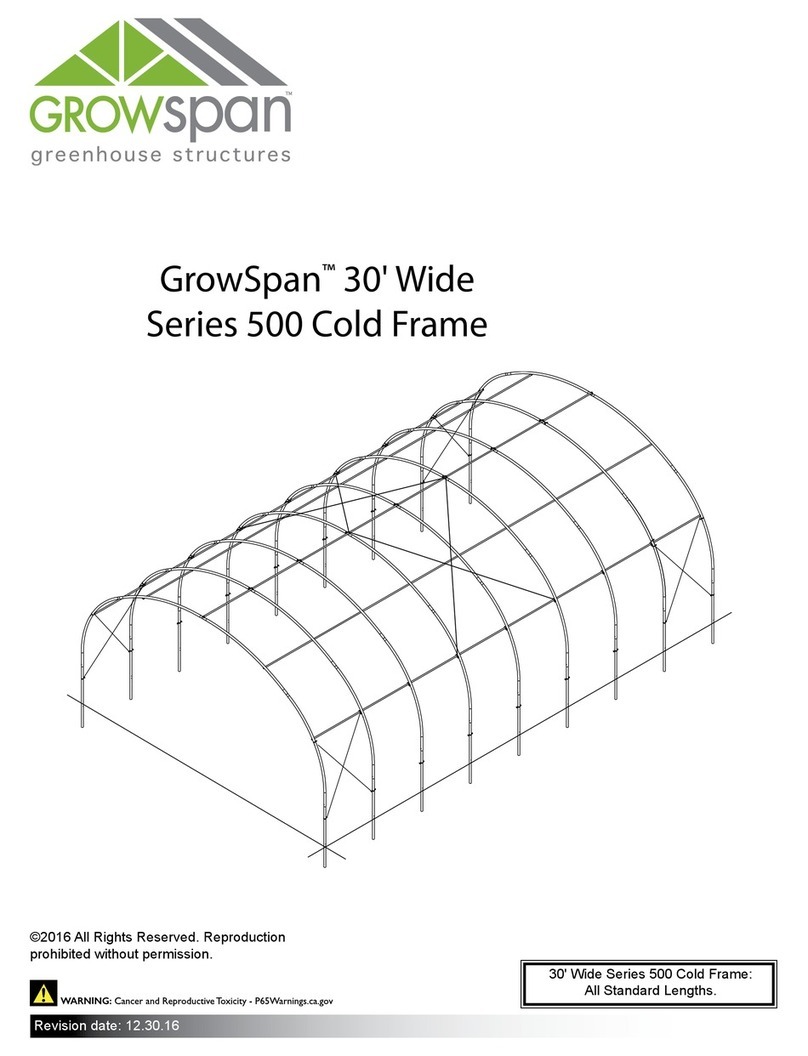
Following the instructions as presented will help ensure the proper assembly
of your cold frame. Failing to follow these steps can result in an improperly
assembled and anchored cold frame. The steps outlining the assembly
process are as follows:
1. Verify that all parts are included in the shipment. Notify Customer Service
for questions or concerns.
2. Read these instructions, the MUST READ document, and all additional
documentation included with the shipment before you begin assembling
the greenhouse.
3. Gather the tools and assistance needed to assemble the cold frame.
4. Re-evaluate the location and site based on the information and
precautions presented in the documentation included with the shipment.
5. Assemble the frame components in the order they are presented in these
instructions.
6. Read the Cold Frame Care and Maintenance information at the end of
these instructions.
7. Complete and return all warranty information as instructed.
REQUIRED TOOLS
The following list identifies the main tools needed to assemble the cold frame.
Additional tools and supports may be needed depending on the structure,
location, and application. Recommended two (2) people for assembly.
• Tape measures or measuring devices
• Variable speed drill (cordless with extra batteries works best) and drill bits
(1/8" or smaller for pilot holes)
• Saw to cut recycled plastic lumber and metal
• Hammer and gloves
• Additional hand tools as needed.
QUICK START GUIDE
For a quick overview of this shelter, its components, and connection details
consult the Quick Start Guide at the back of these instructions.
CARE AND MAINTENANCE
Proper care and maintenance of your Flip-Top Cold Frame will help to ensure
reliable service. The following items identify areas that must be periodically
checked to ensure that your cold frame is maintained properly:
• Check the anchoring system (if equipped) to verify that all components are
tight and in good repair.
• Check all fasteners to verify that they remain tight.
• Verify that all connections and connectors are secure. Tighten these if
necessary.
• Check the PolyCor™ cover to verify that it is in good repair.
• Do not climb or stand on the cold frame.
• Remove debris and objects that can accumulate on the cold frame. Use
tools that will not damage the cover when removing debris.
• Remove snow to prevent excess accumulation. Use tools that will not
damage the cover when removing snow.
• Check the contents of the shelter to verify that nothing is touching the
PolyCor™ cover that could cause damage.
• If the cold frame is disassembled, inspect all parts and connections before
reassembling.
• For replacement or missing parts, call 1-800-245-9881 for assistance.
NOTE: With the exception of Truss Arch buildings, GrowSpan™ shelters, cold
frames, and greenhouses do not have any tested loading criteria.
Important Information
UNPACK AND IDENTIFY PARTS
The following steps will ensure that you have all the necessary parts before
you begin to assemble the greenhouse.
1. Unpack the contents of the box or boxes and place them where you can
easily inventory the shipment. Refer to the Bill of Materials/Spec Sheets.
2. Verify that all parts listed on the Bill of Materials/Spec Sheets are present.
If you have questions or parts are missing, contact customer service at
1-800-245-9881.
