5
Revision date: 03.06.17
Important Information
ASSEMBLY PROCEDURE
Following the instructions as presented will help ensure
the proper assembly of your end frame. The steps
outlining the assembly process are as follows:
1. Verify that all parts are included in the shipment.
Notify Customer Service for questions or concerns.
2. Read these instructions, the Must Read document (if
present), and all additional documentation included
with the shipment before you begin.
3. Gather the tools, bracing, ladders (and lifts), and
assistants needed to assemble the end frame.
4. Check the weather before you install the end frame
cladding (additional purchase required). Do not install
cladding on a windy or stormy day.
5. Assemble the end frame.
6. Read the care and maintenance information at the
end of these instructions.
7. Complete and return all warranty information as
instructed.
REQUIRED TOOLS
The following list identifies the main tools needed to
assemble the end frame. Additional tools and supports
may be needed depending on the structure, location, and
application.
• Tape measure or measuring device
• Marker to mark the location on tubing.
• Variable speed drill and impact driver (cordless with
extra batteries works best)
• Metal file and metal-cutting saw
• Wrenches and impact socket set
• Hammers, gloves, and eye protection
• Adjustable pliers and self-locking pliers
• Ladders, work platforms, and other machinery for
lifting designed to work safely at the height of the
building and end frame.
ATTENTION: Consult the services of a qualified,
professional contractor if you are not familiar with the
construction of similar frame structures.
UNPACK AND IDENTIFY PARTS
The following steps will ensure that you have all the
necessary parts before you begin.
1. Unpack the contents of the shipment and place where
you can easily inventory the parts. Refer to the Bill of
Materials/Spec Sheets.
2. Verify that all parts listed on the Bill of Materials/Spec
Sheets are present. If anything is missing or you have
questions, consult the parts guide (below) and
all diagrams for clarification, or contact Customer
Service.
NOTE: At this time, you do not need to open the
plastic bags containing smaller parts such as
fasteners and clamps.
TECHNICAL DOCUMENTS
For a quick overview of the end frame and its components,
consult the diagrams at the back of these instructions.
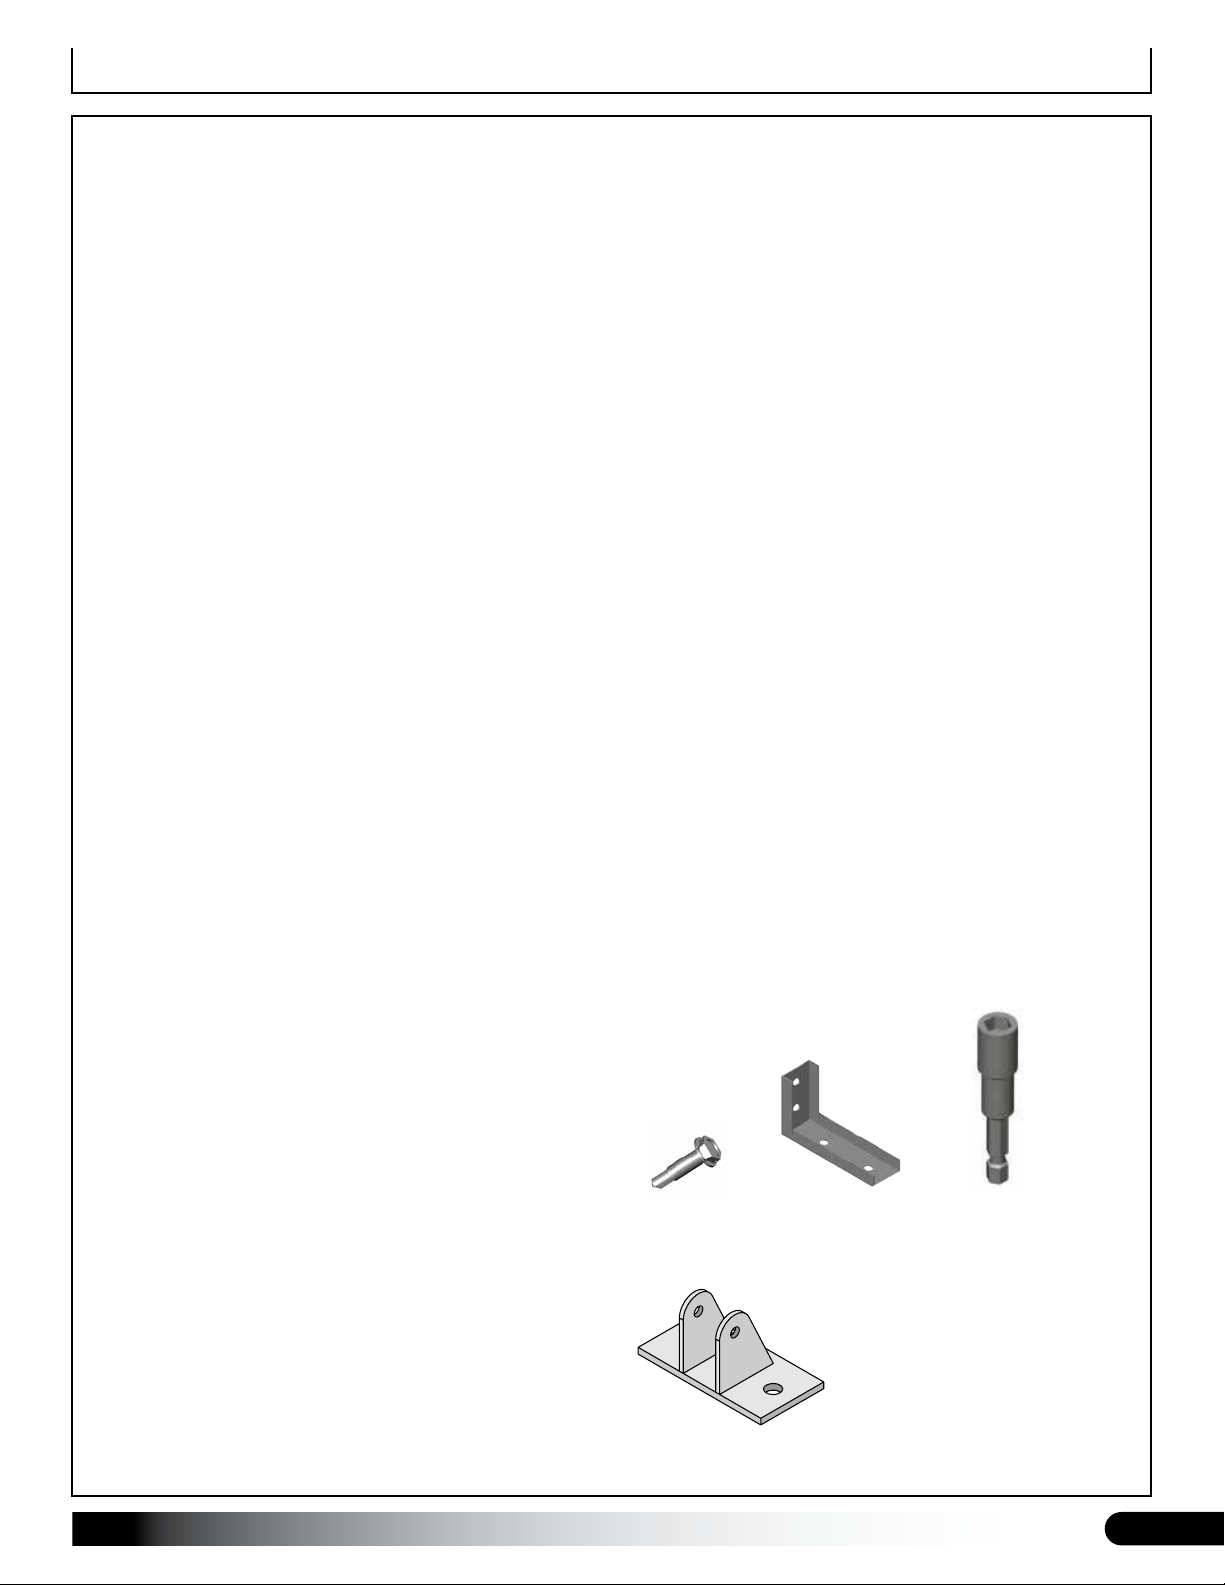
PARTS INCLUDED
The following graphics identify the different parts. (Some
parts are not shown.)
FOUNDATION
Secure the base plates to either a concrete foundation or
concrete piers prior to attaching and assembling the end
frame. Customer is responsible for laying the necessary
concrete foundation or concrete piers. Consult and follow
local and regional building codes for slab requirements.
FA4482B
Tek Screw
QH1330
Bracket
100441
Nut Setter
115251
Base Plate