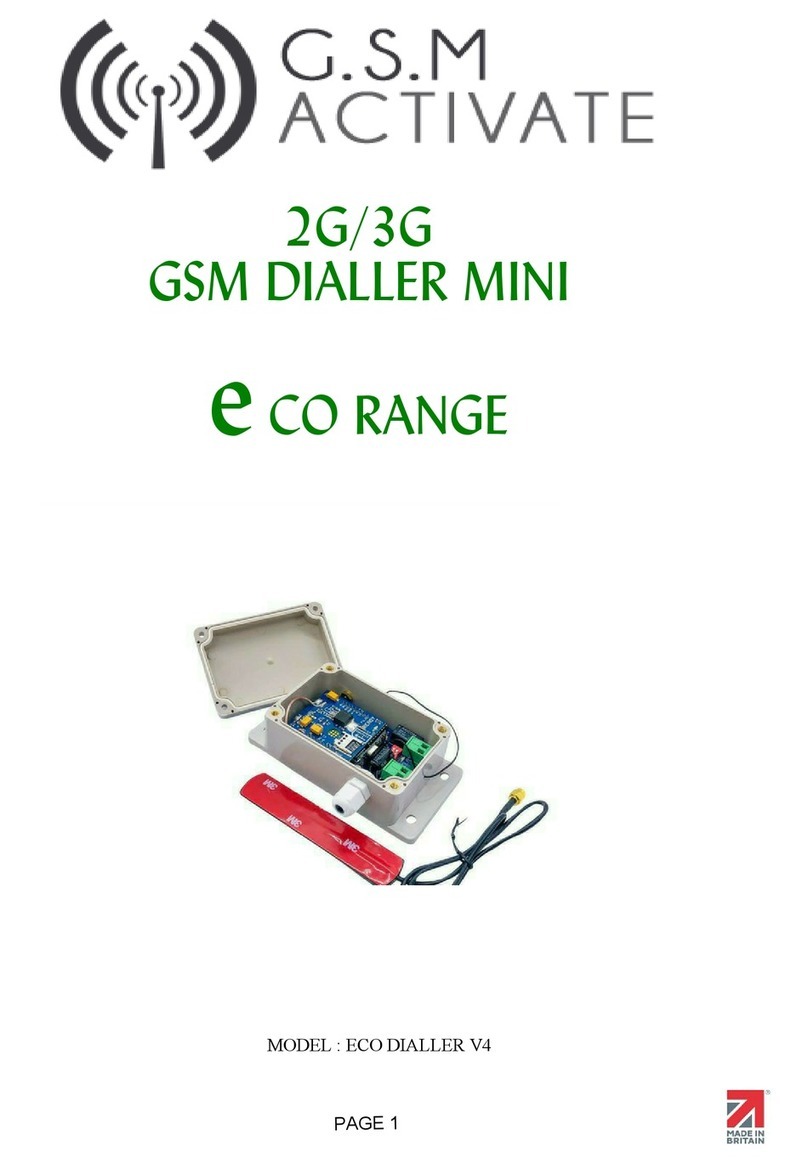
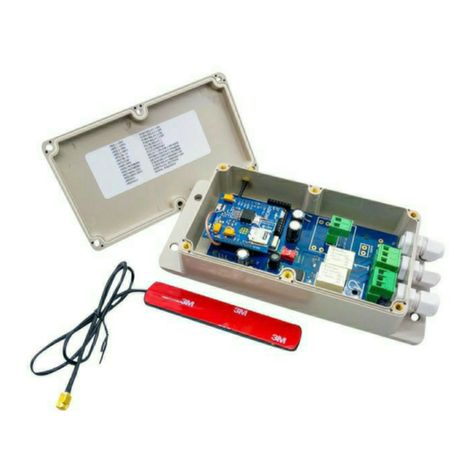
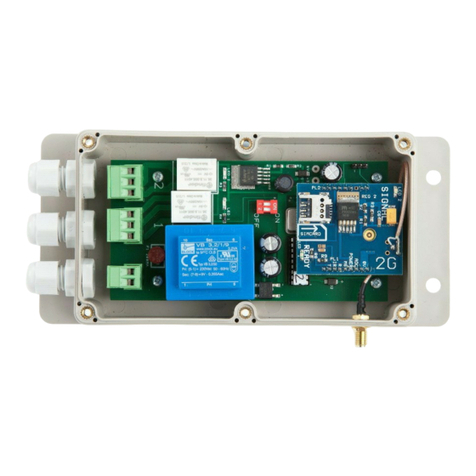
GSM Activate 2G-AD4IN1V4 User manual

2G, 3G & 4G
GSM Auto Dialler
Model number 2G / 3G /4G - AD4IN1V4
PAGE 1

Product Information
Our 2G, 3G, 4G AD4IN1V2 Auto Dialler is a versatile unit which can be attached to many of
your electronic devices in your homes, workplace, gardens or wherever you may need it. It
will alert you using GSM technology by sending a text message or phone call to your mobile
phone or landline. Therefore, alerting you immediately to a problem, failure or status change
wherever you are in the world!
Our AD4IN1V2 WIRELESS version has wireless capabilities to make it a standalone alarm
using various wireless sensors.
Our 2G, 3G, 4G Auto Dialler is set apart from other models on the market by being on the
quadband frequency meaning it can be used worldwide and we often ship models all over
Europe, USA and Australia with excellent feedback.
The unit is enclosed in an IP65 rated enclosure meaning that it is perfectly weathered for
outside installation and has passed testing in high heats and below freezing temperatures.
Specification
● GSM Frequency: Quadband Frequency 850/900/1800/1900/2100mhz
● 4G Bands: B1-B5, B7-B8, B12-B14, B18-B28, B25, B26, B28, B66, B71
● Power Supply Voltage: 9-24 vold DC - 1 Amp Max
● Current Used in Standby Mode: 60mA Max
● IP65 Rated Enclosure for Outside Installation
● 4 Inputs Negative Triggered
● 1 Input Positive Triggered
● 5 User Numbers
● 8 Amp Relay Output
● Micro Simcard
● No Landline Required
● Dimensions: L150 x W90 x H45mm
● Dimensions PCB Only: L125 x W67mm
● Sim Active Function
● Operating Temperature: -10…+40°C
● Programmed by Text Message
● Text to Test Signal Strength
● 2G, 3G or 4G Model Available
Page 2
www.gsm-activate.co.uk - 01273462380 - [email protected]

INSTRUCTIONS
SIM Active Function
Our GSM Auto Dialler comes with a SIM Active function meaning that it will send a message
every six weeks to a preprogrammed number we at GSM Activate own to prevent the SIM
card being shut down due to inactivity.
IMPORTANT - PLEASE READ
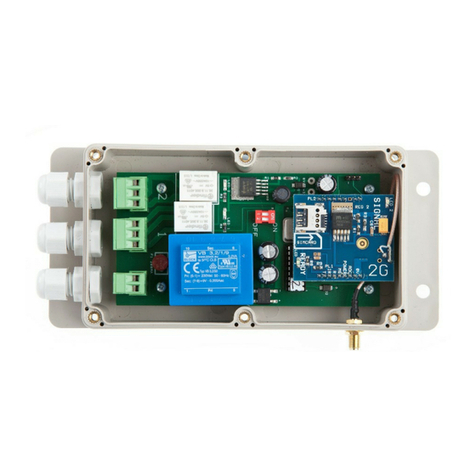
Please make sure you disconnect the power when you fit the simcard. Then slide the
simcard into the holder making sure that the clipped corner of the simcard lines up with the
clipped corner of the simcard holder as seen in the image above.
Signal Strength
To help make sure that you place the unit in a suitable position you can text the unit to see
how much signal strength the dialler is receiving by texting the command
#SIGNAL#
You will then receive a text message telling you the signal strength score between 0 up to
30. We strongly recommend that you place the unit where you can receive a signal strength
score of at least 10. You will find anything below this will make the unit unreliable.
Page 3
www.gsm-activate.co.uk - 01273462380 - [email protected]

Page 4
Programming the Contact Numbers
After inserting your simcard into the Auto Dialler turn the unit on and wait until you see the
GREEN LED is on. This will indicate the you have a mobile signal and the unit is ready for
use.
You will now need to send a text with the contact numbers (maximum 5 contact numbers).
To avoid confusion we have colour coded the (#) hash and (=) equals symbols.
Example (hash) (1,2,3,4 or 5) (equals) (phone number) (hash)
#1=07123456789# send this as a text to the simcard number in the unit for contact no:1
#2=07234567891# send this as a text to the simcard number in the unit for contact no:2
#3=07234567867# send this as a text to the simcard number in the unit for contact no:3
#4=07234567822# send this as a text to the simcard number in the unit for contact no:4
#5=07345678912# send this as a text to the simcard number in the unit for contact no:5
Please exchange the mobile numbers for your contact numbers
If you wish to cancel a number follow this example
Example: (hash) (1,2,3,4 or 5) (equals) (DELETE) (hash)
#1=DELETE# This deletes contact number 1
Dipswitch
The dialler can work on 2G, 3G & 4G networks. The module works worldwide with all
simcards (see page 3 for applicable bands). You can choose which frequency the unit will
use at the start by using the dipswitch combinations below
1 - Dipswitch 1 Set to OFF & Dipswitch 2 Set to OFF= Unit boots up in 2G
2 - Dipswitch 1 Set to ON & Dipswitch 2 Set to OFF = Unit boots up in 3G
3 - Dipswitch 1 Set to ON & Dipswitch 2 Set to ON = Unit boots up in 4G
IMPORTANT - PLEASE READ
Please one message at a time and wait for the Auto Dialler to respond with a text message
acknowledgment “NUMBER STORED” before you try to add another number.
Below is a notepad to help you to remember which numbers you have saved to which
location in the event you need to modify or delete them in the future.
#1=____________________#
#2=____________________#
#3=____________________#
#4=____________________#
#5=____________________#
www.gsm-activate.co.uk - 01273462380 - [email protected]

How to Program the SMS Text Message
You can now change the alarm message for inputs 1 & 2 to your own choosing allowing you
to know which input has been triggered.
To change the message send the text command as follows.
#MESS1=YOUR MESSSAGE# The default message is - Input 1 activated
#MESS2=YOUR MESSSAGE# The default message is - Input 2 activated
#MESS3=YOUR MESSSAGE# The default message is - Input 3 activated
#MESS4=YOUR MESSSAGE# The default message is - Input 4 activated
This will change the message to “Your Message”
Please Note - You can only use a maximum of 19 character including spaces for your
customised message.
Telephone Call Alerts
The Auto Dialler can be programmed to send you a telephone call after each text alarm has
been sent.
You will receive approximately three ring tones. The unit will then hang up automatically. This is
to prevent call charges being incurred.
To set the call alert to ON please send the text message
#CALL=ON#
The unit will relay back with “CALL ON”
If the call function has been set to ON you will receive a text message and shortly after a phone
call.
To disarm the call alerts please send the text message
#CALL=OFF#
Page 5
www.gsm-activate.co.uk - 01273462380 - [email protected]

How to Use The GSM Auto Dialler
The Auto Dialler has four independent input’s
Input 1 = Terminal 1 connection. (Negatively triggered) pulled to ground
Input 2 = Terminal 2 connection. (Negatively triggered) pulled to ground
Input 3 = Terminal 3 connection. (Negatively triggered) pulled to ground
Input 4 = Terminal 4 connection. (Negatively triggered) pulled to ground
(Please Note - if you require a positive trigger you can use INPUT 4 providing you have
set the link to positive - see page 3 diagram, figure 1)
When the inputs are triggered the GREEN LED will flash 6 times to indicate that a trigger
has been received. It will then send a text / call message to the saved user numbers.
● All inputs can be triggered independently.
● The Auto dialler will reset automatically when the triggered input is released.
We have an 8 input plug in board available on request, please email sales@gsm-
activate.co.uk
Alarm Input - Input 4 only
INPUT 4 can also be used as the alarm input where the input is not always live and it does
not auto reset like inputs 1 - 3. The alarm is only made live by sending an SMS/text
message command. This is useful for attaching things like PIR or Beam Sensors, when
you may only want them armed at night.
To activate this mode, send the sms/text command
#MODE=2# This sets the unit to alarm mode
Once in alarm mode the dialler can only be triggered after you have activated the alarm
input by sending the text command as follows.
#ALARM=ON# You will receive a text message reading “ALARM ON”
With the alarm ON, INPUT 4 will then be live and looking for a trigger. To turn off
(deactivate), send the text command:
#ALARM=OFF# This will deactivate the alarm.
The input will not reset automatically after a trigger. You will need to send the text
command #ALARM=ON# when you want it armed again.
To change back to auto mode, send the sms/text command
#MODE=1# This sets the unit to auto mode (also the default setting)
Page 6
www.gsm-activate.co.uk - 01273462380 - [email protected]

How to Use the Relay Output
Auto Relay Trigger Input On (see below)
The Auto Dialler has an 8 amp volt free contact relay output which can be used to switch
on external electric devices such as lighting, sirens etc.
By texting the unit you can turn the relay ON or OFF. Below are examples on how to do
this.
#REL=ON# This will turn ON relay output
#REL=OFF# This will turn OFF relay output
After each operation the unit will reply with a status report “RELAY ON/OFF”
It is possible to pulse the output relay for a period of 20 seconds. You will need to send
a text as follows.
#PULSE=REL# This will Pulse the relay for 20 seconds.
Auto Relay Trigger Input On
The Relay can be set to automatically pulse for 17 seconds when an input has been
triggered. Please be aware of any conflicts this may cause if you are already using relay 2
as an independently activated relay. To turn this function on, please send the text
command:
#AUTO=ON# This will turn the auto function on for relay on
#AUTO=OFF# This will turn the auto function OFF for the relay (default setting is off)
Resetting the Unit
To reset the unit back to factory settings you will need to send the text message #RESET#
WARNING - This will reset all of your parameters. ONLY send this command when
necessary. The GREEN ready LED will flash 8 times.
Page 7
www.gsm-activate.co.uk - 01273462380 - [email protected]

Modular Plug In Boards
The GSM Auto Dialler now has some modular plug in boards which can add extra
functionality to the base unit. To discuss the new modular boards please contact us using
the contact details below.
PLEASE IGNORE THIS PAGE IF YOU ARE NOT USING A PLUG IN BOARD.
Wireless Add On Plug
Our wireless plug in allows up to 4 sensors to be paired to the auto dialler. These sensors
need to be 433mhz and 1527 coding. By using the wireless plug in, it will turn the Auto
Dialler into a wireless alarm system with the sensors having up to a 100 meter range to
the Auto Dialler board.
To pair a sensor to the board you need to press the pairing button equal to the position
you wish the sensor to be paired to and then trigger the sensor.
Example:
● Press the pairing button once and triggering the sensor will pair the sensor to Input 1
● Press the pairing button four times and trigger the sensor will pair the sensor to Input 4
LED 2 will flash when you press the pairing button. LED 1 will flash when the paired
sensor is active.
Page 8
www.gsm-activate.co.uk - 01273462380 - [email protected]
Wired Auto Dialler Inputs and Alarm
The wired Auto Dialler inputs will still work and these will be shared with the wireless
Sensors.
For example, if you have the bell of an alarm wired into input 1 as well as pairing a beam
into input 1 when either is triggered it will send the input 1 text message. Therefore,
it is best to use separate inputs for the sensors and wired devices if you require different
messages for them.
PLEASE READ - Input 4 CAN NOT be positively triggered when using a modular
plugin.
Alarm Mode
The sensors will fall in line with alarm mode settings (Page 6)
The only difference is that in Mode 2 Alarm Mode, all sensors will need to be manually re-
armed following a trigger not just input 4

Inputs
As you can see in the circuit diagram above the inputs can be activated by pulling input 1,
2 & 3 to ground. Alternatively, input 4 can be triggered by pulling to ground or if the link is
applied using a positive trigger.
Relay Output - Volt Free Contact
The relay has common, normally open and normally closed contacts which are capable of
8 Amp loads. This is suitable for turning on or off electrical equipment. Alternatively, it
can be used for resetting your alarm system.
The relay can be manually activated by text message commands or it can be set to pulse
for 20 seconds when an input has been activated - Please refer to page 6
NOTE - For alarm panel installations please make sure you supply a 9-24 volts DC from
the battery terminals using a 2 amp fuse.
Page 9
www.gsm-activate.co.uk - 01273462380 - [email protected]

Quick Reference
For more information or technical support, please browse the FAQ’s on our website
www.gsm-activate.co.uk
Alternatively you can email our technical support team at [email protected]
and we will do our best to reply within 24 hours Monday to Friday.
Page 1030/12/21 - GD
This manual suits for next models
5
Table of contents
Other GSM Activate Gate Opener manuals

GSM Activate
GSM Activate GSM-4G-GATE -V14 User manual

GSM Activate
GSM Activate ECO DIALLER V4 User manual

GSM Activate
GSM Activate GSM-3G-GATE- 12V User manual

GSM Activate
GSM Activate GSM-4G-GATE User manual

GSM Activate
GSM Activate SWV2GS2 User manual

GSM Activate
GSM Activate GSM-4G-GATE User manual

GSM Activate
GSM Activate GSM-4G-GATE-V10 User manual