Guest 2603 Battery Pal User manual

R
2603 Battery Pal
3 AMP, 1 2 VOLT
BATTERY CHARGER
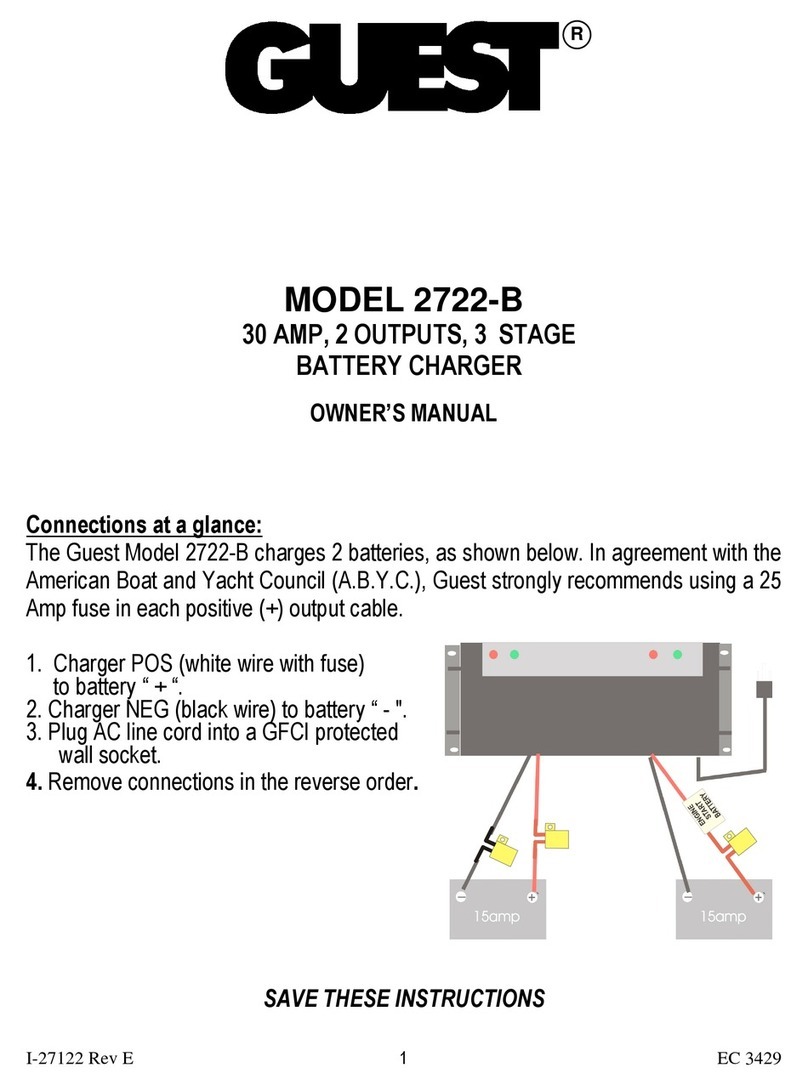
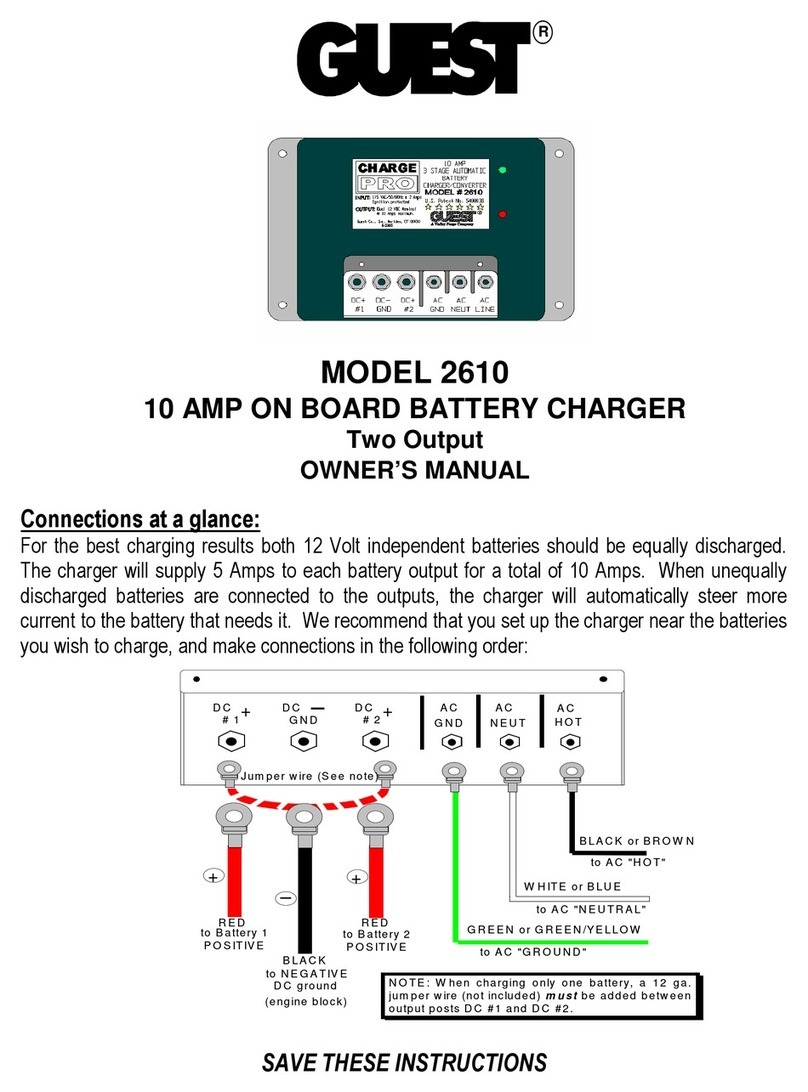
Connections at a glance:
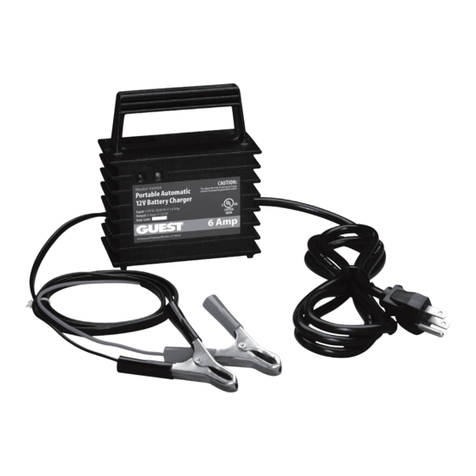
The GUEST Batter Pal 2603 is designed to recharge our batter , and extend our
batter ’s life in applications where it is stored for long periods of time. This
sophisticated device is ideal for recharging and maintaining the 12-volt batter in our
boat, car, garden tractor, ATV, snowmobile or motorc cle.
SAVE THESE INSTRUCTIONS
Red LED (“charging” indicator)
Green LED (“ready” indicator)
+
-
Red Po itive (+) Lead
with 6 Amp fu e

2
1. INTRODUCING THE CHARGER
The 2603 batter charger is a “2 stage” charger, and is superior to traditional
automotive chargers. Its precisel regulated output recharges our batter safel and
quickl . After it has recharged our batter , it supplies just enough current to
compensate for the charge that a batter can lose during storage. Unlike automotive
trickle chargers, the 2603 will not boil off the electrol tes in properl installed and
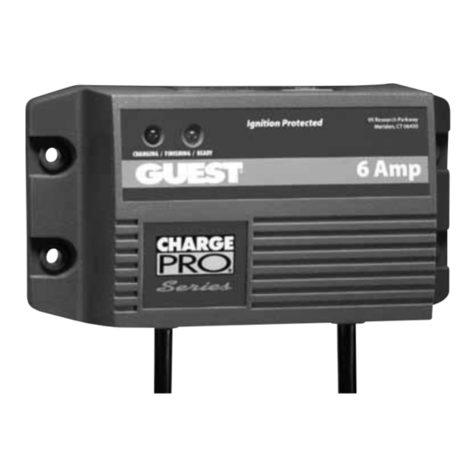
maintained batteries. The red and green LED’s, mounted on the charger face, let ou
know the unit is recharging and maintaining our batteries.
2. IMPORTANT SAFETY INSTRUCTIONS
This manual contains important safet and operating instructions for the charger.
Read the entire manual before using. Also read all instructions and cautions for and
on the charger and batteries.
WARNINGS
RISK OF EXPLOSIVE GASES! WORKING IN THE VICINITY OF LEAD ACID
BATTERIES IS DANGEROUS. BATTERIES GENERATE EXPLOSIVE GASES
DURING NORMAL OPERATION. THEREFORE IT IS OF UTMOST IMPORTANCE
THAT EACH TIME BEFORE USING YOUR CHARGER YOU AND FOLLOW THE
INSTRUCTIONS EXACTLY.
Per onal Safety Precaution
Adhere to the following personal safet precautions when installing or working with the
chargers:
1. Someone should be within voice range or close enough to come to our aid when
ou work near a lead-acid batter .
2. Have plent of fresh water and soap nearb in case batter acid contacts our skin,
clothing, or e es.
3. Wear complete e e protection and clothing protection. Avoid touching our e es
while working near a batter .
4. If batter acid contacts our skin or clothing, wash them immediatel with soap and
water. If acid enters our e e, flood the e e with cold, running water for at least ten
minutes and get medical attention immediatel .
5. Never smoke or allow an open flame in the vicinit of the batter .

3
6. Do not drop a metal tool onto the batter . It ma spark, short circuit the batter and
ma cause an explosion.
7. Remove all personal metal items such as rings, bracelets, necklaces, and watches
when working near a lead-acid batter . A batter can produce short circuit currents
high enough to weld a ring or the like to metal, causing a severe burn.
3. INSTALLING THE CHARGER
CAUTION !
Before beginning this installation –
•If necessar to remove batter from vehicle to charge, alwa s remove grounded
terminal from the batter first. Make sure all accessories in the vehicle are off, so as
not to cause an arc.
•Be sure the area around the batter is well ventilated while the batter is being
charged. Gas can be forcefull blown awa b using a piece of cardboard or other
nonmetallic material as a fan.
•Clean batter terminals. Be careful to keep corrosion from coming in contact with
our e es.
•Add distilled water in each cell until the batter acid reaches levels specified b the
batter manufacturer, if applicable. Do not overfill. For all batteries, carefull follow
the manufacturer’s recharging instructions.
•Stud all batter manufacturer’s specific precautions such as removing or not
removing cell caps while charging.
•Please be sure the DC s stem to which the charger is connected is not drawing
excessive current from the batter for extended periods of time while the charger is
operating. This is important to ensure the charger correctl transitions through
each charging stage to finish with the float voltage level. If the DC s stem is
drawing continuous current while charging, reduced life or damage to the batter
ma occur.
Choo ing Mounting Location
1. Never place our charger above the batter being charged; gases from the batter
will corrode and damage the charger.
2. Never allow batter acid to drip on our charger when reading gravit or filling the
batter .

4
3. Provide as much ventilation as possible for the charger and batter .
4. Do not set a batter on top of the charger.
DC connection precaution
Connect and disconnect DC output clips onl after setting an charger switches to off
position and removing the AC cord from the electric outlet. Never allow the clips to
touch each other.
Making DC Connection
Attach the clips to our batter posts and twist or rock them back and forth several
times to make a good connection. This tends to keep the clips from slipping off the
terminals and helps to reduce the risk of sparking.
4. OPERATING THE CHARGER
Proper Operation
After making the wiring connections according to these instructions, examine the LED
lights on the charger.
When the red LED is on, this means that the 12 volt batter is deepl discharged, and
is being recharged b the 2603. If the charger is connected to an unusuall large or a
deepl discharged batter , the 2603 ma require considerable time to bring the
batteries to full charge.
When the green LED turns on, our batter is alread at or near full charge, and the
charger is now maintaining the batter . If the green LED graduall fades on and off,
this is an indication of an unusuall efficient batter . This batter is receiving a ver
small maintenance charge from the 2603. If the green LED flashes after the batter
has been recharged, this means that our batter requires a lower maintenance
charge than normal. Leave the 2603 connected and it will function normall . Now ou
can store our batteries at full charge indefinitel without overcharging, when batteries
are properl maintained.
Overload Protection
If the 2603 encounters a DC overload (excessive demand) it will reduce it’s output
voltage to a safe level to prevent damage. If its positive and negative connectors are
touched together creating a short, it will instantl reduce its output voltage to nearl
zero, and both the red and green LED lights will turn off. When the overload is
removed, the 2603 automaticall resumes normal operation.

5
If the in-line 6 amp fuse blows due to improper connection to a batter , replace the
fuse with an identical 6-amp fast-blow fuse onl . Never replace a blown fuse with a
higher value fuse.
The 2603 is completel waterproof, however the AC plug and DC clip-on connections
should be kept dr .
5. MAINTAINING THE CHARGER
Periodicall clean both batter terminals with baking soda and tighten all connections.
No other maintenance on the charger is required.
6. TROUBLESHOOTING
Problem Cau e Solution
1.
Charger does not seem
to be charging batteries
properl .
1. Batteries too large for the
charger to support or too
man batteries attached
to charger.
2. Red LED is off due to a
DC overload or a DC
short.
3. One or more defective
batteries.
4. Component failure.
1. Install a higher
Amperage batter
Charger or a second
Charger.
2. Remove source of
overload or short and
perform the reset
procedure as described
under “Operation”.
3. Test batteries and replace
if necessar .
4. Check batter
manufacturer’s charging
specifications.
5. Return charger to Guest
Service department.
2. Static on TV or radio
whenever the charger is
turned on.
1. Certain TV’s and
Radios are
Unusuall sensitive
To RF interference.
2. Charger is mounted
within 3 feet of TV or
radio.
1. Increase the distance
between the charger and
the TV or radio.
2. Connect TV or radio to an
AC circuit other than the
AC circuit used b the
charger.

6
3.
The GFCI breaker,
(Ground Fault Circuit
Interrupter), turns off
whenever the charger is
turned on.
1. There is a problem
with the AC
connections or
dockside power
s stem.
2. Certain brands of GFCI
breakers are sensitive to
“switching” power
supplies
1. Confirm that the
Charger’s AC
Ground
Connections are
Intact then test
Dockside power.
2. Contact Guest
Service for info.
8. SPECIFICATIONS
Output:
Charging: 12 Volts DC (min.) @ 3 Amps
Maintaining: 25 to 60 milliamps @ 13.5 VDC+/- 0.2
Input:
Rated AC Voltage
2603
100 - 130 volts/ 60 Hz AC
Current Draw @115 volts 3 Amps at full output
Maximum recommended battery ize:
For recharging: Up to 250 Amp-Hours
Maintenance onl : Up to 500 Amp-Hours
Phy ical Dimen ion :
Height: 3 in.
Width: 3 ½ in.
Depth: 3 3/8 in.

7
LIMITED WARRANTY
For two (2) ear from the date of purchase, The Guest Co., Inc. will, at its
discretion, repair or replace for the original consumer, free of charge, an parts
found defective in material or workmanship.
Proof of purchase is required: A computerized register receipt is required. Hand-
written receipts are not accepted for warrant proof of purchase.
There is no other expressed warrant . Implied warranties, including those of
merchantabilit and or fitness for a particular purpose, are limited to two
ears from the date of purchase. This is the exclusive remed and
consequential damages are excluded where permitted b law.
Tel: (707) 226-9600 Email: info@marinco.com
Fax: (707) 226-9670 Website: www.marinco.com
I-24075 Rev. P 3429
Table of contents
Other Guest Batteries Charger manuals

Guest
Guest ChargePro 2612A User manual

Guest
Guest Trolling Charger 2613A User manual

Guest
Guest 2610 User manual

Guest
Guest 2606A User manual

Guest
Guest 2722-B User manual

Guest
Guest 2608A-B-01 Trolling Charger Series User manual

Guest
Guest Trolling Charger 2607A User manual

Guest
Guest 2614A User manual

Guest
Guest 2606A User manual

Guest
Guest CHARGEPRO 1.5 Programming manual

Guest
Guest Cruising Charger 2632A User manual

Guest
Guest 2608A-B-01 User manual

Guest
Guest 28003 User manual

Guest
Guest 16202 User manual

Guest
Guest 2608A-B User manual

Guest
Guest 16041 User manual

Guest
Guest 2608 User manual

Guest
Guest 2815M User manual

Guest
Guest 2606A User manual

Guest
Guest 2602A-12 User manual