WE00X27074
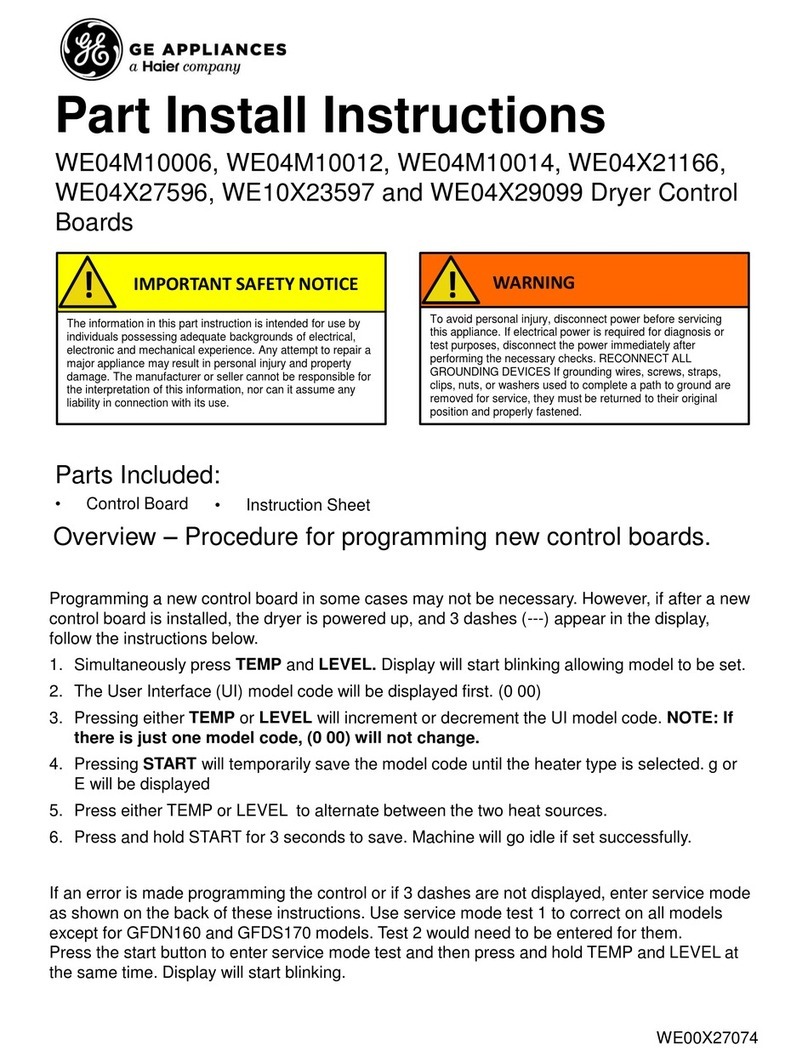
Part Install Instructions
Parts Included:
•Control Board
WE04M10006, WE04M10012, WE04M10014, WE04X21166
And WE10X23597 Dryer Control Boards
Programming a new control board in some cases
may not be necessary. However, if after a new
control board is installed, the dryer is powered up,
and 3 dashes (---) appear in the display, follow the
instructions below.
1. Simultaneously press TEMP and LEVEL. Display
will start blinking allowing model to be set.
2. The User Interface (UI) model code will be
displayed first. (0 00)
3. Pressing either TEMP or LEVEL will increment or
decrement the UI model code. NOTE: If there is
just one model code, (0 00) will not change.
4. Pressing START will temporarily save the model
code until the heater type is selected. g or E will
be displayed
5. Press either TEMP or LEVEL to alternate
between the two heat sources.
6. Press and hold START for 3 seconds to save.
Machine will go idle if set successfully.
!IMPORTANT SAFETY NOTICE
The information in this part instruction is intended for use by
individuals possessing adequate backgrounds of electrical,
electronic and mechanical experience. Any attempt to repair a
major appliance may result in personal injury and property
damage. The manufacturer or seller cannot be responsible for
the interpretation of this information, nor can it assume any
liability in connection with its use.
!WARNING
To avoid personal injury, disconnect power before servicing
this appliance. If electrical power is required for diagnosis or
test purposes, disconnect the power immediately after
performing the necessary checks. RECONNECT ALL
GROUNDING DEVICES If grounding wires, screws, straps,
clips, nuts, or washers used to complete a path to ground are
removed for service, they must be returned to their original
position and properly fastened.
•Instruction Sheet
Overview –Procedure for programming new control boards.
If an error is made programming the control or if 3 dashes are not displayed, enter service mode
as shown on the back of these instructions. Use service mode test 1 to correct on all models
except for GFDN160 and GFDS170 models. Test 2 would need to be entered for them.
Press the start button to enter service mode test and then press and hold TEMP and LEVEL at
the same time. Display will start blinking.


