manuals.online logo
Brands
  1. Home
  2. •
  3. Brands
  4. •
  5. Haier
  6. •
  7. Control Unit
  8. •
  9. Haier GE WH22X29556 Configuration guide

Haier GE WH22X29556 Configuration guide

WH00X29557
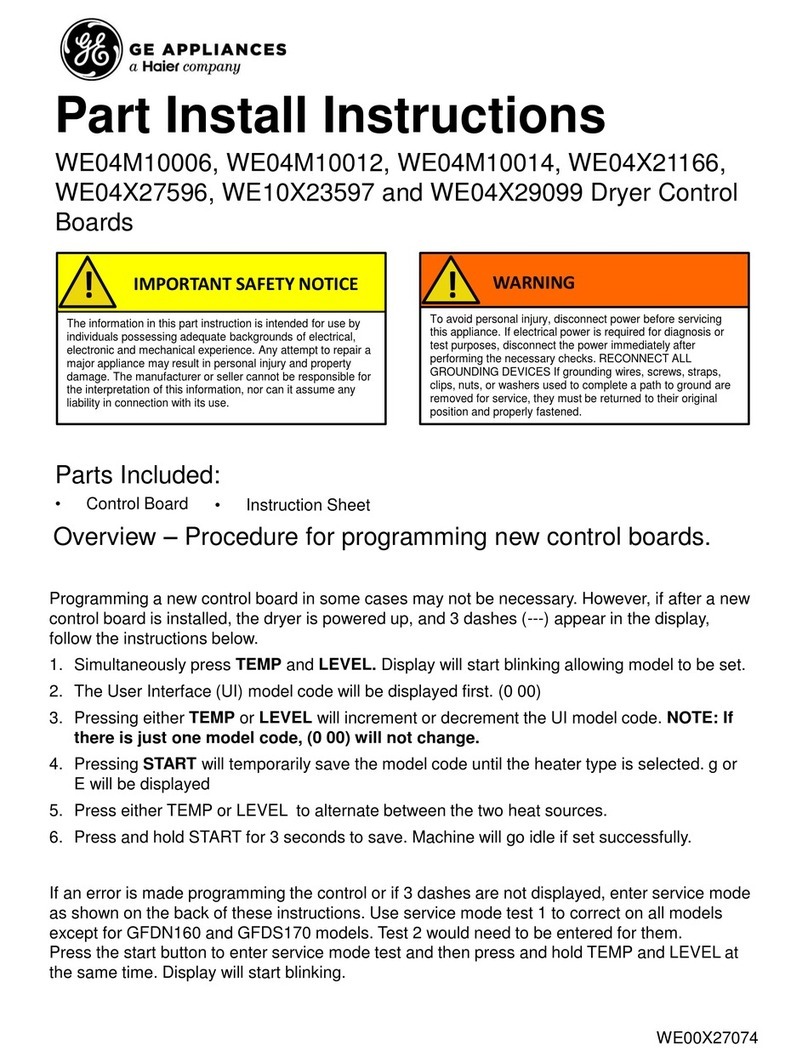
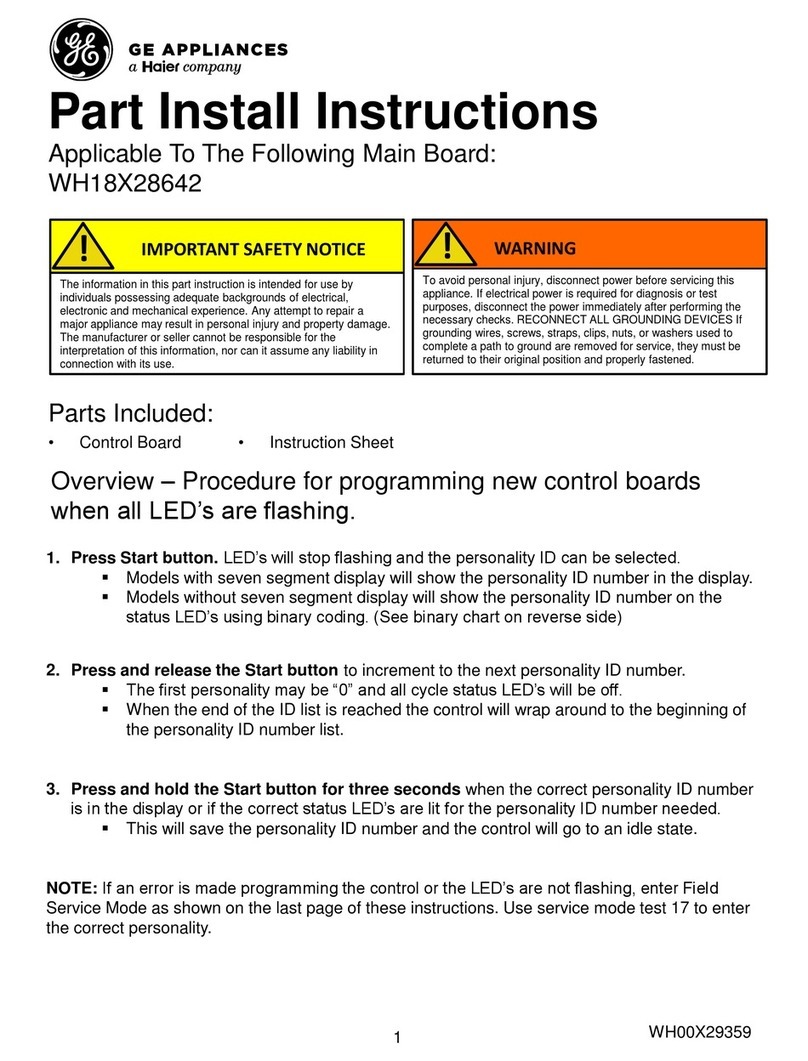
Part Install Instructions
Overview –Procedure for programming new control boards
when all LED’s are flashing.
Applicable To The Following Main Board:
WH22X29556
!IMPORTANT SAFETY NOTICE
The information in this part instruction is intended for use by
individuals possessing adequate backgrounds of electrical,
electronic and mechanical experience. Any attempt to repair a
major appliance may result in personal injury and property damage.
The manufacturer or seller cannot be responsible for the
interpretation of this information, nor can it assume any liability in
connection with its use.
!WARNING
To avoid personal injury, disconnect power before servicing this
appliance. If electrical power is required for diagnosis or test
purposes, disconnect the power immediately after performing the
necessary checks. RECONNECT ALL GROUNDING DEVICES If
grounding wires, screws, straps, clips, nuts, or washers used to
complete a path to ground are removed for service, they must be
returned to their original position and properly fastened.
Parts Included:
•Control Board •Instruction Sheet
1. Press Start button. LED’s will stop flashing and the personality ID can be selected.
▪Models with seven segment display will show the personality ID number in the display.
▪Models without seven segment display will show the personality ID number on the
status LED’s using binary coding. (See binary chart on reverse side)
2. Press and release the Start button to increment to the next personality ID number.
▪The first personality may be “0” and all cycle status LED’s will be off.
▪When the end of the ID list is reached the control will wrap around to the beginning of
the personality ID number list.
3. Press and hold the Start button for three seconds when the correct personality ID number
is in the display or if the correct status LED’s are lit for the personality ID number needed.
▪This will save the personality ID number and the control will go to an idle state.
NOTE: If an error is made programming the control or the LED’s are not flashing, enter Field
Service Mode as shown on the last page of these instructions. Use service mode test 17 to enter
the correct personality.
1
Model Number
Personality ID
SSD Personality ID
Cycle Status LEDs
GTW220**K0 / K1 / K2 / K3
10
GTW220**K4 / K5 / K6
1
GTW330**K0 / K1 / K2
11
GTW330**K3 / K4
2
GTW335**N0 / N1
15
GTW460**J0 / J2
14
GTW460**J3 / J4 / J5 / J6
/ J7 12
GTW460**J8 / J9 / JA
3
GTW465**N0
16
GTW465**N1 & higher
18
GTW485**J0 / J1 / J2 / J3 / J4 / J5
4
GTW490**J0 / J1 / J2 / J3 / J4 / J5
5
GTW500**N0 & higher
17
HTW200**K0 / K1 / K2
9
HTW200**K3 / K4
0*
HTW240**K0 / K1 / K2
10
HTW240**K3 / K4 / K5
1
Note: For models HTW200**K3 and K4, the cycle status LED’s will not be lit for
personality “0”.
*
2
Note: Solid
circles indicate
that particular
cycle status LED
is lit.
FIELD SERVICE MODE ENTRY
From an idle state only (all LEDs off), press and
hold Start button while rotating the cycle selection
knob 180 degrees (7 clicks) and then release the
Start button.
• Once service mode is entered all LEDs will be
flashing.
–On 7-segment display models: (0) will be
displayed for Test (0).
–On models without a 7-segment display: All of
the status LEDs above the cycle knob will be lit.
• The cycle selection Knob is now used to control
the test selection menu.
–Rotating the knob clockwise will increment
the test numbers in the
display.
–Rotating the knob counter clockwise will
decrement the test number in the display.
–Models without 7-segment display: Will
display tests using the status lights above the
cycle knob in a binary format. (See Binary Chart)
–Turning the knob to go to a different test will
terminate any current active state.
• Once the test number is selected, pressing Start will
begin the selected test.
Exit Field Service Mode
• Field service mode will time out after 30 minutes if
there is no user activity.
• Models without 7-segment display: Press and hold
the Start button for 3 seconds
• Models with a 7-segment display: Press Power
button
SERVICE MODE TEST 17-
Change Personality
Pressing Start will start the test. Press Start button
again and the next valid personality should be
displayed. Press and hold the Start button to select the
correct personality. The control will go to an idle state.
All LED’s off.
Note: Upon entering test 17 for models,
HTW200**K3 and K4, the cycle status LED’s will not
be lit for personality “0”.
Note: If the personality ID is already set and you try
to set the same personality, the control will NOT go to
an idle state. Ensure the correct personality ID is
being entered.

Other Haier Control Unit manuals

Haier YR-H71 User manual

Haier

Haier YR-H71 User manual

Haier GE WE04M10006 Configuration guide

Haier

Haier GE WE04M10006 Configuration guide

Haier GE WH18X28642 Configuration guide

Haier

Haier GE WH18X28642 Configuration guide

Haier GE WH22X29345 Configuration guide

Haier

Haier GE WH22X29345 Configuration guide

Haier YR-E16b User manual

Haier

Haier YR-E16b User manual

Haier GE WE04X27596 Configuration guide

Haier

Haier GE WE04X27596 Configuration guide

Haier GE WH18X26217 Configuration guide

Haier

Haier GE WH18X26217 Configuration guide

Popular Control Unit manuals by other brands

HomeMatic HM-PB-2-WM Installation and operating manual

HomeMatic

HomeMatic HM-PB-2-WM Installation and operating manual

Racal Instruments 1260 manual

Racal Instruments

Racal Instruments 1260 manual

Arsin AR100 user manual

Arsin

Arsin AR100 user manual

Lütze DIOLINE PLC operating instructions

Lütze

Lütze DIOLINE PLC operating instructions

HESCH HE 5760 operating instructions

HESCH

HESCH HE 5760 operating instructions

GSN ACS-144R instruction manual

GSN

GSN ACS-144R instruction manual

Digi XBee SX 868 user guide

Digi

Digi XBee SX 868 user guide

White Rodgers 1127 installation instructions

White Rodgers

White Rodgers 1127 installation instructions

RED CONNECT MODULE Operation guide

RED

RED CONNECT MODULE Operation guide

Metal Work Multimach user manual

Metal Work

Metal Work Multimach user manual

WEG CFW500 Series Installation, configuration and operations guide

WEG

WEG CFW500 Series Installation, configuration and operations guide

SCHUNK PED Series Assembly and operating manual

SCHUNK

SCHUNK PED Series Assembly and operating manual

Digi ConnectCore 6 Getting started guide

Digi

Digi ConnectCore 6 Getting started guide

Vestamatic Vesta Building Controller Installation and operating instructions

Vestamatic

Vestamatic Vesta Building Controller Installation and operating instructions

KRAL BEM 500 operating instructions

KRAL

KRAL BEM 500 operating instructions

MSA 9010 quick start guide

MSA

MSA 9010 quick start guide

MSA M1 Basic Manual

MSA

MSA M1 Basic Manual

Behringer 2500 Series quick start guide

Behringer

Behringer 2500 Series quick start guide

manuals.online logo
manuals.online logoBrands
  • About & Mission
  • Contact us
  • Privacy Policy
  • Terms and Conditions

Copyright 2025 Manuals.Online. All Rights Reserved.