CONTENTS
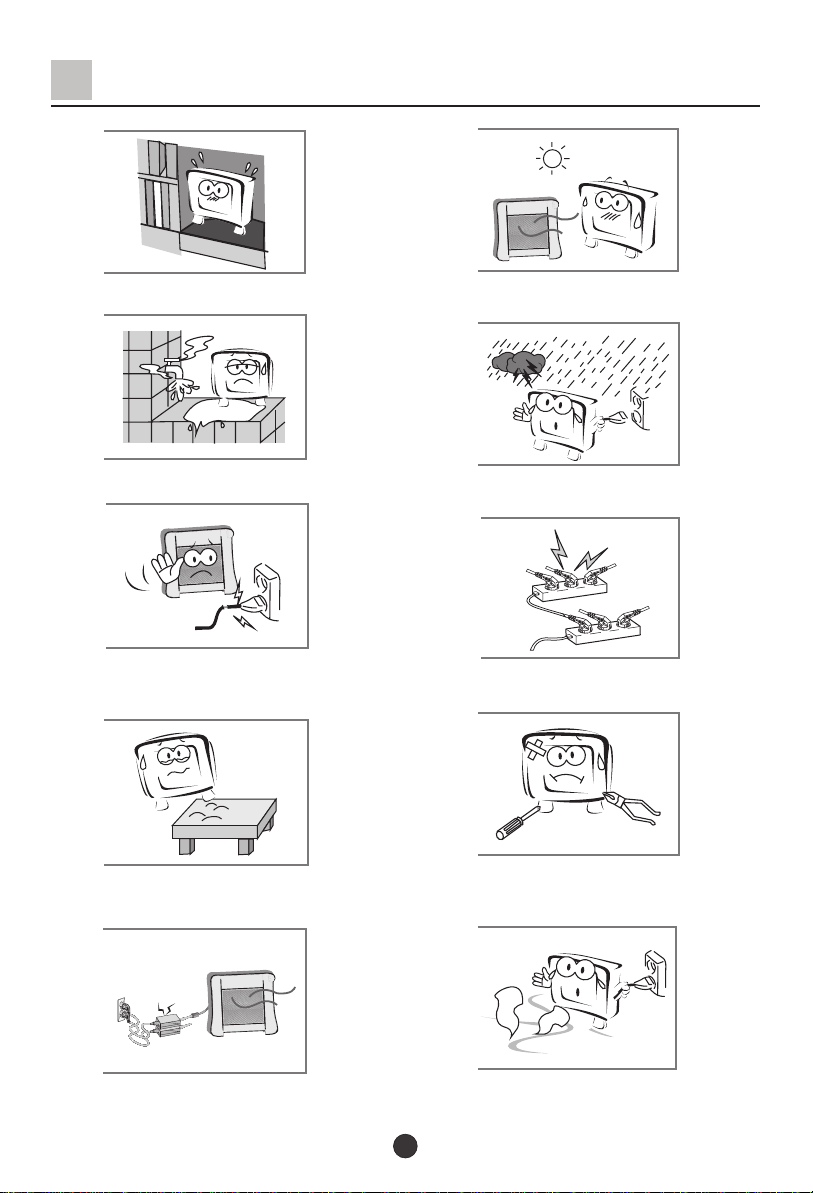
Safety precautions
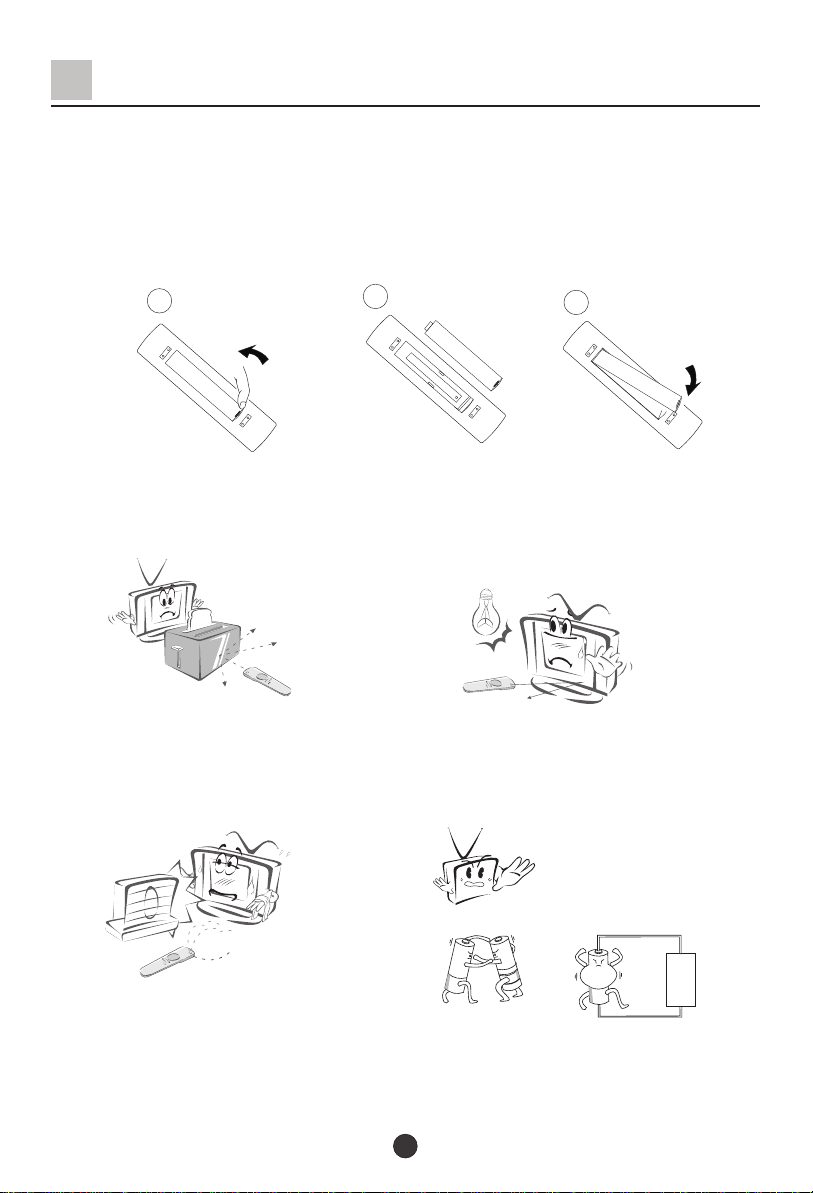
Preparation for the Remote Control
Keys and Ports
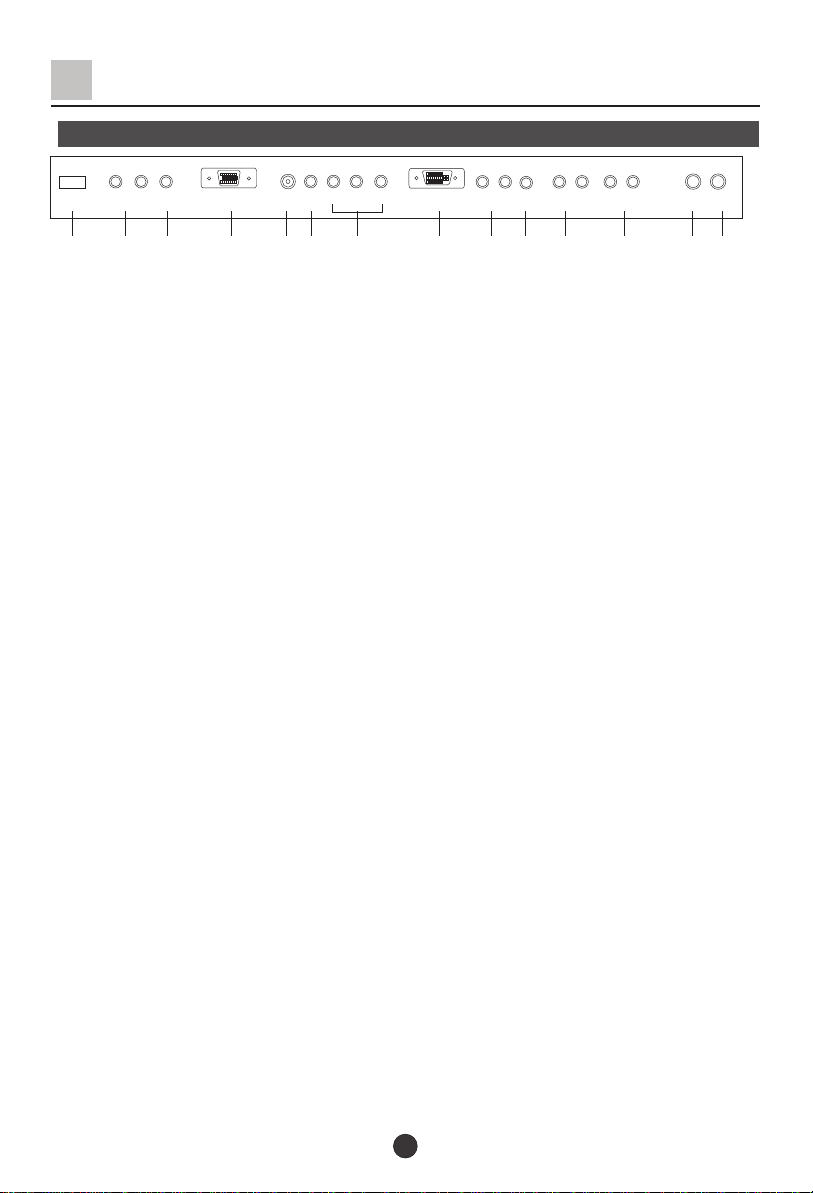
Front panel
Side panel
Back panel
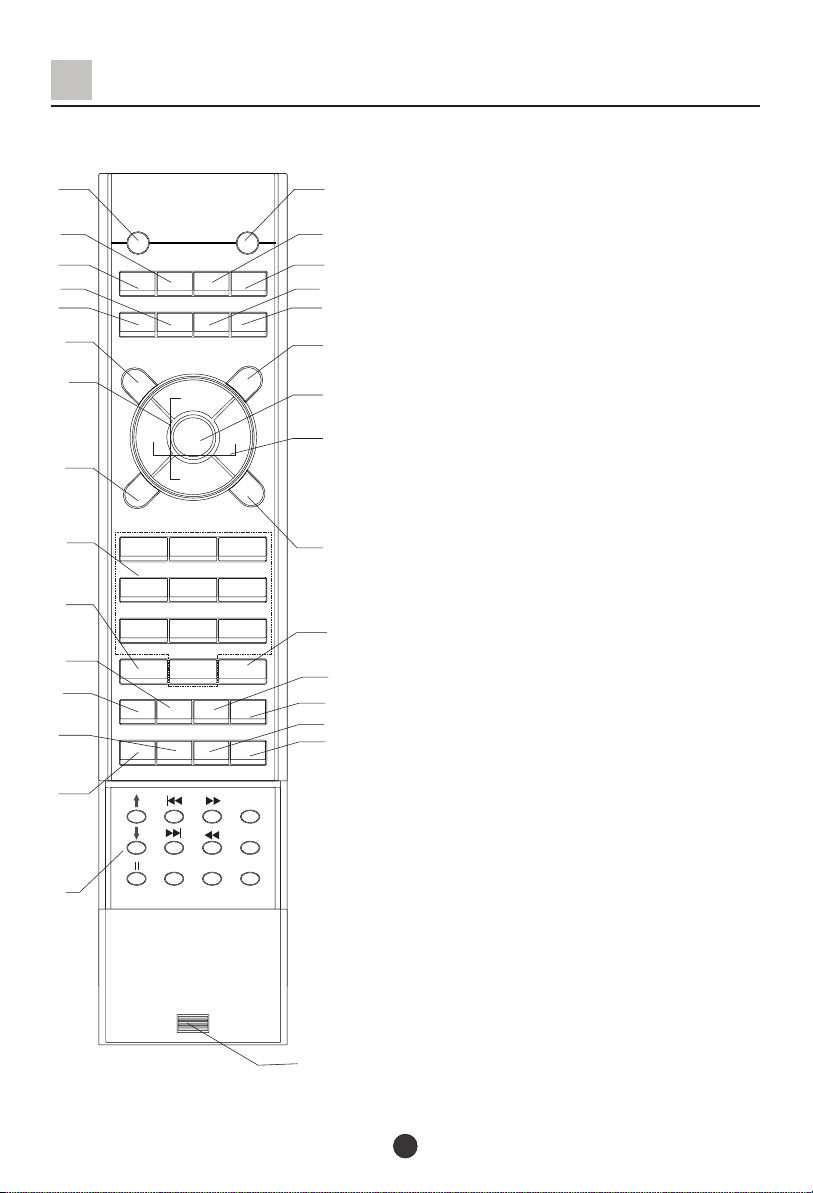
Keys of remote control
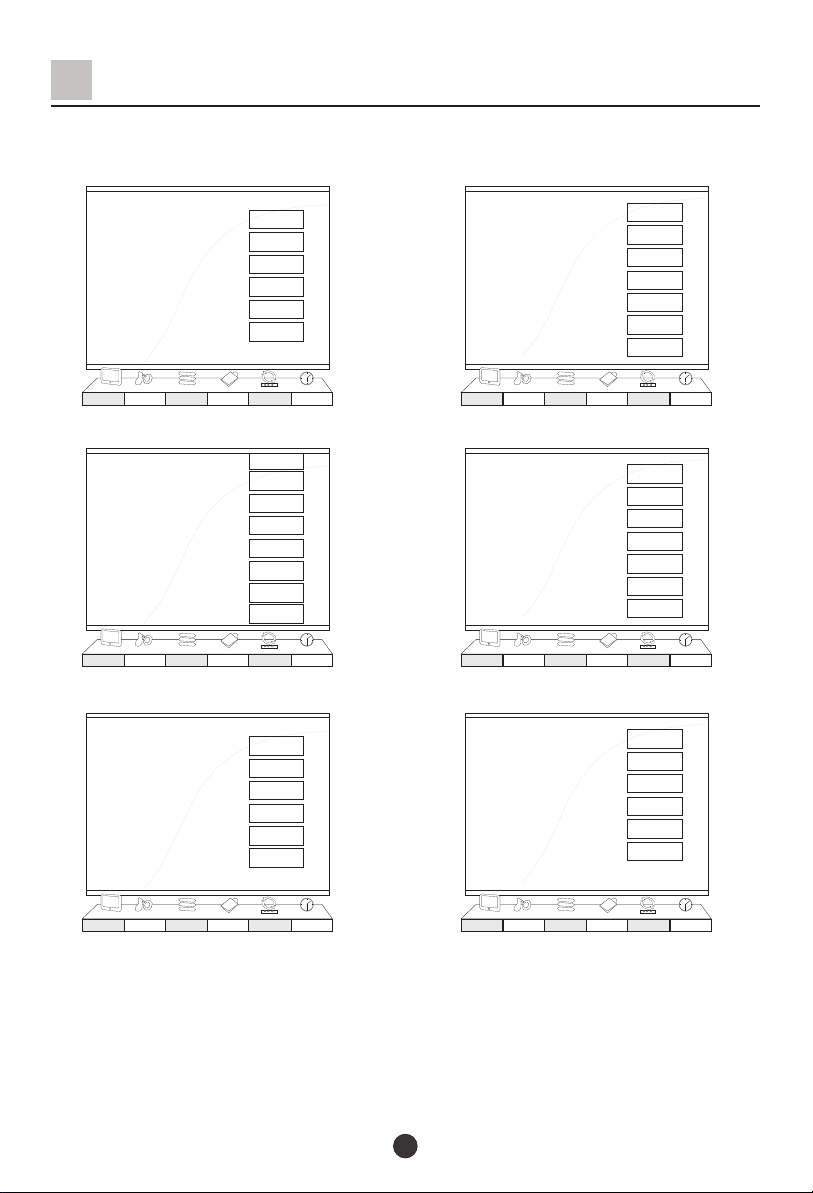
OSD display
Power on / off
Viewing TV program
Program play
Quick view and program scan
Tuning
Automatic search
Manual search
MFT
Skip
Channel exchange and edit
Adjusting the picture
Multiple picture modes
Adjusting the sound
Multiple sound modes
Sound limit and mute
Setting the timer
Setting the Clock and time on/off
On Prog
Setting the function
Language and OSD position
Menu timeout and menu background option
PIP
Child lock
De-interlace
PC setup
Setting the other function
Picture still,sleep timer and program edit
Stream media broadcast system
Connecting additional equipments
Antenna connection
How to connect the signal with other equipments
How to connect the video input terminal
How to connect the component input terminal
How to connect the PC input terminal
External speaker installation
Woofer installation
Troubleshooting
Specification
...............................................................
...............................................................
...............................................................
...............................................................
...............................................................
...............................................................
...............................................................
...............................................................
...............................................................
...............................................................
...............................................................
...............................................................
...............................................................
...............................................................
...............................................................
...............................................................
...............................................................
...............................................................
...............................................................
...............................................................
...............................................................
...............................................................
...............................................................
...............................................................
...............................................................
...............................................................
...............................................................
...............................................................
...............................................................
...............................................................
...............................................................
...............................................................
...............................................................
...............................................................
...............................................................
...............................................................
...............................................................
...............................................................
...............................................................
...............................................................
...............................................................
...............................................................
...............................................................
...............................................................
...............................................................
...............................................................
1
3
4
4
4
5
6
7
8
9
9
10
11
11
12
13
14
15
16
16
17
17
18
19
19
20
21
21
22
23
23
24
25
26
26
27
36
36
37
38
38
39
40
40
41
42