manuals.online logo
Brands
  1. Home
  2. •
  3. Brands
  4. •
  5. Haier
  6. •
  7. Washer
  8. •
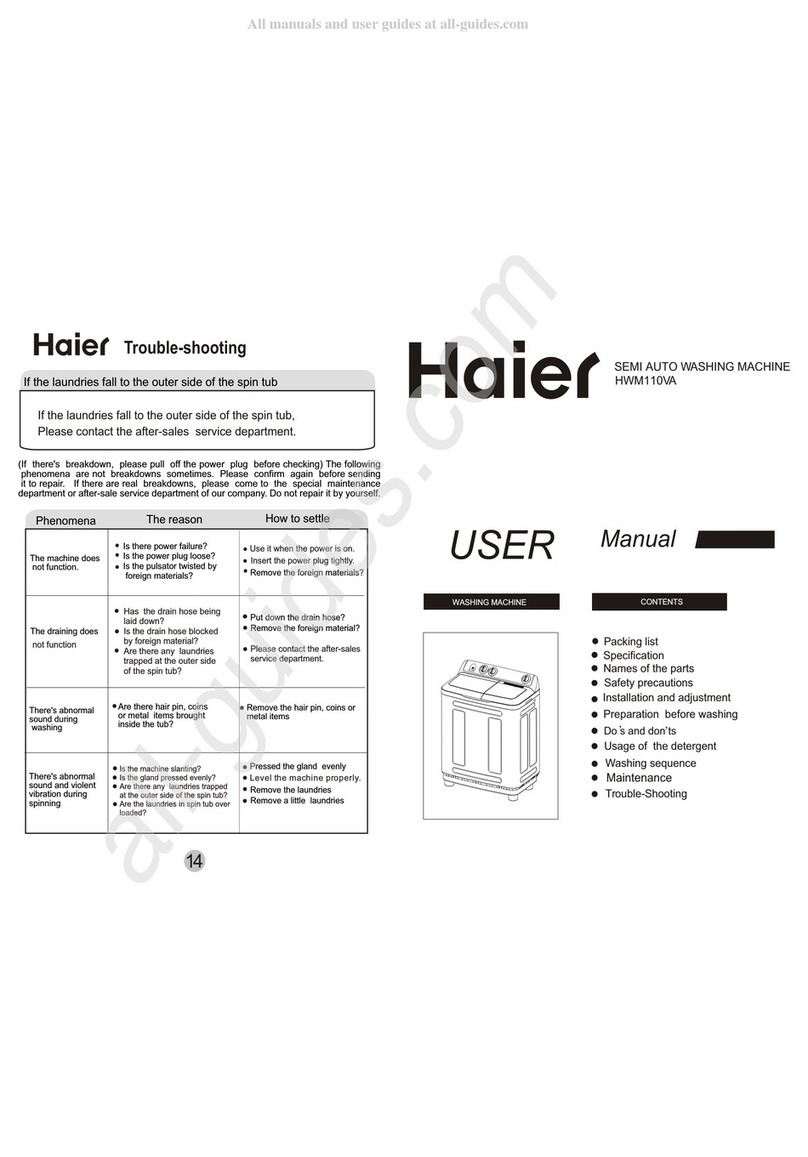
  9. Haier HWM130-0677 User manual

Haier HWM130-0677 User manual

Other Haier Washer manuals

Haier XQJ50-31 User manual

Haier

Haier XQJ50-31 User manual

Haier JW-W120A User manual

Haier

Haier JW-W120A User manual

Haier HWM-2.0/S User manual

Haier

Haier HWM-2.0/S User manual

Haier HWM30-22P User manual

Haier

Haier HWM30-22P User manual

Haier HW60-1081 User manual

Haier

Haier HW60-1081 User manual

Haier AC-8888-07 User manual

Haier

Haier AC-8888-07 User manual

Haier HW60-1479 User manual

Haier

Haier HW60-1479 User manual

Haier JW-K60B User manual

Haier

Haier JW-K60B User manual

Haier HWM68VA User manual

Haier

Haier HWM68VA User manual

Haier GWT750AW User manual

Haier

Haier GWT750AW User manual

Haier HWMP60-118 User manual

Haier

Haier HWMP60-118 User manual

Haier HT1200TXVE User manual

Haier

Haier HT1200TXVE User manual

Haier HWM30-22P User manual

Haier

Haier HWM30-22P User manual

Haier JW-G42A User manual

Haier

Haier JW-G42A User manual

Haier HT1600TXVE User manual

Haier

Haier HT1600TXVE User manual

Haier HU-HA501 User guide

Haier

Haier HU-HA501 User guide

Haier XPB90-99VGS User manual

Haier

Haier XPB90-99VGS User manual

Haier HW120-B14876N User manual

Haier

Haier HW120-B14876N User manual

Haier HNR500TX Owner's manual

Haier

Haier HNR500TX Owner's manual

Haier ONX-1010 User manual

Haier

Haier ONX-1010 User manual

Haier HWM75-1279 User manual

Haier

Haier HWM75-1279 User manual

Haier HWF 5300 AW User manual

Haier

Haier HWF 5300 AW User manual

Haier HW80-1482-F User manual

Haier

Haier HW80-1482-F User manual

Haier HWM-13.0/S User manual

Haier

Haier HWM-13.0/S User manual

Popular Washer manuals by other brands

Zanussi ZWF 14080 W user manual

Zanussi

Zanussi ZWF 14080 W user manual

Zanussi FV 825 N Instruction booklet

Zanussi

Zanussi FV 825 N Instruction booklet

LG WM8000HVA Specifications

LG

LG WM8000HVA Specifications

Whirlpool 3RGSC9400 Use and care guide

Whirlpool

Whirlpool 3RGSC9400 Use and care guide

Zanussi TJ 1284 H instruction manual

Zanussi

Zanussi TJ 1284 H instruction manual

AEG KO-LAVAMAT 74740 User information

AEG

AEG KO-LAVAMAT 74740 User information

Beko WSRE7512PRA user manual

Beko

Beko WSRE7512PRA user manual

Whirlpool LA5OOOXP Use and care guide

Whirlpool

Whirlpool LA5OOOXP Use and care guide

Miele PW 6207 operating instructions

Miele

Miele PW 6207 operating instructions

GE GE Profile WWSE3160AAA Specifications

GE

GE GE Profile WWSE3160AAA Specifications

Bush WMNB712EB instruction manual

Bush

Bush WMNB712EB instruction manual

ALLIANCE UW60AV Information manual

ALLIANCE

ALLIANCE UW60AV Information manual

Bosch WAN280H3 User manual and installation instructions

Bosch

Bosch WAN280H3 User manual and installation instructions

Maytag MAT15MNAW installation instructions

Maytag

Maytag MAT15MNAW installation instructions

LG T2109VSAL owner's manual

LG

LG T2109VSAL owner's manual

Indesit IWC 61481 Instructions for use

Indesit

Indesit IWC 61481 Instructions for use

Electrolux EWF12843 user manual

Electrolux

Electrolux EWF12843 user manual

Indesit WIN 70 Instructions for use

Indesit

Indesit WIN 70 Instructions for use

manuals.online logo
manuals.online logoBrands
  • About & Mission
  • Contact us
  • Privacy Policy
  • Terms and Conditions

Copyright 2025 Manuals.Online. All Rights Reserved.

HWM130-0677
Washing Machine
USE & CARE GUIDE
MODEL:
TABLE OF CONTENTS
PAGE
2-3
4
4
5
9
9
10
10
10
11
13
13
14
14
15
17
18
18
Back Cover
IMPORTANT SAFETY INSTRUCTIONS.................
OPERATING INSTRUCTIONS.....................................
Parts and Features.........................................................
Operating instructions.....................................................
Normal Operating Sounds...............................................
Lint Filter ......................................................................
CARE AND CLEANING GUIDE.......................................
Cleaning and Maintenance.............................................
Moving & Vacationing.......................................... .. .. .. .....
TROUBLE SHOOTING................................................
INSTALLATION INSTRUCTIONS...................................
Tools and Materials Required.........................................
Unpacking Your Washer.................................................
Levelling Your Washer....................................................
Steps for Installation......................................................
ELECTRICAL REQUIREMENTS....................................
Power Interruptions.......................................................
SPECIFICATIONS ...........................................
Install the inner cover.....................................................
1
IMPORTANT SAFETY INSTRUCTIONS
Warning - To reduce the risk of fire, electric shock, or
injury when using your appliance, follow basic
precautions, including the following:
1. Read all instructions before using the appliance.
2. Use this appliance only for its intended purpose as described in
this user and care guide.
3. Use only detergents or softeners recommended for use in this
appliance and keep them out of the reach of children.
4. This appliance must be properly installed in accordance with the
installation instructions before it is used.
5. Never unplug your appliance by pulling on the power cord.
Always grasp the plug firmly and pull straight out from the outlet.
6. Replace worn power cords, loose plugs and power outlets
immediately.
7. Unplug your appliance before cleaning or before making any
repairs. Repairs should only be done by authorised technician..
8. Do not operate your appliance when parts are missing or broken.
9. Do not tamper with controls.
10. Do not operate your appliance in the presence of explosive
fumes or toxic flammable vapours.
o
11. Do not use hot water that exceeds 60 C in temperature. This
refers to hot water entering the machine. If temperature
cannot be controlled, use WARM wash only.
12. Do not use this appliance to wash clothes which are stained,
spotted or washed in gasoline, dry cleaning solvents or any
other explosive or flammable substances that could ignite
and explode.
13. Do not add or mix any flammable or explosive substances to
the wash.
2
14. Do not try to remove clothes while the washer is in mo tion.
Wait until it come s to a complete stop.
15. The lid must be closed when the machine is in operation.
16. Do not use this appliance for comme rcial applications.
17. Do not operate this appliance unless all panels are properly intact.
18. The appliance is not to be used by children without adult supervision.
19. This appliance mu st be connected to an approved electrical outlet
with 240V power source.
20. Do not repair or replace any part of the appliance, this can only by
done by an authorised technician.
21. To reduce the risk of electric shock or fire, do not use extension
cords or adapters to connect the unit to electrical power source.
22. Ensure washer is kept free from obstacles.
23.Use the hoses provided.
3
Bleach injection inlet
Cabinet
Control panel
Control panel seat
Leveling legs
Top lid Door switch
Front door
3
2
4
7
6
5
1
8
Water
Level
Spin
Speed
Wash
Speed
Signal
Delay
Delay Time Estimated Time
Extra
Rinse Temp
Wash/Rinse
Cycles
Pause
Start
Hot/Cold
Warm/Cold
Cold/Cold
Warm/Warm
Process
Soak
Wash
Rinse
Spin
Light
Stain Wash
Heavy
Medium
Soil
Level
Quick wash
Delicate Casual
Wrinkle Control
Whites
Normal
Heavy Duty
Hand Wash
Colors
1
2
3
4
5
67
9
8
10
11
12
13
14
15
16
Inner cover
9
10
11
12 Balance ring
13 Inner tub
14 Paddle
Outer tub cove r
16 Drain hose
joint
Filter, Filter Cover
15 Pulsator
On/Off
Power
4
Parts and Features
OPERATING INSTRUCTIONS
5
Operating Instructions
Heavy Duty
Whites
Normal
Colors
Cycles
Quick wash
Delicate Casual
Wrinkle Control
Hand Wash
Process
Soak
Wash
Rinse
Spin
Extra
Rinse
Wash
Speed
Delay Time
Spin
Speed Delay
Estimated Time
Water
Level
Signal
Light
Stain Wash
Heavy
Medium
Soil
Level
Temp
Wash/Rinse
Hot/Cold
Warm/Cold
Cold/Cold
Warm/Warm
On/Off
Power
Pause
Start
F
ABCDEGHIJKL
(A) Cycles
Wrinkle Control
Delicate Casual
Quick Wash
Hand Wash
Colours
Whites
Heavy Duty
Normal
Ideal for washing large and heavily soiled
wash loads
Suitable for washing cottons and linens and
loads which are moderately or heavily soiled
For washing color fabrics.
A gentle wash effect
For quick washing of . It
takes only 24-30 minutes without extra rinse
lightly soiled loads
For washing of delicate fabrics
Assists to reduce creasing and for easy ironing
(B)Process
Hand Wash, Quick Wash,
Delicate Casual and Wrinkle Control.
Water level indicator will shut off if only Spin option is selected.
Select the washing process suited to wash requirements.
Soak option will not work in the Cycles:
For clothes that are uneasy to wash and need
good rinse
6
(C)Extra Rinse
Once a program is selected, press this button to
Note: Extra Rinse should be used if only Rinse cycle is selected.
(D & E) Wash Speed/Spin Speed
For selecting the speed of washing or spinning.
add an extra rinse.
(F)Delay
When delay option is selected the indicator light will display a
minimum delay of 2 hours. Push button once for every additional
hour. Can be used up to 24 hours. The display will indicate the
number of hours until program starts.
(G) Water level
Water levels may be set at the beginning of the wash or when
machine is paused.
During Soak, Wash or Rinse press this button to manually
replenish water. Release button to stop fill. Function automatically is
inactive when water reaches the overflow protection level.
(H) Signal
Indicator volume can be adjusted to suit tone level (soft, loud or off).
(I) Soil Level
Pressing this button will alter the washing time to suit the soil level
of washing.
Wash cycle increases 2 minutes with each press of the button.
(J) Temp
Allows selection of water temperature to suit wash and rinse.
(K) Power On/Off
Push the button to turn machine on. Press again to turn off.
7
(L)Start/Pause
Once washer is powered and selections are chosen, push this
button once to start washing.
While machine is in operation, push this button once to pause cycle.
If unit is in Pause mode, push this button once to resume operation.
Delay Start and Estimated Time Indicator
This displays the time remaining in the cycle.
When Delay is activated, it displays remaining hours before cycle
starts.
Indicates fault codes or system failure in report mode
Loading the Washer:
Separate the white and coloured items. Separate heavily soiled
items from light delicates.
Carefully check all pockets and cuffs for small items.
(They can easily slide into the wash and may cuase damage)
Pre-treat all stains and heavily soiled areas for best results.
Load each item loosely.
Do not overload your washer.
When loading wet items, keep water level high enough so items
can float easily in the water.
Close the lid after loading the items. With the lid open, the washer
will not start.
8
Proper Use of Detergent:
It is good washing practice to add the detergent to the water before
you add the clothes so that the detergent can work effectively
through the water and your clothes.
Note: You can less or more detergent depending on the size of the
load, water type in your region, whether it is soft or hard and
whether the clothes are heavily soiled or lightly soiled.
Bleach Dispenser:
Bleach dispenser is located on the front corner under the lid.
Fill dispenser with manufacturer's recommended amount of bleach
during first water fill.
Note: Use only liquid bleach in dispenser.
Warning: Be careful not to spill undiluted bleach onto the washer
cabinet or your clothes. As it may damage your clothes
and/or the finish of the washer.
Use the manufacturer s chart, on product container
for recommended use of bleach.
9
The following sounds are normally heard during the operation
of the washer:
Tumbling sounds: This is normal as the heavy wet clothes in the
washer are continuously being lossed around.
Air rushing noise: This happens when the washer tub spins at
very high speeds.
Wash and Rinse cycles going on and off will also make clicking
sounds.
Softener
Please follow softener instructions for dose usage.
Before washing put the softener into the softener inlet.
Try to avoid adding softener if using delay wash option.
The softener may harden and may cause limited performance.
Normal Operating Sounds
Softener inlet
SOFTENER
Is located on the inner tub top rim.
The lint filter mu st be used during washing.
Lint Filter
Install
Install
Take off
Take off
It is recommended that it be cleaned after each wash.
1. Remove the lint filter by clicking outwards
2. Open the lint filter casing and wash
under running water
3. To reinstall the lint filter, locate
bottom into groove and push in