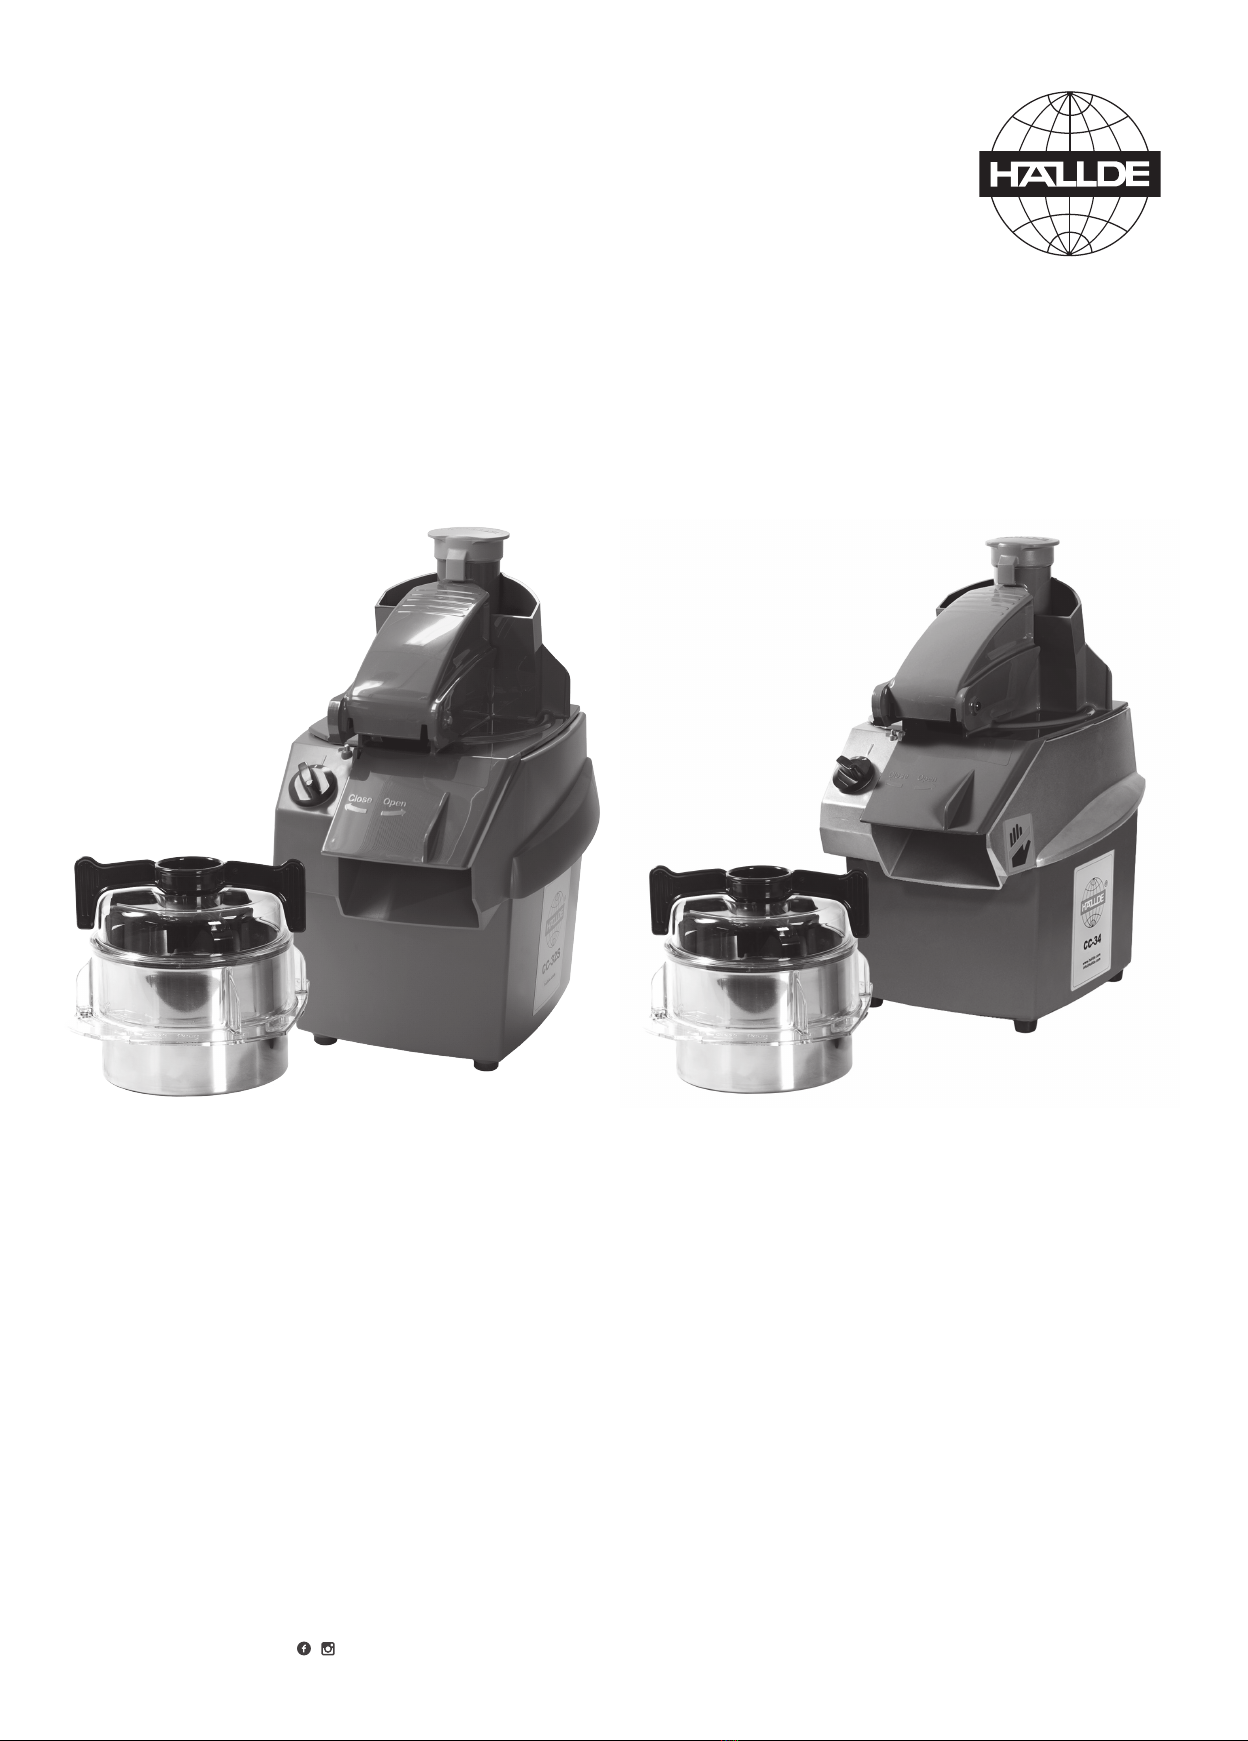
HALLDE • User Instructions
THE CUTTER/ BOWLATTACHMENT:
Place the bowl on the machine base so that
the locating plate of the bowl is inserted into
the recess on the top of the machine base.
Place the knife on the shaft and rotate the
knife while pressing it down so that it sinks
completely into its coupling.
Fit the sealing ring into the groove on the
inside of the lid.
Grip the centre of the scraper ring and place
the lid on the scraper ring.
Place the scraper handle on top of the lid and
the scraper ring under it. Turn the scraper
handle anti-clockwise as far as it will go in the
scraper ring and the three parts are joined.
Place the lid on the bowl so that the text “Close
Open” is at 5 o’clock in relation to the outlet of
the machine base.
Turn the lid clockwise as far as it will go.
DISMANTLING
THE VEGETABLE PREPARATION
ATTACHMENT:
Turn the vegetable preparation attachment
anti-clockwise as far as it will go then lift it off.
Turn the cutting tool clockwise and lift it off.
Lift off the dicing grid.
Lift off the ejector plate.
THE CUTTER/ BOWLATTACHMENT:
Turn the lid anti-clockwise as far as it will go
and lift away the lid/scraper.
Press the scraper ring and the scraper handle
together, while rotating the scraper handle
clockwise as far as it will go and separate the
three parts.
Rotate the knife clockwise as far as it will go
and remove the knife and lift off the bowl.
If the contents of the bowl are liquid it should
be emptied before the knife is removed.
USING THE SPEED CONTROL
During dicing and slicing of fragile foods such
as tomatoes, etc., it is recommended that the
speed control is set in the “I” position to give
extra slow/gentle processing and the best
results.
With the speed control in the “O” position the
machine is switched off. In the “I” position the
machine operates continuously at low speed
and in the “II” position continuously at high
speed. In the “P” (pulse) position the machine
operates until the speed control is released
(cutter/ bowl attachment).
CLEANING
Read all of the instructions before you begin
to clean the machine.
BEFORE CLEANING: Always switch off the
machine and remove the power supply plug
from the socket. Alternatively, if the machine
does not have a plug, open the isolating switch.
Remove all the removable parts that are to be
cleaned. If the machine is tted with a vertical
cutter/mixer attachment remove the scraper
blades and sealing ring as well.
CLEANING IN A DISHWASHER: All removable
parts are machine washable.
CLEANING BY HAND: Always use hand
dishwashing liquid.
CLEANING MATERIALS: Use a dish brush to
clean the food zones. The knife shaft in the
centre of the machine can be cleaned with a
small bottlebrush. Use a damp cloth to wipe
down the other surfaces on the machine.
DISINFECTING: Use isopropyl alcohol (65–
70%). Isopropyl alcohol is highly inammable
so use caution when applying it.
WARNING:
• Do not pour or spray water onto the sides
of the machine.
• Do not use boiling or hot water.
• Do not use sodium hypochlorite (chlorine)
or any agent containing this substance.
• Do not use sharp objects or any objects not
intended for the purpose of cleaning.
• Do not use abrasive detergents or cleaning
products.
AVOID: Do not use cleaning sponges with
scouring pads (e.g. Scotch-Brite™) unless
absolutely necessary. This roughens the
surface and makes it less water repellent.
ADVICE ON CARE:
• Clean the machine immediately after use.
• Dry the machine immediately after cleaning
to avoid oxidation and discoloration of the
surface.
INFORMATION: If the machine is left damp
for longer periods stains will appear. These
stains are harmless but the original surface
will lose its lustre. Vegetables and fruit contain
acids. Depending on which products are
processed this will have an effect on the metal
after varying periods of time. It is therefore
important to clean the machine immediately
after processing salty and acidic products.
TROUBLE SHOOTING
To eliminate the risk of damage to the
motor, the CC-34 is tted with thermal motor
protection that automatically switches off the
machine if the temperature of the motor should
become too high. The thermal motor protection
has automatic reset, which means that the
machine can be started again when the motor
has cooled down, which usually takes between
10 and 30 minutes.
FAULT: The machine will not start or stops
while running and cannot be re-started.
REMEDY: Check that the power plug is properly
inserted in the wall socket or, alternatively, set
the main switch to the “I” position. Check that
the fuses in the wall box for the premises
have not blown and have the correct ampere
rating. Check that the vegetable preparation
attachment is correctly fitted and that the
handle of the vegetable preparation machine
has been lowered. Check that the bowl and lid
are correctly tted. Wait for up to 30 minutes
and then try to start the machine again. Call in
a qualied service mechanic for action.
FAULT: Low capacity or poor processing
result when using the vegetable preparation
attachment.
REMEDY: Select the right cutting tool. Always
use the ejector plate. Check that the knives and
grater/shredder plates are whole and sharp.
Press the food down loosely with less force.
FAULT: Low capacity or poor processing
results when using the cutter/ bowl attachment.
REMEDY: Separate the foods into smaller,
evenly-sized pieces, max. 3x3x3 cm. Process
for a shorter or longer period of time. Process
a smaller amount each time. Always have the
scraper tted and use it as required.
FAULT: The cutting tool cannot be removed
when using the vegetable preparation
attachment.
REMEDY: Always use the ejector plate. Use
a thick leather glove or other glove that the
blades of the cutting tool cannot cut through
and remove the cutting tool by turning it
clockwise.
TECHNICAL SPECIFICATION
HALLDE CC-34
CAPACITY AND VOLUME: Processes up to
2 kg. per minute with the Vegetable preparation
attachment depending on the type of cutting
tool and foods. Volume of the vegetable
preparation attachment: 0.9 litres. Diameter of
the feed tube: 53 mm. Cutter/ bowl attachment:
gross volume of bowl: 3 litres. Net volume of
bowl with free-owing liquid: 1.4 litres.
MACHINE BASE: Motor: 1.0 kW. 100-120 V,
Single phase, 50-60 Hz. 220–240 V, single
phase, 50/60 Hz. Thermal motor protection.
Transmission: maintenance-free toothed belt.
Safety system: Two safety switches. Degree
of protection: IP34. Power supply socket:
Earthed, single phase, 10 A. Fuse in fuse box
for the premises: 10 A, delayed. Sound level:
LpA (EN31201): 76 dBA during cutting and 82
dBA during chopping. Magnetic eld: Less than
0.1 microtesla.
CONTROLS AND SPEEDS: Four speeds
(HALLDE 4-Speed) for perfect processing
results in connection with both vegetable
preparation attachment and cutter/ bowl
attachment. Automatic speed setting (HALLDE
Auto-Speed) that senses whether the vegetable
preparation attachment or the cutter/ bowl
attachment is tted. During cutting with the
vegetable preparation attachment the machine
operates at 500 rpm in the “I” position and 800
rpm in the “II” position, and during chopping
with the cutter/ bowl attachment 1,450 rpm in
position ”I” and 2 650 rpm in position ”II”. The
pulse function operates at 2 650 rpm during
chopping with the cutter/ bowl attachment, in
”P” position.
CUTTING TOOLS AND CHOPPING KNIFE:
The diameter of the cutting tools is 185 mm.
The diameter of the chopping knife is 170 mm.
NET WEIGHTS: Machine base: 8.6 kg.
Vegetable preparation attachment complete
but excluding cutting tools: 1 kg. Cutting
tools: approx. 0.3 kg average. Fast chopping
attachment complete but excluding knife:
1.4 kg.
NORMS/STANDARDS: NSF STANDARD 8,
see declaration of conformity.