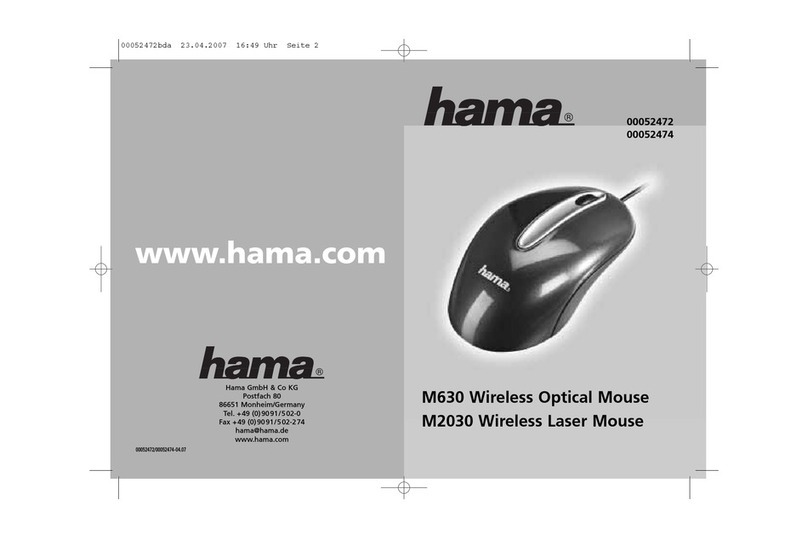
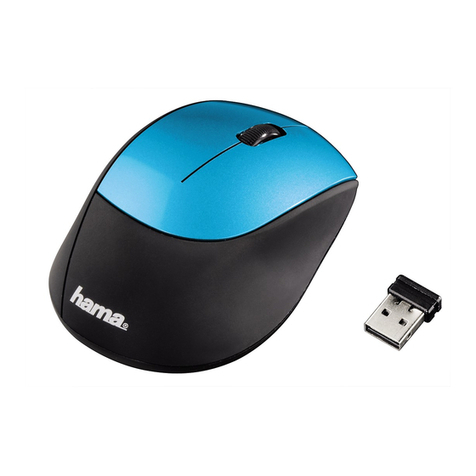
Hama M2110 Assembly instructions

00052393_00052394/07.09
All listed brands are trademarks of the corresponding companies. Errors and omissions excepted,
and subject to technical changes. Our general terms of delivery and payment are applied.
PO Box 80 · 86651 Monheim/Germany
Phone: +49 9091 502-0
Fax: +49 9091 502-458
http://www.hama.com
dDie Konformitätserklärung nach der R&TTE Richtlinie 99/5/EG finden Sie unter www.hama.com
gSee www.hama.com for declaration of conformity according to R&TTE Directive 99/5/EC guidelines
fLa déclaration de conformité à la directive R&TTE 99/5/CE se trouve sur www.hama.com
eLa declaración de conformidad según la directiva R&TTE 99/5/CE la encontrará en www.hama.com
oDe conformiteitsverklaring conform de R&TTE-richtlijn 99/5/EG vindt u onder www.hama.com
iLa dichiarazione di conformità secondo la direttiva R&TTE 99/5/CE è disponibile sul sito www.hama.com
pA declaração de conformidade segundo a directiva R&TTE 99/5/CE pode ser consultada em www.hama.com
sKonformitetsförklaring enligt R&TTE riktlinje 99/5/EG finner du på www.hama.com
mRadio- ja telepäätelaitteita koskevan direktiivin 99/5/EY mukainen vaatimustenmukaisuusvakuutus löytyy osoitteesta
www.hama.com
q
Deklaracja zgodności według dyrektywy R&TTE 99/5/EG dostępna na stronie internetowej www.hama.com
h
A megfelelőségi követelmények megegyeznek az R&TTE Irányelvek 99/5/EG ajánlásaival www.hama.com
c
Prohlášení, o shodě podle směrnice R&TTE 99/5/EG, naleznete na www.hama.com
v
Prehlásenie o zhode podľa R&TTE smernice 99/5/EG nájdete na www.hama.com
k
Τη δήλωση συμμόρφωσης σύμφωνα με την οδηγία 99/5/EΚ περί R&TTE θα τη βρείτε στη διεύθυνση www.hama.com
u
Заявление о соответствии товара нормам R&TTE 99/5/EG см. на веб-узле www.hama.com
tR&TTEDirektifi 99/5/EG’ye göre uygunluk beyanı için www.hama.com adresine bakınız.
r
Declaraţia de conformitate conform directivei 99/5/UE din R&TTE o găsiţi la www.hama.com
j Overensstemmelseserklæringen i henhold til R&TTE-retningslinierne finder du under HYPERLINK
„http://www.hama.com”
n Samsvarserklæringen i henhold til R&TTE-direktiv 99/5/EF finner du på www.hama.com

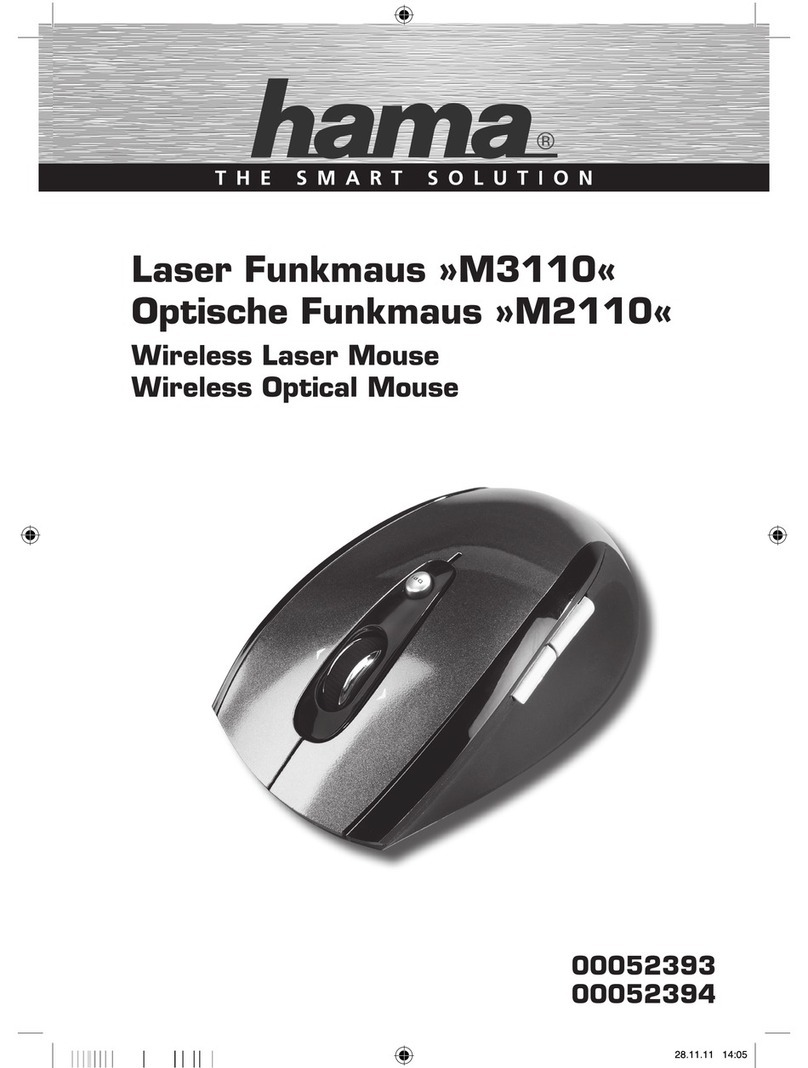
Laser Funkmaus »M3110«
Optische Funkmaus »M2110«
Wireless Laser Mouse
Wireless Optical Mouse
NOTEBOOK
00052394
00052393

2
1. Hardware Installation
1.1 Einlegen der Batterie
a) Entfernen Sie die Batteriefach-Abdeckung
und legen die Batterie polrichtig in das
Batteriefach (abb. 1).
b) Bringen Sie die Batteriefach-Abdeckung
wieder so an, dass sie fest verschlossen ist.
c) Stellen Sie den ON-OFF Schalter auf der
Unterseite der Maus auf „ON“.
1.2 Anschließen des Nano Empfängers
a) Verbinden Sie den Nano-Empfänger mit einem
freien USB-Anschluss Ihres eingeschalteten
Computers
b) Der USB-Empfänger wird von Windows erkannt
und in das Betriebssystem eingebunden.
c) Durch die Smart-Link Technologie ist die Maus
mit Standardfunktionen sofort einsatzbereit.
d) Um den vollen Funktionsumfang Ihrer Funkmaus
nutzen zu können, ist es notwendig die
mitgelieferte Software zu installieren
(siehe dazu Punkt 6).
2. Batteriekontrollanzeige (abb. 2)
Bei zu geringer Batteriespannung beginnt die
Batteriekontrollanzeige zu blinken. Die Maus
funktioniert zwar noch einige Zeit, Sie sollten aber so
bald wie möglich die Batterie austauschen.
Hinweis: Das Einschalten der Maus sowie eine neu
eingelegte Batterie wird durch 10X-liges blinken der
Batteriekontrollanzeige angezeigt
3. DPI-Umschalter
Drücken Sie den DPI-Umschalter (abb.2)
kurz um die Empfindlichkeit zwischen 800-1600 dpi
(M2110: 500-1000 dpi) umzuschalten.
Die Abtastung wird bei höherer dpi-Zahl präziser und
der Mauszeiger bewegt sich bei gleicher Bewegung
schneller.
dInstallationshinweise
Ein/Ausschalter
+-
abb. 1
Lasersensor
(M2110: Optischer Sensor)
DPI-Umschalter
Batteriekontrollanzeige
abb. 2
Nano-Empfänger
Slot für Nanoempfänger

3
4. Tastenfunktionen der seitlichen Zusatztasten
4.1 Folgende Tastenfunktionen stehen im
Standardmodus zur Verfügung (abb 3) :
5. 4-Wege-Scrollrad
Das 4-Wege Scrollrad bietet einen besonders hohen
Navigationskomfort beim vertikalen und horizontalen
Bildlauf. Bitte beachten Sie, daß ein Bildlauf nur bei
vorhandenen vertikalen bzw. horizontalen Bildlaufleisten
möglich ist.
Darüberhinaus lässt sich das 4-Wege-Scrollrad durch
Drücken auch als Taste einsetzen.
6. Softwareinstallation
• Die Software unterstützt Windows 2000/XP/Vista/7
• Deinstallieren Sie eventuell bereits installierte
Maussoftware.
a) Legen Sie die beigelegte CD in Ihr CD-ROM oder
DVD-ROM Laufwerk.
Warten Sie einen Moment, und die Installations-
routine wird automatisch gestartet, ansonsten
starten Sie manuel die Datei „autorun.exe“ auf der
CD-ROM durch einen Doppelklick.
b) Nach erfolgter Installation können Sie durch einen
Doppelklick auf das Maus-Symbol
in der Taskleiste die Tasteneinstellungen Ihren
persönlichen Bedürfnissen anpassen.
Hinweis:
Bei den Betriebssystemen Windows Vista/7 wird der
Installationsvorgang zunächst durch die Benutzerkon-
tensteuerung mit der Meldung „Ein nicht identifiziertes
Programm möchte auf den Computer zugreifen“ ange-
halten. Klicken Sie auf „Zulassen“ um mit der Installation
fortzufahren.
7. Funktionsprobleme
Sollte die Maus nicht erwartungsgemäß funktionieren,
stellen Sie sicher, dass Sie folgenden Schritte genau
ausgeführt haben:
• Die Batterien sind neu und korrekt eingelegt
• Der Empfänger ist ordnungsgemäß an den
Computer angeschlossen
• Empfänger und Geräte befinden sich innerhalb
ihrer Funkreichweite
(je nach örtlichen Gegebenheiten max. 10m)
Seite
Rückwärts
Seite
Vorwärts
4-Wege-
Scrollrad
abb. 3

4
1. Hardware Installation
1.1 Inserting the battery
a) Remove the battery compartment cover and insert
the battery into the battery compartment, observing
correct polarity (fig. 1)
b) Replace the battery cover and ensure it is securely
closed.
c) Set the ON-OFF switch on the base of the mouse to
“ON”.
1.2 Connecting the nano receiver
a) Switch on your computer and connect the nano
receiver to a free USB port.
b) Window will detect and install the USB receiver.
c) Thanks to Smart-Link technology, the standard
functions of the mouse can be used immediately.
d) To use the full range of functions your wireless
mouse offers, you must install the provided
software (for more information, see point 6).
2. Battery Indicator Display (Fig. 2)
The battery indicator display starts to flash when the
battery voltage is too low.
Although the mouse will still function for some time
afterwards, you should change the battery as soon as
possible.
Note: When you turn on the mouse or insert a new
battery, the LED will flash 10 times.
3. DPI Switch
Briefly press the DPI switch (fig. 2) to toggle the sensiti-
vity between 800 and 1600 DPI (M2110: 500 and 1000 DPI).
The higher the DPI number, the more precise the scan-
ning is and the quicker the cursor will move in response
to the same mouse movement.
gInstallation hints
On/Off switch
+-
fig. 1
Laser Sensor
(M2110: Optical Sensor)
DPI switch
Battery indicator display
fig. 2
Nano receiver
Slot for Nano receiver

5
gOperating Instruction
4. Functions of the Additional Side Buttons
4.1 The following button functions are available in
standard mode (fig. 3):
5. 4-Way Scroll Wheel
The 4-way scroll wheel provides especially comfortable
navigation for vertical and horizontal scrolling. Please
note that scrolling is only possible if there is a vertical or
horizontal scroll bar.
In addition, the 4-way scroll wheel can be clicked and
used as a button.
6. Software Installation
• The software can be used with
Windows 2000/XP/Vista/7.
• Uninstall any mouse software that may already be
installed.
a) Insert the CD provided into your CD-ROM or
DVD-ROM drive.
Wait a few moments and the installation process will
start automatically. If the software does not open
automatically, you can open it manually by double
clicking the file “autorun.exe” on the CD-ROM.
b) Once the software has been successfully installed,
you can double-click the mouse icon
in the task bar to adjust the button settings according
to your personal preference.
Note:
If you are using Windows Vista or Windows 7,
installation will be interrupted by the User Access
Control message “An unidentified program wants to
access your computer”. Click “Allow” to proceed with
the installation.
7. Functionality Problems
If the mouse does not function as expected, please
ensure that you have taken the following steps:
• The batteries are new and have been inserted
correctly.
• The receiver is correctly connected to the computer
• The receiver and other devices are within their
communication range (max. 10 m depending on local
conditions)
Previous
page
Next
page
4-way
scroll wheel
fig. 3

6
1. Installation du matériel
1.1 Insertion de la pile
a) Ouvrez le couvercle du compartiment à pile et insérez
la pile dans le logement en respectant la polarité
(fig. 1).
b) Replacez le couvercle du compartiment à pile de
manière à ce qu’il soit bien fermé.
c) Placez l’interrupteur ON-OFF de la face inférieure de
la souris sur la position « ON ».
1.2 Connexion du nano récepteur
a) Raccordez le nano récepteur à un port USB libre
de votre ordinateur (sous tension).
b) Le récepteur USB est alors détecté par Windows
et intégré à votre système d’exploitation.
c) Grâce à la technologie Smart Link, votre souris et
ses fonctions standard sont utilisables
immédiatement.
d) Il est nécessaire d’installer le logiciel fourni
(voir point 6) afin de profiter pleinement de toutes
les fonctions de votre souris radio.
2. Voyant de contrôle de la pile (fig. 2)
Le voyant de contrôle de la pile clignote dès que le
niveau de la pile est insuffisant.
La souris continue certes à fonctionner pendant
quelques temps, mais vous devriez remplacer la pile
dès que possible.
Remarque : le voyant de contrôle de la pile clignote 10
fois lors de la mise sous tension de la souris ainsi que
lors de l’insertion d‘une pile neuve.
3. Commutateur dpi
Appuyez brièvement sur le commutateur dpi (fig. 2)
afin de sélectionner la sensibilité (commutation entre
800 et 1600 dpi - M2110 : 500-1000 dpi). La détection est
plus précise avec un nombre de dpi plus important et le
pointeur de la souris se déplace plus rapidement (pour
des mouvements identiques).
fIndications d‘installation
Interrupteur marche/arrêt
+-
fig. 1
Détecteur laser
(M2110 : détecteur optique)
Commutateur dpi
Voyant de contrôle de la pile
fig. 2
Nano récepteur
Logement du nano
récepteur

7
gOperating Instruction
4. Fonctions des boutons latéraux supplémentaires
4.1 Les fonctions de boutons suivantes sont disponibles
en mode standard (fig. 3) :
5. Molette à 4 directions
La molette à 4 directions vous garantit un excellent
confort de navigation lors du défilement vertical et
horizontal. Veuillez noter que le défilement est possible
uniquement en présence de barres de défilement
horizontal ou vertical.
De plus, vous pouvez également appuyer sur la molette
à 4 directions et l‘utiliser comme un bouton.
6. Installation du logiciel
• Le logiciel prend en charge Windows 2000/XP/Vista/7
• Désinstallez d’autres logiciels de souris
éventuellement installés.
a) Insérez le CD fourni dans votre lecteur de CD-ROM
ou de DVD-ROM.
Patientez jusqu’à ce que le programme d’installation
démarre automatiquement ; si tel n’est pas le cas,
double-cliquez sur le fichier « autostart.exe » du
CD-ROM.
b) Une fois l‘installation terminée, vous pouvez adapter
les réglages des boutons de votre souris à vos
besoins personnels en double-cliquant sur l‘icône de
la souris dans la barre des tâches.
Remarque :
Sous Windows Vista/7, la procédure d‘installation est
interrompue par le contrôle du compte utilisateur et le
message « Un programme non identifié veut accéder à
votre ordinateur » apparaît à l‘écran. Cliquez sur «
Autoriser » afin de continuer l‘installation.
7. Problèmes de fonctionnement
Dans le cas où la souris ne fonctionne pas correctement,
assurez-vous que vous avez bien effectué les étapes
suivantes :
• Les piles sont neuves et correctement insérées.
• Le récepteur est correctement connecté à votre
ordinateur.
• Le récepteur et les appareils se trouvent à portée
radio les uns des autres (10 m au maximum en
fonction de la configuration des lieux).
Page
précédente
Page
suivante
Molette à 4
directions
fig. 3
This manual suits for next models
3
Table of contents
Languages:
Other Hama Mouse manuals