6
Operating the Mixer
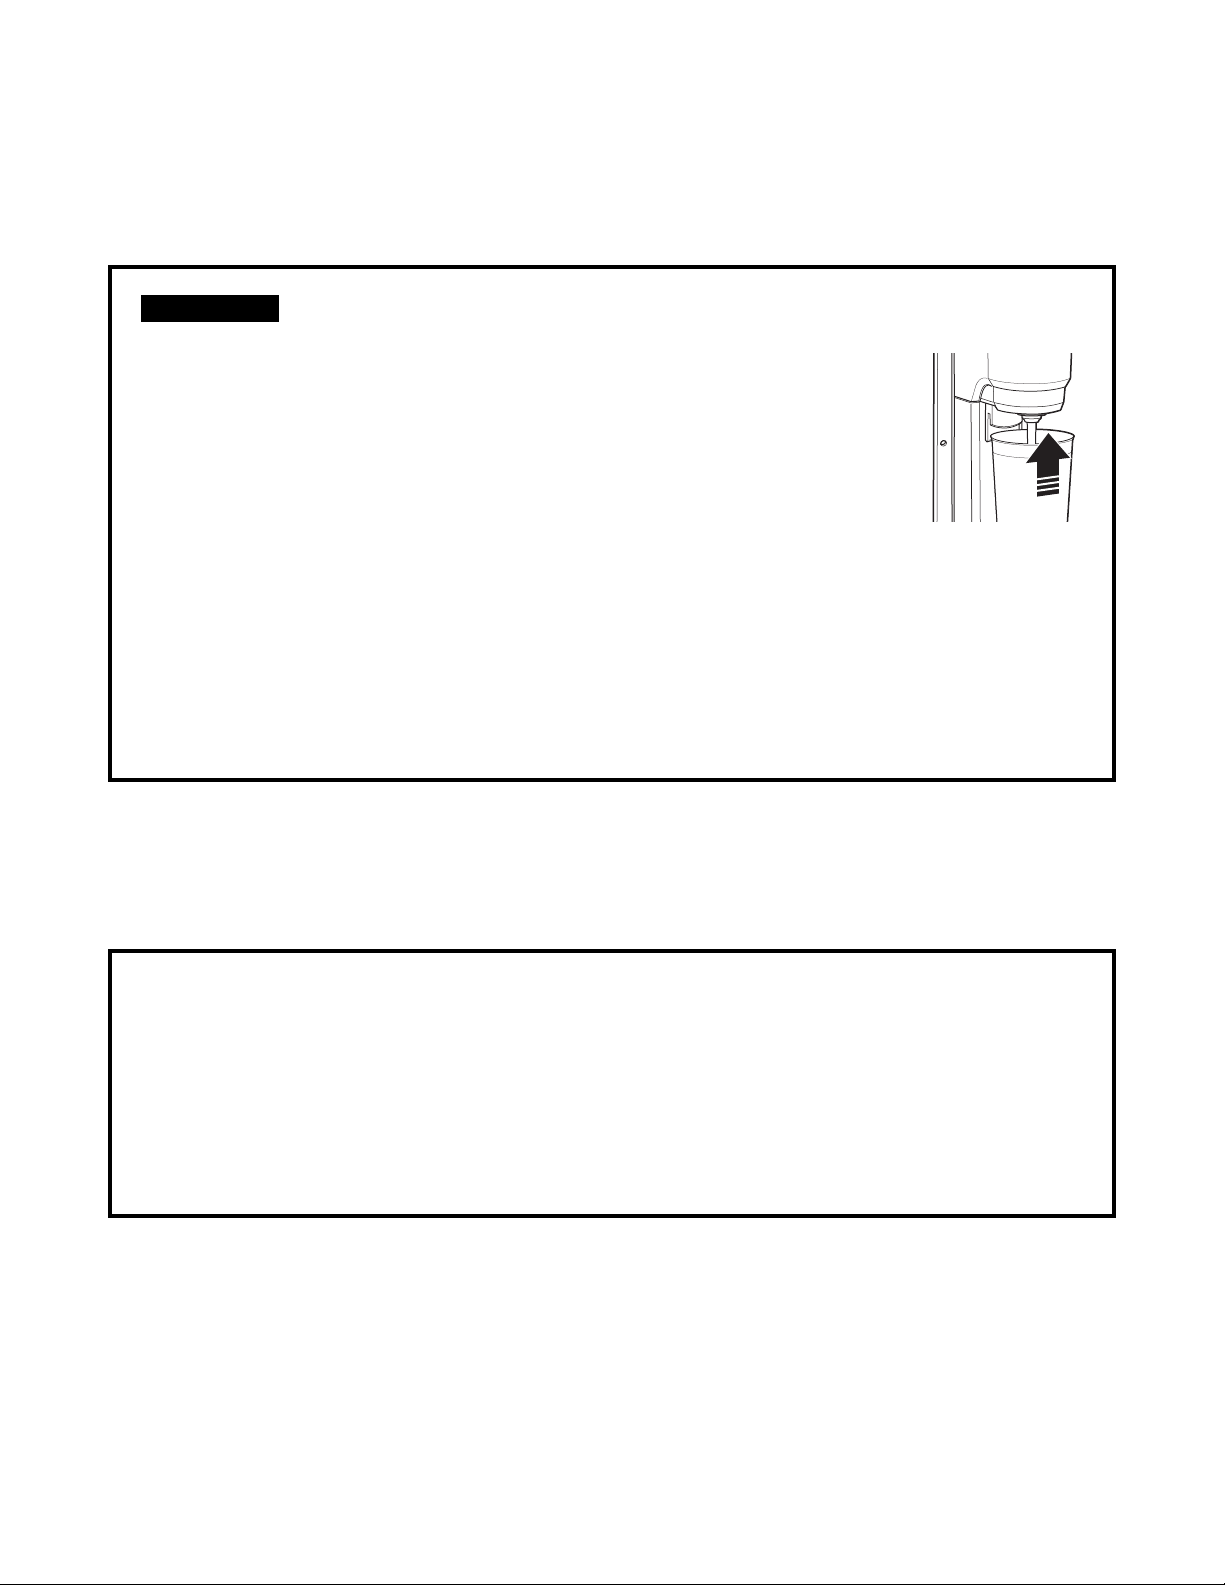
Replacing the Agitator
To replace the agitator:
1. Disconnect power to the mixer.
2. To remove the agitator, loosen
the screw by turning it counter-
clockwise with a straight-blade
screwdriver.
3. To install the new agitator, turn
the screw portion of the agitator
clockwise into the spindle and
hand-tighten. To prevent damage
to the agitator, do not use pliers
to grip agitator blades while
tightening or loosening. If necessary, pliers
may be used to hold the shaft during removal.
4. Reconnect power to the mixer.
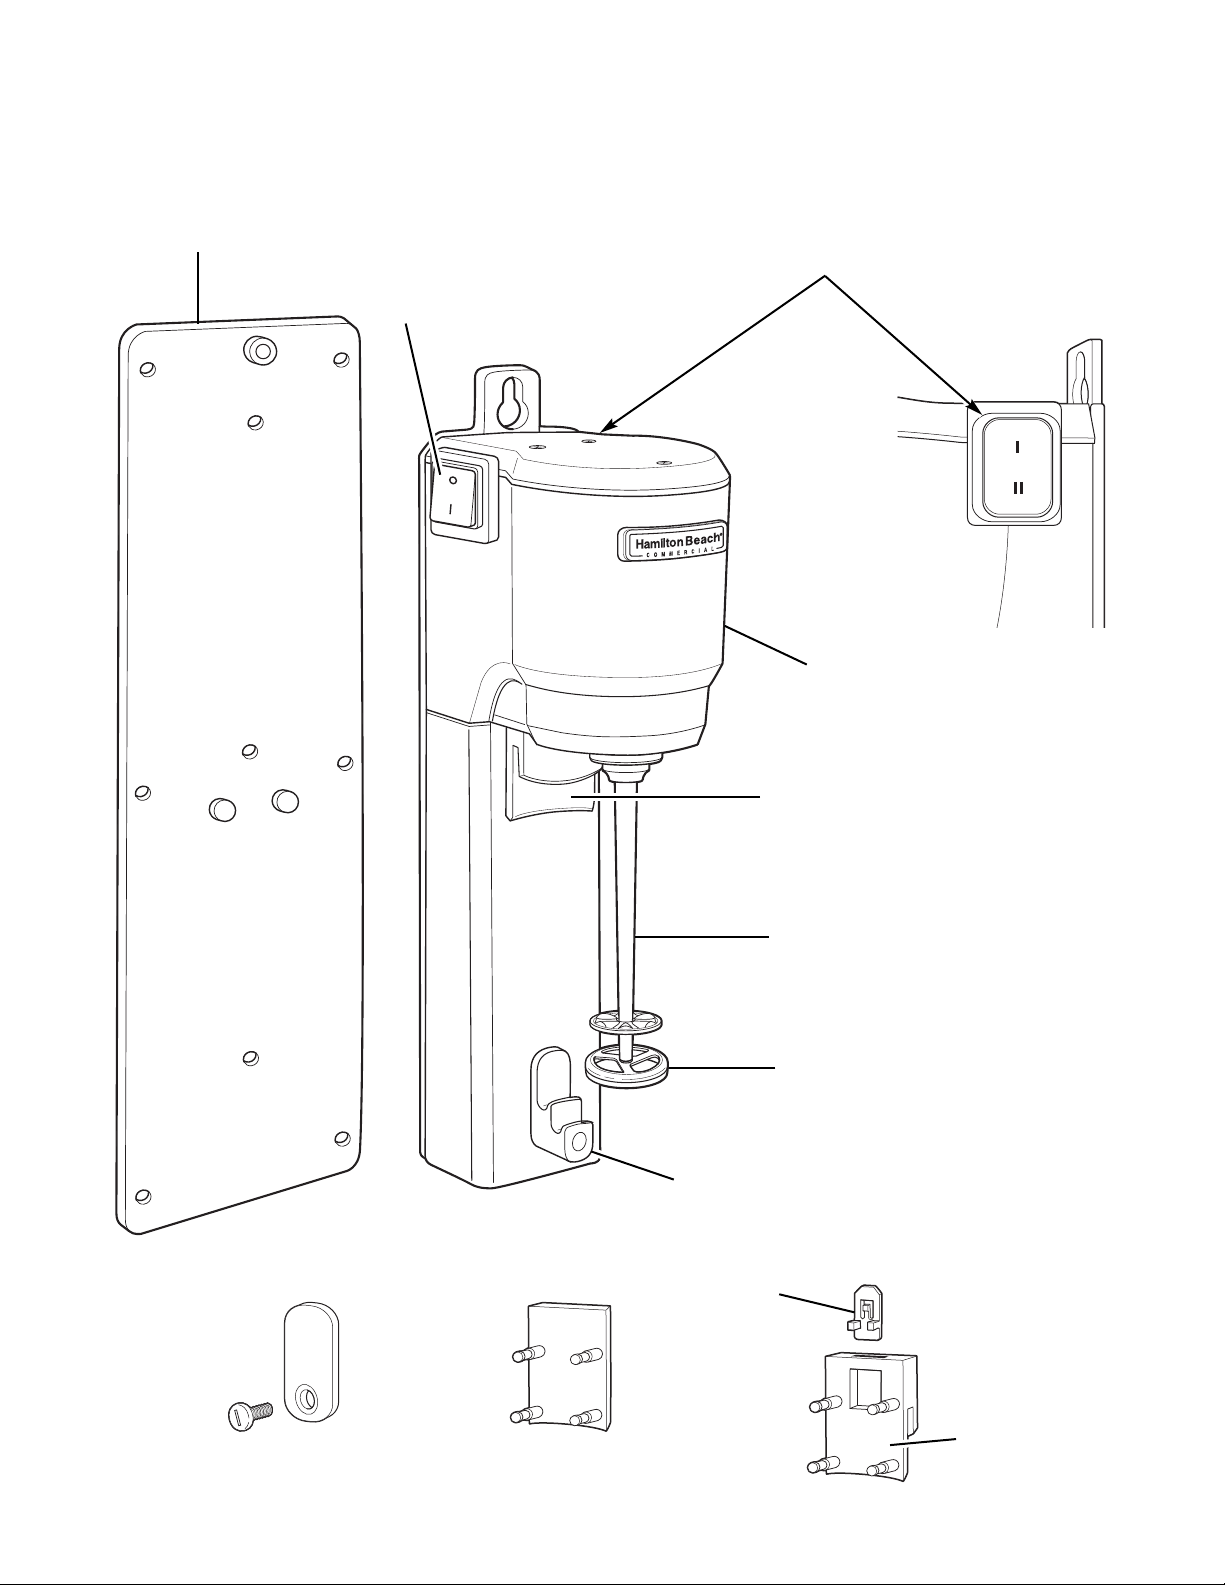
Your mixer was shipped with an agitator installed
on the spindle.
NOTE: Agitators wear with use. Inspect
agitators daily and replace every 90 days.
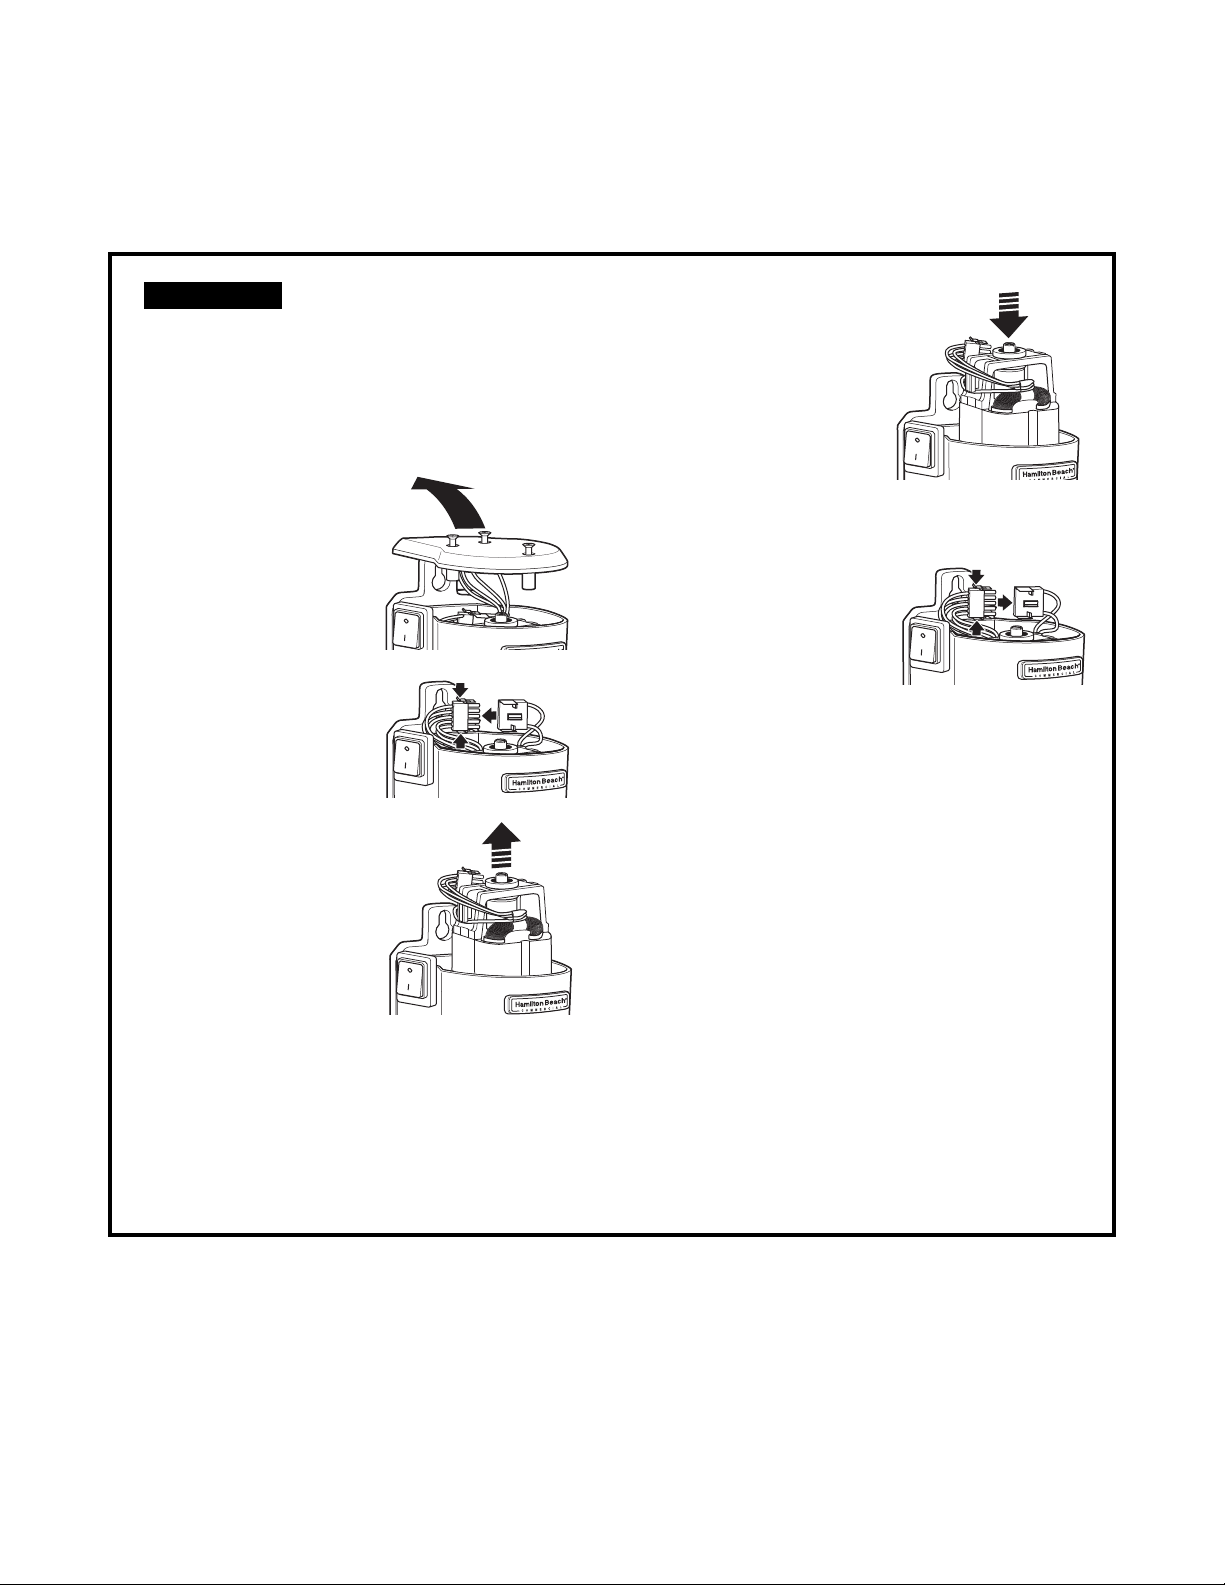
Removing/Installing the Container Guide, ON/OFF Actuator, and Housing Plug
To remove the container guide and ON/OFF actuator:
1. Unplug mixer.
2. Pull container guide straight
out.
3. To remove the plastic
ON/OFF actuator, press the
retainer clip and slide it out
of the container guide.
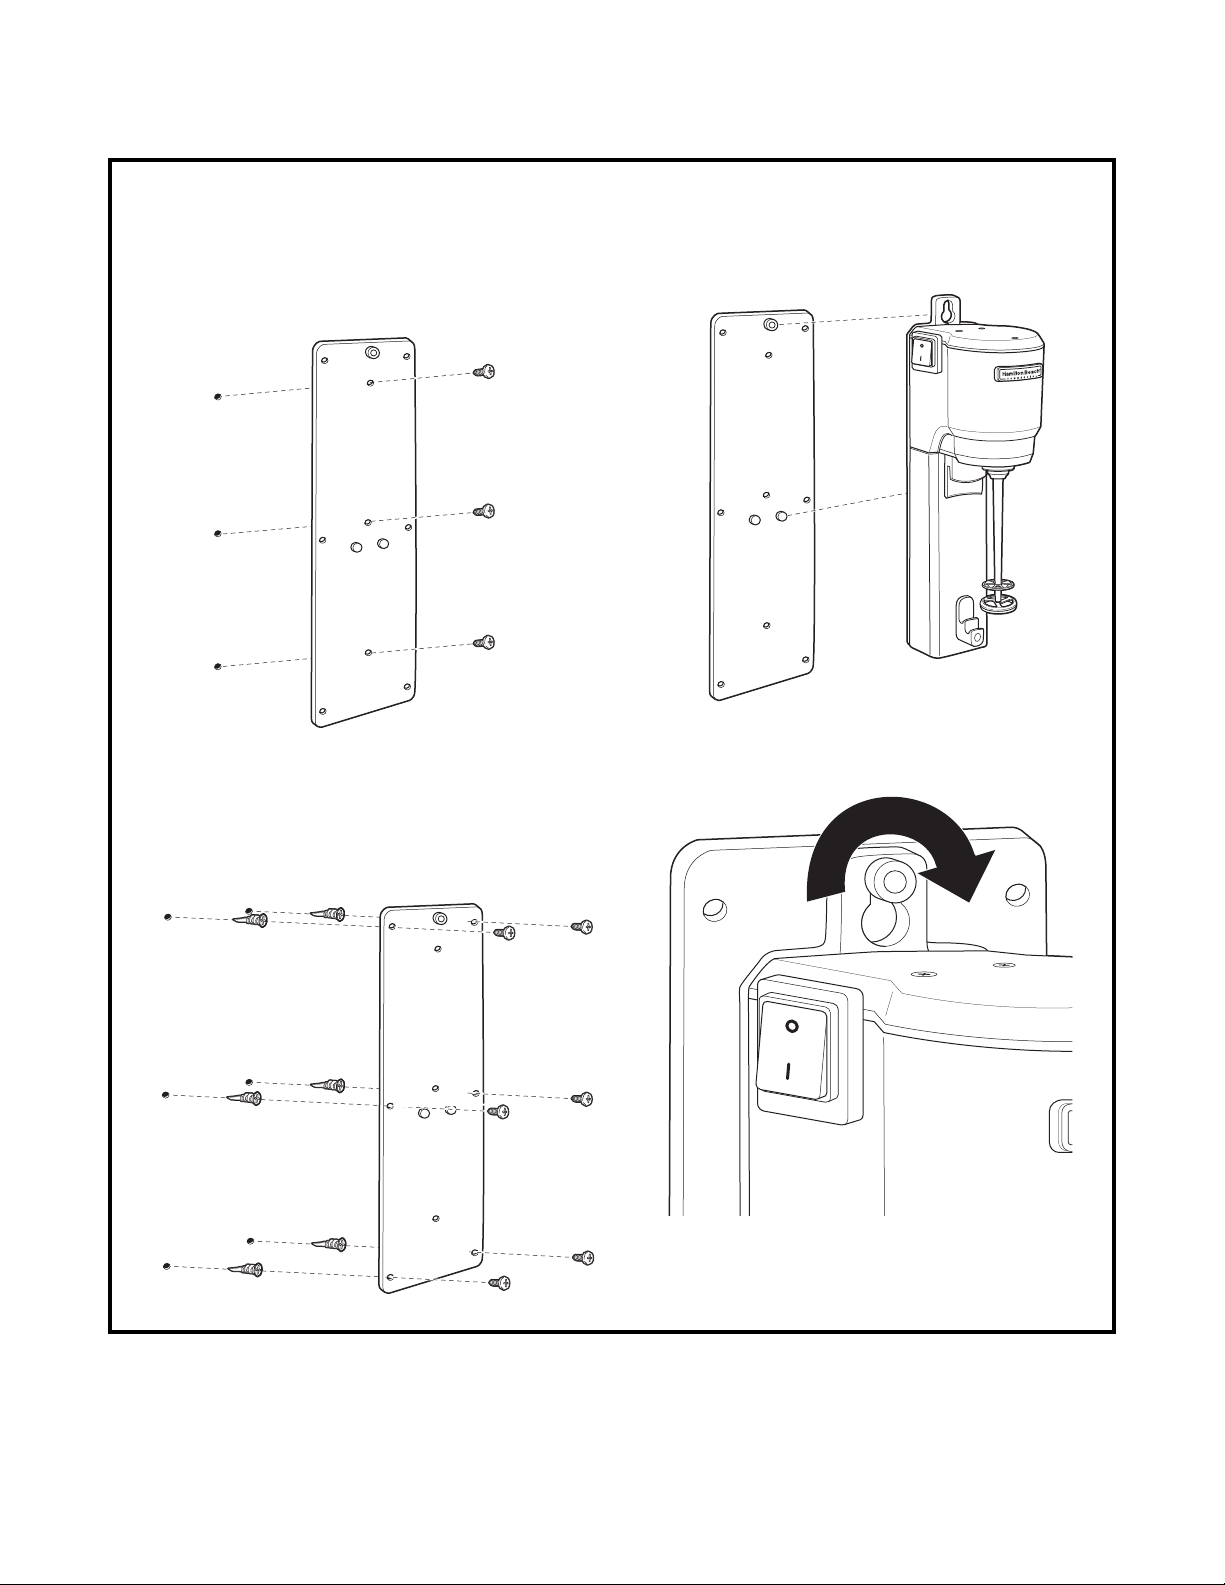
4. To replace, make sure mixer
is in an upright position, align
the four posts on the back of
the container guide with the
four holes on the mixer, and
press into place.
NOTE: You may also operate
the mixer without the container
guide and ON/OFF actuator.
Snap the included housing plug into the container
guide holes after removing the container guide. Use
the toggle switch to operate the mixer when using
the mixer without the container guide/ON/OFF
actuator.
The container guide and ON/OFF actuator are
removable for easy cleaning.
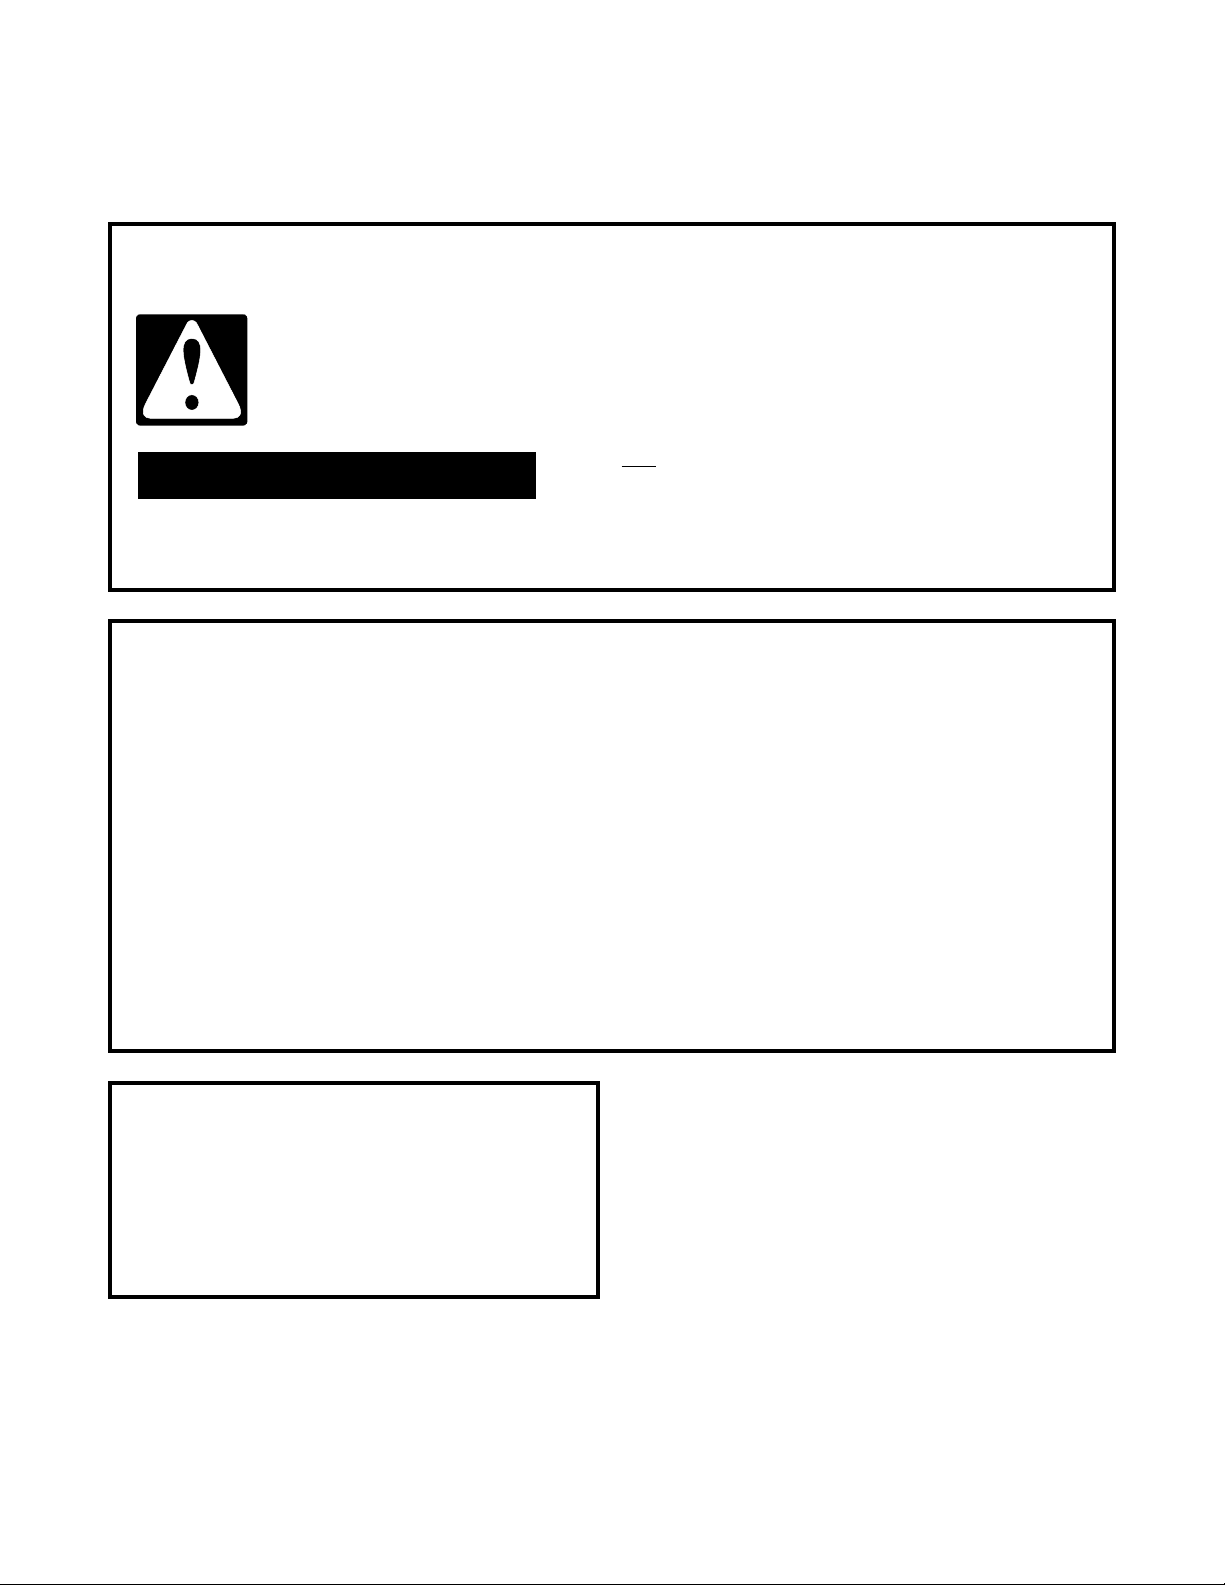
Cut Hazard.
Disconnect power before installing or removing
agitator. Failure to do so can result in serious
injury or cuts.
wWARNING
Cut Hazard.
Disconnect power before installing or removing
any parts. Failure to do so can result in serious
injury or cuts.
wWARNING