Hanover HANGHMN-2NAT User manual

You must read these instructions carefully before you start to assemble it.
the assembly of the whole product.
quantity as mentioned in the list.
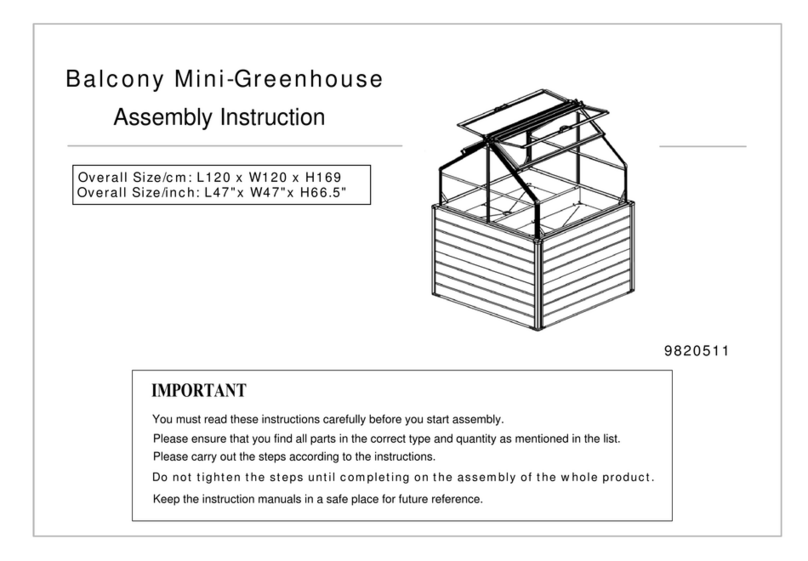
Overall Size/inch: L39"x W39"x H18.8"
Overall Size/CM: L100 x W100 x H48
9820111
Assembly Instruction
Do not tighten the steps until completing on
IMPORTANT
Please ensure that you find all parts in the correct type and
Please carry out the steps according to the instructions.
Keep the instruction manuals in a safe place for future reference.
Cold Frame

2
IMPORTANT
Ifyouhaveanyproblemswiththisproduct,please
DONOTRETURNTHISITEM
TotheRetailer/Storefromwhereyoupurchasedtheproduct.
Pleaseemailusanytimewiththenatureoftheproblemat:
ContactUs@Hanover‐Products.com
Pleaseinclude:
Picturesoftheissue(s)andreceipt(ifavailable)
NameandaddressofthePurchaser
Nameofretailer
OrcallourCustomerServiceteambetween9:00AMand5:00PMEasternTime,
MondaythroughFridayat:
1‐877‐397‐5144
orvisitourwebsiteat:
www.Hanover‐Products.com
Toexpediteanyfuturewarrantyclaims,pleaseretainyourreceiptforfutureuse.
Foradditionalon‐linesupportonassembly,troubleshootingandcare&maintenanceofyouroutdoor
product,pleasevisitourwebsiteat:www.Hanover‐Products.com.
8/1/2019

10FT
3
BEFORE YOU START
Owner's Manual
Assembly instructions
Instructions are supplied in this manual and contain all appropriate information for your
building model. Review all instructions before you begin. During assembly, follow the
step sequence carefully for correct results .Please be aware:
.
Parts
Check to be sure that you have all the necessary parts for the building.
Separate contents of the carton by the part number while reviewing parts list.
Familiarize yourself with the hardware and fasteners for easier use during
construction. These are packaged within the carton. Note that extra fasteners have been
supplied for your convenience.
TOOLS MAY REQUIRED
Use heavy duty gloves when handling steel sheets and flashing
PLAN AHEAD
Watch the weather:
Please be sure the day you select for installation is dry and calm.
DO NOT attempt to assemble your shed in windy weather
because of risk of damage to panels, or personal injury. Be careful
of wet or muddy ground.
Teamwork:
Whenever possible, two or more people should work together to
assemble the building. One person can position parts or panels
while the other is able to handle the fasteners and the tools.
1/10"
1/5"
5/16"

4
PARTS LIST

5
3.Window Frame Assembly
2.PC Panels of window installation
1.Window Brackets Installation
and tighten the screws F1.
Connect profiles W2 together with W1 & W3,
Insert the two brackets into the profiles W3.
Insert the panels into the profiles W1 & W2.
SUMMARY STATEMENT FOR INSTALLATION
WINDOW ASSEMBLY

6
pieces part 6#.
Please note there are 4
into each 6# part in different
Lock the F2 screw
Frame & Posts Installation
5/16"
Lock the F2 screws
Fix the parts 1,2,and 6
with 2 pieces F2 screws
at each corner.
grooves. 1 piece F2 screw
in each groove.
Pre-plance 2 pieces F2 screws
Insert 1 piece F2 screw into the
groove of part 4#, then lock the
part 4# with part 1 via this
screw.
Please note there are 2
pieces part 4#.

7
Wall Panels Installation Insert the wall PC panels
into the gooves of parts
6# and 4#.
Pre-place 2 pieces F2 screws
into the groove of each 10L
and 10R.
Fix parts 10L & 10R on the PC wall panels.
You can insert the corner of PC panels
into the groove of 10L & 10R and then
slide them along the pc panels.
4
4

8
10L
6
into the groove of each part 5.
Corner Reinforcement Installation
Front & Rear Frame Bars Installation
5/16"
Pre-place 2 pieces F2 screws
Fix the corner guards B3 and B4
with 1 piece F2 screw which was
pre-placed into the parts of
4# and 6#.
6
6
4
4
610R
10R
10L

9
pieces F2 screws pre-placed
into the part 10L & 10R.
Girder Installation
Side Reinforcement Installation
Girder
5/16"
6
6
6
4
4
Fix the side reinforcement 8#
with 1 piece F2 screw pre-placed
into the parts 4#,6# in previous
steps.
Fix the part B2 with the 2
10R
10L
10R
10L
Fix girder 7# with 2 pieces
F2 onto B2 at each end.

10
Install each girder cap S2 with
S6L
S4
Windows Installation
Plastic Corner Caps Installation
5/16"
2 pieces F3 and 2 pieces F4
screw.

11
3.During snowy months, please remove any snow from greenhouse to avoid any walls
or roofs from collapsing.
equipment and fix
2.When wind power reaches 40mph or above, you may need to set up defense
1.WARNING: If there is lightening, do not stay in or under the product. The frames
please wipe with a wet cloth.
1.The frames are made of aluminum alloy structure. If white spots or dirt is shown,
3.The boards/panels have flame retardant polycarbonate material applied to them
2.Clean films regularly to keep the light transmittance as clear as possible.
and is recommended to keep away from
1. Be careful not to have a sharp
1.Please prevent adding any increased weight to the product.
the greenhouse wall.
Maintenance:
PC Panel Maintenance:
object touch the film as it may scratch.
fire to avoid softening or deformation.
Frame Maintenance:
White spots are normal in a wet/warm environment.
Weather Protection:
is conductive, and may cause serious damage.

12
OutdoorProducts
1‐YearLimitedWarrantyProgram
Foraperiodofone(1)yearafterpurchase,Hanover(“Manufacturer”)willeitherrepairorreplacedefectivecomponentsinaccordance
withthisLimitedWarranty.ThiswarrantyisbetweenManufacturerandtheoriginalpurchaserandisvalidonlywhenaccompaniedby
theoriginalpurchaser’ssalesreceiptshowingoriginaldateofpurchaseandlocationofpurchase.Replacementsunderthiswarranty
revertbacktothedateoforiginalpurchaseforfuturewarranty.
Manufactureroritsauthorizeddealercanacceptorrejectwarrantyclaimsbasedonitsfindings.Thiswarrantyappliesinnormal
residentialuseonlyandisnotintendedforcommercialuse.Manufacturercanmakesubstitutionsasrequiredofmaterials,
components,andsub‐componentsofcomparablevalueandutility.Thiswarrantyislimitedtoproductrepairorreplacement(tobe
determinedsolelybyManufacturer).Warrantyreturnislimitedtoonlythesingleaffectedcomponent.
Thiswarrantycoversonlymanufacturingdefectsanddoesnotcovernormalwearandtear,damageduetoactsofnature,abuseor
misuse,includingchemicaldamagefromsuntanoilorotherchemicals,exposuretoextremeheatorcold,abrasionorexcessiveweight.
Thisproductisintendedtobeusedinstandardinstallationsonly.Thiswarrantyisinvalidiftheproductisnotusedforintended
purpose.Manufacturerdisclaimsliabilityforanyaspectofinstallationandanyinconveniencecausedbyadefectivepartofa
component.
Certainitemsarenotcoveredbythiswarranty.Theseinclude,butarenotlimitedtothefollowing:
1. Itemssubjectedtoabuse,includingabuseintendedtosimulatefailure.
2. Anypartwhichmerelyexhibitsnormalwearyetfunctionsessentiallyasnew,includingtears/rips,chips,scratchesor
stretchingofmaterialsandstitching.
3. Tears,rips,punctures,scratchesoranydamagecausedbyimproperinstallationoruse.
4. Fadingand/ordiscolorationofmaterialsresultingfromexposuretotheelements,chemicals,oils,fluidsoranyothercause
arenotcovered.
Tomakeaclaim,contactusbytheemailaddressorthetoll‐freenumberbelow.Pleasehaveavailableacopyoftheoriginalsales
receiptalongwithabriefdescriptionoftheproblem.Pleasealsoprovideyouremailaddressanddaytimetelephoneorcellphone#.
Allitemsmaybechargedactualfreightcostsplus$15forhandling.RepairsorreplacementwillbemadeattheManufacturer’s
option.Salesandusetaxes,plusshippingandhandlingchargesaretheresponsibilityoftheconsumer.
THISISTHEENTIREEXCLUSIVEEXPRESSLIMITEDLIABILITY.THEMANUFACTURERNEITHERMAKESNORISRESPONSIBLEFORANYOTHER
WARRANTIES,EITHEREXPRESSORIMPLIED,INCLUDINGTHOSEOFRETAILINGDEALERS.THISEXCLUSIVEREMEDYISLIMITEDTORECEIPTOFACREDIT
INCONNECTIONWITHTHEREPAIRORREPLACEMENTOFANYPRODUCTORCOMPONENTDEEMEDTOBEDEFECTIVEUNDERTHETERMSAND
CONDITIONSASSTATEDINTHISWARRANTY.NEITHERHANOVER,THEPRODUCTMANUFACTURERNORITSAGENTSSHALLBELIABLEINANYCASE
FORINCIDENTAL,INDIRECT,SPECIALORCONSEQUENTIALDAMAGESRESULTINGFROMTHEUSEOFTHISPRODUCTORARISINGOUTOFANYBREACH
OFTHISWARRANTYORNEGLIGENCEEVENIFITHASBEENADVISEDOFTHEPOSSIBILITYOFSUCHDAMAGES.EXCEPTASOTHERWISEMAYBE
REQUIREDBYLAW,THEREARENOOTHEREXPRESSORIMPLIEDWARRANTIESOTHERTHANTHEWARRANTYDESCRIBEDHEREIN,ANDALLOTHER
WARRANTIES,INCLUDINGANYIMPLIEDWARRANTYOFMERCHANTABILITYORFITNESSFORAPARTICULARPURPOSEAREEXPRESSLYDISCLAIMED.
ContactWarrantyServicesat1‐877‐397‐5144
Oremailusat:
ContactUs.Hanover‐Products.com
or
www.Hanover‐Products.com
8/1/2019
Table of contents
Other Hanover Greenhouse Kit manuals
Hanover
Hanover 9820511 User manual
Hanover
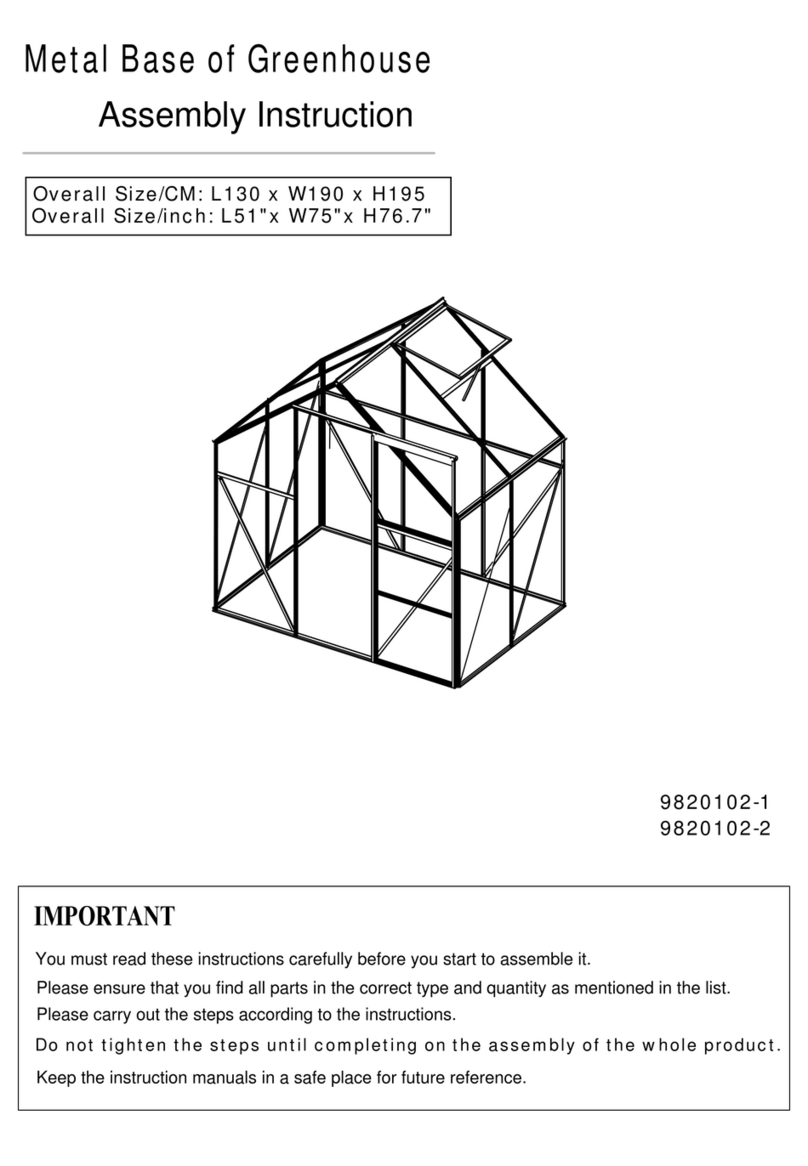
Hanover 9820102-1 User manual

Hanover
Hanover HANGHMN-1NAT User manual
Hanover
Hanover HANGRNHS6X6-NAT User manual

Hanover
Hanover HANGHGBMN-1WHT User manual

Hanover
Hanover HANGHMN-3NAT User manual
Hanover
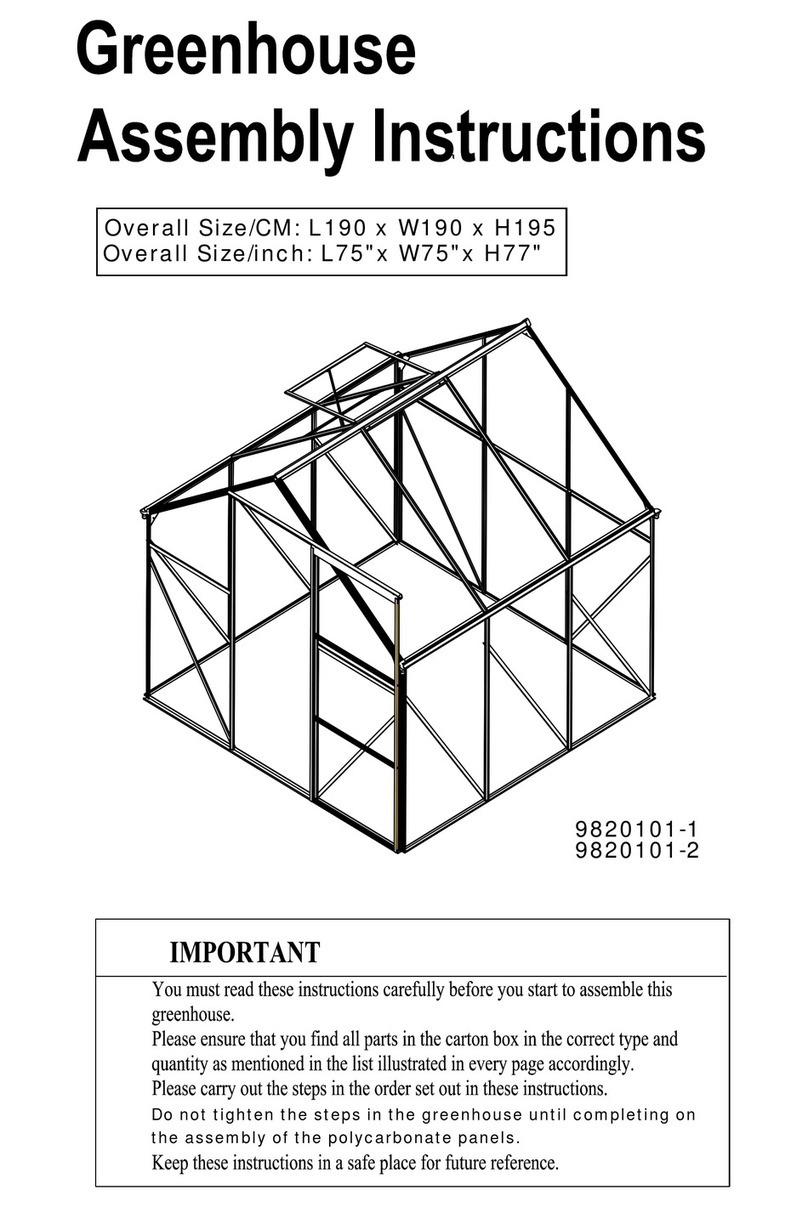
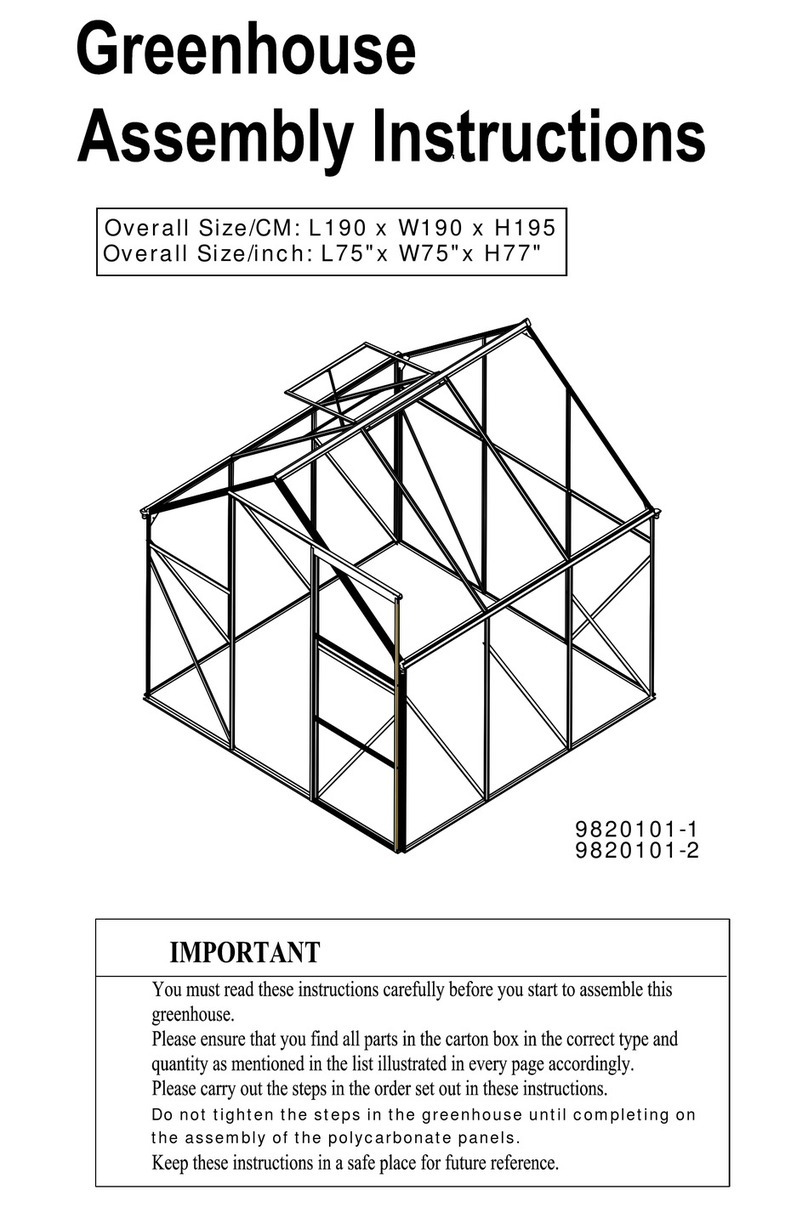
Hanover 9820101-1 User manual

Hanover
Hanover HANGRNHSP8X6-GRN User manual
Popular Greenhouse Kit manuals by other brands

Vitavia
Vitavia GAIA JUMBO Assembly instructions

Palram
Palram Harmony 6'x4' Assembly instructions

ClearSpan
ClearSpan Storage Master 104598 instruction manual

Sproutwell
Sproutwell GRANGE - 5 Assembly instructions

STC
STC Easy Grow 6x12 Greenhouse Assembly instructions

Growhouse
Growhouse Lean To 6 x 8 Erection and Glazing Instructions
