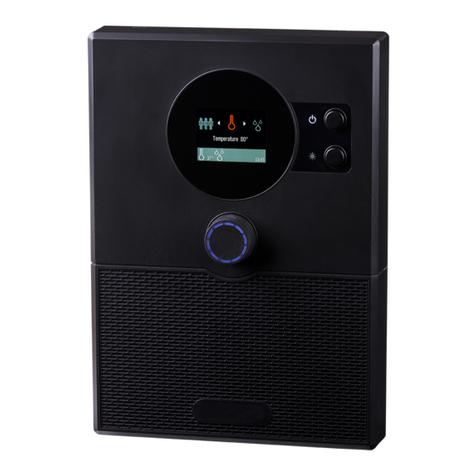
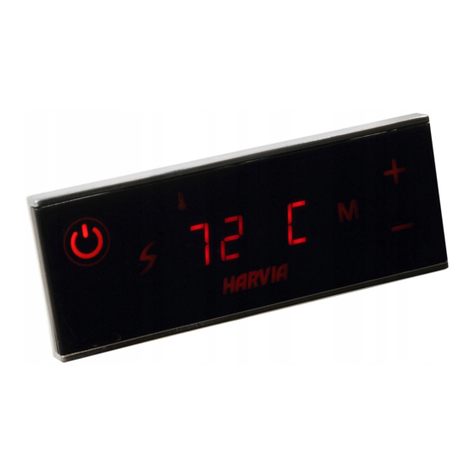
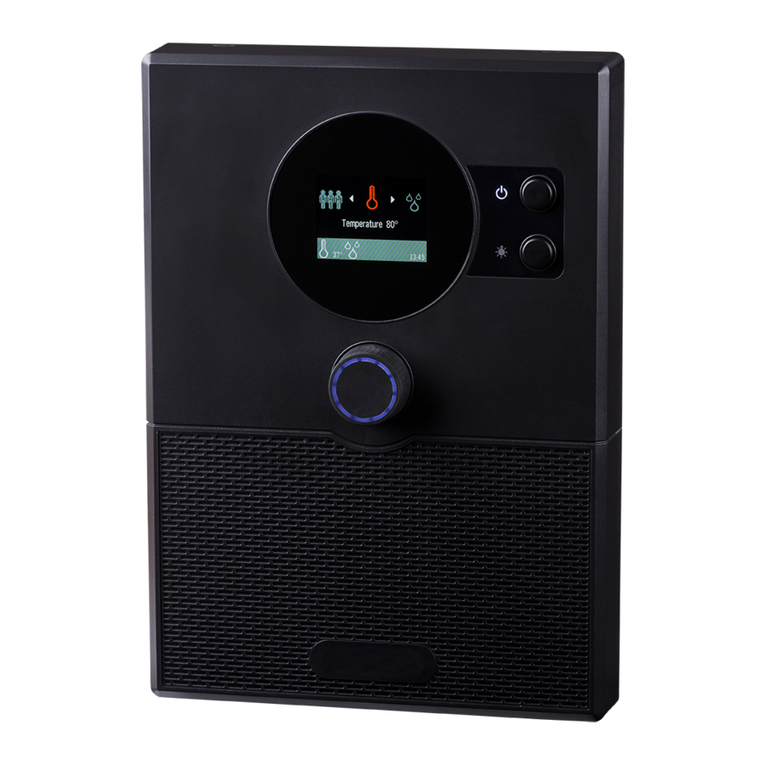
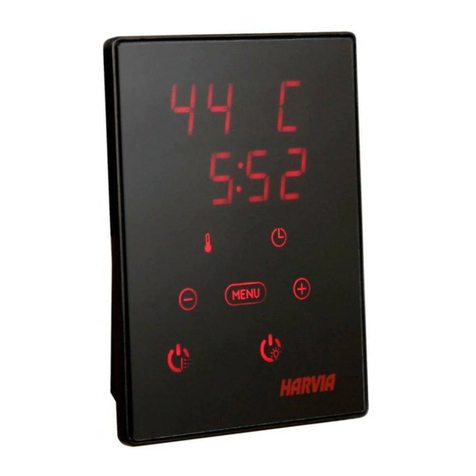
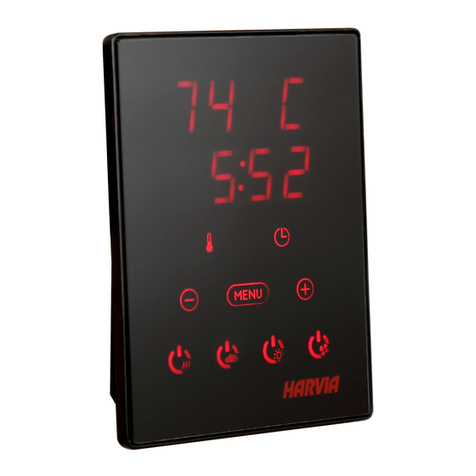
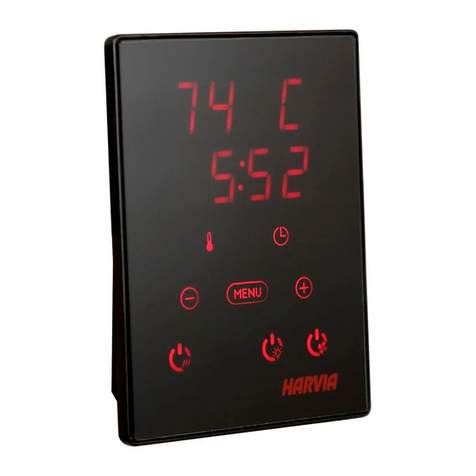
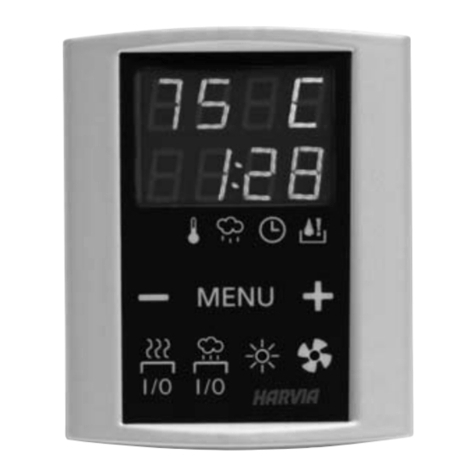
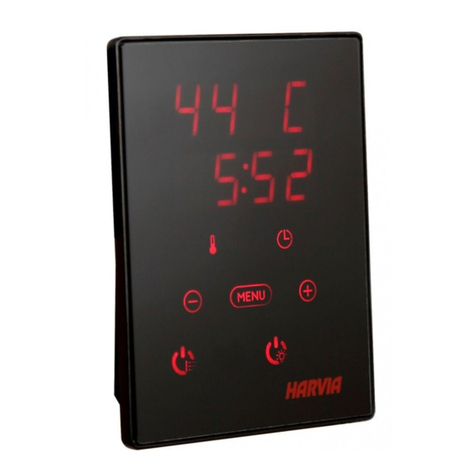
Harvia XENIO CX180 User manual

19052016/CN
HARVIA XENIO CX180
电热桑拿炉控制器 安装与使用说明书
中文
Control unit

These instructions for installation and use are
intended for owners of saunas, heaters and control
units, persons in charge of managing saunas,
heaters and control units, and for electricians
responsible for installing heaters and control units.
Once the control unit is installed, these instructions
of installation and use are handed over to the owner
of the sauna, heater and control unit, or to the
person in charge of maintaining them.
CONTROL UNIT HARVIA XENIO (CX180)
Control unit's purpose of use: the control unitis
meant for controlling the functions of a sauna
heater. It is not to be used for any other purpose.
Congratulations on making an excellent choice!
本安装与使用说明书 应给予本产品拥有者、负责人或
安装电工阅读。电工安装完成后,应把本安装与使用
说明书,交予本产品拥有者或负责管理人。
HARVIA XENIO 控制器(CX180)
触摸式电热桑拿炉控制器用途:本产品是特意为控制电
热桑拿炉而设计,严禁在其它用途上使用。
注意! 请在使用电热桑拿炉前小心阅读说明书。
祝贺您 明智的选择!
CONTENTS
1. HARVIA XENIO ........................................................... 3
1.1. General.............................................................. 3
1.2. Technical Data.................................................... 3
1.3. Troubleshooting .................................................. 4
2. INSTRUCTIONS FOR USE............................................. 5
2.1. Using the Heater ................................................. 5
2.1.1. Heater On .................................................. 5
2.1.2. Heater Off.................................................. 5
2.2. Changing the Settings.......................................... 6
2.3. Using Accessories ............................................... 6
2.3.1. Lighting ..................................................... 6
3. INSTRUCTIONS FOR INSTALLATION ............................. 9
3.1. Installing the Control Panel ................................... 9
3.2. Installing the Power Unit .................................... 10
3.2.1. Electrical Connections .............................. 10
3.2.2. Power Unit Fuse Faults .............................. 10
3.3. Installing the Temperature Sensors ...................... 12
3.3.1. Installing the Temperature Sensor WX232 ..... 12
3.4. Resetting the Overheat Protector......................... 14
4. SPARE PARTS .......................................................... 14
目录
1. HARVIA XENIO 控制器.................................................. 3
1.1. 概要........... ........................................................ 3
1.2. 技术参数............................................................. 3
1.3. 问题解决............................................................. 4
2. 使用及操控.................................................................. 5
2.1. 使用桑拿炉.......................................................... 5
2.1.1. 启动桑拿炉..................................................5
2.1.2. 关闭桑拿炉 ..................................................5
2.2. 操作及更改设定 ....................................................6
2.3. 操作选配设备 ...................................................... 6
2.3.1. 照明灯 ....................................................... 6
3. 安装指示 .................................................................... 9
3.1. 安装控制器面板 .................................................. 9
3.2. 安装电源控制装置 .............................................. 10
3.2.1. 电源接线 .................................................. 10
3.2.2. 保险丝故障................................................ 10
3.3. 感温器安装........................................................ 12
3.3.1. 安装感温器 WX232 ...................................12
3.4. 过热保护器复位.................................................. 14
4. 零件 ........................................................................ 14
中文
EN 中
3
1. HARVIA XENIO 控制器
1. HARVIA XENIO
1.1. General
The purpose of Harvia Xenio control unit is to con-
trol an electric sauna heater within an output range
of 2.3–18kW. The control unit consists of a
con-trol panel, a power unit and a temperature
sensor. See figure 1.
The control unit regulates the temperature in the
sauna room based on information given by the sen-
sor. The temperature sensor and the overheat protec-
tor are located in the temperature sensor box. The
temperature is sensed by an NTC thermistor and the
overheat protector can be reset ( 3.4.).
An additional sensor is available as an option. By
using two sensors, it is possible to acquire more ac-
curate temperature readings from the sauna room.
The control unit can be used to preset the start of
the heater (pre-setting time). See figure 3a.
1.2. Technical Data
Control panel:
• Temperature adjustment range: 40–110 °C.
• On-time adjustment range: family saunas
1–6 h, public saunas in apartment buildings
1–12 h. For longer operating times consult the
importer/manufacturer.
• Control of lighting
• Dimensions: 85 mm x 24 mm x 110 mm
• Length of data cable: 5 m (10 m extension
cables available, max. total length 30 m)
Power unit:
• Supply voltage: 400 V 3N~
• Max. load: 18kW
• Lighting control, max. power: 100 W, 230 V 1N~
• Fan control, max. power: 100 W, 230 V 1N~
• Dimensions: 300 mm x 110 mm x 240mm
Sensors:
• The temperature sensor is equipped with
a resettable overheat protector and a
temperaturesensingNTCthermistor(22kΩ/
T=25 °C).
• Weight: 175 g with leads (ca 4 m)
• Dimensions: 51 mm x 73 mm x 27 mm
Figure 1. System components
图1. 桑拿炉控制组件
Temperature sensor WX232
感温器 WX232
Heater
桑拿炉
Control panel
控制面板
Power unit
电源控制装置
Sauna room
桑拿房
Dry area 干燥区域
Main switch
电源开关
1.1. 概要
HARVIA XENIO 触摸式电热桑拿炉控制器是特意
为控制电热桑拿炉而设计。输出范围 2.3 - 18
千瓦。控制器由控制面板,电源控制装置和感温
器组成。参见图1
控制器通过感温器调节桑拿房内温度。感温器及
过热保护器位于感温器胶盒内。感温器用NTC热敏
电阻感应温度,并有可复位过热保护功能(见章
节3.4)。
通过使用两个感温器,可获得更准确温度。附加
的感应器(可选配)。
控制器可预置桑拿炉开启时间(预约时间设
定)。参见图3a。
1.2. 技术参数
• 温度调节范围: 40–110 °C
• 预调工作时限:
家用桑拿 1-6小时
公用桑拿 1-12小时 ,
更长工作时限设定请询问供应商/厂商
• 操作选配设备: 照明灯
• 控制面板尺寸: 85 mm x 24 mm x 110 mm
• 数据线长度: 5 米(可选配延长线10米,最多总长30米)
电源控制装置:
• 电源: 400 V 3N~
• 最大输出: 18kW(千瓦)
• 照明灯控制功率、最大: 100 W(瓦), 230 V 1N~
• 排气扇控制功率、最大: 100 W(瓦) , 230 V 1N~
• 电源控制装置尺寸: 300mm x 110mm x 240mm
感温器:
• 感温器有可复位过热保护功能,并用NTC热敏电阻感应温
度(22kΩ/T=25˚C)
• 重量: 175克(包含4米线连接电缆)
• 感温器尺寸: 51 mm x 73 mm x 27 mm
Data cable
数据线
控制面板:

EN 中
4
Description/错误信息代码说明 Remedy/排除问题方法
E1 Temperature sensor's measuring
circuit broken.
Check the red and yellow wires to the temperature sensor and their
connections (see figure 6) for faulties.
感温器电路断线 检查感温器至控制装置之间红,黃色电线连接(见图.6)
E2 Temperature sensor's measuring
circuit short-circuited.
Check the red and yellow wires to the temperature sensor and their
connections (see figure 6) for faulties.
感温器电路短路 检查感温器至控制装置之间红,黃色电线连接(见图.6)
E3 Overheat protector's measuring
circuit broken.
Press the overheat protector's reset button ( 3.4.).
Check the blue and white wires to the temperature sensor and their
connections (see figure 6) for faulties.
过热保护器电路断线 按过热保护器上复位按钮( 见章节3.4.)
检查感温器至控制装置之间蓝,白色电线
E9 Connection failure in the system. Switch the power off from the main switch (figure 1). Check the data
cable, sensor cable/s and their connections. Switch the power on.
装置连接故障 从主开关关闭电源(见图1.),检查数据线、感温器线路及各自之连接。重新
开启电源
1.3. Troubleshooting
If an error occurs, the heater power will cut off and
the control panel will show an error message ”E
(number)”, which helps troubleshooting the cause
for the error. Table 1.
Note! All service operations must be done by pro-
fessional maintenance personnel. No user-service-
able parts inside.
1.3. 问题解决
如有问题发生,控制器将会切断桑拿炉电源,控制面
板显示错误信息代码, "E(数字)"有助找出问题之原
因。见表1
注意! 所有维修业务必须由专业维修人员處理。控制
器内没有用户可维修的部件。
Table 1. Error messages. Note! All service operations must be done by professional maintenance personnel.
表1. 错误信息代码. 注意! 所有维修业务必须由专业维修人员處理

EN 中
5
2. INSTRUCTIONS FOR USE 2. 使用及操控
2.1. Using the Heater
When the control unit is connected to the pow-
er supply and the main switch (see figure 1) is
switched on, the control unit is in standby mode
and ready for use. I/O button’s background light
glows on the control panel.
WARNING! Before switching the heater on al-
ways check that there isn’t anything on top of the
heater or inside the given safety distance.
2.1. 使用桑拿炉
接通电源及启动电源并关(见图1.)控制器进入待
机模式,控制面板I/O键背景灯亮起。
注意! 使用桑拿炉之前必需确保桑拿炉机
身上或近侧没有杂物。
Indicator lights
Menu and navigation buttons
Operating buttons
Display
Temperature
On-time
Value decrease *)
Mode change
Value increase *)
Heater on/off
Lighting on/off
*) Press and hold to make the
value change faster.
Figure 2. Control panel
图2. 控制面板
显示灯
菜单及调节鍵
操作鍵
显示器
温度
工作时间
减少数值*)
菜单选择
增加数值*)
桑拿炉开关
灯光开关
*) 长按住可加快数值增减
2.1.1. Heater On
Start the heater by pressing the heater
I/O button on the control panel.
When the heater starts, the top row of the display
will show the set temperature and the bottom
row will show the set on time for five seconds.
When the desired temperature has been reached
in the sauna room, the heating elements are
automatically turned off. To maintain the desired
temperature, the control unit will automatically
turn the heating elements on and off in periods.
If the heater efficiency is suitable and the sauna
has been built correctly, the sauna takes no more
than an hour to warm up.
2.1.2. Heater Off
The heater turns off and the control unit switches
to standby-mode when
• the I/O button is pressed
• the on-time runs out or
• an error occurs.
NOTE! It is essential to check that the control unit
has cut off power from the heater after the on-time
2.1.1. 开启桑拿炉
按控制面板 I/O键启动桑拿炉
当桑拿炉启动时,控制面板显示器亮起,上排
显设定温度及下排显示设定工作时间5秒。
到桑拿房间达至设定温度时,电热管电源会关
闭。控制器会自动控制电热管电源,维持设定
温度。
正确的桑拿房尺寸及桑拿炉设备配置,可以使
房间在一小时内升温至合适温度。
2.1.2. 关闭桑拿炉
桑拿炉会在如下情況下关闭及进入待机模式
• 按下控制器上的 I/O 鍵
• 设定工作时间完成
• 出现问题
注意 ! 浴后,必须确定桑拿炉完全关掉,桑拿炉
设定工作时间完成,
(图标由左至右代表)

EN 中
6
has elapsed, the dehumidification has ended or the
heater has been switched off manually.
2.2. Changing the Settings
The settings menu structure and changing the
settings is shown in figures 3a and 3b.
The programmed temperature value and all values
of additional settings are stored in memory and will
also apply when the device is switched on next
time.
2.3. Using Accessories
Lighting canbe started and shut down
separately from other functions.
2.3.1. Lighting
The lighting of the sauna room can be set up so
that it can be controlled from the control panel.
(Max 100 W.)
Switch the lights on/off by pressing the
control panel button.
确定除湿设定工作完成或人工关机后,桑拿设备电源关
闭。
2.2. 操作及更改设定
操作及更改设定方法 见图 3a 和 3b.
设定更改后会存储在控制器内存中,下次开机时
不用再次设定。
2.3. 操作选配设备
照明灯可在待机模式时操作
2.3.1. 照明灯
可以使用控制器开关键,控制桑房房之照明灯。
(最大100瓦)
按控制器上照明灯键控制开关。

EN 中
7
Figure 3a.
图 3a.
Settings menu structure, basic settings
基本操作方法
Press the MENU button to open the
settings menu.
按 MENU 菜单鍵开始进入调节模式
Sauna room temperature
The display shows the sauna room
temperature setting. Temperature
indicator light blinks.
• Change the setting to the desired
temperature with the – and + buttons.
The range is 40–110 ºC.
桑拿房温度
数字显示器会显示设定温度,温度显示灯闪动
• 按 - 鍵或 + 键调节温度。
可调节温度范围为 40 - 110 ˚C度。
Press the MENU button to access the next
setting.
按 MENU 菜单鍵进入下一项设定
Remaining on-time
Press the + and – buttons to adjust the
remaining on-time.
剩余工作时间
按 - 鍵或 + 鍵调节剩余工作时间。
Press the MENU button to exit. 按 MENU 菜单鍵进入下一项设定
Basic mode (heater on)
The top row shows the sauna room
temperature. The bottom row shows the
remaining on-time. Both indicator lights
glow.
基本操作模式( 桑拿炉工作中)
上行显示桑拿房温度。
下行显示剩余工作时间。
两个显示灯会同时亮起。
BASIC SETTINGS/基本操作方法
Example: the heater will be on for 3 hours
and 40 minutes.
例子: 桑拿炉剩余工作时间为3小时40分

EN 中
8
*) Factory setting/预设值
Open the settings menu by simultaneously
pressing the locations of the buttons –,
MENU and + (see figure 2). Press for 5
seconds.
The buttons do not glow when the
control unit is in standby mode.
同时按下 - , MENU, + , 3个键 (见图2)
长按5秒
当控制器于待机模式,该按钮不会发光。
Maximum on-time
The maximum on-time can be changed
with the – and + buttons. The range is
1–12 hours (6 hours*)).
最长工作时间
按 - 或 + 按键减少或增加最大工作时间。
可调时间为1-12小时 (预设值6小时*))
Press the MENU button. The control unit
switches to standby-mode.
按 MENU 菜单鍵完成设定,返回待机模式
Control unit standby
I/O button’s background light glows on the
control panel.
待机模式中
控制面板 I/O键背景灯亮起
ADDITIONAL SETTINGS/更改设定方法
Figure 3b.
图 3b.
Settings menu structure, additional settings
更改设定方法
Example: the heater will be on for 6
hours from the start. (Remaining on-time
can be changed, see figure 3a.)
例子: 桑拿炉将会工作6小时(调节剩余工作时间
见图3a)

EN 中
9
3,5 x 15 mm
67 mm
96 mm
3,5 x 15 mm
1.
A
B
2.
3.
4.
1.
2.
3.
4.
3. INSTRUCTIONS FOR INSTALLATION 3. 安装指示
The electrical connections of the control unit
may only be made by an authorised, professional
electrician and in accordance with the current
regulations. When the installation of the control unit
is complete, the person in charge of the installation
must pass on to the user the instructions for
installation and use that come with the control unit
and must give the user the necessary training for
using the heater and the control unit.
3.1. Installing the Control Panel
The control panel is splashproof and has a small
operating voltage. The panel can be installed in the
washing or dressing room, or in the living quarters.
If the panel is installed in the sauna room, it must
控制器之安装及电源连接必须按照国家法规,并
且由合格之电工安装。电源线必须符合国家安全
标准。安装完成后安装人员应把本安装与使用说
明书,交予本产品拥有者或负责管理人。并且让
负责管理人学习如何使用此控制器。
3.1. 控制面板安装
控制面可防溅水花并用底电压工作。该面板可安装在
洗涤间、更衣室或在居室区域内,
1. Thread the data cable through the
hole in the back cover.
2. Fasten the back cover to a wall with
screws.
3. Push the data cable to the connector.
4. Press the front cover into the
back cover.
1. 把数据线穿过控制器底盖孔位
2. 用螺丝钉固定制器底盖
3. 数据线与数据线连接器扣紧
4. 控制器面板与底盖扣好
Figure 4. Fastening the control panel
图4. 控制面板安装

EN 中
10
be at the minimum safety distance from the heater
and at a maximum height of one metre from the
floor. Figure 4.
Conductor tubing (ø 30 mm) inside the wall struc-
ture allows you to thread the data cable hidden
within the wall – otherwise the installation will have
to be on the wall surface. We recommend you to
install the control panel embedded in to the wall and
far away from possible splashes.
3.2. Installing the Power Unit
Install the power unit to a wall outside the sauna
room, in a dry place with an ambient temperature
of >0 ºC. See figure 5 for instructions on how to
open the power unit cover and how to fix the unit
to the wall.
Note! Do not embed the power unit into the wall,
since this may cause excessive heating of the in-
ternal components of the unit and lead to damage.
See figure 5.
如果面板安装在桑拿房,它必须安装在离开桑拿
炉的最小安全距离,并离地面不高于一米高度。
图4。
您可以用导线管(直径30mm)把数据线隐藏在
墙壁内部,否则,数据线将会顕在墙面上。我们建
议控制面板安嵌入墙体,远离可能溅起的水花
3.2. 电源控制装置
电源控制装置要安装在干燥的桑拿房间外, 周围
环境的温度要大于>0 ºC
电源控制装置安装及面盖打开方法见 图5.
注意! 电源控制装置不能藏于墙内安装。电源
控制装置内热力如不能散发会导致事故发生,
正确位置请参见 图5。
Figure 5. Opening the power unit cover and mounting the unit to a wall
图5 电源控制装置面盖打开方法及正确安装位置
3.2.1. Electrical Connections
Figure 6 shows the electrical connections of
the power unit. For more detailed installation
instructions see the instructions for installation and
use of the selected heater model.
3.2.2. Power Unit Fuse Faults
Replace a blown fuse by a new one with the same
value. The placement of the fuses in the power unit
is shown in figure 6.
• If the fuse for the electronic card has blown,
there is likely a fault in the power unit. Service
is required.
• If the fuse in the line U2 has blown, there
is a problem with lighting. Check the
wiring and functioning of lighting and fan.
3.2.1. 电源接线
电源连接必须按照国家法规,并且由合格之电工
安装。图6.电源线必须符合国家后与安全标准。
可参考桑拿炉附带的说明书获得更多电源连接资
料。
3.2.2. 保险丝故障
保险丝烧断后,请在排除问题后更换同一型号之保险
丝。图6.
• 如果电路板保险丝为已熔断,有可能是电源控制装
置故障。必需要维修服务。
• 如果U2保险丝已熔断,表示选配安装的照明灯设备
有问题。请检查照明和风扇的线路和运作。

中
11
Figure 6.
图6.
Electrical connections
接线图
0-6 3 x 10 5 x 1,5 5 x 1,5
<6-11 3 x 16 5 x 2,5 5 x 1,5
<11-18 3 x 25 5 x 6 5 x 2,5
(H07RN-F)
拿炉输出功率 保险丝 电源缆
L1 L2 L3 NW V U
N
L
max. 100 W
400 V 3N~
max. 17 kW
max. 18 kW
T2.5 A
WX232
ZVR-842/CX180
数据线 控制⾯板
感温器
必须安装
白色
红色
黄色
蓝色
瓷管保險丝,慢熔丝
慢熔丝
继电器输出保险丝
电路主保险丝
主电源开关
桑拿炉
电源
照明灯(可选配)
接线盒
漏电断路器
A1
A2
A1
A2
ControlSafety
40 mA
U2 A1 A2 A3 A4 L1 L2 N
NL1 L2 L3 NW V U
N
交流接触器
(控制⼯作)
交流接触器
(安全保护)
EN

EN
12
3.3. Installing the Temperature Sensors
Note! Do not install the temperature sensor closer
than 1000 mm to an omnidirectional air vent or
closer than 500 mm to an air vent directed away
from the sensor. See figure 9. The air flow near an
air vent cools down the sensor, which gives inac-
curate temperature readings to the control unit. As
a result, the heater might overheat.
3.3.1. Installing the Temperature Sensor WX232
Check the correct location for the temperature sen-
sor from the heater’s instructions for installation
and use.
Wall-mounted heaters (see figure 7)
• Fasten the temperature sensor on the wall
above the heater, along the vertical centre line
running parallel to the sides of the heater, at a
distance of 100 mm from the ceiling.
Floor-mounted heaters (see figure 8)
• Option 1: Fasten the temperature sensor on the
wall above the heater, along the vertical centre
line running parallel to the sides of the heater,
at a distance of 100 mm from the ceiling.
• Option 2: Fasten the temperature sensor to
the ceiling above the heater, at a distance of
100–200 mm from the vertical centre line of
the heater’s side.
3.3. 感温器安装
注意! 感温器不能置于通风口旁边,气流会降低
感温器感应温度。因而使桑拿炉过热。正确的通
风口与感温器安装间距位置、见 图 9. 全方向
性的通风口最小间距1000毫米、 定向性的通风口
最小间500毫米。
3.3.1. 安装感温器 WX232
从安装与使用说明书检查正确的感温器与桑拿炉
安装位置。
• 感温器安装在桑拿炉垂直中心线上方,
天花板对下100毫米
座地型桑拿炉感温器安装位置 (图8)
• 选择1: 感温器安装在檣侧,桑拿炉中心上方,天花板
对下100毫米。注意!桑拿炉与墙身距离。
• 选择2: 感温器安装在天花板,与桑拿炉侧面的垂直
中心线的距离保持100-200毫米适当水平距离。
Figure 7. The place of the temperature sensors in connection with wall-mounted heaters
图7. 挂墙型桑拿炉感温器安装位置
WX232
150 mm
100 mm
1100 mm
100 mm
WX232
Temperature sensor
感温器
挂墙型桑拿炉感温器安装位置 (图7)
中

EN 中
13
D min.最小
A min.
A min.最小
A max.最大
A min.最小
A max.最大
D min.最小
D min.最小
A min.
Figure 8. The place of the temperature sensors in connection with floor-mounted heaters
图 8. 座地型桑拿炉感温器安装位置
360° 180°
>1000 mm
>500 mm
WX232
Tempera-
ture
sensor
感温器
Figure 9. Sensor’s minimum distance from an air vent
图 9. 感温器与通风口安装间距
100 mm
WX232
WX232
min.最小
100 mm
max.最大
200 mm
WX232
100 mm
min. A
max. A
100 mm
Heater
桑拿炉
A min.
mm
A max.
mm
D min.
mm
BC105 50 150 1250
BC135 80 180 1450
BC165 100 200 1450
F10,5
K13,5G, K15G 100 200 1400
F15, F16,5 150 250 1400
K11G 70 170 1200
T7 100 130 1250
T9 120 150 1250
T10,5 150 180 1250
PO11 100 200 1100
PO165 150 300 1250
PI70E, PI90E 100 100 680
PC70E, PC90E 100 100 950
PC70HE, PC90HE 30 100 950
PC110E 100 100 830
PC110HE 30 100 830
HL70, HL90,
HL110 30 150 1100
HL135 50 150 1290
HL160 80 150 1290
A最大值
A最小值 D最小值
最小
最小

EN 中
14
WX232
Figure 10. Reset button of the overheat protector
图 10. 过热保护器复位
4. SPARE PARTS 4. 零件
1 Control panel (CX180) 控制面板 (CX180) WX385
2 Temperature sensor 感温器 WX232
3Data cable 5 m 数据线 5 米 WX311
4Data cable extension 10 m (optional) 附加数据线 10 米(可选配) WX313
5Circuit board 控制器主电路板 WX386
3.4. Resetting the Overheat Protector
The sensor box (WX232) contains a temperature
sensor and an overheat protector. If the
temperature in the sensor’s environment rises too
high, the overheat protector cuts off the heater
power. Resetting the overheat protector is shown
in figure 10.
Note! The reason for the going off must be deter-
mined before the button is pressed.
3.4. 过热保护器复位
感温器(WX232)内包含温度传感器及可复位式过热
保护器。当传感器周边温度过热时过热保护器会
切断桑拿炉电源。见图10.
注意!按下复位按钮之前必须确定故障原因巳修
理好。
3 4
1 2 5


Table of contents
Other Harvia Control Unit manuals

Harvia
Harvia C80/1 User manual

Harvia
Harvia Fenix SACF10 User manual

Harvia
Harvia XENIO CX110 User manual

Harvia
Harvia CG170T User manual

Harvia
Harvia C150VKK User manual

Harvia
Harvia XENIO COMBI User manual

Harvia
Harvia Xenio Guide

Harvia
Harvia GRIFFIN INFRA User manual

Harvia
Harvia C70 Therapy User manual

Harvia
Harvia C260 User manual

Harvia
Harvia C150VKK User manual

Harvia
Harvia Griffin Infra CG170I User manual

Harvia
Harvia XENIO COMBI User manual

Harvia
Harvia XENIO CX45J User manual

Harvia
Harvia sentiotec K3 NEXT User manual

Harvia
Harvia XENIO INFRA User manual

Harvia
Harvia CX170-U1 Owner's manual

Harvia
Harvia SIGMA COMBI CS110C Guide

Harvia
Harvia GRIFFIN INFRA User manual

Harvia
Harvia griffin User manual