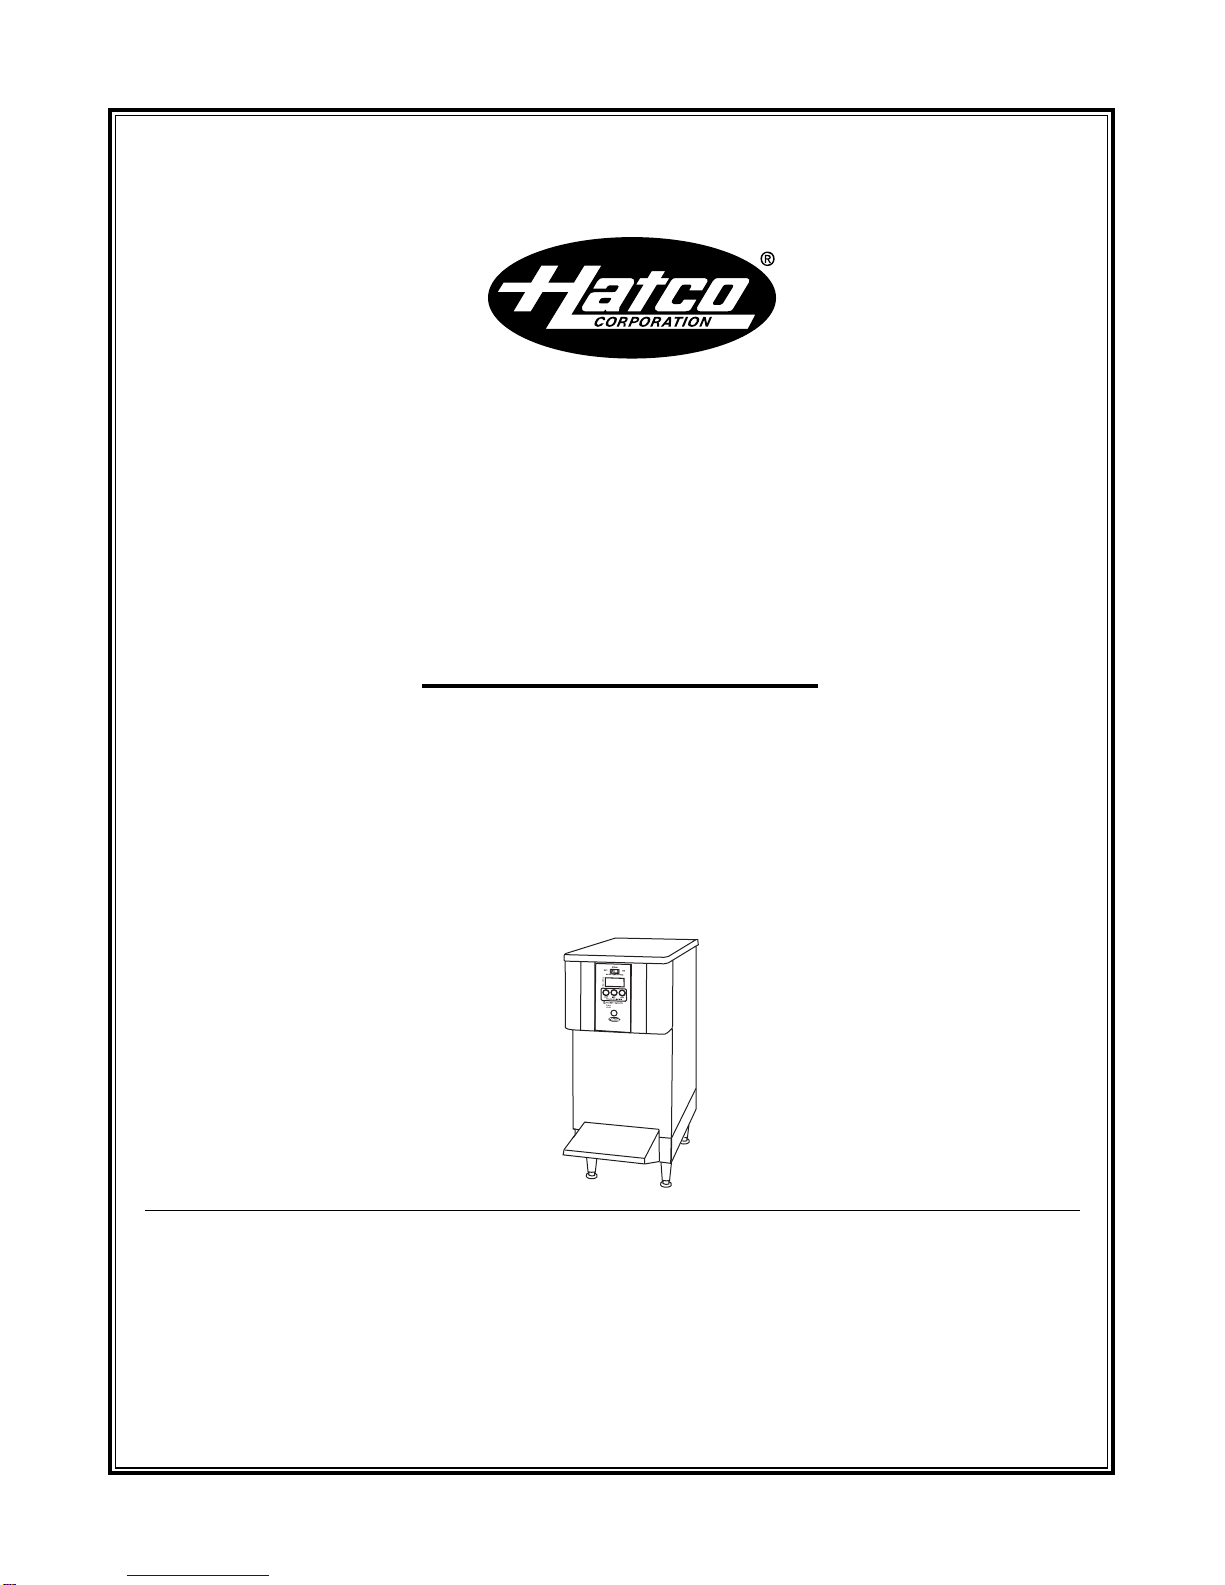
are factory-assembled and ready for installation.
This manual provides the installation, safety
and operating instructions for the Atmospheric Hot
Water Dispensers. We recommend all installation,
operating and safety instructions appearing in this
manual be read prior to installation or operation
of your Hatco Atmospheric Hot Water Dispenser.
Safety instructions that appear in this manual after
a warning symbol and the words WARNING
or CAUTION printed in bold face are very
important. WARNING means there
is the possibility of serious injury or death
to yourself or others. CAUTION means there
is the possibility of minor or moderate injury.
CAUTION without the symbol signifies the
possibility of equipment or property damage only.
Hatco Atmospheric Hot Water Dispensers
are a product of extensive research and field
testing. The materials used were selected
for maximum durability, attractive appearance
and optimum performance. Every unit is thoroughly
inspected and tested prior to shipment.
i
INTRODUCTION
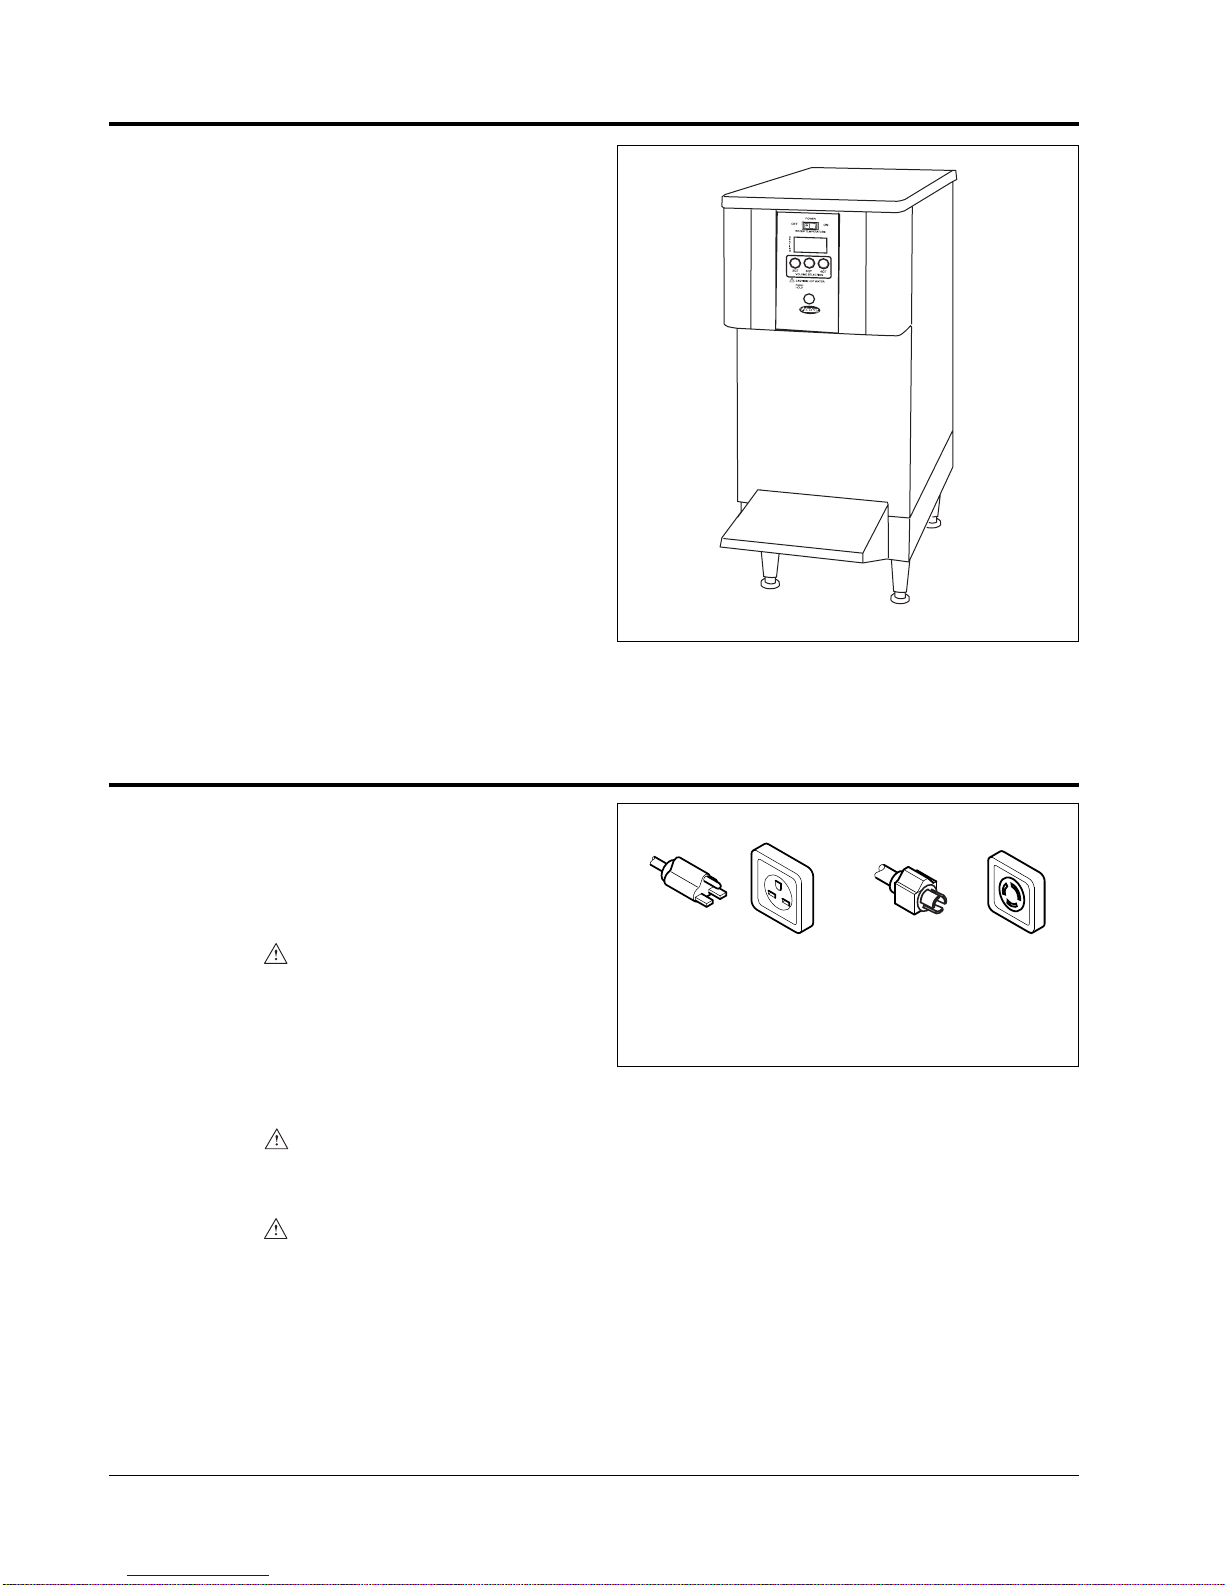
Hatco Atmospheric Hot Water Dispensers are
designed to deliver pre-measured quantities
of hot water for food preparation or cleaning.
A 12 gallon (45 liter) stainless steel tank provides
up to 8 gallons (30 liters) of continuous,
temperature controlled water ranging from
75°–195°F (24°–91°C). The tank may be emptied
easily using the convenient bottom drain.
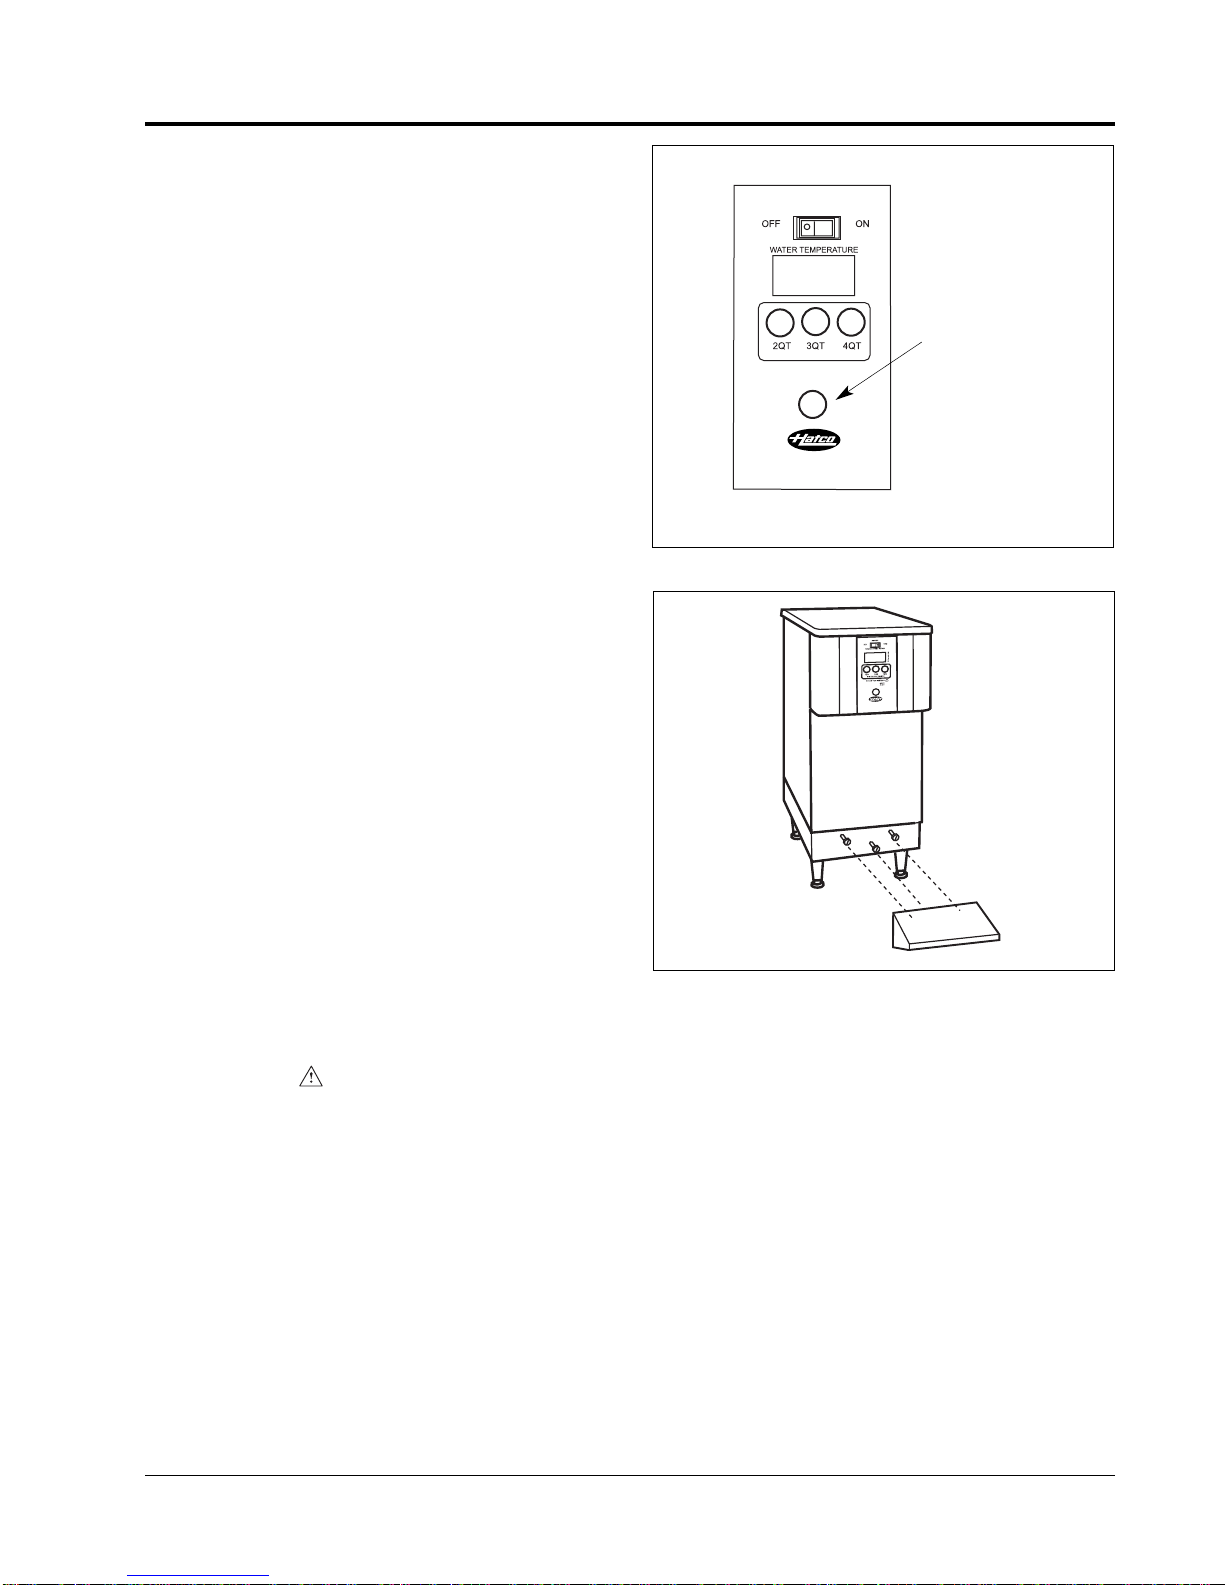
Hatco Atmospheric Hot Water Dispensers design
features include an electronic temperature
controller with a digital temperature display, On/Off
switch, preset dispenser pushbuttons, including
a manual dispense function.
Standard equipment includes a stainless steel
base, a white granite powder coated body,
4" (10 cm) legs and a 6' (2 mm) electrical cord
and plug. All electric heating elements are metal
sheathed and controlled by a submersed
thermistor. The units are protected with a high-
temperature limit switch and low-water cutoff.
The unit electrical and plumbing connections
CONTENTS
Important Owner Information...............................i
Introduction ...........................................................i
Important Safety Instructions.............................1
Model Descriptions..............................................2
All Models........................................................2
Specifications.......................................................2
Plug Configurations.........................................2
Electrical Rating Chart ....................................3
Dimensions......................................................3
Statistics..........................................................3
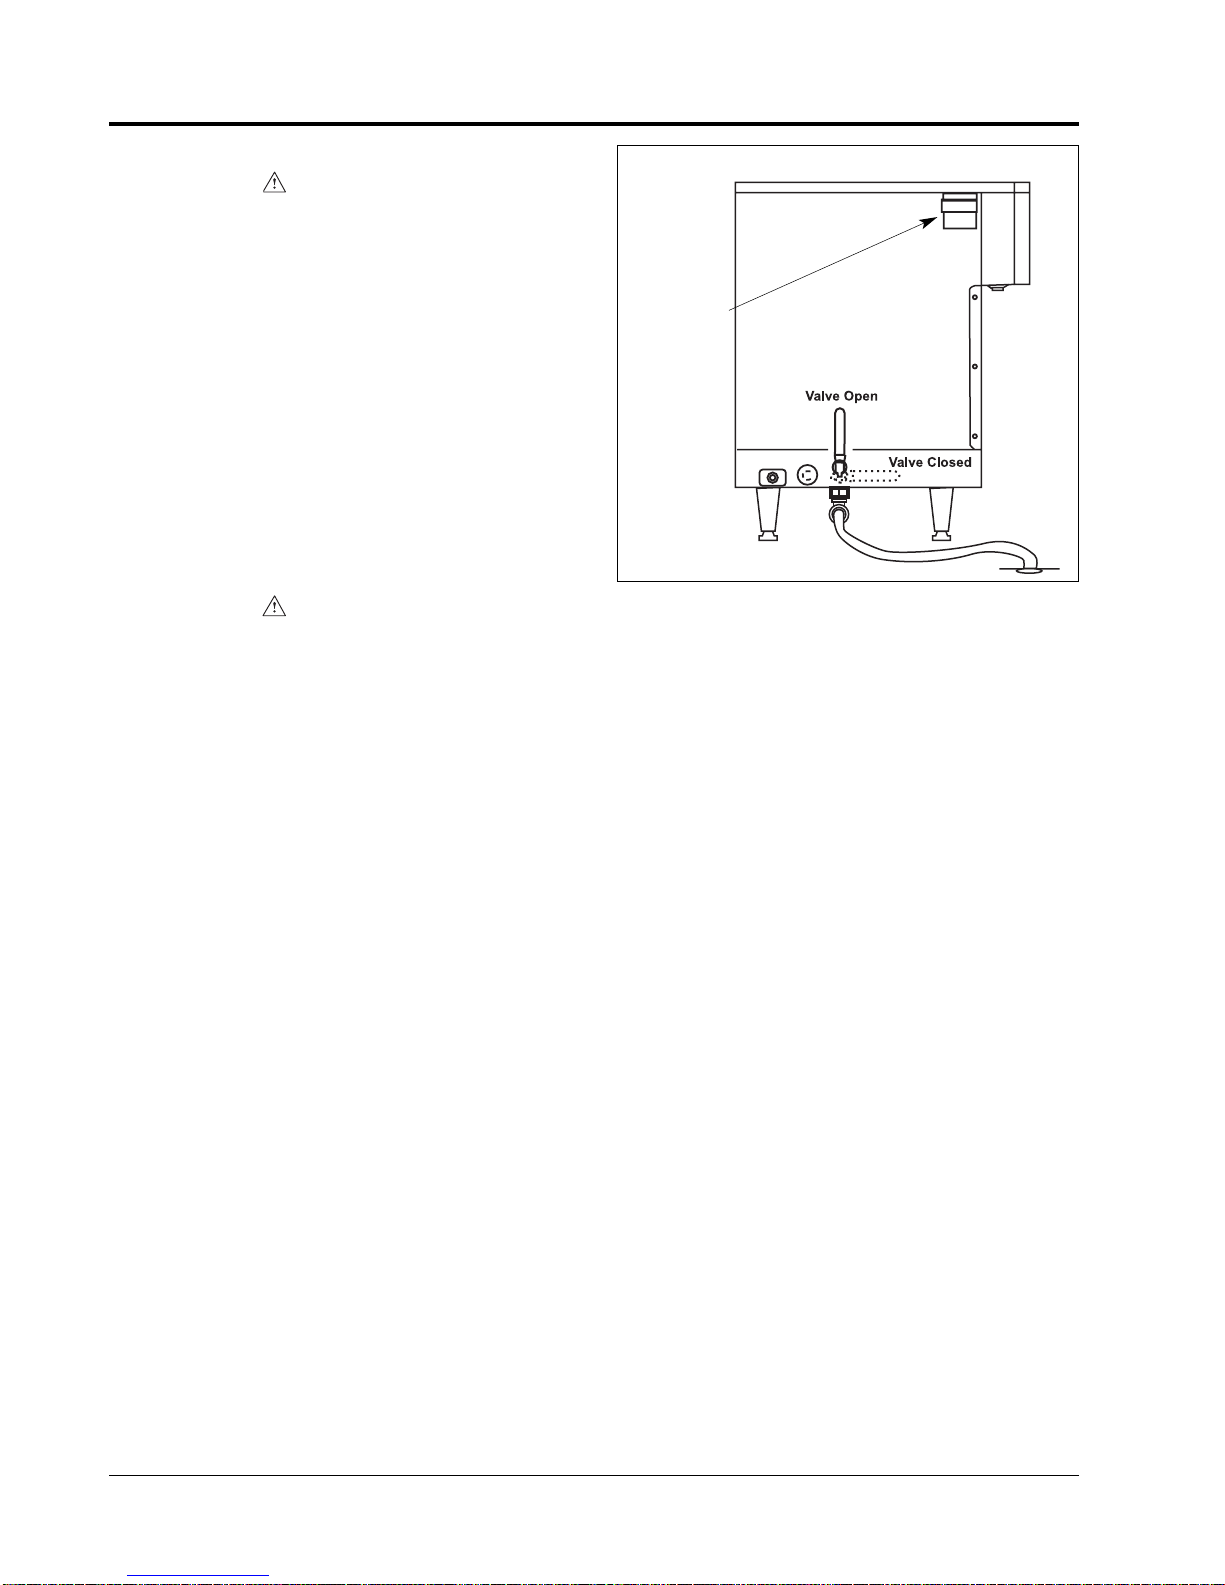
Installation ............................................................4
Location...........................................................4
Plumbing .........................................................4
Electrical..........................................................4
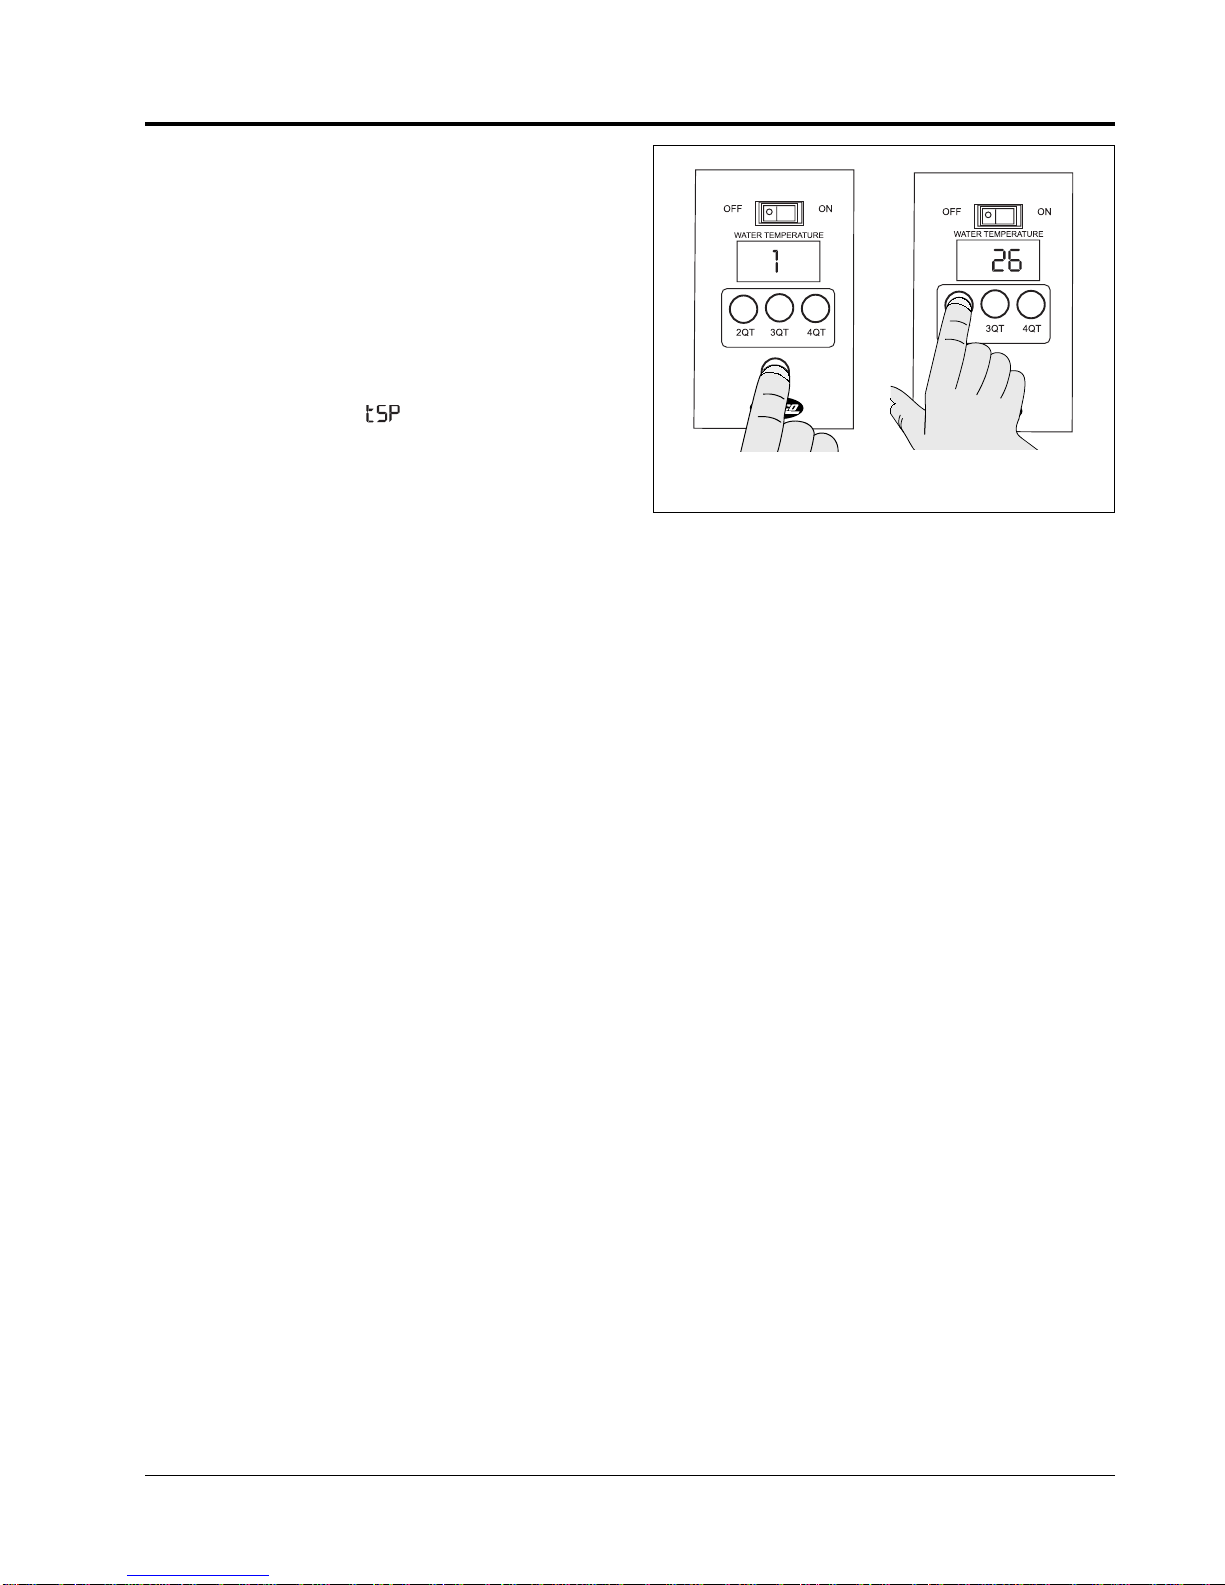
Operation..............................................................5
Start-Up...........................................................5
Dispensing Hot Water .....................................5
Error Codes.....................................................6
Programming the Dispenser ...........................6
Maintenance .........................................................8
General............................................................8
Cleaning Dispenser Exterior ...........................8
Draining the Dispenser....................................8
De-Liming the Dispenser.................................8
Resetting the High Temperature Safety Switch...9
Hatco Limited Warranty.....................................10
Authorized Parts Distributors............Back Cover
IMPORTANT OWNER INFORMATION
Record the model number, serial number
(identification decal located on the lower side
of the unit), voltage and purchase date of your
Atmospheric Hot Water Dispenser in the spaces
below. Please have this information available when
calling Hatco for service assistance.
Model No. ________________________________
Serial No. ________________________________
Voltage __________________________________
Date of Purchase __________________________
Business 8:00 a.m. to 5:00 p.m.
Hours: Central Standard Time
(Summer Hours: June to September –
8:00 a.m. to 5:00 p.m. C.D.T.
Monday through Thursday
8:00 a.m. to 2:30 p.m. C.D.T. Friday)
Telephone: (800) 558-0607; (414) 671-6350
Fax: (800) 690-2966 (Parts & Service)
(414) 671-3976 (International)
Additional information can be found by visiting our
web site at www.hatcocorp.com
Form No. AWDM-0704
24-Hour 7-Day Parts & Service
Assistance available in the
United States and Canada
by calling (800) 558-0607.