Healthstream HS6.0B User manual

If you have any questions , please contact The Fitness Generation, +61 (03) 9765 9999.
www. healthstreamfitness.com.au
Free call number 1300 796 636

machine
machine
machine
machine machine
machine
machine
HS6.0B
If you have any questions , please contact The Fitness Generation, +61 (03) 9765 9999.
www. healthstreamfitness.com.au
1
A
intended only as exercise aids in determining heart rate trends in general.
SAFETY HINTS
WARNING - Read all instructions before using this appliance.
ϮDo not operate machine on deeply padded, plush or shag carpet. Damage to both
carpet and machine may result.
ϮKeep children away from the machine. There are obvious pinch points and other
caution areas that can cause harm.
ϮKeep hands away from all moving parts.
ϮNever operate the machine if it has a damaged cord or plug. If the machine is not working
properly, call your dealer.
ϮKeep the cord away from heated surfaces.
ϮNever drop or insert any object into any openings.
ϮDo not use outdoors.
ϮThe pulse sensors are not medical devices. Various factors, including the user’s
movement, may affect the accuracy of heart rate readings. The pulse sensors are
ϮWear proper shoes. High heels, dress shoes, sandals or bare feet are not suitable
for use on your machine. Quality athletic shoes are recommended to avoid leg fatigue.
SAVE THESE INSTRUCTIONS - THINK SAFETY!
CAUTION!! Please be careful when opening this unit.
Free call number 1300 796 636
ϮInstructions for assembly, including correct fitting of guards and other safety devices, and warning
about the likely injuries to young children if exercies cycles are operated in their vicinity without
properly fitted guards.
ϮInstructions for maintenance, including regular checking of the integrity of guards and safety devices.
ϮInstructions for the correct adjustment of the seat.

2
If you have any questions , please contact The Fitness Generation, +61 (03) 9765 9999.
www. healthstreamfitness.com.au
Free call number 1300 796 636
HANDLE BAR
COMPUTER
CENTRAL TUBE
SADDLE
REAR STABILIZER
PEDAL
FRONT STABILIZER
KNOB
TOWEL
HOUSING

3
FIGURE 1
ASSEMBLY PACK CHECK LIST
FIGURE 2
FIGURE 5-3
If you have any questions , please contact The Fitness Generation, +61 (03) 9765 9999.
www. healthstreamfitness.com.au
Free call number 1300 796 636
FIGURE 5-2
J5 WASHER M8X16X1.2TJ2 SCREW M8X105L J4 SPRING M8
J1 SCREW M4X20L
J1 SCREW M4X20L
FIGURE 6
J3 KNOB

4
If you have any questions , please contact The Fitness Generation, +61 (03) 9765 9999.
www. healthstreamfitness.com.au
Free call number 1300 796 636
FIGURE_1 ASSEMBLY FOR FRONT
STABILIZER
Attach the front stabilizer(C) to the
bracket at the front of the mainframe(A).
Insert 2pcs bolts(J2),2pcs spring(J4) and
2pcs washer(J5) through the front
stabilizer(C) to attach with the
mainframe(A). Then, fix the bolts tightly.
FIGURE_2 ASSEMBLY FOR REAR
STABILIZER
Attach the rear stabilizer(B) to the
bracket at the front of the
main frame(A). Insert 2pcs bolts(J2)
,2pcs spring(J4) and 2pcs washer(J5)
through the rear stabilizer(B) to attach
with the main frame(A). Then, fix the
bolts tightly.
HOW TO KEEP THE MACHINE
STABLE
** After you finish assembly
(Figure 1 & Figure 2), if
the machine can't be stand
stable, you can use
adjusted-end(B2,C4) to adjust
the machine.
A
J2 CC4
A
B
J2
B2
J4
J5
J4
J5

5
If you have any questions , please contact The Fitness Generation, +61 (03) 9765 9999.
www. healthstreamfitness.com.au
Free call number 1300 796 636
A7
L3
FIGURE_3 ASSEMBLY FOR CENTRAL
SUPPORT TUBE
STEP 1.TAKE OFF THE BOLT(A5),
WASHER(L4),
FORM THE MAIN FRAME(A)
BEFORE ASSEMBLY.
STEP 2.PUT THE UPPER CENTRAL TUBE
(L) THROUGH DECORATION
COVER(M) FIRST AND AFTER
THE CABLE CONNECTED WELL
POSITION THE COVER(M) UNTILL
THE BUTTON.
STEP 4.ASSEMBLE SUPPORT TUBE(L) WITH
THE MAIN FRAME(A) BY BOLTS(A5),
WASHERS(A4) AND WASHERS(L4).
ATTENTION:TAKE CARE WHEN PUSHING
THE TUBES TOGETHER THAT THE CABLES
AND WIRES ARE NOT PINCHED.
M
STEP 3.CONNECT THE SENSOR
WIRE(A7) AND THE
COMPUTER CABLE(L3).
L
L4
A5
L4

6
If you have any questions , please contact The Fitness Generation, +61 (03) 9765 9999.
www. healthstreamfitness.com.au
Free call number 1300 796 636
FIGURE_5-1 ASSEMBLY FOR COMPUTER HOUSING
STEP 2:
Put rear computer housing(H2)
into the central tube (L) and
secure it by screw(L7).
FIGURE_4 ASSEMBLY FOR HANDLE BAR
First,remove the washer (L4) and nut(L5)
from the handle bar(E).
Put the handle bar(E) into the handle bar
housing and secure it by washer(L4)
and nut(L5).
STEP 1:Take screw(L7) out from
central tube(L) first.
L4
L5
L
L7
H2
L

7
If you have any questions , please contact The Fitness Generation, +61 (03) 9765 9999.
www. healthstreamfitness.com.au
Free call number 1300 796 636
FIGURE_5-2 ASSEMBLY FOR
COMPUTER HOUSING
STEP 2: Slide the sensor
wires(L3 & E3 ) through
the monitor front housing(H1)
as shown on (view A). Then,
connect the monitor rear housing with
monitor front housing by screws(J1).
H1
J1
E3
L3
FIGURE_5-3 FINISH THE ASSEMBLY
FOR COMPUTER HOUSING
Attention: Please position all sensors wire
outside of the computer housing.
Step3. Finish the assembly is needed
to be screwed into the
computer housing by screw(J1).
H2
J1
L

8
If you have any questions , please contact The Fitness Generation, +61 (03) 9765 9999.
www. healthstreamfitness.com.au
Free call number 1300 796 636
FIGURE_6 ADJUSTING THE HANDLE
BAR
Loose the knob(J3) to the left
direction and you can adjust different
position what you need.
FIGURE_7 ASSEMBLY THE COMPUTER
Connect the sensor wires(E3 &
L3) with computer wires and put the
computer on the computer housing(H).
H
L
J3
E3
L3

9
If you have any questions , please contact The Fitness Generation, +61 (03) 9765 9999.
www. healthstreamfitness.com.au
Free call number 1300 796 636
A
D5
A22
L8
L9
L7
L
Loosen the saddle adjustment knob(D5) and move the saddle until it is at a comfortable distance.
Tighten the saddle adjustment knob to lock the saddle basement.
ADJUST THE SADDLE
STEP 4: Equip the saddle (G) with the moving basement. Then ,fix it by tool at the each side of the
saddle .
STEP 2. Equip plastic bottle holder(L8) at middle position of central support tube(L) and tight it
with screw(L7). After then, put water bottle into bottle holder (L8). Take screw(L7) out of from
central tube(L) first, take water bottle(L9) out of bottle holder then, lock screw(L7) into
central tube(L).
Attention: Please make sure the knob has been equipped exactly into the adjusting hole of the saddle
support tube(D)
STEP 1:Loosen the knob(A22) and keep on pulling it. Then, insert the saddle support tube(D) into
the main frame(A).
Release the knob(A22) after the saddle support tube is equipped appropriately.
FIGURE_8 ASSEMBLY SADDLE SUPPORT TUBE & SADDLE WITH MAIN FRAME &
WATER BOTTLE & TOWEL HOUSING
P
P1
P2
STEP 3: Take washer(P1), nut(P2) out from saddle (G) and equip towel hiusing(P) on saddle and
using washer(P1) and nut(P2) to tight it.

10
FIGURE 9
If you have any questions , please contact The Fitness Generation, +61 (03) 9765 9999.
www. healthstreamfitness.com.au
Free call number 1300 796 636
ASSEMBLY PEDAL WITH MAIN FRAME
Install the right strap on right pedal and the left starp on left pedal.
Step 1.Equip the left pedal(H1) with the crank by anti-clockwise direction.
Step 2.Equip the right pedal(H2) with the crank by clockwise direction.

11
If you have any questions , please contact The Fitness Generation, +61 (03) 9765 9999.
www. healthstreamfitness.com.au
Free call number 1300 796 636
N
J4
J5
J4
J5
P
P1
P2

12
If you have any questions , please contact The Fitness Generation, +61 (03) 9765 9999.
www. healthstreamfitness.com.au
Free call number 1300 796 636

13
If you have any questions , please contact The Fitness Generation, +61 (03) 9765 9999.
www. healthstreamfitness.com.au
Free call number 1300 796 636
P/N Part DESCRIPTION Q’TY P/N Part DESCRIPTION Q’TY
81A1emarFniaMA 2ZZ3026gniraeB
A1 91A1gnisuoHrosneS 1elbaCnoisneT
A2 02A1rosneS 1L56*6MwercS
A3 12A1L21*23-6#wercS 1gnirpS
1bonK22A
A5
32A
451*8MwercS
2pirtSnorI
A6
1epiPcitsalP42A
1rotoM
A7
1)L(knarC62A
1ZZ1006gniraeB
A8
1)R(knarC72A
1leehWgnivirD
A8-1
82A
1tengaM
1
revoCreppU
A9
1
)L(revoCniahC03A
1exlA
A9-1
6
L01*3MwercS1-03A
461*6MwercS
A9-2
Screw 4*2001
A10
1
revoCediSraeR13A
1tleBgnivirD
A11
1
)R(revoCniahC23A
1leehWcitengaM
A11-1
1
)R(revoCediSreppU33A
2MM7*62*”8/3tuN
A11-2
1
drocrewoP43A
201CelkcuBepyTC
A11-3
1
tuN53A
1gnisuoHcitengaM
A11-4
1
rezilibatSraeRB
125*8MtloB
A11-5
1B
18MtuN
2
paCdnE
A11-6
2B
1T5.0*”8/3tuN
2
dnedetsujdA
A11-7
1
rezilibatStnorFC
1gniraeByaWenO
A11-8
2
paCdnE1C
1ZZ0006gniraeB
A11-9
2
leehWnoitatropsnarT2C
1ylluP
A11-10
4
L”8/5*23*8#wercS3C
2ZZ0036gniraeB
A11-11 Axle 10*120L
2
dnedetsujdA4C
1
A11-12
1
ebuTtroppuSelddaSD
1ZZ3006gniraeB
A11-13
1
tnemesaBtaeS1D
1MM3*62*”8/3tuN
A12
1
L83*”8/3tloB2D
1gnirpS
A13
2
paCdnE3D
1etalPgnisserP
A13-1
1
2*03*01MrehsaW4D
2T3.0*42*01rehsaW
A13-2
1
bonK5D
18MtuN
A13-3
1
raBeldnaHE
1
leehWgnisserP
A13-4
2
paCdnE1E
1
21CelkcuBepyTC
2
L51*4MwercS2E
1
52*8MwercS5-31A
2
rosneSesluPdnaH3E
1
1T*22*6MrehsaW41A
A15
2
pirGmaoF4E
1
6MtuN
A16
1
pilC5E
1
5.1T*91*6MrehsaW
1
)L(ladeP1F
1
6MtuN71A

14
If you have any questions , please contact The Fitness Generation, +61 (03) 9765 9999.
www. healthstreamfitness.com.au
Free call number 1300 796 636
K102*8MwercS1-1F 1retupmoC
F1-2 L1paCknarC 1lartneC
3L
1)R(ladeP2F
1rosneS
4L
102*8MwercS1-2F
Washer8*16*1.2T 6
18MtuN5L
1paCknarC2-2F
4L01*5MwercS6L
1elddaSG
H1
3L01*5MwercS7L
1)tnorF(gnisuoHrotinoM
H2
1redlohretaW8L
1)raeR(gnisuoHrotinoM
J1
1elttobretaW9L
3L02*4MwercS
J2
1revoCcitsalPM
4501*8MwercS
J3
1
rotpadAN
1bonK
J4
J5
Spring M8
Washer M8*16*1.2T
L1
L2
Strap(L)
Strap(R)
1
1
P
P1
P2
1
2
2
Towel housing
Washer
Nut
4
4

15
FIGURE 10
If you have any questions , please contact The Fitness Generation, +61 (03) 9765 9999.
www. healthstreamfitness.com.au
Free call number 1300 796 636
HOW TO MOVE THE MACHINE
Step1. Hold the handle bar and push down the handle bar.
Step2. You can move the machine easily by the transportation wheel on the front stabilizer.

16
If you have any questions , please contact The Fitness Generation, +61 (03) 9765 9999.
www. healthstreamfitness.com.au
Free call number 1300 796 636
1. FUNCTION IDENTIFICATION
BAR GRAPH DISPLAY
Profiles Programs as listed here
16 x Rows = 16 Load resistance
Levels
16x Column = time intervals
2. MODEL FUNCTION DESCRIPTION
TIME : 0:00~99:59.
SPD : 0.0~99.9 KMH
RPM : 0~15~999
WATT DISPLAY : 0~999
DISTANCE : 0.00~99.99 KM.
CALORIES : 0~9999.
TEMPERATURE : 0~71к!/ 32~99л
GENDOR : GIRL / BOY
AGE : 10-25-99
HEIGHT : 100-160-200 (CM) / 40-60-80 (INCH)
WEIGHT : 20-50-150 (KG) / 40-100-350 (LB)
PULSE : P~30~240
HEART SYMBOL : ON/OFF blinks
MANUAL : 1~16 levels
PROGRAMM : P1~P12
WATT CONSTANT: 10~350 WATTS
PERSONAL : U1~U4
H.R.C : 55%Ε75%Ε90%ΕIND (TARGET)
USER DATA : U0 ~U4 (U1 ~ U4 memorized user data
MODE CONTROL LIST
MANUAL-PROGRAM - WATT
-PERSONAL-H.R.C.
USER DATA Display
There are total 5 user Data
(.U0-U4) including Gender, Age,
H.t. ( Height) and W.t. ( Weight)
12 Program Profiles Graph Key
Quick key of press 12 Program
Profiles by pressing panel.
FUNCTION DISPLAY
During your workout you can select
what is shown in the Mode BAR
Display.
The flashing text indicates what is
being shown in the Mode Display.
MODE Key
Confirm your selection.
RESET Key
Reset default function value..
UP (+) and DOWN (-)Key
Adjust function value by
pressing two keys.
RECOVERY Key
The RECOVERY PROGRAM
automatically evaluate your
Fitness Level.
START / STOP Key
START & STOP KEY.

17
If you have any questions , please contact The Fitness Generation, +61 (03) 9765 9999.
www. healthstreamfitness.com.au
Free call number 1300 796 636
3. POWER ON
1. Plug in 6V 1A power Adaptor to right country socket and connect the I / L PIN to Fitness equipment.
2. When stay in U0~U4, only there is pulse input, then PULSE symbol on the right in window will
operate to display automatically as per H.R.C.: If pulse maximum value is set, then the function cancel
automatically.
3. RecoveryΚTo test user’s heart recovery extent in fixed time, time will be 1 minute.
4. User DataΚ5 groups for user setting U0~U4, every user can set genderΕageΕheight and weight,
however when power off or TOTAL RESET,U0 setting files will be cleaned and reset and U1-U4 setting
values will be saved permanently.
5. USER SETTING VALUE MEMORY: setting files memory (TIMEΕDISTANCEΕCALORIESΕPULSE
setting value)&the function setting value(set value which used last time or changed manual load set value:
or PROGRAM PX(1-12)…Etc. it can only remember one of them. For instance: WATT CONSTANT SET
VALUE: or PERSONAL program), U1~U4 fours groups altogether.
4. CONTROL MODE DESCRIPTION
A. MANUAL Set the resistance level by using the dot matrix display then (if required) to set function value.
TIME/DISTANCE / CALORIES / PULSE; the function value will be counting down from pre-setting number to
0. And then press ST/STOP to START manual program at anytime to start your workout.
B. PROGRAM 12 automatic adjusting programs with control exercise program profiles (P1~P12),
Resistance level can be adjusted by knobbing ENTER (UP/DOWN) during the program.
C. WATTS CONSTANT
User can default WATTS value at his/her desire 10-350 watts between 10~350 watts by using the UP /
DOWN knob. To fix WATTS constant value and then press ST/STOP key. Use WATTS control mode to train
yourself in different WATTS’s constant.
D. PERSONAL
Create your own Program profile through U1~U4 by setting the resistance level for each individual segment.
Then the Program will be automatically saved for future use. U0 ENTER can be set the same as U1~U4
but this Program cannot be saved.
E. H.R.C
HEART RATE CONTROL- Select your own target Heart Rate by choosing from one of the preset
programs 55%, 75%ˈor 90%. Please ENTER your age into the User Data to ensure that your target heart
rate is set correctly. The PULSE display will flash when you have reached your target heart rate according
to the Program you have chosen.
i. 55% -- DIET PROGRAM
ii. 75% -- HEALTH PROGRAM
iii. 90% -- SPORTS PROGRAM
iv. TARGET—USER SET TARGET HEART RATE

18
If you have any questions , please contact The Fitness Generation, +61 (03) 9765 9999.
www. healthstreamfitness.com.au
Free call number 1300 796 636
F. RECOVERY
When you have finished your workout, press RECOVERY. For RECOVERY to function correctly, it needs
your Heart Rate input. TIME will count down from 1 minute and then your fitness level from F1 to F6 will be
displayed. NOTE: during RECOVERY, no other displays will operate.
F 1 ~ F6 = RECOVERY HEART RATE LEVEL
Operating ENTERS:
1. User press H.R.C key to start the H.R.C.
2. Get the result from F1 - F6.
Condition Score Heart Rate
Excellent F1 Above 50
Good F2 40 ~ 49
Average F3 30 ~ 39
Fair F4 20 ~ 29
Poor F5 10 ~ 19
Very Poor F6 Under 10
G. USER DATA :
U0~U4 are user’s Personal Programs (refer Personal). Users should ENTER their gender, age, height and
weight. Only data for U1 to U4 will be saved. U0 is for casual users.
TIPS
1. Option: Plug in AC Adaptor (6VOLT,1A).
2. Keep moisture away from computer.

19
AEROBIC EXERCISE
Aerobic exercise is any sustained activity that sends oxygen to your muscles via your heart and lungs.
Aerobic exercise improves the fitness of your lungs and heart - your body’s most important muscle.
Aerobic exercise fitness is promoted by any activity that uses your large muscle -arms, legs, or buttock,
for example. Your heart beats quickly and you breathe deeply. An aerobic exercise should
be part of your entire exercise routine.
WEIGHT TRAINING
Along with aerobic exercising which helps get rid of and keep off the excess fat that our bodies can
store, weight training is an essential part of the exercise routine process. Weight training helps tone,
build and strengthen muscle. If you are working above your target zone, you may want to do a less
amount of reps. And as always ,consult your physician before beginning any exercise program.
MUSCLE CHART
CYCLE
The exercise routine that is performed on the cycle will develop the lower body muscle group as well
as condition the circulatory system and provide a good aerobic workout . These muscle groups are
highlighted on the muscle chart below.
If you have any questions , please contact The Fitness Generation, +61 (03) 9765 9999.
www. healthstreamfitness.com.au
Free call number 1300 796 636
Table of contents
Other Healthstream Exercise Bike manuals

Healthstream
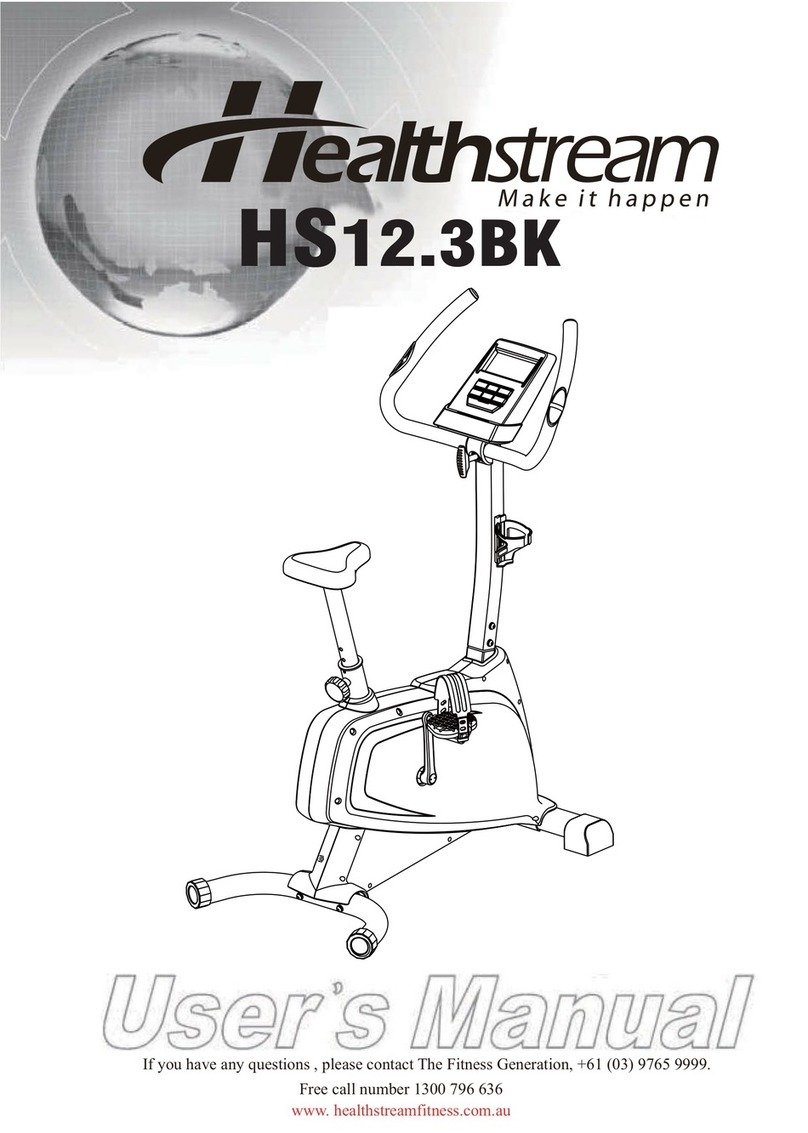
Healthstream HS12.3BK User manual

Healthstream
Healthstream CHEETAH / 402BK User manual

Healthstream
Healthstream FAN BIKE User manual

Healthstream
Healthstream HS12.5BK User manual

Healthstream
Healthstream HC10TVUB User manual

Healthstream
Healthstream HS12.4BK User manual

Healthstream
Healthstream HS12.2BK User manual

Healthstream
Healthstream HS2.ORW User manual

Healthstream
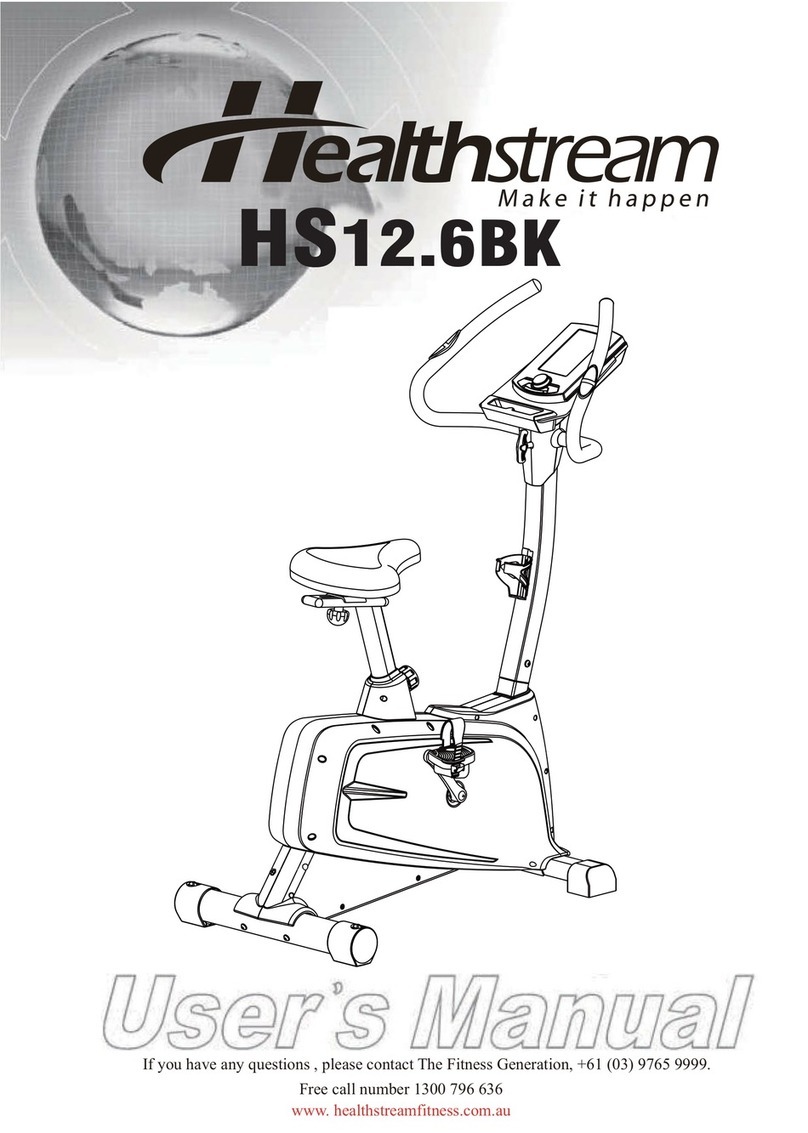
Healthstream HS12.6BK User manual