manuals.online logo
Brands
  1. Home
  2. •
  3. Brands
  4. •
  5. Heath Zenith
  6. •
  7. Accessories
  8. •
  9. Heath Zenith 5610 User manual

Heath Zenith 5610 User manual

© 2015 HeathCo LLC
Motion Sensor
Entryway Light
Models 5610/15
The Heath®/Zenith Motion Sensor Entryway Light turns
on up to 60 watts of incandescent light when motion
is detected and then, after a selectable time period,
automatically turns the light off. The built-in photocell
keeps the light off during daylight hours.
Sensor
Entryway Light
Mounting Nut and Stem
2 Wire
Connectors
2 Screws
Mounting Strap and
Grounding Wire
globe
(5615) or jar
(5610)
Requirements
• The Entryway Light requires 120-volts AC.
• If you want to use Manual Override, the light must be
wired through a switch.
•Some codes require installation by a qualified
electrician.
This package includes:
OPERATION
* resets to Auto Mode at dawn.
Note: When first turned on wait about 1 1/2minutes for
the circuitry to calibrate.
MANUAL MODE
ON-TIME
10 5 1 TEST
10 5 1 TEST
ON-TIME
TEST
... back on.
AUTO
1 Second
OFF then...
Put the ON-TIME switch in the
1, 5, or 10 minute position.
Put the ON-TIME switch on the bottom
of the sensor in the TEST position.
Manual mode only works at night
because daylight returns the sensor
to AUTO.
Flip the light switch off for one second
thenbackontotogglebetween AUTO
and MANUAL MODE.
Manual mode works only with the
ON-TIME switch in the 1, 5, or 10
position.
Move ON-TIME Switch to
1, 5, or 10 minutes
Mode Switching Summary
Flip light switch off
for one second then
back on*
MANUAL MODE
AUTO
TEST
* If you get confused while switching modes, turn the
power off for one minute, then back on. After the cali-
bration time the control will be in the AUTO mode.
Mode: On-Time Works: Day Night
Test 5 Seconds x x
Auto 1, 5, or 10 Minutes x
Manual Until Dawn* x
2
ON-TIME
TEST 1 5 10
SENS
MIN MAX
TEST AND ADJUSTMENT
1. Turn on the circuit breaker and light switch.
In the test position shown above, the light will turn
on for 5 seconds each time motion is detected dur-
ing both daylight and darkness.
ON-TIME SENS
Bottom of Sensor
NOTE: Sensor has a 1 1/2minute calibration period
before it will detect motion. When first turned
on, wait 1 1/2minutes.
INSTALLATION
For best performance, mount the fixture about 7 feet
(2.1 m) above the ground.
1. Turn the power to the lighting circuit off at the
fuse or circuit breaker box.
2. Remove the existing light fixture.
3. Install the mounting strap
into the junction box. Ori-
entation of the strap may
be different.
4. Strip about 5/8 in. (15 mm)
insulation off of the existing
junction box wiring.
5. Connectthe white (neutral) junction boxwiretothe
white Entryway Light wire.Twist the wires together
and secure with a wire connector.
6. Connect the green or
bare (ground) mounting
strapwireto a grounded
wire or to a grounded
metal box.
7. Connect the black
(hot) junction box
wiretotheblackEn-
tryway Light wire.
8. Install the mounting stem into the strap so
that it extends out about 3/4 in. (19 mm).
9. Install the fixture over
the mounting stem.
10. Install and tighten the
mounting stem nut.
Holding Screw
for Globe or Jar
11. Caulk the back edge of the light and mounting
surface with silicone weather sealant.
12. Install a 60 Watt maximum light bulb into the lamp
holder. Do not overtighten. Higher wattages will
void warranty.
13. Loosen the front holding screw so the globe or jar
cover can be installed. Secure by tightening the
screw. Do not overtighten.
2. For aiming, turn the SENSITIVITY (SENS) control
to the mid position and the ON-TIME control to the
TEST position.
3
Avoid aiming the control at:
• Objects that changetemperaturerapidly, suchas heat-
ing vents or air conditioners. These heat sources
could cause false triggering.
• Areas where pets or traffic may trigger the control.
•Nearby large, light-colored objects reflecting light
may trigger the shut-off feature. Do not point other
lights at the sensor.
110°
30 ft (9.1m)
The detector is less sensitive to motion directly towards
it and more sensitive to across motion.
7 ft.
(2.1 m)
Maximum Range Maximum
Coverage Angle
3. Rotate the sensor base left
and right to aim the sensor.
Adjust the sensor eye up
and down to obtain desired
coverage range.
4. Walk through the coverage
area noting where you are
whenthe lights turn on.Move
the sensor head up, down,
or sideways to change the
coverage area.
5. SetSENSITIVITYas needed.
Too much sensitivity may
increase false triggering.
6.
Set the amount of TIME the
lightsstayonaftermotionisde-
tected (1, 5, or 10 minutes).
SPECIFICATIONS
Range . . . . . . . . . . . . . . Up to 30 ft (9.1 m) [varies with
surrounding temperature].
Sensing Angle . . . . . . . . Up to 110°
Electrical Load. . . . . . . . Up to 60 Watt Maximum In-
candescent
Up to 15 Watt Maximum
CFL
Power Requirements . . . 120 VAC, 60 Hz
Operating Modes. . . . . . TEST, AUTO and MANUAL
OVERRIDE
Time Delay . . . . . . . . . . 1, 5, 10 minutes
Sensitivity . . . . . . . . . . . Adjustable
This device complies with Part 15 of the FCC Rules.
Operation is subject to the following two conditions: (1)
this device may not cause harmful interference, and (2)
thisdevicemustacceptanyinterferencereceived,includ-
ing interference that may cause undesired operation.
CAN ICES-3 (B)/NMB-3(B)
Least Sensitive Most Sensitive
Sensor
Motion
Motion
Aim Sensor
Down for Short
Coverage
Aim Sensor
Higher for Long
Coverage
IMPORTANT: Whenusing aCFLbulb,itisrecommend-
ed to use the maximum ON-TIME setting. Frequent
ON/OFF cycling of the bulb will reduce its life.
WARNING: Do not use SBCFL bulb marked
“Not for use in totally enclosed fixtures”.
SYMPTOM
Light will not come
on.
Light comes on
in daylight.
POSSIBLE CAUSE
1. Light switch is turned off.
2. Light bulb is loose or burned
out.
3. Fuse is blown or circuit breaker
is turned off.
4. Daylight turnoff is in effect (re-
check after dark).
5. Incorrect circuit wiring, if this is a
new installation.
6. Re-aim the sensor to cover de-
sired area.
1. Entryway Light may be installed
in a relatively dark location.
2. Entryway Light is in Test. (Set
control switch to an ON-TIME
position).
SYMPTOM
Lightcomeson
fornoapparent
reason.
Light stays on
continuously.
Light flashes
on and off.
POSSIBLE CAUSE
1. Entryway Light may be sensing small
animals or automobile traffic (re-aim
sensor).
2. Sensitivity is set too high. (Reduce
sensitivity).
1. Entryway Light is pointed toward a
heat source like an air vent, dryer
vent,orbrightly-painted heat-reflective
surface. (Reposition sensor).
2. Lightcontrol isinManualMode.(Switch
to Auto.)
1. Heatbeing reflectedfrom otherobjects
may be affecting the sensor. (Reposi-
tion sensor).
2. Entryway Light is in the Test mode and
warming up. (Flashing is normal under
these conditions).
TROUBLESHOOTING GUIDE
Learn more about home shop we have.

This manual suits for next models

1

Other Heath Zenith Accessories manuals
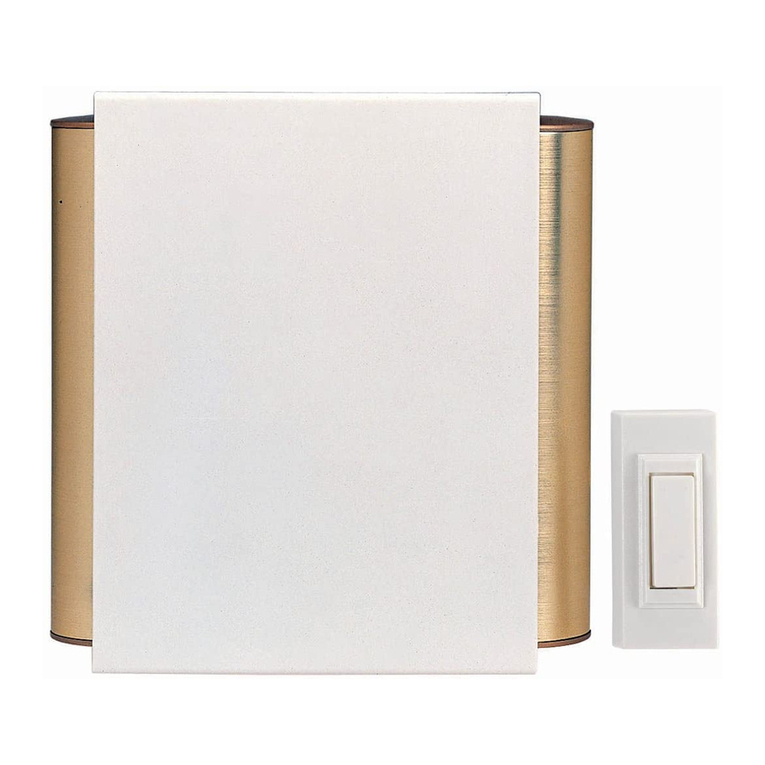
Heath Zenith Wireless Chime TR-0095-RX User manual

Heath Zenith

Heath Zenith Wireless Chime TR-0095-RX User manual

Heath Zenith SL-6168 User manual

Heath Zenith

Heath Zenith SL-6168 User manual

Heath Zenith 7797 User manual

Heath Zenith

Heath Zenith 7797 User manual

Heath Zenith Notifi Elite User manual

Heath Zenith

Heath Zenith Notifi Elite User manual

Heath Zenith Wireless Push Button Accessory SL-6190... User manual

Heath Zenith

Heath Zenith Wireless Push Button Accessory SL-6190... User manual

Heath Zenith 595-5684-09 User manual

Heath Zenith

Heath Zenith 595-5684-09 User manual

Heath Zenith 7868 User manual

Heath Zenith

Heath Zenith 7868 User manual

Heath Zenith Lighted Wireless Push Button Accessory User manual

Heath Zenith

Heath Zenith Lighted Wireless Push Button Accessory User manual

Heath Zenith Wireless Push Button Accessory 598-1105-05 User manual

Heath Zenith

Heath Zenith Wireless Push Button Accessory 598-1105-05 User manual

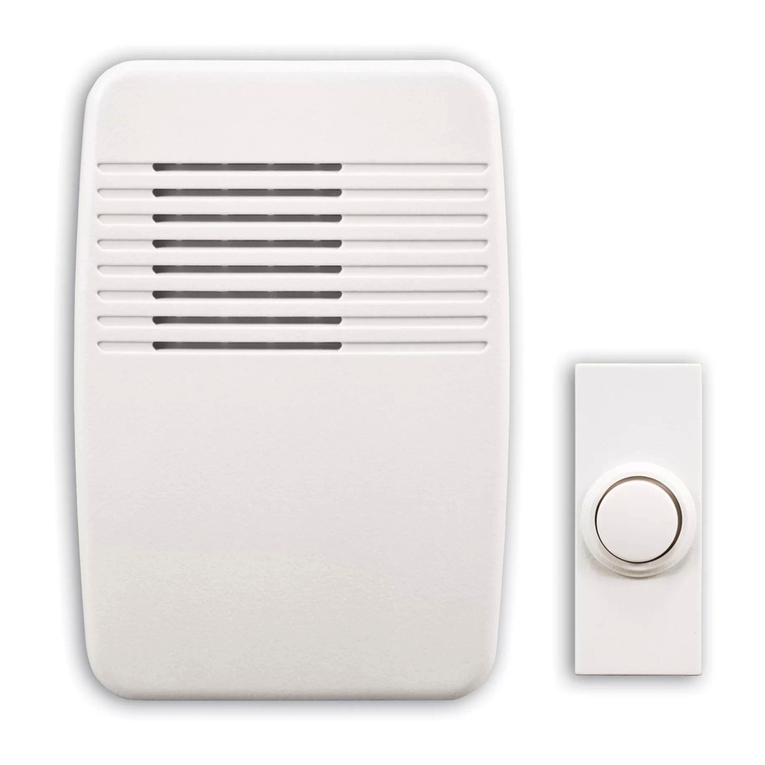
Heath Zenith Hardwired Electronic Chime 598-1113-05 User manual

Heath Zenith

Heath Zenith Hardwired Electronic Chime 598-1113-05 User manual

Heath Zenith Secure Home 5215 User manual

Heath Zenith

Heath Zenith Secure Home 5215 User manual

Heath Zenith Weatherproof Long Range Wireless Chime with Chime Extender... User manual

Heath Zenith

Heath Zenith Weatherproof Long Range Wireless Chime with Chime Extender... User manual

Heath Zenith 6168 User manual

Heath Zenith

Heath Zenith 6168 User manual

Heath Zenith 121AC User manual

Heath Zenith

Heath Zenith 121AC User manual

Heath Zenith 7762 User manual

Heath Zenith

Heath Zenith 7762 User manual

Heath Zenith DESA 6270 User manual

Heath Zenith

Heath Zenith DESA 6270 User manual

Heath Zenith Notifi elite User manual

Heath Zenith

Heath Zenith Notifi elite User manual

Heath Zenith SL-6153 User manual

Heath Zenith

Heath Zenith SL-6153 User manual

Heath Zenith Wireless Dual Push Button Accessory SL-6200 User manual

Heath Zenith

Heath Zenith Wireless Dual Push Button Accessory SL-6200 User manual

Heath Zenith Wireless Christmas Chime 598-1127-03 User manual

Heath Zenith

Heath Zenith Wireless Christmas Chime 598-1127-03 User manual

Heath Zenith Wireless Mechanical Battery Operated Chime... User manual

Heath Zenith

Heath Zenith Wireless Mechanical Battery Operated Chime... User manual

Heath Zenith HZ-1802-BK-A User manual

Heath Zenith

Heath Zenith HZ-1802-BK-A User manual

Heath Zenith SECUR360 9600 User manual

Heath Zenith

Heath Zenith SECUR360 9600 User manual

Heath Zenith Replacement Motion Sensor SH-5407 User manual
Heath Zenith

Heath Zenith Replacement Motion Sensor SH-5407 User manual

Popular Accessories manuals by other brands

Quincy lab 140AE-1 operating manual

Quincy lab

Quincy lab 140AE-1 operating manual

HomePro ZIR000 user manual

HomePro

HomePro ZIR000 user manual

DOL 20SCR Technical user guide

DOL

DOL 20SCR Technical user guide

RAB Smart Task installation manual

RAB

RAB Smart Task installation manual

Kemppi KMS 300 quick guide

Kemppi

Kemppi KMS 300 quick guide

Stearns 57,500 Series Installation and service instructions

Stearns

Stearns 57,500 Series Installation and service instructions

iGuzzini TWILIGHT COPENAGHEN manual

iGuzzini

iGuzzini TWILIGHT COPENAGHEN manual

Adelaide Annexe & Canvas Avan Deluxe installation guide

Adelaide Annexe & Canvas

Adelaide Annexe & Canvas Avan Deluxe installation guide

OHAUS 5000 instruction manual

OHAUS

OHAUS 5000 instruction manual

HOME8 WLS1300 quick start guide

HOME8

HOME8 WLS1300 quick start guide

MAXBOTIX MaxSonar quick start guide

MAXBOTIX

MAXBOTIX MaxSonar quick start guide

ioSmart iSmart56 Installation and user guide

ioSmart

ioSmart iSmart56 Installation and user guide

Focusrite Scarlett 18i8 user guide

Focusrite

Focusrite Scarlett 18i8 user guide

Velleman ED38105 user manual

Velleman

Velleman ED38105 user manual

JumpSport SkyBounce user manual

JumpSport

JumpSport SkyBounce user manual

Prima-Temp PRIYA Instructions for use

Prima-Temp

Prima-Temp PRIYA Instructions for use

Tefcold BC85I-BC85I W user manual

Tefcold

Tefcold BC85I-BC85I W user manual

Vaisala WMS302 user guide

Vaisala

Vaisala WMS302 user guide

manuals.online logo
manuals.online logoBrands
  • About & Mission
  • Contact us
  • Privacy Policy
  • Terms and Conditions

Copyright 2025 Manuals.Online. All Rights Reserved.