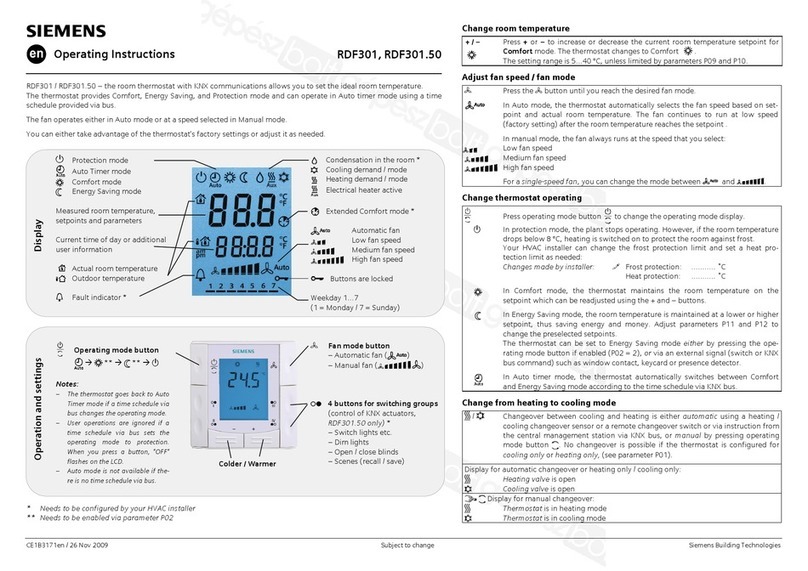
HeatLink 46645 User guide

Installer Manual
Wired Digital Timer Thermostat
#46645
®
Heat Link

2
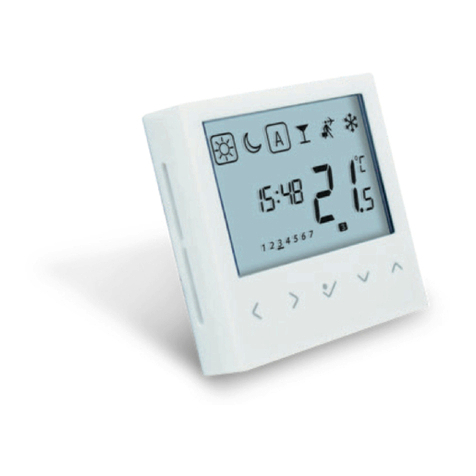
46645 Thermostat
Installer Manual
Mounting Hardware
Contents of the Box
Installer Manual
Wired Digital Timer Thermostat
#46645
®
Heat Link

3
Product Compliance & Safety Information
This equipment has been tested and found to comply with the limits for a Class
B digital device, pursuant to Part 15 of the FCC Rules. These limits are designed
to provide reasonable protection against harmful interference in a residential
installation. This equipment generates uses and can radiate radio frequency
energy and, if not installed and used in accordance with the instructions, may
cause harmful interference to radio communications. However, there is no
guarantee that interference will not occur in a particular installation. If this
equipment does cause harmful interference to radio or television reception, which
to try to correct the interference by one or more of the following measures:
• Reorient or relocate the receiving antenna.
• Increase the separation between the equipment and receiver.
•
the receiver is connected.
• Consult the dealer or an experienced radio/TV technician for help.

4
compliance could void the user’s authority to operate the equipment.
This device complies with part 15 of the FCC Rules. Operation is subject to the
following two conditions: (1) This device may not cause harmful interference, and
(2) this device must accept any interference received, including interference that
may cause undesired operation.
This Class B digital apparatus complies with Canadian ICES-003.
Cet appareil numérique de la classe B est conforme à la norme NMB-003 du
Canada.
Product Compliance & Safety Information (continued)

5
Safety Information
Use in compliance with safety regulations. The unit is to be used for the control of
room temperature inside the house.
Installation
comply with the guidance, standards and regulations applicable to the city,
country or state where the product is installed. Failure to comply with the relevant
standards could lead to prosecution.
Product Compliance & Safety Information (continued)

6
Product Description
Thank you for purchasing the HeatLink #46645 Thermostat. This thermostat is a
device that lets you customize the heating and cooling of your home as needed.
a large easy to read LCD screen and one touch buttons. You can now simply
adjust your home temperature as desired in order to create a comfortable home
environment.
We hope you enjoy our product.

7
1. Mounting the Thermostat
It should be mounted in a location where the thermostat is easily accessible and
away from direct sunlight. You can mount the thermostat directly on the wall or
you can install it on top of a wall-box.
Gently remove front housing
(60 mm)

8
2. Terminal Connection
You can wire the thermostat directly to
the #40318 StatLink® 8 Zone Wired
Module or to an actuator (purchased
separately).
Actuators (5 max)
24 Vac Class II
Transformer
L
N
24 V
110 V
or
220 V
Remote 10 kΩ NTC Sensor
(optional)
Setback Signal Output (optional)
Heat/Cool Changeover (optional)
46645
R
CO
R
N
T
C
C
C
W
40318
R21
R C R 1
C W R 1
C W
1 2
Remote 10 kΩ NTC
Sensor (optional)
46645
CO
R
N
T
C
C
W

9
3. Thermostat Icons
BOX means to select mode.
e.g. means Hi temp is selected
means the Hi temp is not selected.
Sun: High comfortable temperature
Moon: Low comfortable temperature (setback)
Indicates AUTO ON or AUTO OFF
Indicates that the Party Mode is active
Indicates that the Holiday Mode is ON.
Frost Protection Indicator:
Frost protection is active, not available in cooling mode.
Heat Mode indicator: Indicates heating is running

10
Cool Mode indicator:
Temperature indicator
• Display the room temperature
• Display the set temp
To change the temperature display from °C to °F, go to
Installer Mode and change d00 value to 1 (page 21).
Temporary override indicator:
The hand will appear until the next programs starting
time.
Floor protection indicator (d03 = 1; d04 = 1)
Programs number indicator.
AM
PM Indicates the time.
1 2 3 4 5 6 7 Indicates the day of the week (1 = Monday)
3. Thermostat Icons (continued)

11
or
Mode selection.
Long press to return home without saving.
Long press to save and return home.
or Decrease or increase value (e.g. Setpoint Temperature).
Press and hold to change value faster.
4. Button Functions
Press any key to activate the backlight and wake up the thermostat.

12
AM
PM
1 2 3 4 5 6 7
5. Setting Date and Time
You can also access the date and hour by long pressing . After that press
and
1
3
2
4
Press to
Press or
to choose
12/24 hr, then
press to

14
6. Setting the High Comfortable Setpoint
This setpoint is also used for the Auto mode programs.
PM
1 2 3 4 5 6 7
PM
1 2 3 4 5 6 7
1 2
Press or
to select
Sun Mode
Press or
to select
the setpoint
for Sun
Mode.
Press to

15
7. Setting the Low Comfortable (Setback) Setpoint
This setpoint is also used for the Auto mode programs.
PM
1 2 3 4 5 6 7
PM
1 2 3 4 5 6 7
1 2
Press or
to select
Moon Mode.
Press or
to select
the setpoint
for Moon
Mode.
Press to

16
8. Setting Your Programs
You can customize your programs by long pressing when on the program
screen.
in Installer Mode, choose option d17 and after that select the desired program.
1 2 3 4 5
AM
1 2 3 4 5
AM
1 2 3 4 5
1
3
2
4
Set the hour
by using
or .
Press to
Repeat the
procedure for
the minutes.
Select the
desired
program
or by
pressing
or .
Press to

17
8. Setting Your Programs (continued)
You can select and customize any of the following programs:
5 days (Monday to Friday) 2 days (Saturday to Sunday)
Program Program
Time
Heat set
point
Cool set
point
Program Program
Time
Heat set
point
Cool set
point
1 6:00 Sun Sun 1 7:00 Sun Sun
2 9:00 Moon Moon 2 12:00 Moon Moon
3 16:00 Sun Sun 3 --:-- – –
4 23:00 Moon Moon 4 --:-- – –
5 --:-- – – 5 --:-- – –
6 --:-- – – 6 --:-- – –
Program Prole 1
Program Prole 2
5 days (Monday to Friday) 2 days (Saturday to Sunday)
Program Program
Time
Heat set
point
Cool set
point
Program Program
Time
Heat set
point
Cool set
point
1 6:00 Sun Sun 1 7:00 Sun Sun
2 22:30 Moon Moon 2 12:00 Moon Moon
3 --:-- – – 3 --:-- – –
4 --:-- – – 4 --:-- – –
5 --:-- – – 5 --:-- – –
6 --:-- – – 6 --:-- – –

18
5 days (Monday to Friday) 2 days (Saturday to Sunday)
Program Program
Time
Heat set
point
Cool set
point
Program Program
Time
Heat set
point
Cool set
point
1 5:00 Sun Sun 1 7:30 Sun Sun
2 8:00 Moon Moon 2 22:30 Moon Moon
3 14:00 Sun Sun 3 --:-- – –
4 22:00 Moon Moon 4 --:-- – –
5 --:-- – – 5 --:-- – –
6 --:-- – – 6 --:-- – –
5 days (Monday to Friday) 2 days (Saturday to Sunday)
Program Program
Time
Heat set
point
Cool set
point
Program Program
Time
Heat set
point
Cool set
point
1 6:00 Sun Sun 1 7:30 Sun Sun
2 9:00 Moon Moon 2 23:00 Moon Moon
3 15:00 Sun Sun 3 --:-- – –
4 22:30 Moon Moon 4 --:-- – –
5 --:-- – – 5 --:-- – –
6 --:-- – – 6 --:-- – –
Program Prole 4
Program Prole 3
8. Setting Your Programs (continued)

19
8. Setting Your Programs (continued)
5 days (Monday to Friday) 2 days (Saturday to Sunday)
Program Program
Time
Heat set
point
Cool set
point
Program Program
Time
Heat set
point
Cool set
point
1 6:00 Sun Sun 1 7:30 Sun Sun
2 10:00 Moon Moon 2 23:30 Moon Moon
3 16:00 Sun Sun 3 --:-- – –
4 23:00 Moon Moon 4 --:-- – –
5 --:-- – – 5 --:-- – –
6 --:-- – – 6 --:-- – –
Program Prole 5

20
9. How to reset the thermostat
AM
PM
1 2 3 4 5 6 7
PM
1 2 3 4 5 6 7
1
4
2 3
5
Press
Press
Press the indicated keys
together for 3 seconds.
Select P47 if you want to
reset to factory settings.
Table of contents
Other HeatLink Thermostat manuals

