HELLER CWH505NS User manual

Instruction Manual
2000W Ceramic Wall
Heater with Remote
Model: CWH505NS
READ AND SAVE THESE INSTRUCTIONS

Read and follow the instructions in this user manual even if you feel you are familiar with the product, and
find a place to keep it handy for future reference.
For your convenience record the complete model number (located on the product identification plate) and
the date you received the product, together with your purchase receipt and attach to the warranty and
service information. Retain in the event that warranty service is required.
NOTE: The rating of this product (as marked on the product identification plate) is based on specific loading
tests. Normal use or the use of other recommended attachments may draw significantly less power.
Important Safeguards
When using any electrically powered product, basic safety precautions should always be followed, including
the following:
PLEASE READ ALL INSTRUCTIONS CAREFULLY BEFORE USING THIS PRODUCT
WARNING!: - to reduce the risk of fire, electrical shock or injury to persons or property:
•Carefully read all instructions before operating your new product for the first time and save for
future reference.
•Remove and safely discard any packaging material and promotional labels before using the Heater
for the first time.
•To eliminate a choking hazard for young children, remove and safely discard the protective cover
fitted to the plug of this appliance.
•Always operate the product from a power source of the same voltage, frequency and rating as
indicated on the product identification plate.
•Check that the unit is in good working condition before operating.
•Close supervision is necessary when the product is used by or near children or infirm persons. Do not
allow children to use it as a toy.
•Children should be supervised to ensure they do not play with the appliance.
•Do not operate any product with a damage cord or plug, or after the product malfunctions, or is
dropped or appears damaged in any way. Return the complete product to the place of purchase for
inspection, repair or replacement.
•If the supply cord is damaged, it must be replaced by the manufacturer, its service agent or similarly
qualified persons in order to avoid a hazard.
•This product should not be used in the immediate vicinity of water, such as bathtub, washbowls,
basins, showers or swimming pools, containing liquids where the likelihood of immersion or
splashing could occur.
•Avoid touching the heater body whilst the heater is on. If the unit needs to be moved, switch off and
allow to cool, and only hold the heater by the handle provided.
•This appliance is not intended for use by persons (including children) with reduced physical, sensory
or mental capabilities, or lack of experience and knowledge, unless they have been given supervision
or instruction concerning use of the appliance by a person responsible for their safety.
•Always turn the unit off before unplugging the power cord. Ensure your hands are completely dry
when touching the unit in order to prevent electric shock.
•Ensure the cord is fully extended before use and arrange it so that it does not come in contact with
any part of the heater.
•Do not place the heater on bedding or on thick and long pile carpet/rugs where the openings may be
blocked.

•Do not use the heater in areas such as garages; where petrol, paint or other flammable substances
are used or stored.
•Do not use near or point the heater towards furniture, animals, curtains or other flammable objects.
Keep combustible materials such as furniture, bedding and curtains etc at least 1 metre from the
front, sides and rear of the heater.
•Do not place the cord under carpet or cover with throw rugs or furniture. Arrange the cord so that it
cannot be tripped over.
•Switch off and unplug from the power outlet when not in use, before assembly or disassembling
parts and before cleaning. Remove by grasping the plug –do not pull on the cord.
•A common cause of overheating is deposits of fluff and dust entering the heater. Ensure these
deposits are removed regularly by unplugging the heater, allowing it to cool and clean as described
in the cleaning and maintenance section.
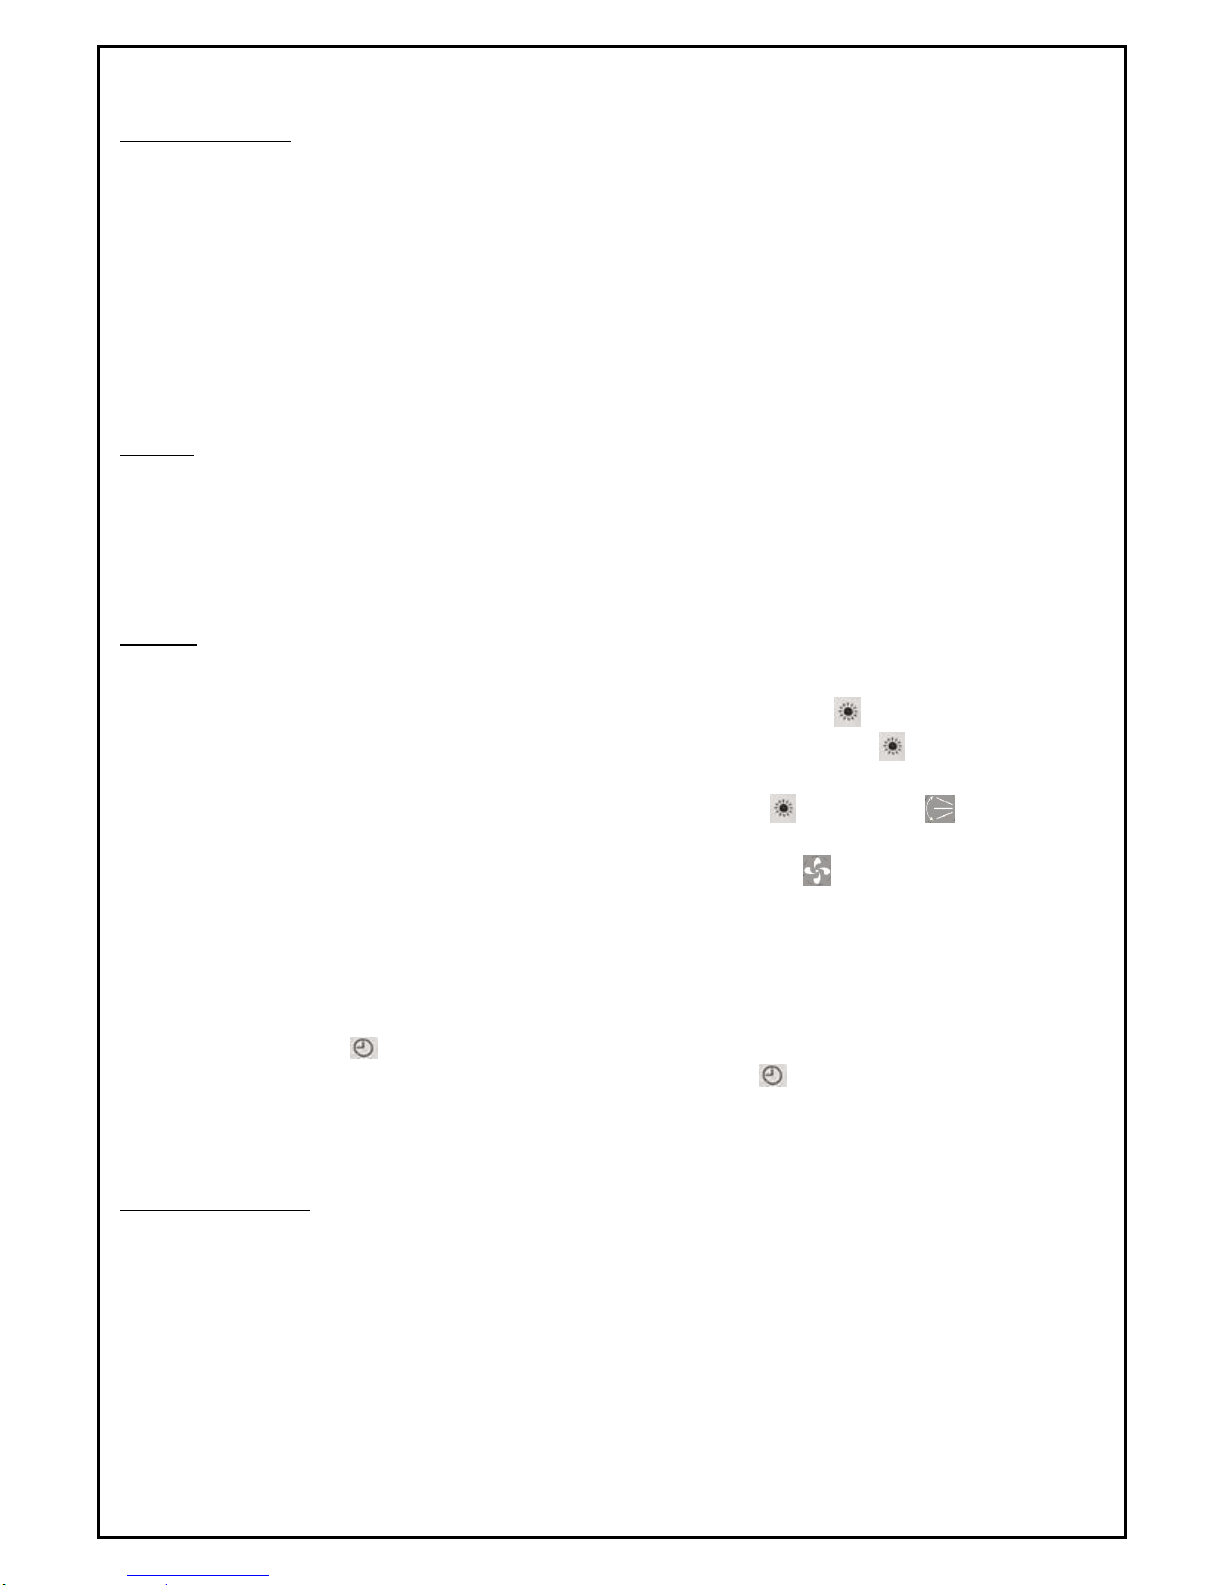
•This Heater must be hung on the wall, with the wind outlet pointing down.
•Ensure that no other high wattage appliances are plugged into the same power outlet as the Heater,
as an overload can occur.
•Avoid the use of an extension cord, as the extension cord may overheat and cause a risk of fire.
•Do not use the appliance other than for its intended use.
•Do not use outdoors. FOR INDOOR USE ONLY.
•Do not leave the appliance unattended while switched on.
•Do not place objects on the product or allow objects to obstruct the inlet or outlet openings, or
operate in close proximity to walls or curtains, etc. Do not cover the unit when in operation.
•Do not install the Heater directly below a power outlet.
•The use of attachments or accessories not recommended or sold by the manufacturer or sold by the
product distributor may cause personal or property hazards or injuries.
•This product is intended for normal domestic/household use only.
•Use this Heater as described in this manual. Any other uses not recommended by the manufacturer,
may cause fire, electric shock, or injury to persons and may void the warranty.
•CAUTION: In order to avoid a hazard due to inadvertent resetting of the thermal cut-out, this
appliance must not be supplied through an external switching device, such as a timer, or connected
to a circuit that is regularly switched on and off by the utility.
•The installation of a residual current device (safety switch) is recommended to provide additional
safety protection when using electrical appliances. It is advisable that a safety switch with a rated
residual operating current not exceeding 30mA be installed in the electrical circuit supplying the
appliance. See your electrician for professional advice.
Installing the Appliance
Please note: The supplied wall fixings are for brick walls; for other wall types, please consult your local hardware store.
Drill two 8mm holes on the wall allowing 1.8 metres above the floor and 20cm from the side walls. Ensure
the hole diameter is the same size as the expanding screw pipe. Place the expanding screw pipe into the
hole in the wall and then fix two screws on the expanding pipe, keep the tips of the screws out 10mm and
hang up the heater. Ensure that the screws are strong enough to hold the heater.

Features
1. Air Inlet
2. LED Display
3. Oscillation blade
4. Air Outlet
5. Button
Operating Instructions
Before inserting the plug into an electrical outlet, make sure that the correct voltage is being used and
corresponds to what is indicated on the rating label on the unit, and that the socket have an earth facility.
These instructions will apply to both the control panel on the heater and on the remote.
1. Plug the unit into the main power supply, and then switch ON the main power supply.
On/Off Button
Mode Button
Cancel Button
Increase Temperature Button
Decrease Temperature Button
Oscillate Button
Timer Button

FAN mode:
Remote & Manual:
1) Press the ON/OFF & III button, the fan heater will switch ON, the wind door will open and the fan will
blow. The screen will display the room temperature.
2) To switch the fan OFF, press the ON/OFF & III button.
NOTE: To assist in maintaining the internal components, after pressing the OFF button the fan will continue
to blow room temperature air for a period of 30-60 seconds before shutting down to standby.
Heating mode:
Manual:
1) Connect the appliance to power supply.
2) Press the III button successively to choose below function:
Switch on FAN Heating 1000W Heating 2000W SWING Switch Off. The LED
indicator lights will automatically light up and down while you’re pressing the III button.
Remote:
1) Press the ON/OFF button, the heater will switch ON and the fan will blow.
2) Press the ‘MODE’ button once, to operate at 1000W mode. The “SUN “ indicator will light up.
3) Press the ‘MODE’ button again, to operate at 2000W mode. The two “SUN “ indicators will light up
together.
4) Press the OSCIL button, to operate the Oscillation mode. “SUN “ and “SWING” indicators will
light up together.
5) To switch the heater OFF at anytime, press ON/OFF button, the fan indicator will flash. The fan
heater will continue to operate for 30 -60 seconds, and then it will switch OFF.
NOTE: The heater will switch OFF after 10-15 sec operation. This will allow the fan heater to cool off.
Timer:
Press the TIMER button / successively to choose timer function from 1hr to 8hrs. The LED indicator lights
will automatically light up and down while you’re pressing the TIMER / button.
Temperature setting:
Remote Control Only
1) Operate the Heating Mode as per above instructions.
2) The LED screen will display the room temperature, to adjust the temperature, press “+”, to increase
the desired temperature and “-“to decrease the desired temperature.
3) When the air temperature reaches 1 degree above the set temperature, the heater will cut off. The
heater stop working but the fan will continue working to allow the product to cool down and
maintain the temperature.
4) When the air temperature drops 3 degrees below the set temperature, the unit will come back on.
5) The temperature can be set from 10 degrees to 49 degrees, by pressing the “+” and “-“.
6) Press the CANCEL button to cancel programmed temperature.

WARNING: Do not touch the machine while it is on and ensure the wind outlet/inlet is never covered.
Cleaning & Maintenance
1. Wait for the machine to completely cool down before commencing and cleaning.
2. Always disconnect the appliance from the main power outlet before cleaning.
3. Clean the outside surface of the heater with a damp lint free cloth. Never immerse directly in water!
4. Do not use any detergents/solvents or harsh chemical agents/abrasives to clean the heater
5. Ensure the unit is completely dry and nothing is blocking the air inlet/outlet before powering on.
Specifications
Model
Description
Voltage
Frequency
Wattage
CWH505NS
2000W Ceramic Wall Heater with Remote
220-240V~
50Hz
2000W
Hints & Tips
1. Do not overheat your home, in winter the temperature of a heated room should be between 18-
21°C
2. Choose the right size heater for the room that you wish to heat.
3. Zone off the unoccupied rooms by closing doors and curtains to limit heat loss.
4. Use draft stoppers where possible, to keep the cold air from filtering in under doors.
5. Avoid placing items or sitting too close to the heater for optimal air flow.
Australian Customer Service
GAF Control (Sales) Pty Ltd
P.O Box 19
Altona North Victoria 3025
Phone: 1300 659 489
Hours: 9am-5pm (EST) Mon-Fri
www.gafcontrol.com.au
*This product may vary slightly to the product illustrated due to ongoing product development.
Table of contents
Other HELLER Heater manuals

HELLER
HELLER HPH20 User manual

HELLER
HELLER 2XSHV User manual

HELLER
HELLER HUFHOS User manual

HELLER
HELLER HBFH2000 User manual

HELLER
HELLER HCH2000WF User manual

HELLER
HELLER KPF 2001 B User manual

HELLER
HELLER HCVH2000 User manual

HELLER
HELLER HCFWF11 User manual

HELLER
HELLER PCH2000T User manual

HELLER
HELLER HOIL5 User manual

HELLER
HELLER HIH20 User manual

HELLER
HELLER HTR102C User manual

HELLER
HELLER CWH521NS User manual

HELLER
HELLER CTH2000 User manual

HELLER
HELLER HWR2400 User manual

HELLER
HELLER HCFH1500B User manual

HELLER
HELLER SHF 18 E User manual

HELLER
HELLER HTF2000 User manual

HELLER
HELLER HCFHU2000 User manual

HELLER
HELLER HH11R User manual