3) Enroll Common User Fingerprints
This operation can add common fingers to a lock. One lock can add up to 125 common fingers.
3.1 Press the Mater Fingerprint on the sensor, and it will emit one sound ¡Di---¡ when the fingerprint is recognized and the Green lights will
flash. Press the ADD button and release when it emits one sound ¡Di---¡. Then it will emit a long sound ¡Di-----¡ and the Green light will flash.
Then you can enroll new fingerprints.
Note:If it emits ¡Di---¡ (long), ¡Di---¡ (short), ¡Di---¡ (long), ¡Di---¡ (short), that means 125 User Fingerprints have been enrolled and can not
add more.
3.2 Put a finger on the fingerprint sensor (make sure this finger has not been enrolled before). Don¡t move the finger until you hear a sound
¡Di---¡.
3.3 If this finger deleted successfully, it will emit a long sound ¡Di-----¡. If failed, it will emit two sounds ¡Di---¡.
3.4 After the Fingerprints have been enrolled the Green signal light will flash and turn to enroll mode.
Repeat Step 3.2 to 3.4 to enroll new fingerprints. If you want to exit enrollment mode, press the Master Fingerprint or wait for 6 seconds. If it
emits ¡Di---¡ (long), ¡Di---¡ (short), ¡Di---¡ (long), ¡Di---¡ (short), that means 125 User Fingerprints have been enrolled and can not add more.
4) Delete Common User Fingerprints
This operation can delete common User Fingerprints from a lock.
4.1 Put the Mater Fingerprint on the sensor, and it will emit one sound ¡Di---¡ when the fingerprint is recognized and the Green lights will
flash. Press the DEL button, it emits one sound ¡Di---¡. Then it will emit a long sound ¡Di-----¡ and the red light will flash. Then you can
delete fingerprints.
Note: If it emits ¡Di---¡ (long), ¡Di---¡ (short), ¡Di---¡ (long), ¡Di---¡ (short), that means the User Fingerprint does not exist.
4.2Put a finger on the fingerprint sensor, which is to be deleted (make sure this finger has been enrolled before). It will emit a sound ¡Di---¡
when the fingerprint is deleted sucessfully. It will emit two sounds ¡Di--- Di---¡ when it fails to delete the fingerprint.
4.3 After the Fingerprints have been deleted the Green signal light will flash and turn to enroll mode.
Repeat Step 4.1 to 4.3 to delete more fingerprints. If you want to exit delete mode, press the Master Fingerprint or wait for 6 seconds. If it
emits ¡Di---¡ (long), ¡Di---¡ (short), ¡Di---¡ (long), ¡Di---¡ (short), that means the User Fingerprint does not exist.
5) Delete all User Fingerprint
This operation can delete all User Fingerprints; only Master Fingerprints are left.
5.1 Put the Mater Fingerprint on the sensor, and it will emit one sound ¡Di---¡ when the fingerprint is recognized and the Green lights will
flash. Press the DEL button and it emits one sound ¡Di---¡. Then it will emit a long sound ¡Di-----¡ and the red light will flash. Then press the
Don¡t Disturb button.
5.2 Put the Mater Fingerprint on the sensor continually for two times (two times should be right), then If it emits two sounds ¡Di¡ Di¡ ¡, all the
User Fingerprints have been deleted.
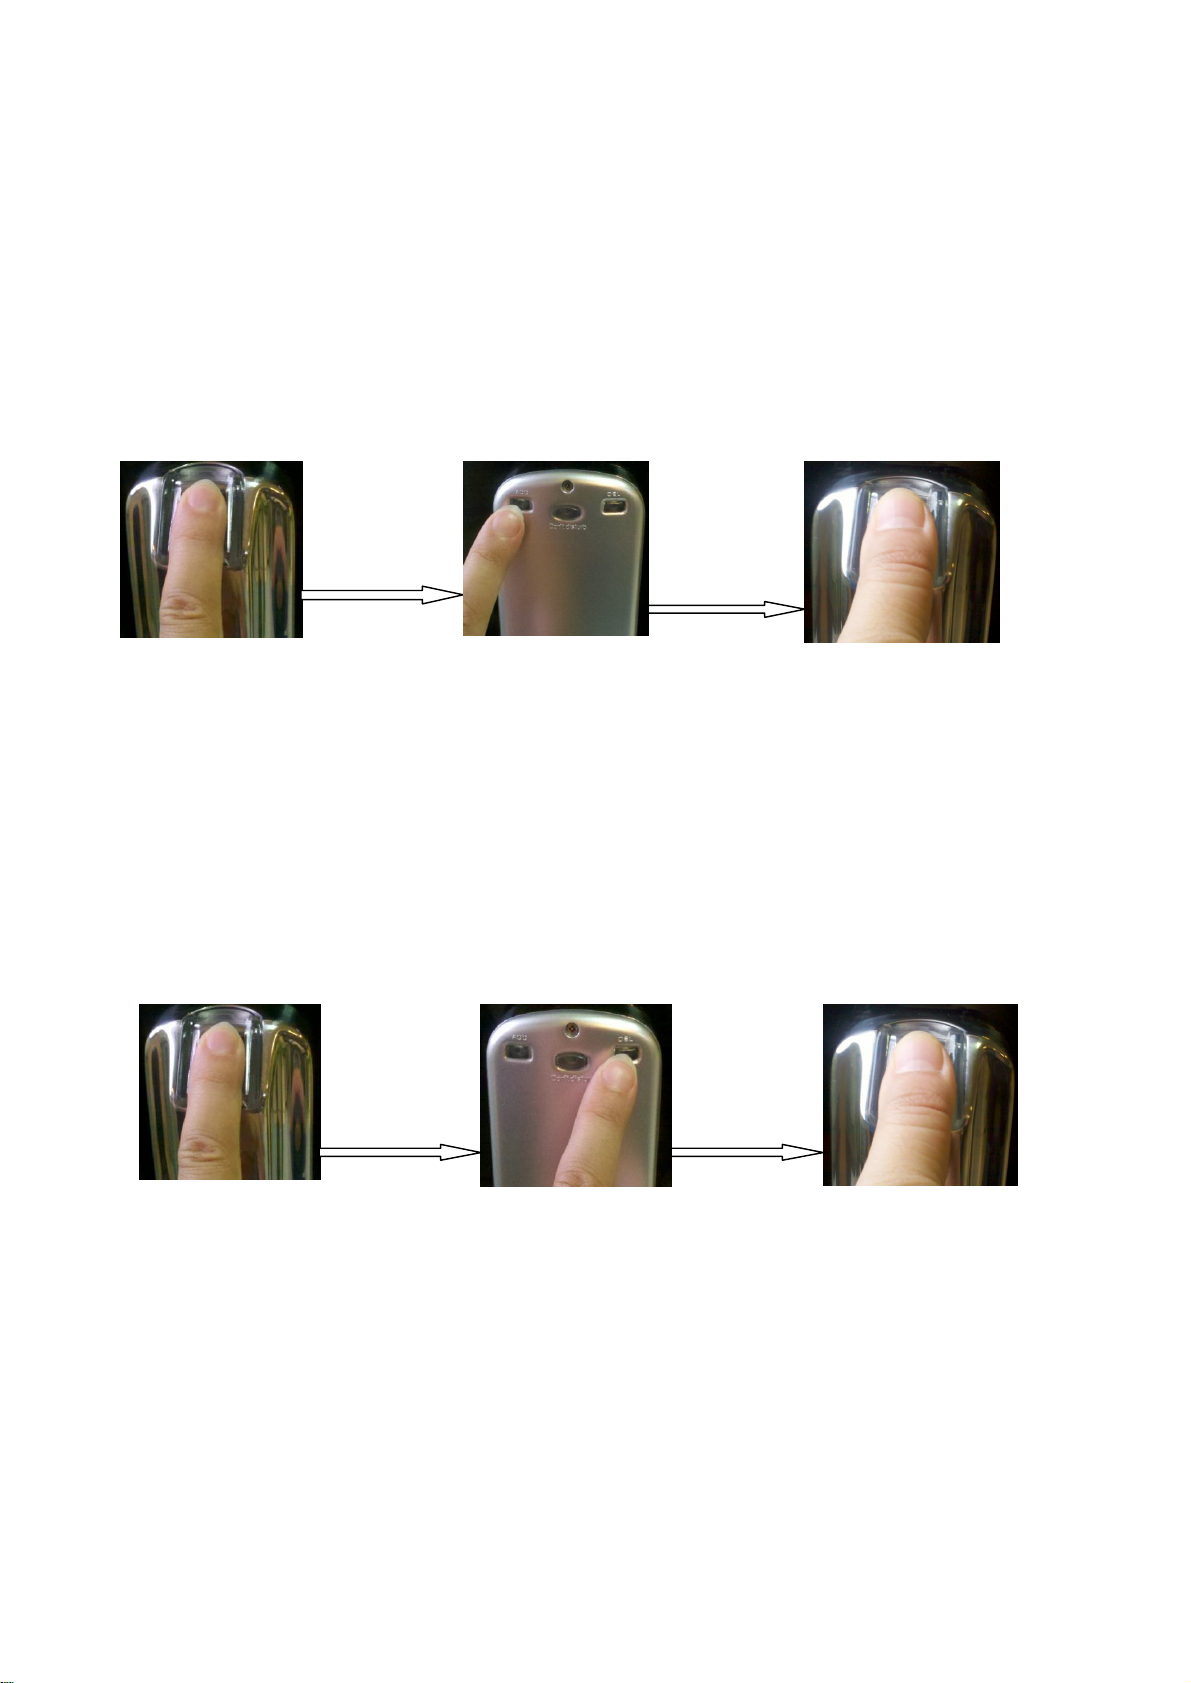
Put the master
finger
Press the ADD
button, then put a
new finger
Put the master finger Press the DEL
button, then put a
enrolled finger