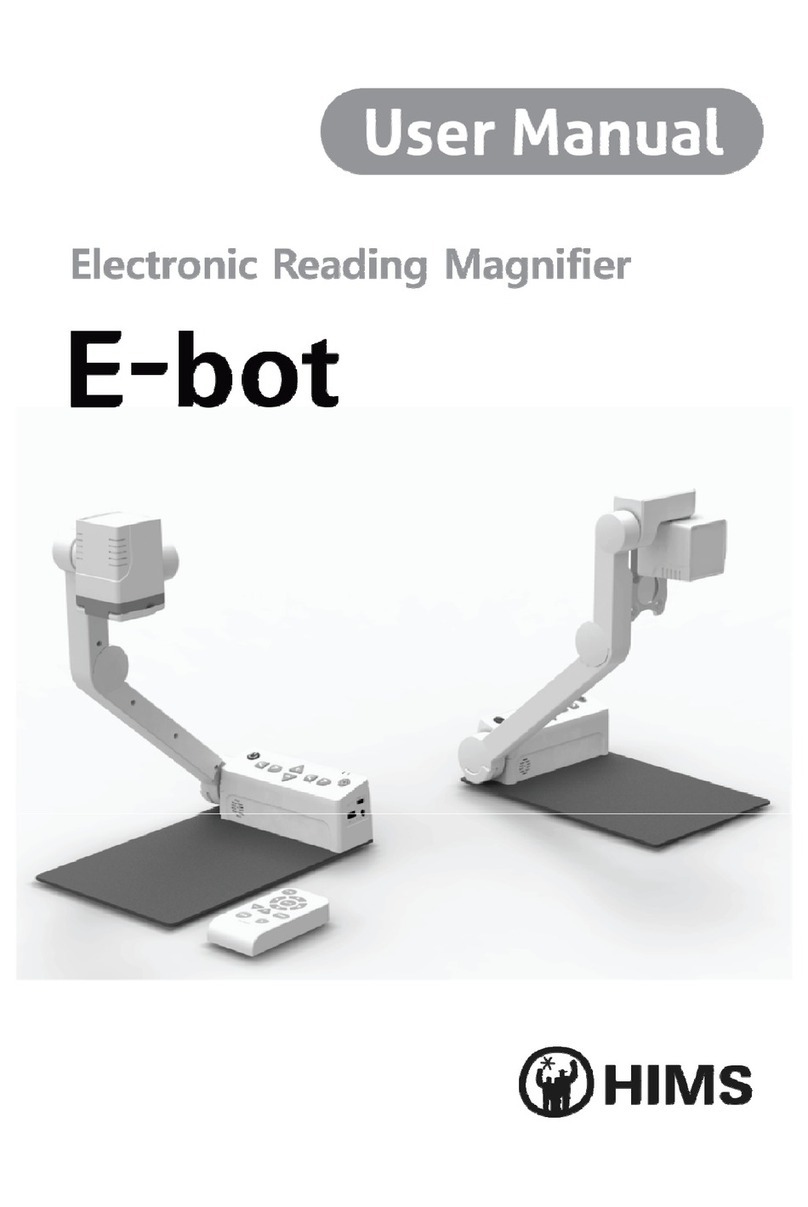
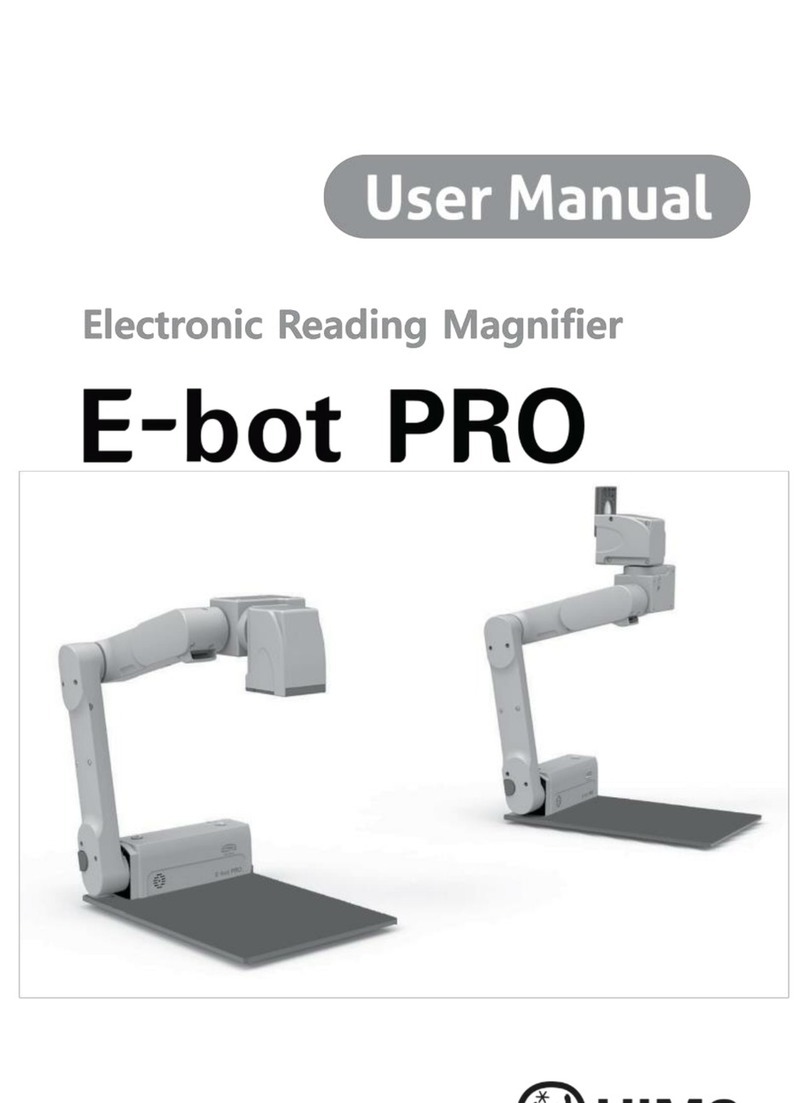
HIMS E-bot PRO User manual


2
Safety Precautions
For your safety and protection of the E-bot, please read and abide
by the following important safety precautions.
1) Do not plug the AC adapter into a faulty electrical outlet. This is to
prevent electrical shock or fire.
2) Do not touch the AC adapter with wet hands.
3) Use only the AC adapter provided with the E-bot. Using another AC
adapter may damage the device. Be advised that damage caused
by misuse is not covered by the warranty.
4) Please do not remove the power cable when the E-bot is turned on
as this can damage the product.
5) Do not use the E-bot in a moisture-rich environment such as a
bathroom, shower or a wet kitchen counter as moisture may get
inside the unit and damage the components.
6) Do not use E-bot in extreme high or low temperatures. We
recommend that you do not use this device in environments below
0°C or above 40°C, as the image may display inaccurately.
7) Always turn off the power before moving the product to another
location.
8) When you press the release switch to fold the E-bot, please grip the
arm and manually fold the unit. Allowing the arm to simply drop may
cause impact damage to the unit.
9) Do not use the DC OUT at the back of the device as a power supply
for devices other than authorized visual displays for E-bot as this
can damage the product and/or the connected device.

3
Marked Symbol Description
Caution: is used to note information for safe and proper use of
the product.
Note
: is used to introduce reference and usage Tips.

4
Table of Contents
Safety Precautions ......................................................................................................................................................................2
Marked Symbol Description.....................................................................................................................................................3
Package Contents .......................................................................................................................................................................6
E-bot PRO Orientation...............................................................................................................................................................7
1) Product..........................................................................................................................................................................7
2) Back side of product................................................................................................................................................8
3) Side of product ..........................................................................................................................................................8
4) Front of product.........................................................................................................................................................9
5) Wireless controller ................................................................오류! 책갈피가 정의되어 있지 않습니다.
6) Back side of Wireless controller...................................................................................................................... 10
Getting Started ........................................................................................................................................................................... 11
1) Set up the E-bot .....................................................................오류! 책갈피가 정의되어 있지 않습니다.
2) Inserting the battery.............................................................................................................................................. 15
3) Charging.................................................................................................................................................................... 16
4) How to replace a wireless remote control battery ...오류! 책갈피가 정의되어 있지 않습니다.
5) Wireless controller Power On / Off ................................오류! 책갈피가 정의되어 있지 않습니다.
6) Power On/Off .......................................................................................................................................................... 18
7) Installing the PC Viewer Program(Will be added later)......................................................................... 20
8) Connecting to displays........................................................................................................................................ 20
Basic Functions of E-bot........................................................................................................................................................ 24
1) Changing Camera Modes.................................................................................................................................. 25
2) Magnification ........................................................................................................................................................... 26
3) Changing the Color Mode.................................................................................................................................. 27
4) Contrast..................................................................................................................................................................... 28
5) LED light On/Off..................................................................................................................................................... 29
6) Finding your current Reading Position......................................................................................................... 30
7) Focus lock ................................................................................................................................................................ 31
8) Freeze........................................................................................................................................................................ 32
Advanced features.................................................................................................................................................................... 33
1) Using the menu...................................................................................................................................................... 33
2) Auto Scroll ................................................................................................................................................................ 34
3) Color mode settings ............................................................................................................................................. 35
4) Marker ........................................................................................................................................................................ 37
5) OCR ............................................................................................................................................................................ 39
6) Save............................................................................................................................................................................ 42
Preferences .................................................................................................오류! 책갈피가 정의되어 있지 않습니다.

5
1) Voice Guide ............................................................................................................................................................. 44
2) E-bot operating Language................................................................................................................................. 45
3) Camera position preference ............................................................................................................................. 46
4) Initialization .............................................................................................................................................................. 46
5) Information ............................................................................................................................................................... 47
6) Wi-Fi password change ...................................................................................................................................... 47
7) Keyboard Hot keys ............................................................................................................................................... 48
Tablet Viewer Gestures.......................................................................................................................................................... 49
Quick Guide to PC operations............................................................................................................................................. 53
Troubleshooting......................................................................................................................................................................... 55
1) When the wireless controller does not work .............................................................................................. 55
2) Even though the values are the same channel, wireless remote control does not operate
normally ............................................................................................................................................................................... 56
3) The product does not turn on when you press the power button ..................................................... 56
A/S................................................................................................................................................................................................. 56
An FCC warning ........................................................................................................................................................................ 58

6
Package Contents
1) E-bot
2) 1 E-bot Battery
3) Wireless controller
4) Battery for Wireless controller
5) AC Adapter
6) Cables (USB 3.0, HDMI, HDMI to DVI gender)
7) Carrying Case
8) Headphones
9) SD Card 16GB
10) User Guide
11) PC installation program

7
E-bot PRO Orientation
1) Product
Camera
Arm
Front
controller
Table
Camera
Arm Lock button
Near
Camera
Lens
Wireless controller SD Card
Camera
Arm’s
Joint
Camera
Arm’s
Handle

8
2) Back side of product
3) Side of product
Volume
Switch
Wi-Fi switch (Wireless)
Earphone Jack
Battery
USB 3.0 port
(PC connection)
ID switch
DC IN port
DC OUT port (USB
Monitor Connection
)
Battery
Release button
HDMI port
(Monitor Connection)
Mic

9
4) Front of product
5) Wireless controller
Near View Button
Menu Button
Zoom in / out
Button
OCR Button
Power LED
Enter Button
Distance View Button
Joystick (Navigation)
Color Change Button
Auto Scroll Button
Power Button
LED Light Button
Power LED
Wi-Fi LED
Play/Pause Button

10
6) Back side of Wireless controller
ID Switch
Power Switch
Battery
Battery Cover

11
Getting Started
1) Unfolding the E-bot
Follow the instructions below to setup the E-bot.
①Grip the camera handle and unfold it upward.

12
②Continue to unfold the camera until it lays flat on the desk or
table top.

13
③Press and hold the Lock button on the left side of the E-bot.
While holding the lock button, unfold the longer arm upward
until it clicks in to place.
④The camera arm should be at a 90 degree angle as shown in
the illustration.

14
⑤The E-bot is ready for use.
Folding
①Press the power button to turn off the power.
②Press the lock button, fold the longer arm down.
③Grip the camera piece and fold it inside as well.

15
2) Inserting the battery
①Grip the product’s main body and insert the battery.
②When the battery is fully inserted, you will feel and hear it click
in to place.
Removing the battery
①Lift the battery release button on the back side of the unit.
②While lifting the battery release button, pull the battery out of
the compartment.

16
3) Charging
Charging via the AC Adapter
①The DC jack is located on the back of the E-bot.
②When E-bot is connected to the AC adapter, the battery is
being charged.
When you use the E-bot for the first time or after a long period of
disuse, please allow the unit to charge for more than 5 hours
Charging via USB
①Connect the larger end of the USB 3.0 cable to the USB port
on your PC.
②Connect the smaller, flatter end of the USB 3.0 cable to the
USB port on the back side of the unit.
②
①

17
If you connect the E-bot to a computer via USB while E-bot is
powered off, the E-bot’s battery is charged.
The power LED indicator
The power LED is located on the top right of the control panel of the
main body. The power LED indicates status as follows:
When the battery is being charged, the Power LED appears red.
When the battery is fully charged, the power LED color is changed
to green.
4) How to replace the battery on the wireless remote control
①Place your fingers in the grooves on the cover on the back of
the wireless remote control by using two hands and push down
and away to remove the battery cover from the unit.
②Open the battery cover, replace the battery.

18
5) Wireless Controller Power On / Off
①Push the power switch on the back of the wireless controller to
ON. To power it off, push the power switch to OFF.
②Once you press the button on the wireless controller, the
Power LED lights up.
6) Power On/Off

19
①Press and release the power button on the E-bot's main body
to power the unit on or off.
②The HIMS logo appears and the camera motor automatically
places the camera in the downward position for viewing a
document on the reading plate. The loading time takes 20 to
25 seconds.
③When the power is turned on, the Power LED changes to
green. When the battery is being charged, the Power LED
appears red.
④Press the power button briefly again to place the E-bot into
sleep mode.
⑤When the power is turned on, press and hold the power button
for more than 2 seconds, the unit power is completely off.
⑥Note: the advantage of Sleep mode is that loading time is shortened.
Also note: If the E-bot is in the folded position, it cannot be powered
on. If the E-bot is folded when it is turned on, the power shuts
completely off.

20
7) Installing the PC Viewer Program(Will be added later)
8) Connecting to displays
E-bot is compatible with various types of display devices, such as
desktop video monitors, laptop computers, and Apple or Android
tablets.
Connecting a monitor (HDMI)
①Connect the monitor's power cord to a power outlet.
②Connect the HDMI cable to the HDMI port on the monitor.
③Connect the opposite end of the HDMI cable to the HDMI port
on the back side of the E-bot.
Monitor
USB Monitor
PC
Pad, Window PC
Other manuals for E-bot PRO
1
Table of contents
Other HIMS Magnifier manuals

HIMS
HIMS GoVision PRO User manual

HIMS
HIMS GoVision GV100 User manual

HIMS
HIMS E-bot ADV User manual

HIMS
HIMS E-bot User manual

HIMS
HIMS LifeStyle HD740 User manual

HIMS
HIMS candy5 hd II User manual

HIMS
HIMS lifestyle candy User manual

HIMS
HIMS SenseView DUO User manual

HIMS
HIMS E-bot ADV User manual

HIMS
HIMS Candy 4HD User manual