If there is an error (burning odor, etc), stop operation and turn off the power switch and then notify
the service center or the dealer from where the air conditioner was purchased. If the air conditioner
keeps on running with the error, it may lead to failure, electric shock, fire, etc.
If the air conditioner is to be moved or relocated, directly contact the service center or the dealer from where
the air conditioner was purchased. If it is moved or relocated improperly by yourself, there is a risk of electric
shock or fire.
If the power cord is damaged, it must be replaced by the manufacturer or by the service
center or a certified technician to prevent danger.
Do not operate the switch when your hand
is wet to prevent from electric shock.
When thunder is likely to happen, for
protecting the machine, stop operation
and turn off the power switch to prevent
from failure.
Do not let the discharge air plenum
directly face your body for a long
period of time, or it may have adverse
effect to health.
If a gas stove is used while the air
conditioner is operating, be sure to
open the window often, or it is possible
to have insufficient oxygen inside.
Do not let the airflow directly face the gas
stove, or it is likely to cause incomplete
combustion.
Do not place animals or plants at the place
to where the airflow is blowing directly, or
it will have adverse effect to them.
If the machine will not be used for a long
period of time, turn off the power switch
for safety.
When cleaning the unit body, be sure to turn
off the power switch, or it may cause injury
as the fan is running at high speed inside.
Do not use a metal wire or copper wire as a fuse to prevent from failure or fire.
Use only on single outlet circuit exclusive for the air conditioner.
Ensure the mounting support is firm and steady or there is a risk the unit may fall.
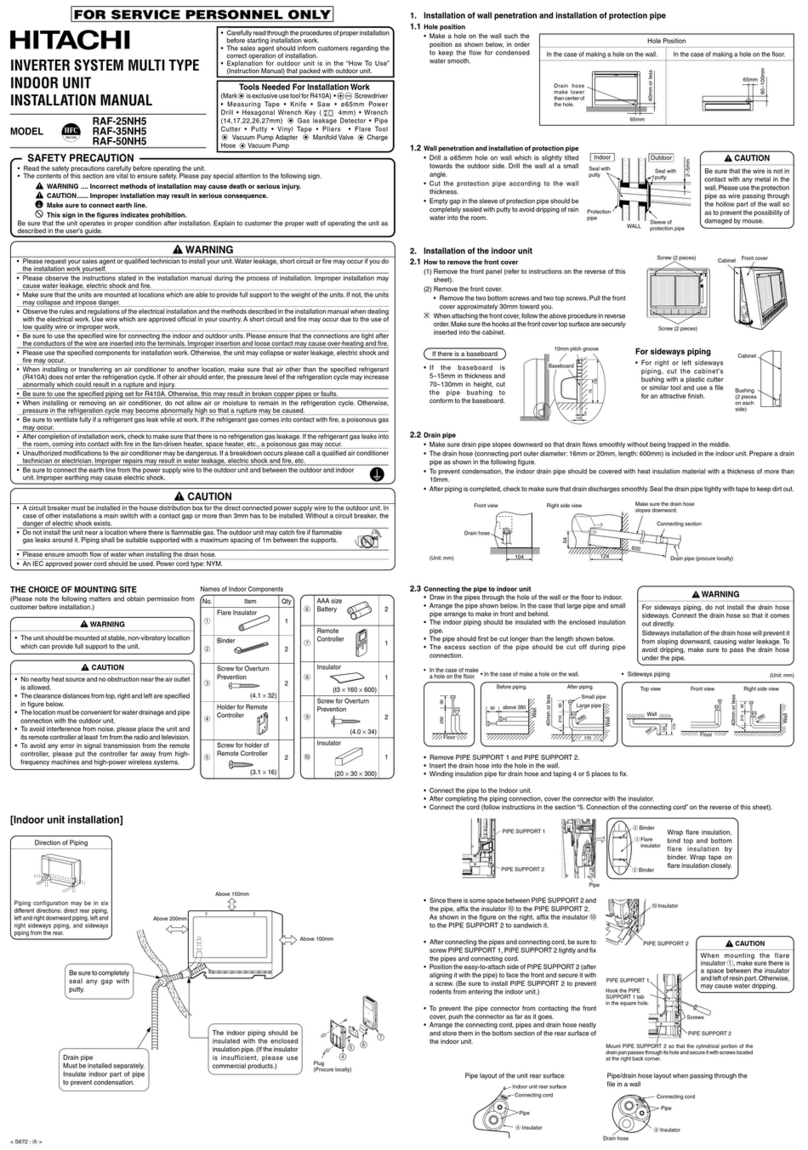
C
A
U
T
I
O
N
To avoid carelessness from power companies or other accidents that cause over current to get into the unit via
the ground wire resulting in damage to the unit, be sure to install an earth leakage circuit breaker. Consult the
dealers (a registered water and electrical engineering dealer) for details. If no earth leakage circuit breaker is
installed, there is a risk of accident such as electric shock to occur.
When installing near places with high humidity such as bathing facilities, damp and humid places, basements,
and places with frequent water accumulation, be sure to install an earth leakage circuit breaker to prevent
current leakage. Consult the dealers (a registered water and electrical engineering dealer) for details.
Do not install at places where flammable objects and flammable gases exist.
If such objects and gases are around, a fire may occur.
The outdoor side should be well ventilated. Do not place any obstacle near the air discharge outlet, otherwise,
the unit performance may decrease and the noise increases.
Do not place any object in front of the indoor side, otherwise, it may affect airflow and Impede operation of the
unit.
Do not place any foreign material around the unit body, otherwise, it may affect the performance of the unit.
Do not allow ejected heated air to face your neighbors. Also, do not let water dripping, drainage, vibration,
noise, etc. interfere your neighbors.
This unit is intended to be used for general family room air conditioning purpose, do not use it for storing food,
animals and plants, precision machinery, fine art works, medicine, etc.
When installing the water drainhose, be sure water can flow out smoothly. If installation is not proper, it is
possible that water may flow inside the room or get your furniture wet.
Plug the power cord to the right source, and the voltage required by the air conditioner is 230V.
If the power of the air conditioner is connected to an incorrect voltage, it will invariable burn out the electrical
parts.
Be sure to firmly plug the power supply cord or it may cause short circuit or heat resulting in danger of fire or
electric shock.
Periodically check the power cord plug and receptacle every year to ensure that they are clean.
To avoid electric shock in case of current leakage, be sure to connect the air conditioner to the
ground. The ground wire diameter should be 2.5 mm² to 6 mm². Also, the end of the ground wire
must be crimped with a round terminal before securing it and must not be loose by accident.
Do not connect the ground wire to the gas pipe, water pipe, lightning rod, and the telephone line.
If the ground wire is not installed properly, there is a risk of electric shock. If the unit is not grounded,
the protective circuit such as lightning striking protection will not work properly.
W
A
R
N
I
N
G
When installing, do not use an extended power cord or a power cord with excess bending (radius less than
20mm). Also, use the cable tie supplied with the base-pan to secure it. Do not place the cord inside the unit
body or it may cause short circuit or abnormal heat leading to a fire due to insulation damage by an overly
compressed cord.
Air conditioner installation and its electrical wiring require a professional. Therefore, assign
only an authorized dealer or a certified technician to install your air conditioner and perform
its electrical wiring. Do not attempt to do it by yourself (charges are additional). If improperly
performed by yourself, it may cause leakage, electric shock or fire.
W
A
R
N
I
N
G
C
A
U
T
I
O
N
Do not insert anything like slender stick
into the discharge air plenum or return air
grille as the fan is running at high speed,
it is highly likely to cause danger.
When cleaning the unit body, never wash it
with splashing water as there is a risk of
current leakage.
W
A
R
N
I
N
G
To service the air conditioner, directly contact the service center or the dealer from where the air condition was
purchased. If it is improperly repaired by yourself, there is a risk of electric shock or fire.
INDICATION DISPLAY ON THE FRONT COVER
FAN SPEED indicator light
When the unit is running, the light turns on.
When you press this button, the intensity of circulation
will change from (AUTO) to (HI) to (ME) to (LO) incycle.
POWERFUL indicator light
REMOTE CONTROLLER
Room tempe rature display
AUTO SWING indicator light
TIMER indicator light
When you press the button, the vertical louver will
automatically swinging.
SIGNAL EMITTING WINDOW/TRANSMISSION SIGN
Point this window toward the indoor unit when controlling it.
The transmission sign blinks when a signal is sent.
DISPLAY
This indicates the room temperature selected, current time, timer status,
function and intensity of circulation selected.
FAN SPEED button
This determines the fan speed.
MODE button
Use this button to select the operating mode. Every time you press it, the
mode will change from COOL to DRY (DEHUMIDIFY) and to FAN incycle.
ON/OFF button
Press this button to start operation. Press it again to stop operation.
TIMER button Use the button to set the timer.
TEMPERATURE buttons
Use these buttons to raise or lower the temperature setting.
POWERFUL button
Use these button to start powerful operation.
AUTO SWING button
Controls the angle of the vertical louver air deflector.
SLEEP button
Use this button to set the sleep timer.
RESET button
Back to the factory defaults.
ON/OFF button
UNIT DISPLAY
Remote controller
When the unit is powered up, the computer will
automatically detect the room temperature and
display the current temperature.
(Indicates the error code when an error occurs)
Temperature button
Press this button to raise or lower the temperature.
MODE indicator light
When the unit is running, the light turns on.
When you press this button, the mode will change
from (COOL) to (FAN) to (DRY) incycle.
Press this button to start operation, press it again
to stop operation.
Use these button to start powerful operation.
When the unit is performing a powerful operation, this
light turns on.
When the unit is preset with a timer, this light turns on.
Infr ared light recei ving window
A “beep” sound will be generated when it receives the
signal from the remote controller.
Horizontal louver
Front cover
Vertical louver
Display zone
Air filter
Cabinet
(Case in RA-06~10SR)
SET A PROPER ROOM TEMPERATURE
Adjust the “Temp. Setting” to a proper
number to keep the room temperature
at a most comfortable level.
Too low or too high temperature will be
uncomfortable to the human body.
(It is proper to have a temperature
difference at 5℃ ~ 7℃ between indoor and outdoor. )
SET UP DRAPES OR BLINDS
Drapes or blinds can keep away the
heat coming into the windows.
REGULARLY CLEAN THE AIR FILTER
If the air filter accumulates dust, it will
affect the air circulation, reducing the
cooling efficiency. To save energy, be
sure to wash the air filter once every
two weeks.
REDUCE OVERLOADED HEAT SOURCES
If there is a heat source (many people
coming in and out, or from a heating
appliance) that exceeds the cooling
capacity, the room temperature will
not reach the desired setting level.
THE DOORS AND WINDOWS SHOULD CLOSE
TIGHTLY TO PREVENT FROM COOLING LEAKAGE.
Unless otherwise necessary,
the doors and windows should
be closed tightly. Also, minimize
people coming in and out the room.
EVENLY DISTRIBUTE THE CONDITIONED AIR
If the room temperature is not even, adjust
the horizontal and vertical louvers to a
proper position.
WHEN THE ELECTRICITY RESUMES AFTER OUTAGE
When the electricity resumes after the
outage, you need to press the ON/OFF
button again due to the effect of the
protective circuit.
WHEN SUNNING IS LIKELY TO OCCUR
When thundering is likely to occur,
it is necessary to stop operation to
protect the unit. Unplug the power
cord of the unit.
DEHUMIDIFYING OPERATION
Press the button so that the display indicates “DRY” (DEHUMIDIFY).
The FAN SPEED is set at “LO” automatically.
Use the device for dehumidifying when the room temperature is above 16°C.
When it is under 15°C, the dehumidifying function will not work.
Press the button.
Press the button so that the display indicates “COOL”.
Set the desired FAN SPEED with the button (the display indicates the
setting).
Set the desired room temperature with the buttons. The temperature setting
and the actual room temperature may vary somewhat depending on conditions.
Press the button. Cooling operation starts with a beep. Press the button again to stop operation.
The cooling function does not start if the temperature setting is higher than the current room temperature
(even though the “RUNNING” (OPERATION) lamp lights). The cooling function will start as soon as you set
the temperature below the current room temperature.
AUTO : The FAN SPEED is HI at first and varies to ME.
automatically when the preset temperature has been reached.
COOLING OPERATION
Use the device for cooling when the outdoor temperature is above 10°C. If humidity is very high
(over 80%) indoors, some dew may form on the air outlet grille of the indoor unit.
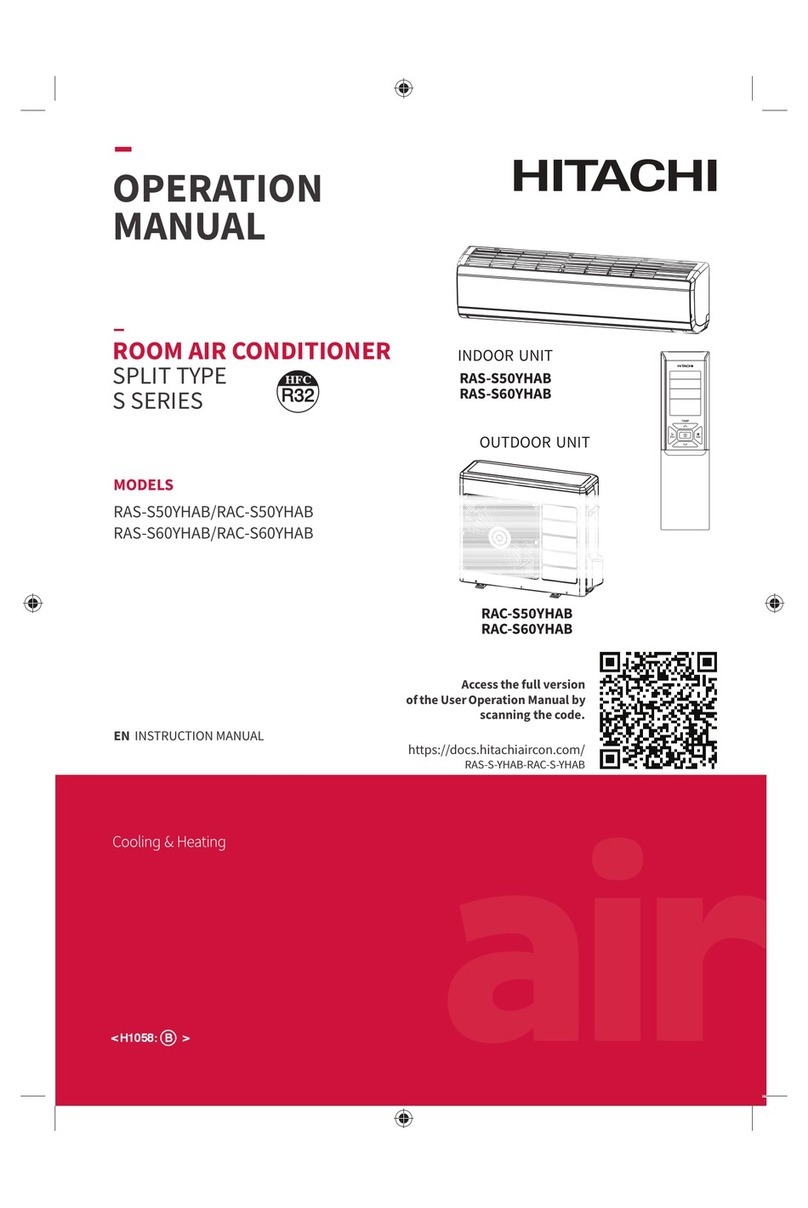
Operation manual
Window Type
Room Air Conditioner
RA-06SR RA-08SR RA-10SR
RA-15SR RA-20SR
Power
Supply
kj/h kj/h.W
RA-06SR
RA-08SR
RA-10SR
RA-15SR
RA-20SR
W A mm kg
SINGLE
PHASE
230V
60Hz
COOL
FAN
DRY
6400
8800
9700
12800
19100
11.1
11.7
10.8
11.2
10.0
577
1143
1910
5.1
8.4
470x340x600
470x340x600
470x340x600
600x400x795
600x400x795
52
56
Model Capacity EER Power
Input
Running
Current
Dimension
(WxHxD)
Product
Weight
Funtion READ AND UNDERSTAND
THIS MANUAL BEFORE
USING THIS AIR
CONDITIONER.
KEEP THIS MANUAL FOR
FUTURE REFERENCE.
752
898
2.6
3.3
4.0
28
30
31
IMPORTANT:
PON!
“OFF”
“OFF”
“OFF”
“OFF”
Read this section of “Safety precaution” carefully to understand proper usage of this unit before use.
In addition, this sign “ ” shown in the diagram denotes prohibited items, whereas “ “ denotes mandatory items.
Be sure to keep this manual after reading.
We are not liable for maintenance and repair of your air conditioner as stipulated in the warranty or for any damage
of this unit body or nearby property if you fail to observe warning instructions in this manual or use of parts not
supplied from us.
Pay special attentions to “ Warning” and “ Caution” designations contained in this manual. The “ Warning”
designation may cause death a serious of injury if not followed correctly. Failure to follow the instructions under the
“ Caution” designation may also cause possible serious consequence depending on the situation. Therefore, be
sure to observe these designations for your safety.
The product use nonflammable R410A refrigerant. While product is under installation or transport, except R410A
refrigerant can be charged, please not charge other refrigerant, air, oxygen, propane, alcohol or any flammable
material to avoid machine damage, blaze or explosion. Be sure to use the refrigerant specified by the manufacturer.
Johnson Controls-Hitachi Air Conditioning Philippines, Inc.
While indoor unit front cover is remove, do not operate the unit. Moreover, be sure to take good measures
against dust and dirt for the unit body.
Before the unit starts, be sure to check that the room has been cleaned up, airborne matters and odors have
been cleared, the unit body is clean. This will prevent insufficient cooling or water leakage in later days.
1A Binictican Drive, Subic Bay Industrial Park Phase II, Subic Bay Freeport Zone, Philippines
TEL: (02)362-3847
TEL(SERVICE): (02)362-3842
When the window and the door are open (the humidity inside the room continuously exceeds 80%), the air
vanes of the louver are facing down or in the auto-swing mode, do not operate the machine for too long as it
is likely that humid air may condensate on the louver and may drip down water and wet the furniture.
If there is a heat source (many people come in and out, a heating appliance is being used, etc) that exceeds the
capacity of cooling or heating, the room temperature may not reach the desired setting level.
If there is any abnormal noise is heard during unit operation, refer to the service center or to the dealer from
where the air conditioner was purchased.
When installing at areas subject to high salinity, sulfur, corrosive substance such as the costal area, a hot
springs area, the heat exchanger of the unit or the circulation piping must be treated with anti-corrosion
coating. In addition, installation at places subject to plenty of fumes, at hospitals where electromagnetic wave
are available, at places subject to dust and dirt or special environmental situations around installation, consult
the service center or the dealer from where the air conditioner was purchased.
※ Operating range of cooling:indoor 21°C ~32°C,outdoor 10°C ~43°C.

