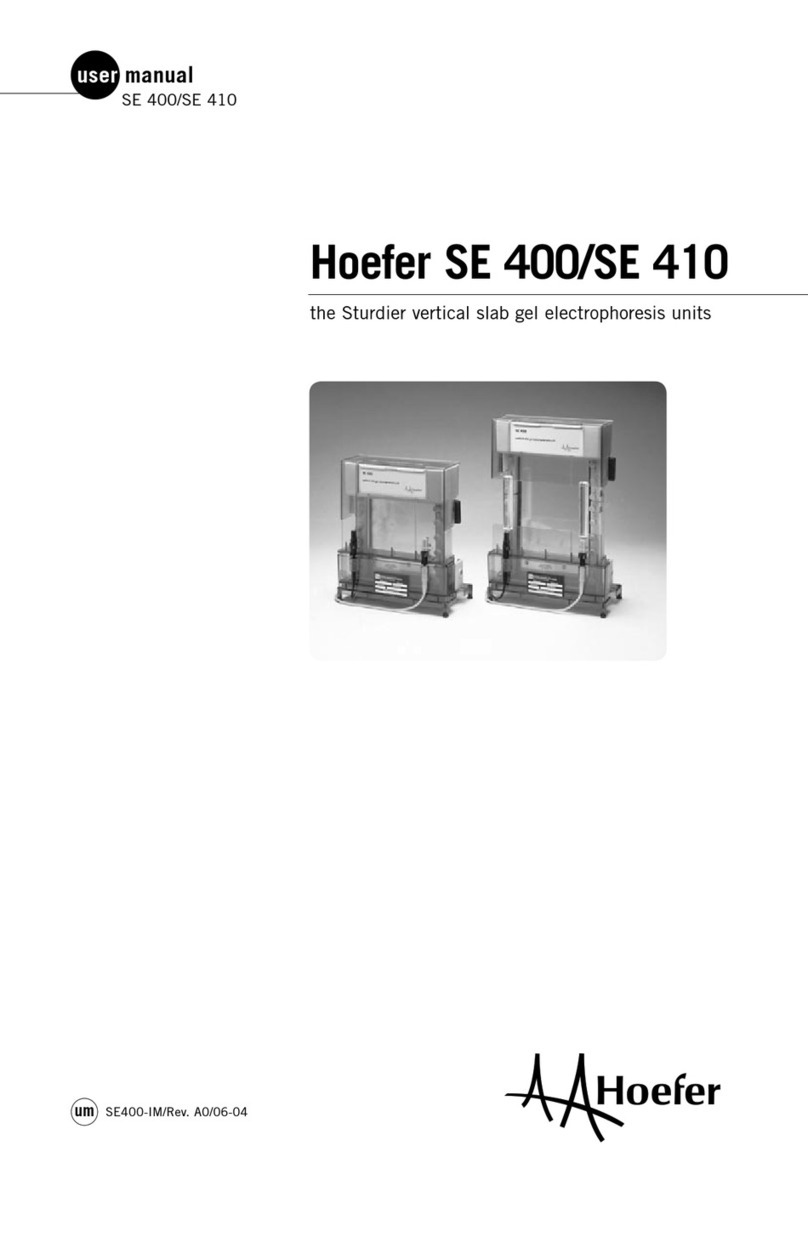
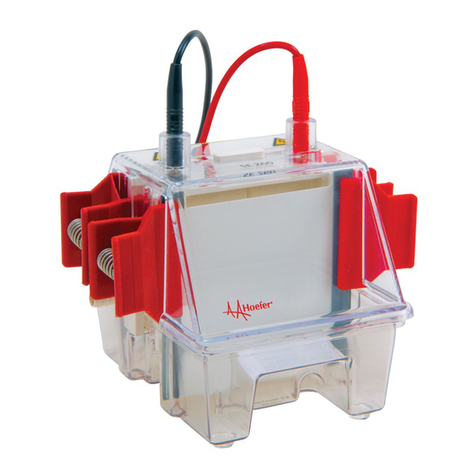
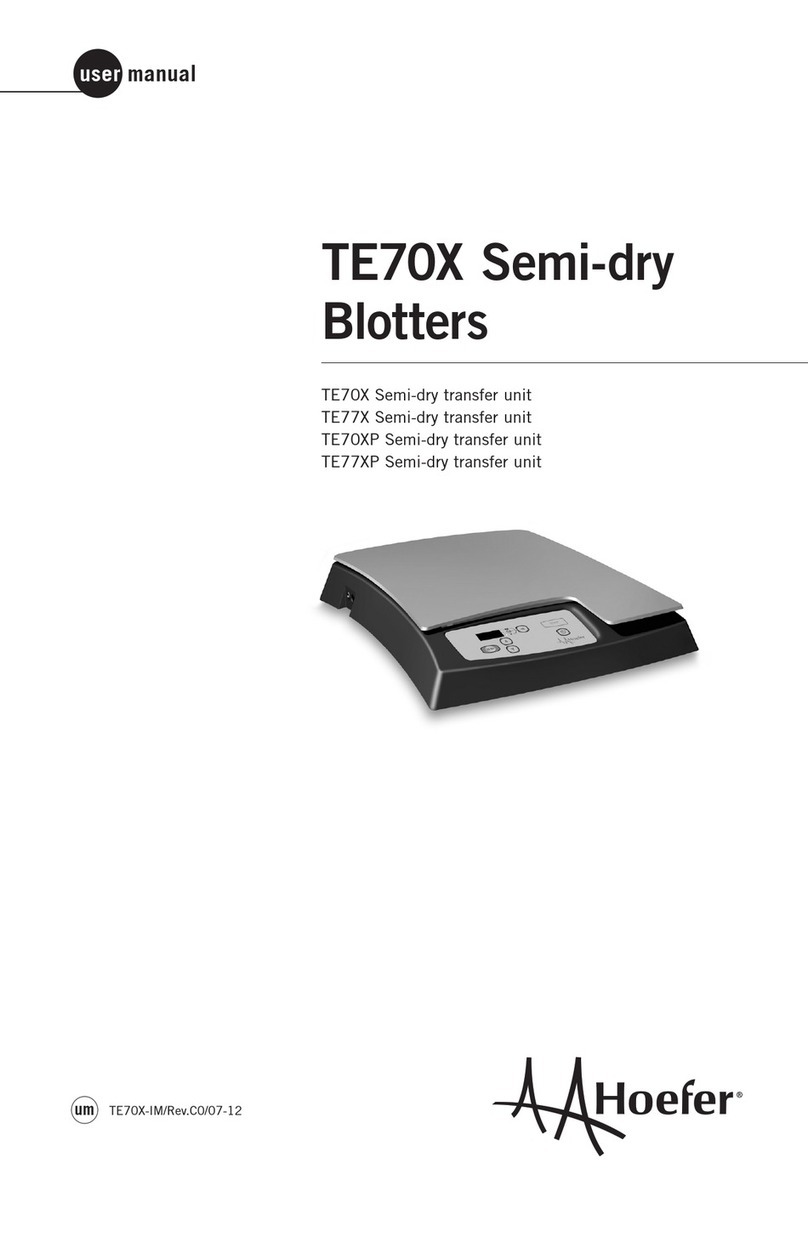
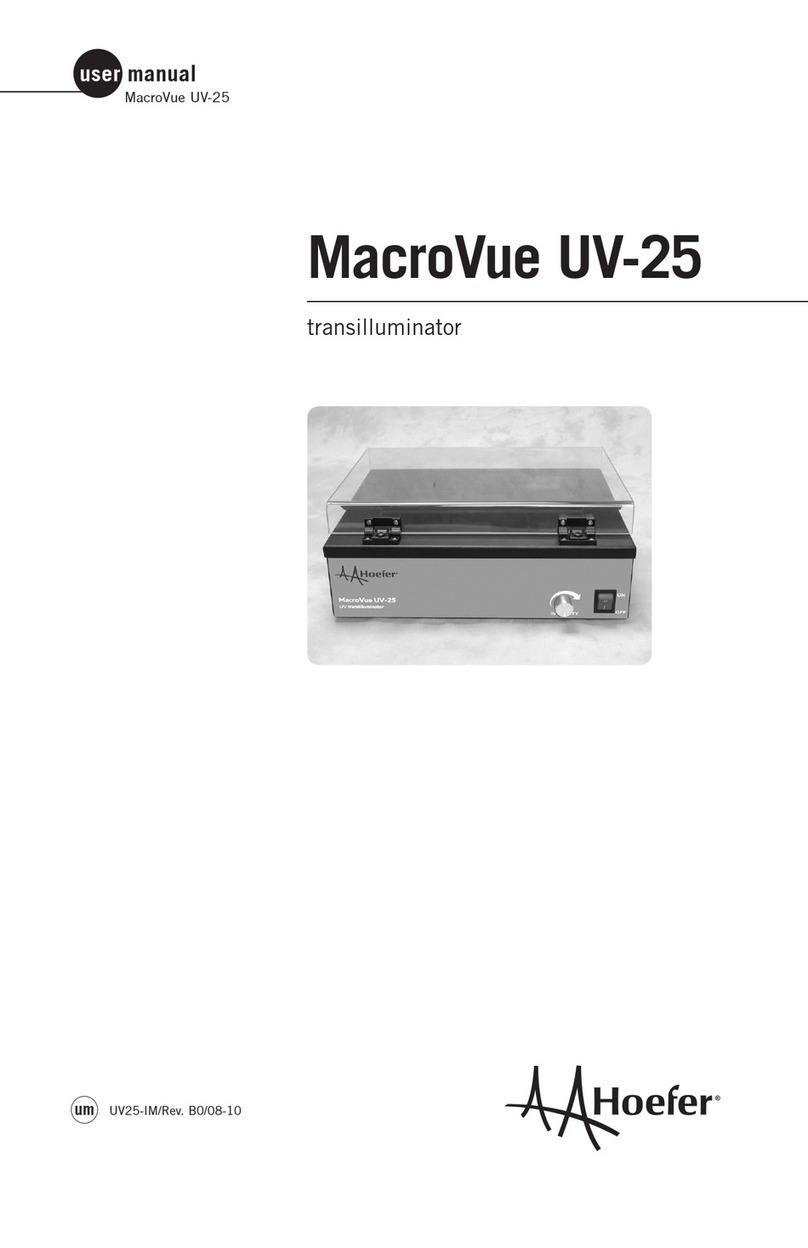
Hoefer TE70X User manual

user manual
um TE70X-IM/Rev. A0/12-05
TE70X Semi-dry Blotters
TE70X Semi-dry transfer unit
TE77X Semi-dry transfer unit
TE70XP Semi-dry transfer unit
TE77XP Semi-dry transfer unit


Page finder
Important user information. . . . . . . . . . . . . . . . . . ii
Waste Electrical and Electronic Equipment (WEEE). . v
1. TE70X Semi-dry blotters: Description . . . . . . . . . . .1
Unpacking . . . . . . . . . . . . . . . . . . . . . . . . . . . 2
Specifications . . . . . . . . . . . . . . . . . . . . . . . . . 3
Important information . . . . . . . . . . . . . . . . . . . 4
2. Operating instructions. . . . . . . . . . . . . . . . . . . . . . .5
3. Care and maintenance . . . . . . . . . . . . . . . . . . . . .14
4. Troubleshooting . . . . . . . . . . . . . . . . . . . . . . . . . .15
5. Electrotransfer notes. . . . . . . . . . . . . . . . . . . . . . .18
6. Bibliography. . . . . . . . . . . . . . . . . . . . . . . . . . . . .20
7. Customer service information . . . . . . . . . . . . . . . .21
8. Ordering information. . . . . . . . . . . . . . . . . . . . . . .22
• pi

English
Français
Important user information
Please read this entire manual to fully understand the safe and effective
use of this product. Should you have any comments on this manual,
we will be pleased to receive them at:
Hoefer, Inc.
953 Indiana Street
San Francisco, CA 94107 USA
Hoefer, Inc. reserves the right to make changes in the specifications
without prior notice.
Warranty and liability
Hoefer, Inc. guarantees that the product delivered has been thoroughly
tested to ensure that it meets its published specifications. The warranty
included in the conditions of delivery is valid only if the product has
been installed and used according to the instructions supplied by
Hoefer, Inc.
Hoefer, Inc. shall in no event be liable for incidental or consequential
damages, including without limitation, lost profits, loss of income, loss of
business opportunities, loss of use and other related exposures, however
caused, arising from the faulty and incorrect use of the product.
Renseignements importants d’utilization
Pour une bonne compréhension et une utilisation en sécurité maximale,
il convient de lire entièrement ce manuel. Tous vos commentaires sur ce
manuel seront les bienvenus et veuillez les adresser à:
Hoefer, Inc.
953 Indiana Street
San Francisco, CA 94107 USA
Hoefer, Inc. se réserve le droit d’effectuer des modifications de ces
spécifications sans aucun préavis.
Garantie et responsabilité
Hoefer, Inc. garantit à l’utilisateur que le produit livré a subi avec
succès tous les essais prévus pour s’assurer qu’il est conforme aux
spécifications et normes en vigueur. La garantie incluse dans les condi-
tions de livraison n’est valable que si le produit a été installé et utilisé
conformément aux instructions fournies par Hoefer, Inc.
La société Hoefer, Inc. ne sera en aucun cas responsable de tout
dommage causé directement ou indirectement par toute utilisation
incorrecte ou non approuvée du produit ou découlant de cette utilisa-
tion, y compris toute perte de bénéfice ou de recettes, toute perte de
perspectives commerciales, tout empêchement d’utilisation et tout autre
risques ayant un rapport avec l’utilisation du produit, mais sans aucune
limitation quant à la nature de ces dommages.
um TE70X-IMA0 • pii

Información importante para el usuario
Para comprender el producto y utilizarlo con seguridad es necesario leer
este manual en su totalidad. Si desearan hacer algún comentario sobre
este manual, tengan la amabilidad de remitirlo a:
Hoefer, Inc.
953 Indiana Street
San Francisco, CA 94107 USA
Hoefer, Inc. se reserva el derecho a modificar las especificaciones sin
previo aviso.
Garantía y responsabilidad
Hoefer, Inc. garantiza que el producto entregado ha sido probado a
fondo para comprobar el cumplimiento de las especificaciones publica-
das. La garantía incluida en las condiciones de entrega sólo es válida si
el producto se ha instalado y utilizado de acuerdo con las instrucciones
entregadas por Hoefer, Inc.
Hoefer, Inc. no será responsable, bajo ningún concepto, de daños direc-
tos o indirectos, incluyendo sin limitación la pérdida de beneficios, la
pérdida de ingresos, la pérdida de oportunidades de negocio, la pérdida
de utilización y otras consecuencias relacionadas, cualquiera que sea
la causa, que se deban a la utilización defectuosa e incorrecta del
producto.
Wichtige benutzerinformationen
Für ein vollständiges Verständnis und eine sichere Handhabung dieses
Produktes ist es notwendig, daß der Benutzer dieses Handbuch voll-
ständig durchliest. Wenn Sie Anmerkungen zu diesem Handbuch haben,
dann senden Sie diese bitte an:
Hoefer, Inc.
953 Indiana Street
San Francisco, CA 94107 USA
Hoefer, Inc. behält sich das Recht vor, die Spezifikationen ohne
vorhergehende Ankündigung zu ändern.
Gewährleistung and haftung
Hoefer, Inc. garantiert, daß das gelieferte Produkt sorgfältig auf die
Einhaltung der veröffentlichten Spezifikationen getestet wurde. Die in
den Lieferbedingungen näher erläuterten Gewährleistungsansprüche
gelten nur dann, wenn das Produkt gemäß den von Hoefer, Inc. geliefer-
ten Anweisungen installiert und benutzt wurde.
Hoefer, Inc. übernimmt keinerlei Haftung für Schäden oder Folge-
schäden, einschließlich, aber nicht begrenzt auf Gewinneinbußen,
Einkommensverluste, entgangene Geschäftsabschlüsse, Verlust der
Gebrauchsfähigkeit oder andere Verluste, die wie auch immer durch
eine fehlerhafte oder unsachgemäße Verwendung des Produkts verursa-
cht wurden.
Español
Deutsch
• piii
Italiano
Informazioni importanti per l’operatore
Per un utilizzo sicuro del prodotto, leggere attentamente l’intero conte-
nuto del presente manuale. Si prega di inviare eventuali commenti al
presente manuale a:
Hoefer, Inc.
953 Indiana Street
San Francisco, CA 94107 USA
Hoefer, Inc. si riserva il diritto di apportare modifiche ai dati tecnici
senza preavviso.
Garanzia e responsabilitá
Hoefer, Inc. garantisce che prima della consegna il prodotto è stato
collaudato a fondo per soddisfare i requisiti specificati. La garanzia
inclusa nelle condizioni di consegna risulta valida solamente se il
prodotto è stato installato ed utilizzato nel rispetto delle istruzioni
fornite da Hoefer, Inc.
Hoefer, Inc. non potrà essere ritenuta responsabile di incidenti o danni
consequenziali, inclusi’ma non limitati’a perdite di profitti, mancato
guadagno, perdite di affari, difetti di funzionamento e relative espo-
sizioni, dovuti ad un utilizzo non corretto del prodotto.
um TE70X-IMA0 • piv

• pv
Waste Electrical and Electronic
Equipment (WEEE)
This symbol indicates that the waste of electrical and
electronic equipment must not be disposed as unsorted
municipal waste and must be collected separately. Please
contact an authorized representative of the supplier for
information concerning the decommissioning of your
equipment.
Ce symbole indique que le gaspillage d’équipement élec-
trique et électronique ne doit pas être disposé comme
le gaspillage municipal non trié et doit être séparément
recueilli. S’il vous plaît contacter un représentant autorisé
du fournisseur pour l’information à propos du déclasse-
ment de votre équipement.
Dieses Symbol zeigt an, dass die Verschwendung elek-
trischer und elektronischer Ausrüstungen als unsortierte
städtische Verschwendung nicht verfügt werden muss,
und muss getrennt gesammelt werden. Bitte kontaktie-
ren Sie einen ermächtigten Vertreter vom Lieferanten
für Informationen betreffend des Stilllegens von Ihren
Ausrüstungen.
Questo simbolo indica che lo spreco di apparecchiatura
elettrica ed elettronica non deve essere disposto lo spreco
come unsorted municipale e deve essere separatamente
raccolto. Per favore di contattare un rappresentante
autorizzato del fornitore per le informazioni riguardanti il
rimuovere dal servizio attivo della sua apparecchiatura.
Este símbolo indica que el desecho del equipo eléctrico
y electrónico no se debe disponer el desecho municipal
como no clasificado y se debe reunir separadamente.
Contacte por favor a un representante autorizado del
suministrador para la información con respecto al sacar
de servicio activo de su equipo.
Denna symbol anger att elektriska och elektroniska utrust-
ningar inte får avyttras som osorterat hushållsavfall och
måste samlas in separat. Var god kontakta en auktoriserad
leverantör representant för information angående avyttring
av utrustningen.
English
Français
Deutsch
Español
Italiano
Swedish

um TE70X-IMA0 • pvi

1. TE70X Semi-dry blotters:
Description
The TE70X, TE77X, TE70XP, and the TE77XP
semi-dry blotters rapidly transfer proteins from
polyacrylamide gels onto a membrane by means
of a low current and low voltage electrotransfer
with minimal Joule heating. Most transfers are
complete in one hour or less.
The smaller TE70X unit transfer surface is
14 × 16 cm, suitable for transferring standard
gels, including those from the SE 600 Chroma
and the SE 400. The larger TE77X transfer
surface is 21 × 26 cm, suitable for transferring
large format gels.
The TE70X and TE77X have safety circuits built
into the instrument that limit the voltage to 30 V
and the current to 0.5 A. The circuits protect the
user from unnecessary electrical hazards.
The TE70XP and the TE77XP have a built-in
power supply for transferring gels. This eliminates
the need for an external power supply. These
instruments can deliver up to 30 V and 0.5 A.
The instruments also monitor the transfer stack
resistance, and can stop a transfer if large changes
indicate that the buffer system is depleting.
Multiple gels can be transferred at the same time
by placing several small gels of the same thickness
side by side, or by stacking two gels vertically in
a carefully constructed multi-layered stack.
The electrodes are made of the best possible
materials to ensure the units last a long time.
• p1
Fig 1. Semi-dry transfer unit
main components.
power
cords
top electrode
power
transformer
lower electrode
TE77XP
voltage
leads
top electrode
lower electrode
TE70X

Unpacking
Unwrap all packages carefully and compare
contents with the packing list, making sure all
items arrived. If any part is missing, contact
Hoefer, Inc. Inspect all components for damage
that may have occurred while the unit was in
transit. If any part appears damaged, contact the
carrier immediately. Be sure to keep all packing
material for damage claims or to use should it
become necessary to return the unit.
um TE70X-IMA0 • p2
The TE70X and TE77X
require a power supply
with a minimum rating of
0 – 500 mA, 0 – 30 V.

Specifications
TE70X TE77X TE70XP TE77XP
Electrode size (cm) 14 × 16 21 × 26 14 × 16 21 × 26
Output:
Voltage (V) 30 30 30 30
Current (A) O.5 O.5 O.5 O.5
Inputs:
Voltage (V) 100 – 240 100 – 240
Current (A) 0.7 0.7
Frequency (Hz) 47– 63 47– 63
Minimum transfer stack thickness:
TE70X, TE70XP 3.2 mm
TE77X, TE77XP 2.8 mm
Environmental Indoor use: 4 – 40 °C
operating conditions: Humidity up to: 80%
Altitude up to: 2000 m
Installation category: II
Pollution degree: 2
Dimensions (w × d × h): 38 × 46 × 9 cm
(15 × 18 × 3.5 in)
Weight: Shipping 6.8 kg
Unit 3.7 kg
Certification: EN61010-1, EN 61326, CE
UL61010-1-2004
CSA 22.2 61010-1-04
• p3
This declaration of conformity
is only valid for the instrument
when it is:
• used in laboratory locations.
• used as delivered from Hoefer,
Inc. except for alterations
described in the user manual.
• connected to other CE labeled
instruments or products
recommended or approved by
Hoefer, Inc.

Important information
• The electric components in the transfer unit base
must not become wet. Do not immerse the unit in
water. Rinse only the electrodes with distilled water
before and after use. (Refer to the Care and mainte-
nance section for cleaning instructions.)
• Be sure to use enough buffer-soaked sheets of blot-
ting paper on both sides of the membrane/gel stack
so that the buffer does not become depleted during
the transfer.
• If this equipment is used in a manner not specified
by the manufacturer, the protection provided by the
equipment may be impaired.
• Only accessories and parts approved or supplied by
Hoefer, Inc. may be used for operating, maintaining,
and servicing this product.
Informations importantes
• Les composants électriques dans la sûreté
enclenchent le logement de la base d’unité de
transfert ne doit pas devenir mouillé. Ne pas
immerger de partie de l’unité dans l’eau. Rincer
seulement les électrodes avec l’eau distillée avant
l’usage. (Se référer à la section de Soin et entretien
pour nettoyer d’instructions.)
• Etre sûr d’appliquer assez de tampon feuilles
trempées de tacher de papier sous la membrane et
par-dessus le gel pour empêcher la pile du séchage
hors. Les dommages irréparables à l’unité résult-
eront si la pile sèche hors et l’unité est permise de
surchauffer.
• Si cet équipement est utilisé dans une manière pas
spécifié par le fabricant, la protection fournie par
l’équipement peut être altérée.
• Seulement les accessoires et les parties ont
approuvé ou fourni par Hoefer, Inc. sont recomman-
dés pour l’utilisation, l’entretien et réparation de
cet appareil.
um TE70X-IMA0 • p4
English
Français

2. Operating instructions
To transfer proteins, prepare the unit, assemble
the stack, and connect to a power supply if
necessary. Then run the transfer for the required
amount of time. Each step is described below.
1
Prepare the unit by rinsing the electrodes with
distilled water.
2
Prepare the gel
Cut away the wells and/or stacking gel section.
Equilibrate the gel in transfer buffer if required.
3
Prepare the transfer stack
Cut the blot paper and transfer membrane to the
same size as the gel. Stack the layers carefully so
the edges align. If for some reason the membrane
needs to be larger than the gel, use a mylar mask
(see optional step below) to ensure the current does
not bypass the gel.
Optional: Cut a mask to the proper size
Measure the gel. Cut an opening centered in the solid
mask to a size roughly 2 mm smaller than the gel.
Take care with sharp blades when cutting the masks.
Place the mask in the base of the unit, centering
the opening.
• p5
Note: Take care to place the gel
correctly on the first try because
proteins begin to transfer imme-
diately; once transfer has begun,
moving the gel will distort results
or cause “shadow” bands on
the blot.

4
Prepare the blotting paper
For each gel, cut at least 6 pieces of blotting paper
the same size as the gel or slightly smaller.
Gauge the thickness or number of blotting paper
layers according to the amount of buffer required; up
to 300 ml of buffer may be required for larger gels
or for transfers of 60 minutes in order to prevent the
stack from drying out or the buffer from becoming
depleted.
Saturate at least 3 pieces of the blotting paper with
transfer buffer. One by one, center each sheet on the
lower electrode and remove all trapped air by rolling a
clean pipet or roller from the center toward the edges.
5
Prepare the membrane
For each gel, cut 1 membrane the same size as
the gel or slightly smaller. (A larger membrane may
contact an electrode panel, creating a pathway by
which current can bypass the gel.)
Pre-wet nitrocellulose or nylon membranes with
distilled water. Pre-wet PVDF or other hydrophobic
membranes with methanol. Then soak all membrane
types in transfer buffer for 2– 5 minutes.
um TE70X-IMA0 • p6
Note: Each 21 × 26 cm blot paper
will absorb approximately 50 ml
of transfer buffer. Each 14 × 16
cm blot paper will absorb approxi-
mately 20 ml of buffer.
Note: Always wear gloves when
handling membranes to avoid
leaving fingerprints.

6
Complete the stack
a) Place the pre-wet membrane onto the stack of
blotting paper.
b) Place the gel on the membrane. Note: Proteins bind
to the membrane as soon as contact occurs, so it is
important to place the gel correctly on the first try.
c) Cover the gel with three layers of buffer saturated
blotting paper.
• p7
Important! Stack each layer with
care, with edges parallel. As each
layer is added, remove all air pock-
ets by rolling a clean pipet from
the center to the edges. Add a few
drops of buffer to trouble areas to
help remove air pockets.
Mask (opening approx. 2 mm smaller
than the gel on all sides). Optional.
Blotting paper
(2–3 sheets)
Blotting paper
(2– 3 sheets)
Gel
Membrane
These stack compo-
nents are the same
size as the gel or
slightly smaller
Fig 2. Transfer stack for a
single gel.

um TE70X-IMA0 • p8
Multiple gels: Either lay gels of the same thickness
side-by-side (Fig 3), or stack 2 sandwiches layered as
shown (Fig 4).
For best results, the transfer stack should be centered
in the electrode panels.
If two gels are stacked, separate them with porous
cellophane — not plastic wrap! (Cellophane permits
electric current to pass but stops proteins.) Cut the
cellophane slightly smaller than the gel and wet with
transfer buffer.
Several sheets of buffer-soaked blotting paper on each
gel provides electrical continuity.
7
Place the Cover on top of the transfer stack. Do not
remove the cover until after the transfer is complete
in order to prevent stack components from moving.
Mask (optional)
Blotting paper, (2–3 sheets)
Blotting paper, (2– 3 sheets)
Gel
Membrane
Note: When transferring multiple
gels, transfer efficiency depends
on such factors as gel thickness,
gel position in the stack, transfer
buffer, membrane type, and, most
importantly, the characteristics of
the protein. The gel closest to the
anode generally transfers the most
completely. It is preferable to lay
gels side-by-side rather than
stacking them.
Fig 3. Transfer stacks for gels
placed side-by-side.
Note: There must be no electrical
contact between the two stacks.

• p9
Blotting paper, (2–3 sheets)
Blotting paper, (1 sheet)
Cellophane
Mask (optional)
Gel
Membrane
Blotting paper, (2– 3 sheets)
Gel
Membrane
Fig 4. Transfer stack for
stacked gels.
Separate the stack for each gel
with a sheet of cellophane.

um TE70X-IMA0 • p10
Electrotransfer
TE70X and TE77X
1
The power supply should be switched off and both the
current and voltage controls set at zero
Then plug the color-coded leads from the base of the
transfer unit into the power supply jacks, matching
red to red and black to black. Do not reverse polar-
ity. The lid contains the black, or negative electrode.
The base contains the red, or positve electrode.
2
Set the power supply current
The maximum current setting should not exceed
0.8 mA/cm2 of the gel surface. If transferring several
layers of gels, a longer transfer time may be required.
Use the graph below to quickly find the current
setting for your gel size, or calculate the gel area
(cm2) and multiply it by 0.8 mA/cm2.
3
If available, set the power supply timer
Most transfers are complete within one hour, but
larger proteins, proteins from native gels, and thicker
gels may require an additional 1 hour of transfer time.
The optimum transfer time for each protein and gel
system must be determined empirically.
Fig 5. Recommended current
settings for different gel sizes.
Note: Generally, smaller
fragments transfer more
quickly than larger ones.
Note: Transfers exceeding one
hour may require additional
sheets of buffer saturated blot
paper in the transfer stack.

• p11
TE70XP and TE77XP
Turn the instrument on using the POWER
button on the front keypad.
The instrument works by setting the current and
time, and then starting the transfer. During the
transfer, the voltage can be displayed. The trans-
fer can not be set to run at constant voltage.
The DISPLAY MODE BUTTON toggles
between the current (mA), time (hour:minutes)
and the voltage (V).
The UP and DOWN arrows to change the value
for the current and time.
Press the START/STOP button to start the transfer.
Variable Units Range Increment
Current milliamps 1– 500 1 mA
Time hours:minutes 5 min – 4:00 hours 5 min
Voltage volts 0 – 30 (read only) 1 volt
Note: While setting the time,
there is an extra setting labelled
“on” above the 4:00 upper
limit. This will disable the
timer, allowing the transfer to
run continuously until manually
turned off by the user.
transfer
start/stop
up/down arrows
adjust value
display mode
cycles LED display
power
ON/OFF
Fig 6. TE70XP keypad.

um TE70X-IMA0 • p12
During the transfer
TE70XP and the TE77XP
A red LED will appear in the lower right corner
of the Display when voltage is applied to the
transfer stack.
Both the Time and the Current can be changed
as the transfer progresses. Select mA or time
using the DISPLAY MODE button, and the
UP and DOWN to change the value. While the
value is being changed, the LED will blink. After
about 10 seconds the LED will stop flashing and
show the real time run parameters.
Buffer Depletion
One of the more common failure modes for a
Western transfer is buffer depletion. Buffer
depletion leads to changes in pH and overheating,
both of which are detrimental to the transfer.
The TE70XP and the TE77XP instruments
monitor the transfer stack resistance. Large
changes in this resistance indicate the depletion
of the buffer system. The instrument can stop
a transfer before these changes lead to further
problems, like burning of the transfer stack.
If this condition happens, the error message
“dry” will be on the display. The instrument has
stopped the transfer. If desired, the cover can be
removed, and buffer can be added to the transfer
stack. Replace cover, and press any key (except
Power ON/OFF) to continue.
For future transfers, add more layers of buffer
soaked blot paper.
Red LED
Dry error message.
Other manuals for TE70X
1
This manual suits for next models
3
Table of contents
Other Hoefer Laboratory Equipment manuals

Hoefer
Hoefer TE 70 User manual

Hoefer
Hoefer SG500 User manual

Hoefer
Hoefer SG15 User manual

Hoefer
Hoefer HE99X User manual

Hoefer
Hoefer TE70X User manual

Hoefer
Hoefer SE 260 User manual

Hoefer
Hoefer HB1000 User manual

Hoefer
Hoefer SE 400 User manual

Hoefer
Hoefer TE 22 User manual

Hoefer
Hoefer UVC5000 User manual
Popular Laboratory Equipment manuals by other brands

Metrohm
Metrohm 850 Professional IC manual

Clinispin Horizon
Clinispin Horizon 842STAT Operator's manual

Parker Research Corp
Parker Research Corp DA-1500 operating instructions

Beckman Coulter
Beckman Coulter CD103-FITC manual

SICCO
SICCO V 1982-08 operating instructions

BIO RAD
BIO RAD PTC-100 Operation manual