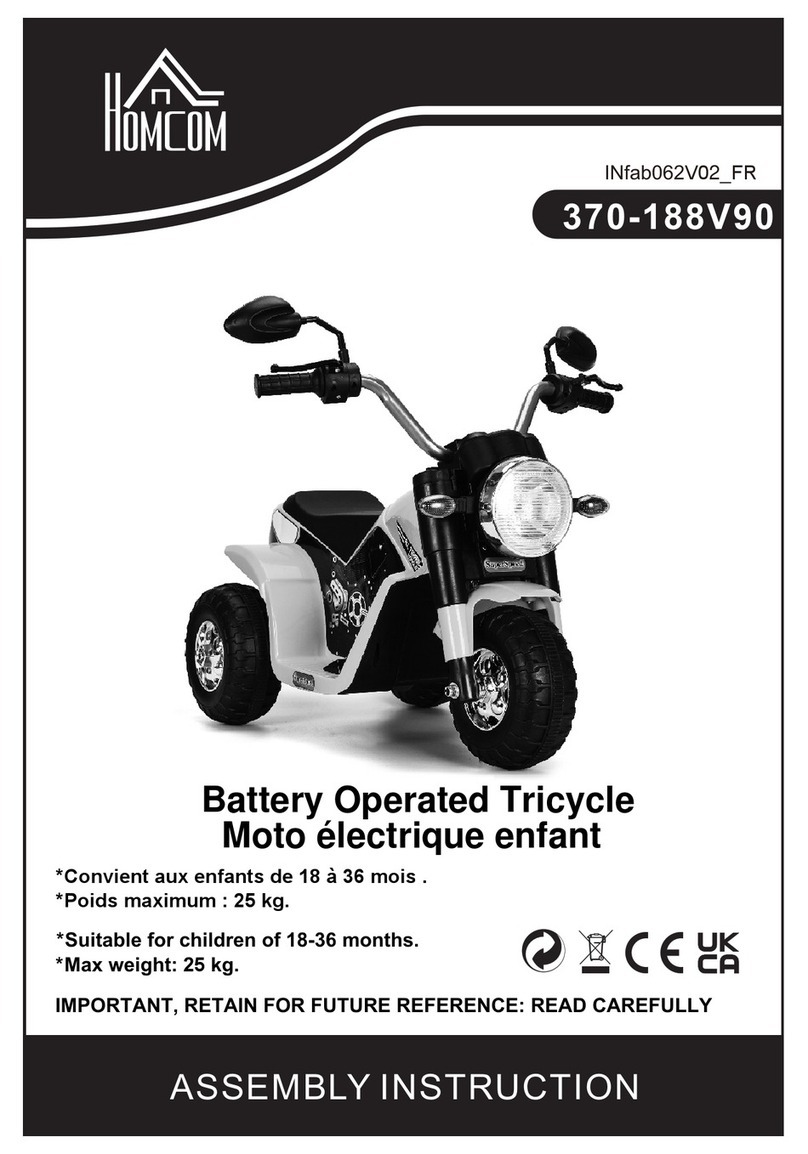
HOMCOM 53-0016 Assembly instructions

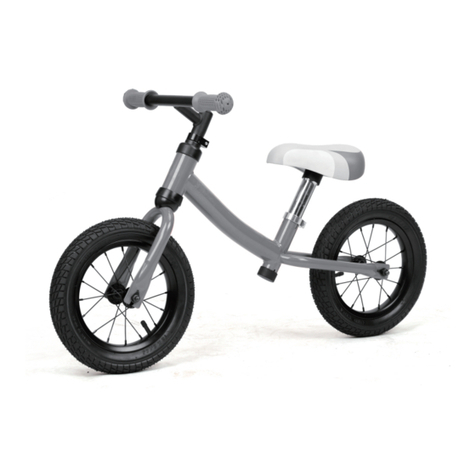
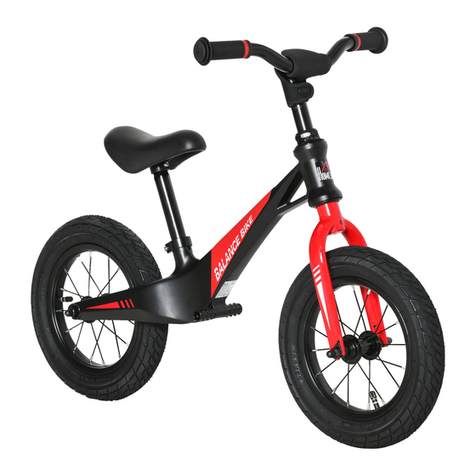
12 INCH BIKE INSTRUCTIONS AND ASSEMBLY
B
BO
OO
OK
KL
LE
ET
T
IMPORTANT: PLEASE READ THIS MANUAL THOROUGHLY BEFORE ASSEMBLING AND RIDING
ON THIS BIKE.
WARNING:
.For Ages 2 and Up
. Maximum Child’s weight: 30KGS
. Check and tighten bolts and screws before every ride.
. Make sure all components are functioning properly before every ride.
Inflate the tyres to no more than the maximum degree marked on the side of the tyre.
. If any component is damaged or not functioning properly, it should be replaced before the item is used.
IMPORTANT
WARNING:
An Adult must assist in the initial assembly of the bike.
Be sure your bike is fully assembled before riding.
Read and understand this user’s manual before using the bike.
PRECAUTIONS FOR SAFETY
ThisBikeisnotrecommendedtokidsunder2yearsofageorover30kgs.
Please read and follow the safety precautions listed below, failure to do so could result in injury or
damage to your bike.
Please instruct your child on proper operation of this bike, also instruct your child to follow the safety
precautions listed below.
WARNING: DONOTTAKETHISBIKETO ROADS.
A.Weara helmet.
B.Donotridenearmotorvehicles.
C.Practicebrakingin asafeenvironment.
D.Neverridenearsteps,slopeddriveways,hills,roadways,alleys,swimmingpoolareasorothersidesofwater.
E.Neverridethebikeinwetweather.Wetsurfacesmayincreasestoppingdistancewhenbraking.
F.Donotrideat night.

G. Don’t ride too close to pedestrians.
H. Avoid hazards which may hinder your ability to control your Bike. Potholes, ruts, uneven pavement, storm
grating,gravel,curbs,leaves,puddlesanddebriscanallhaveaneffectonyourridingandresultinlossofcontrol.
I. Donotrideoffroadoronroughpavement.
J.Keepbothhandsonthehandlebar.
CAUTION:BRAKEGENTLYTOAVOIDSUDDENSTOPS.
ASSEMBLYINSTRUCTIONS
Removethebikefromboxandcheckforanymissingordamagedparts.
(Notethetyres comeinflatedwithairbutmaylosesomeairduringshipping.)
Steps:
1-Assemblethehandlebarandseat
2 -Assemblethemudguards.
3-Assemblebrakes
4 -Assemblewheels
ASSEMBLE THE HANDLEBARAND SEAT
ASSEMBLETHEHANDLEBAR
(SteelHeadPartsAssemble)
1. Put the bottom handlebar bearing on the fork(Fig.1 b).
2. Insert the Fork into front head tube(Fig.1 c),
3. put the upper bearing(Fig.1 d).
4. Adjust desired height and tighten the screw (Fig.1 e), so that handlebars can be turned easily.
5. Tighten the screw, Insert the handlebars into front fork tube in desired height, tighten the collar
screw(Fig.1 f), so the handlebars can be turned easily.
a b c
f e d
Fig. 1

(PlasticHeadPartsAssemble)
1.Inserttheheadpartsintoheadtube(Fig.2a)
a
2.Insert the Fork into front head tube, put the clamp on the head tube (Fig.2 b),
b
3.Insertthehandlebarintotheheadtube,tightenthescrew,putdownthecapandcovertheclamp (Fig.2 c),.
C
Fig.2

ASSEMBLETHESEAT
Put the plastic safety cover to the seat stick, insert the seat into the seat tube in desired height and
tighten the collar screw. Put the safety plastic cover over the collar screw. ( Fig.2 )
Fig.2
ASSEMBLE THE MUDGUARDS
Fix the front and back mudguards by screws on front fork (a) and back fork (b).
a b
Fig.3
ASSEMBLE THE BRAKE
Note: The brakes are not adjusted from factory. Before riding, these brakes must be fitted and adjusted. Install the
brakeleveronthehandlebars.Therightbrakelevercontrolstherearbrake.
ASSEMBLE HAND BRAKE
1. Fix the rear mudguard and rear caliper brake on rear fork.
2. Install brake levers onto handlebar (this may already be done in the factory).
3. Insert the barrel end of the brake cable wire into the hole in the brake lever. (See Fig. 4)
ADJUST HAND BRAKES
During braking must the brake lining with its whole surface chafe against the rim.If necessary, tighten or
loosen the anchor bolt nut(Fig.4) on the right part of the brake, pull the brake cable wire through the
anchor bolt hole until there is no slack in the inner brake wire, tighten the anchor bolt nut. Be sure the

brake wire is locked securely through the anchor bolt and the rubber block is parallel with the
rim with a clearance of 1.5 –2mm in between. Squeeze the brake lever and then release several
times, rotate the wheel, be sure the wheel does not wobble.
Fig.4
ASSEMBLE WHEELS
ASSEMBLEWHEELS
Front and back wheels are same. Use 2 pcs of nut wrench according the size of nuts. Put on the wheel
to wheel fork and push the teb washer(Fig.1 a) into the small hole. Before the inserting of the back
wheel unloose the brake cable to unloose caliper brake. Tighten the nuts of the wheel (Fig.1 b). The
wheel axis has to be parallel with longitudinal axis of a frame.
Fig.5a b
Note: In need of disassembling, dismantle the wheel in the opposite way of installation.
Front wheel:
Insert into axle slots.
Install the tab washer (a).
Then install the axle nut (b).
Tighten the nut with wrench.
Front wheel:
Insert into axle slots.
Install the tab washer (a).
Then install the axle nut (b).
Tighten the nut with wrench.
Small hole
During wheel installation make
sure the brake rubber pad is
parallel with the wheel rim.
Keep the rubber pad parallel with
the rim with a clearance of 1.5 –
2mm in between.
Bolt nut
Brake lever

12 ZOLL FAHRRADANWEISUNGEN UND ZUSAMMENBAU
B
BR
RO
OS
SC
CH
HÜ
ÜR
RE
E
WICHTIG: BITTE LESEN SIE DIESES HANDBUCH VOR DEM ZUSAMMENBAU UND BEVOR SIE
DIESES FAHRRAD FAHREN.
WARNUNG:
.Für 2 Jahre und Alter
. Maximales Kindergewicht: 30KGS
. Die Bolzen und Schrauben vor jeder Fahrt prüfen und festziehen.
. Stellen Sie sicher, dass alle Bauteile vor jeder Fahrt ordnungsgemäßarbeiten.
Die Reifen dürfen nur bis zu dem Druck aufgeblasen werden, der auf der Reifenseite angegeben ist.
. Wenn ein Bauteil beschädigtist odernicht ordnungsgemäßarbeitet, muss es ausgetauscht werden, bevor
Sie das Fahrrad benutzen.
WICHTIG
WARNUNG:
Ein Erwachsener muss beim ersten Zusammenbau des Fahrrads helfen.
Stellen Sie sicher, dass Ihr Fahrrad vollständig zusammengebaut ist, bevor Sie es fahren.
Lesen und verstehen Sie diese Bedienungsanleitung vor der Benutzung des Fahrrades.
VORSICHTSMASSNAHMEN ZUR SICHERHEIT
DiesesFahrradistnichtfürKinderunter2JahrenodermiteinemGewichtüber30kgempfohlen.
Bitte lesen und befolgen Sie die unten aufgeführten Sicherheitshinweise, eine Nichtbeachtung kann zu
Verletzungen oder Beschädigungen des Fahrrades führen.
Bitte zeigen Sie Ihrem Kind den ordnungsgemäßen Betrieb dieses Fahrrades, auch zeigen Sie Ihrem
Kind, die nachstehenden Sicherheitsmaßnahmen zu beachten.
WARNUNG:MITDEMFAHRRADNICHTAUFDERSTRASSEFAHREN.
A.TragenSieeinenHelm.
B.FahrenSie nichtinderNähevonKraftfahrzeugen.
C.ÜbenSiedasBremsenineinersicherenUmgebung.
D. Fahren Sie nie in der Nähe von Treppen, abfallenden Zufahrten, Hügeln, Landstraßen, engen Straßen, in
SchwimmbäderbereichenundnaheandererGewässer.
E.FahrenSiedasFahrradniebeiRegen.NasseOberflächenerhöhendenBremsweg.
F.FahrenSienichtinderNacht.
G. FahrenSienichtzu eng anFußgängern.
H. Vermeiden Sie Gefahren, die Ihre Kontrolle über das Fahrrad einschränken. Schlaglöcher, Furchen, unebenes
Pflaster, Hochwassergitter, Kies, Bordsteine, Blätter, Pfützen und Abfall haben alle einen Einfluss auf Ihr Fahren
undführenzumKontrollverlust.
I. FahrenSienichtabseitsderStraßeoderaufholprigenWegen.
J.HaltenSie beideHändeanderLenkstange.
VORSICHT:WEICHBREMSEN UMEINSCHLAGARTIGESSTOPPENZU VERMEIDEN.
ZUSAMMENBAUANWEISUNGEN
NehmenSie dasFahrradausderKisteundprüfenSieauffehlendeoderbeschädigteTeile.
(DieReifensindmitLuftgefüllt,aberwährenddesTransportskönnenSieLuftverlorenhaben.)
Schritte:
1 -LenkstangeundSitzzusammenbauen
2 -DieSchutzblecheanbauen.
3 -Bremseneinbauen
4 -Räderanbauen
ZUSAMMENBAU DER LENKSTANGE UND DES SITZES
ZUSAMMENBAUDERLENKSTANGE
(Stahlkopfteilezusammenbauen)
1. Setzen Sie das untere Kugellager der Lenkstange auf die Gabel (Abb. 1 b).
2. Stecken Sie die Gabel in das vordere Steuerrohr (Abb. 1 c),
3. setzen Sie das obere Lager ein (Abb. 1 d).
4. Passen Sie die gewünschte Höhe ein und ziehen Sie die Schraube an (Abb.1 e), so dass die
Lenkstange sich leicht drehen lässt.
5. Ziehen Sie die Schraube an, stecken Sie die Lenkstange in die vordere Gabel in der gewünschten
Höhe, ziehen Sie die Bundschraube fest (Abb. 1 f), damit sich die Lenkstange leicht dreht.
a
b
c
f
e
d
Abb.1

(Kunststoff-Oberteilemontieren)
1. DieOberteileindasSteuerrohreinführen(Abb.2a)
a
2. Führen Sie die Gabel in das vordere Steuerrohr, setzen Sie die Klemme auf das Steuerrohr (Abb. 2
b),
B
3. Setzen Sie die Lenkstange in das Steuerrohr, ziehen Sie die Schraube fest, lassen Sie die Kappe herunter und
deckenSiedieKlemmeab (Abb.2c).
C
Abb.2

ZUSAMMENBAUDESSITZES
Befestigen Sie die Plastikschutzabdeckung am Sitzrohr, setzen Sie den Sitz in der gewünschten Höhe
in das Sitzrohr ein und ziehen Sie die Bundschraube fest. Setzen Sie die Schutzkappe auf die
Bundschraube. (Abb.2)
Abb.2
BAUEN SIE DIE KOTFLÜGELAN
Verschrauben Sie die vorderen und hinteren Kotflügel an der Vordergabel (a) und der Hintergabel (b).
a b
Abb.3
BAUEN SIE DIE BREMSE AN
Hinweis: Die Bremsen SIND NICHT VON DER Fabrik eingestellt. Vor dem Fahren müssen diese Bremsen
angepasst und eingestellt werden. Den Bremshebel an der Lenkstange befestigen. Der rechte Bremshebel
kontrolliertdiehintereBremse.
HANDBREMSE ZUSAMMENBAUEN
1. Befestigen Sie den hinteren Kotflügel und die hintere Felgenbremse an der hinteren Gabel.
2. Bauen Sie die Bremshebel an der Lenkstange an (dies kann schon von der Fabrik gemacht sein).
3. Setzen Sie das Fassende des Bremskabels in das Loch im Bremshebel ein. (Siehe Abb. 4)
HANDBREMSEN EINSTELLEN

Beim Bremsen muss der Bremsbelag mit seiner ganzen Oberfläche gegen die Felge scheuern. Die
Ankerbolzenmutter (Abb. 4) auf der rechten Seite der Bremse festziehen oder lockern, falls notwendig,
ziehen Sie den Bremsseilzug durch das Ankerbolzenloch bis der innere Bremsseilzug keine Lose
aufweist, ziehen Sie die Ankerbolzenmutter an. Stellen Sie sicher, dass der Bremsseilzug durch
den Ankerbolzen sicher gesperrt ist und dass der Gummiblock parallel zur Felge in einem
Abstand von 1,5 - 2 mm liegt. Ziehen Sie den Bremshebel fest an und lassen Sie ihn mehrmals los,
drehen Sie das Rad, achten Sie darauf, dass das Rad nicht unrund läuft.
Abb.4
ZUSAMMENBAU RÄDER
ZUSAMMENBAURÄDER
Vorder- und Hinterräder haben dieselbe Grösse. Benutzen Sie 2 Ringschlüssel die der Größe der
Muttern entsprechen. Setzen Sie das Rad in die Radgabel und schieben Sie das Sicherungsblech
(Abb.1 a) in das kleine Loch. Vor dem Einsetzen des Hinterrads lösen Sie den Bremsseilzug, um die
Felgenbremse zu lösen. Ziehen Sie die Radmuttern fest (Abb.1 b). Die Radachse muss parallel zur
Längsachse eines Rahmens sein.
Abb.5a b
Hinweis: Zum Auseinandernehmen gehen Sie in umgekehrter Reihenfolge vor.
Vorderrad:
In die Achsenschlitze einsetzen.
Das Sicherungsblech (a)
einbauen. Die Achsmutter (b)
einbauen.
Ziehen Sie die Mutter mit dem
Schraubenschlüssel fest.
Vorderrad:
In die Achsenschlitze
einsetzen.
Das Sicherungsblech (a)
einbauen. Die Achsmutter (b)
einbauen.
Ziehen Sie die Mutter mit dem
Schraubenschlüssel fest.
Kleines Loch
Achten Sie beim Radeinbau darauf,
dass der Bremsgummibelag parallel
zur Radfelge ist.
Halten Sie das Gummikissen parallel
zur Felge in einem Abstand von 1,5 –
2 mm.
Bolzen
mutter
Bremshebel

ISTRUZIONI ED ASSEMBLAGGIO BICICLETTA 12 POLLICI
L
LI
IB
BR
RE
ET
TT
TO
O
IMPORTANTE: SI PREGA DI LEGGERE ATTENTAMENTE IL PRESENTE MANUALE PRIMA DI
PROCEDERE CON L’ASSEMBLAGGIO E L’USO DELLA BICI
AVVERTIMENTO:
.Da 2 anni in su
. Peso massimo del bambino: 30KGS
. Controllare e stringere i bulloni e le viti prima di ogni uso.
. Assicurarsi che tutti i componenti siano perfettamente funzionanti prima di ogni uso.
Gonfiare i pneumatici senza eccedere oltre il grado massimo marcato sul lato esterno dello
pneuamtico stesso.
. Qualora qualsiasi componente risulti danneggiato o non funzioni correttamente, dovràessere sostituito
prima di usare l’articolo.
IMPORTANTE
AVVERTIMENTO:
L’aaemblaggio iniziale della bicicletta dovrà essere supervisionato da un adulto.
Assicurarsi che l’assemblaggio della vostra bicicletta sia completato, prima dell’uso.
Leggere e comprendere il presente manuale d’istruzioni prima dell’uso.
PRECAUZIONI PER LA SICUREZZA
Questabiciclettanonèconsigliataperibambinidietàinferiorea2annidietàodipesosuperiorea30kg.
Si prega di leggere e osservare le norme per la sicurezza di seguito elencate, in caso contrario si
potrebbe incorrere in lesioni o danni alla vostra bici.
Si prega d’istruire il vostro bambino sull’uso corretto della sua bici, educandolo inoltre a rispettare le
norme di sicurezza di seguito riportate.
AVVERTIMENTO:NONUSARELABICIPERLAVIABILITÀSUSTRADA.
A.Indossareun casco.
B.Nonguidareneipressidiveicoliamotore.
C.Esercitarsinellafrenatainunambientesicuro.
D.Non guidare vicino a gradini, passi carrabili inclinati, colline, strade, vicoli, aree piscina o altre rive d’acqua.
E. Non guidare mai la bici in caso di pioggia. Le superfici bagnate potrebbero aumentare la distanza di sicurezza
necessariaperlafrenata.
F.Nonguidaredi notte.
G.Nonguidaretroppovicinoaipedoni.
H. Evitare rischi che potrebbero compromettere la vostra capacitàdi controllo sulla bici. La presenza di buche,
solchi, pavimentazioni irregolari, tombini a griglia, ghiaia, cordoli, foglie, pozzanghere e detriti potrebbe avere

conseguenzesullaguidaeprovocarelaperditadicontrollosullabici.
I. Nonandarefuoristradaosupavimentazionigrezze.
J.Tenereentrambelemanisulmanubrio.
CAUTELA:FRENAREDELICATAMENTEPER EVITAREFRENATEBRUSCHE.
ISTRUZIONI D’ASSEMBLAGGIO
Estrarrelabiciclettadallaconfezioneecontrollarechenonvisianopartimancantiodanneggiate.
(Nota: gli pneumatici vi arriveranno già gonfiati con l’aria ma potrebbero sgonfiarsi un po’ durante il trasporto.)
Fasi:
1-Assemblareilmanubrioedilsedile
2-Assemblareiparafanghi
3-Assemblareifreni
4-Assemblareleruote
ASSEMBLARE ILMANUBRIO ED ILSEDILE
ASSEMBLAREILMANUBRIO
(Assemblaggiocomponentidellosterzoinacciaio)
1. Mettere il cuscinetto inferiore del manubrio sulla forcella 8Fig.1 b).
2. Inserire la forcella sul tubo anteriore dello sterzo (Fig.1 c).
3. mettere il cuscinetto superiore (Fig. 1 d).
4. Regolare all’altezza desiderata e stringere la vite (Fig.1 e) cosicchè il manubrio possa essere girato
con facilità.
5. Stringere la vite, Inserire i manubri nel tubo della forcella anteriore all’altezza desiderata, stringere la
vite del collare (Fig.1 f) cosicchèi manubri possano essere girati con facilità.
a
b
c
f
e
d
Fig.1

(Assemblaggiocomponentidellosterzoinplastica)
1.Inserireicomponentidellosterzoneltubodellosterzo(Fig.2a)
a
2. Inserire la forcella sul tubo anteriore dello sterzo, mettere il morsetto sul tubo dello sterzo (Fig. 2 b)
b
3.Inserireilmanubrio dentro il tubo dellosterzo,stringerelavite, abbassare il cappuccioe coprire il morsetto (Fig.2
c),.
C
Fig.2

ASSEMBLAREILSEDILE
Mettere la copertura di sicurezza in plastica nell’asta del sedile, inserire il sedile nel tubo del sedile
stesso all’altezza desiderata e stringere la vite del collare. Mettere la copertura di sicurezza in plastica
sulla vite del collare. (Fig.2)
Fig.2
ASSEMBLARE I PARAFANGHI
Fissare i parafanghi anteriore e posteriore con le viti sulla forcella anteriore (a) e quella posteriore (b).
a b
Fig.3
ASSEMBLARE IL FRENO
Nota: I freni non sono regolati in fabbrica. Prima dell’uso, tali freni dovranno essere montati e regolati. Installare la
levadelfrenosuimanubri.Laleva delfrenodestrocontrollailfreno posteriore.
ASSEMBLAGGIO FRENO A MANO
1. Fissare il parafango posteriore e la pinza del freno posteriore sul forcellino posteriore
2. Installare le leve del freno sui manubri (ciòpotrebbe essere fatto giàin fabbrica).
3. Inserire l’estremità del barilotto del cavo del freno nel foro della leva del freno. (Vedi Fig. 4)
REGOLAZIONE FRENI AMANO
Durante la frenata, la guarnizione del freno sfrega contro il cerchione. Se necessario, stringere o
allentare il dado del bullone d'ancoraggio (Fig.4) sulla parte destra del freno, tirare il cavo del freno

attraverso il foro del bullone d'ancoraggio fin quando non vi saràalcun allentamento nel cavo del freno
interno, stringere il dado del bullone d'ancoraggio. Assicurarsi che il filo del freno sia saldamente
bloccato nel bullone d’ancoraggio e che il gommino sia parallelo al cerchione con una distanza
intermedia di 1.5- 2 mm. Comprimere e rilasciare la leva del freno a più riprese, ruotare la ruota,
assicurandosi che la ruota non oscilli.
Fig.4
ASSEMBLAGGIO RUOTE
ASSEMBLAGGIORUOTE
La ruota anteriore e quella posteriore sono uguali. Usare 2 pezzi di chiave dado in base alla
dimensione dei dadi stessi. Mettere sulla ruota la forcella e spingere la linguetta della rondella (Fig.1 a)
dentro un piccolo foro. Prima d’inserire la ruota posteriore allentare il cavo del freno per sciogliere la
pinza del freno. Stringere i dadi della ruota (Fig.1 b) L’asse della ruota dovrà essere parallelo all’asse
longitudinale del telaio.
Fig.5a b
Nota: Qualora sia necessario lo smontaggio, smontare la ruota in direzione opposta all’installazione.
Ruota anteriore:
Inserire dentro le fessure
dell’asse.
Installare la linguetta della
rondella (a). Quindi installare
il dado dell’asse (b).
Stringere il dado con la
chiave.
Ruota anteriore:
Inserire dentro le fessure
dell’asse.
Installare la linguetta della
rondella (a). Quindi installare
il dado dell’asse (b).
Stringere il dado con la
chiave.
Piccolo foro
Durante l’installazione della ruota
assicurarsi che il gommino del
freno sia parallelo al cerchione
della ruota.
Mettere il gommino parallelo al
cerchione ad una distanza
intermedia di 1.5-2 mm.
Dado
bullone
Leva freno

INSTRUCCIONES Y MONTAJE DE LA BICICLETA DE 12 PULGADAS
F
FO
OL
LL
LE
ET
TO
O
IMPORTANTE: POR FAVOR, LEA ESTE MANUAL MINUCIOSAMENTE ANTES DE MONTAR Y
PASEAR EN ESTA BICICLETA.
ADVERTENCIA:
.Para edades de 2 años y más
. Máximo peso del niño: 30KGS
. Compruebe y apriete los pernos y los tornillos antes de cada paseo.
. Asegúrese de que todos los componentes funcionen correctamente antes de cada paseo.
Infle los neumáticos a no más del grado máximo marcado en el lado del neumático.
. Si algún componente estádañado o no funciona correctamente, debe ser reemplazado antes de que se
utilice el artículo.
IMPORTANTE
ADVERTENCIA:
Un adulto debe ayudar en el montaje inicial de la bicicleta.
Asegúrese de que su bicicleta estécompletamente montada antes de usarla.
Lea y comprenda este manual del usuario antes de usar la bicicleta.
PRECAUCIONES PARA LA SEGURIDAD
Estabicicletanoserecomiendaaniñosmenoresde2añosdeedadoconunpesomayorde30kgs.
Por favor lea y siga las precauciones de seguridad que se indican a continuación, si no lo hace, podría
resultar en lesiones o daños en su bicicleta.
Por favor instruya a su niño sobre el funcionamiento apropiado de esta bicicleta, también instruya a su
niño a seguir las precauciones de seguridad enumeradas abajo.
ADVERTENCIA: NOMONTEESTABICICLETAENLASCARRETERAS.
A.Useuncasco.
B.Nopaseecercadelosvehículosdemotor.
C.Practiqueelfrenadoenunambienteseguro.
D.Nuncapaseecercadeescalones, calzadasinclinadas,colinas,carreteras,callejones,áreasdepiscinas uotros
ladosconagua.
E. Nunca pasee con la bicicleta en tiempo lluvioso. Las superficies húmedas pueden aumentar la distancia de
frenado.
F.Nopaseedenoche.
G.No paseedemasiadocercadelospeatones.
H. Evite los peligros que puedan obstaculizar su capacidad de controlar su bicicleta. Los huecos, surcos, el
pavimento irregular, alcantarillas, grava, bordillos, hojas, charcos y escombros pueden tener un efecto durante el

paseo ypuederesultarenpérdidadelcontrol.
I. Nopaseeporlacarreteraoporunpavimento áspero.
J.Mantengaambasmanosen elmanubrio.
PRECAUCIÓN:FRENESUAVEMENTEPARAEVITARPARADASREPENTINAS.
INSTRUCCIONES DE MONTAJE
Retirelabicicletadelacajayverifiquesihaypiezasfaltantesodañadas.
(Observequelosneumáticosvieneninfladosconaireperopuedenperderunpocodeaireduranteelenvío.)
Pasos:
1 -Monteelmanubrioyelasiento
2 -Montelosguardafangos.
3 -Montelosfrenos
4 -Montelasruedas
MONTAJE DELMANUBRIOY ELASIENTO
MONTAJEDELMANUBRIO
(MontajedelasPiezasAceradas)
1. Coloque el cojinete inferior del manubrio en la horquilla (Fig. 1 b).
2. Inserte la Horquilla en el tubo de dirección frontal (Fig. 1 c),
3. coloque el cojinete superior (Fig. 1 d).
4. Ajuste la altura deseada y apriete el tornillo (Fig. 1 e), para que el manubrio pueda girarse
fácilmente.
5. Apriete el tornillo, inserte el manubrio en el tubo de la horquilla frontal a la altura deseada, apriete el
tornillo del collarín (Fig.1 f), para que el manubrio pueda girar fácilmente.
a
b
c
f
e
d
Fig.1

(MontajedelasPiezasPlásticas)
1.Insertelaspiezasdecabezaleneltubodedirección(Fig.2a)
a
2.Inserte la Horquilla en el tubo de la dirección frontal, coloque la abrazadera en el tubo de dirección
(Fig. 2 b),
b
3. Inserteelmanubrioenel tubodedirección,aprieteeltornillo, coloquelatapaycubralaabrazadera(Fig.2c).
C
Fig.2

MONTAJEDELASIENTO
Coloque la cubierta de seguridad de plástico en el asiento, inserte el asiento en el tubo del asiento a la
altura deseada y apriete el tornillo del collarín. Coloque la cubierta de seguridad de plástico sobre el
tornillo de collarín. ( Fig.2 )
Fig.2
MONTAJE DELGUARDAFANGOS
Fije los guardafangos frontales y posteriores mediante los tornillos de la horquilla frontal (a) y de la
horquilla posterior (b).
a b
Fig.3
MONTAJE DELFRENO
Nota: Losfrenos no están ajustados de fábrica. Antes de conducir, los frenos deben estar montados y ajustados.
Instalelapalancadefrenoenelmanubrio.Lapalancadefrenoderechacontrolaelfrenotrasero.
MONTAJE DEL FRENO DE MANO
1. Fije el guardafangos posterior y la pinza del freno trasero en la horquilla posterior.
2. Instale las palancas de freno en el manubrio (esto ya puede venir realizado desde la fábrica).
3. Inserte el extremo del tubo del cable del freno en el orificio de la palanca del freno. (Ver Fig. 4)
AJUSTE DEL FRENO DE MANO
Durante el frenado, toda la superficie del revestimiento de los frenos debe rozar contra el borde. Si es
necesario, apriete o afloje la tuerca del perno de anclaje (Fig.4) en la parte derecha del freno, tire del
cable del freno a través del orificio del perno de anclaje hasta que no exista holgura en el alambre

interior del freno, apriete la tuerca del perno de anclaje. Asegúrese de que el cable del freno esté
bloqueado firmemente a través del perno de anclaje y que el bloque de goma estéparalelo con
el borde con un espacio de 1,5 - 2 mm entre ellos. Apriete la palanca de freno y luego suéltela
varias veces, gire la rueda, asegúrese de que la rueda no se tambalee.
Fig.4
MONTAJE DE LAS RUEDAS
MONTAJEDELASRUEDAS
Las ruedas delanteras y traseras son las mismas. Utilice 2 llaves de tuerca según el tamaño de las
tuercas. Coloque la rueda en la horquilla de la rueda y presione la arandela de lengüeta (Fig.1 a) en el
orificio pequeño. Antes de insertar la rueda trasera, suelte el cable del freno para liberar el freno de la
pinza. Apriete las tuercas de la rueda (Fig. 1 b). El eje de la rueda tiene que estar paralelo con el eje
longitudinal del marco.
Fig.5a b
Nota: Si es necesario desmontarla, desmonte la rueda en la manera opuesta a la instalación.
Rueda frontal:
Insértela en las ranuras del eje.
Instale la arandela de lengüeta
(a). A continuación, instale la
tuerca del eje (b).
Apriete la tuerca con una llave.
Rueda frontal:
Insértela en las ranuras del eje.
Instale la arandela de lengüeta
(a). A continuación, instale la
tuerca del eje (b).
Apriete la tuerca con una llave.
Orificio pequeño
Durante la instalación de la rueda
asegúrese de que la almohadilla
de goma del freno estéparalela al
aro de la rueda.
Mantenga la almohadilla de goma
paralela al borde con un espacio
libre en el medio de 1,5 - 2 mm.
Tuerca del perno
Palanca de freno
Table of contents
Languages:
Other HOMCOM Bicycle manuals

HOMCOM
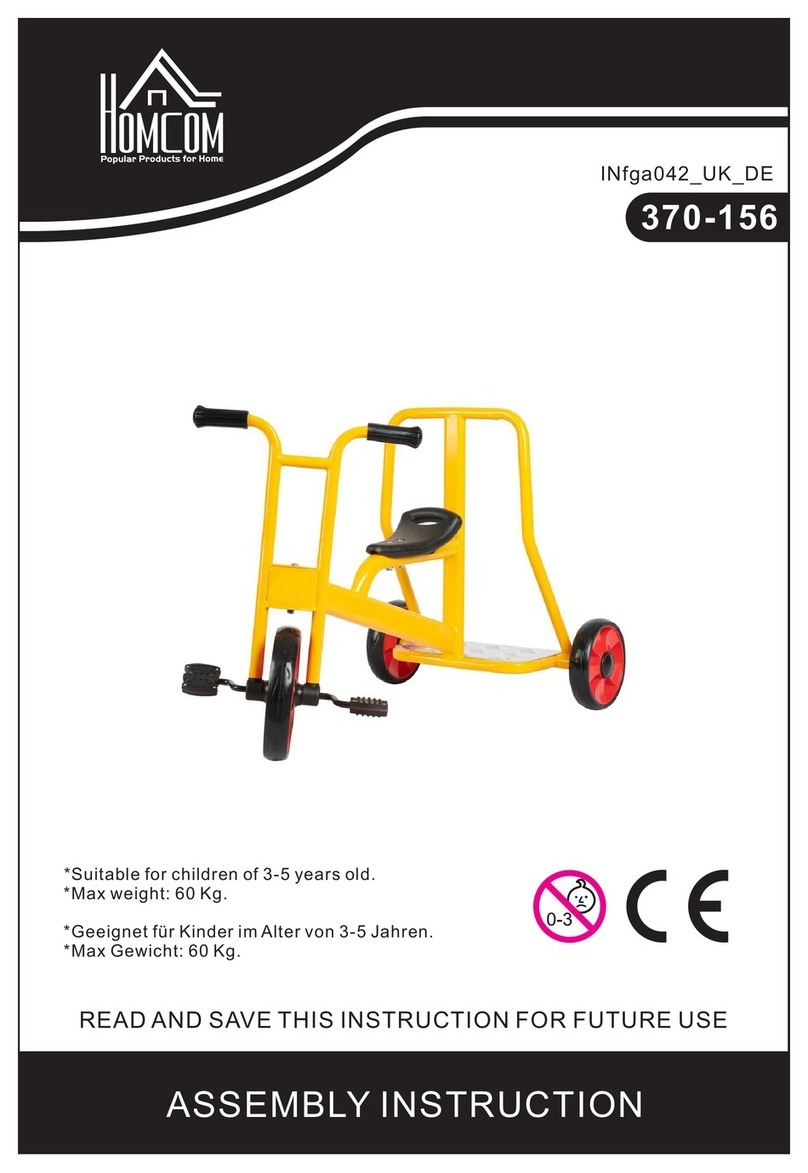
HOMCOM 370-207 User manual

HOMCOM
HOMCOM 370-182 User manual

HOMCOM
HOMCOM 370-106 User manual

HOMCOM
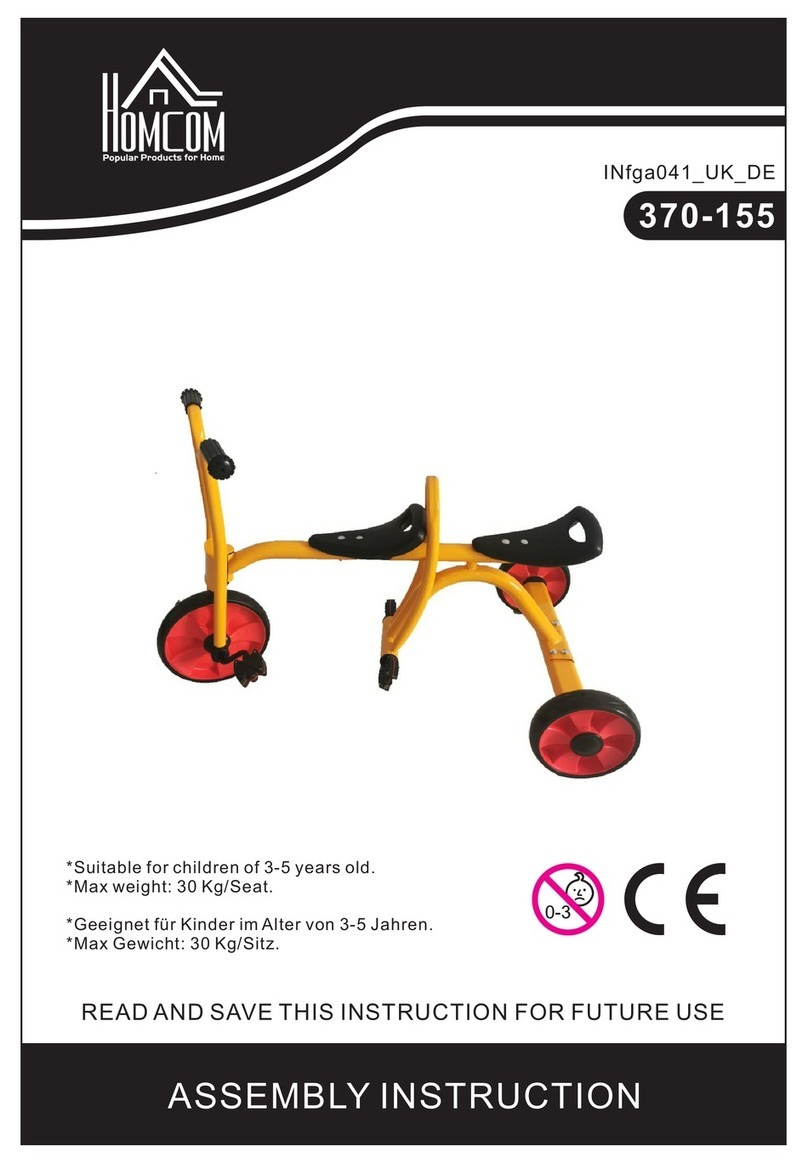
HOMCOM 370-155 User manual

HOMCOM
HOMCOM 712-048 Installation guide

HOMCOM
HOMCOM 370-199 User manual

HOMCOM
HOMCOM 370-097 User manual

HOMCOM
HOMCOM 370-211V70 User manual

HOMCOM
HOMCOM 370-025 User manual

HOMCOM
HOMCOM 342-007 User manual

HOMCOM
HOMCOM 370-188V80 User manual

HOMCOM
HOMCOM 370-095 User manual

HOMCOM
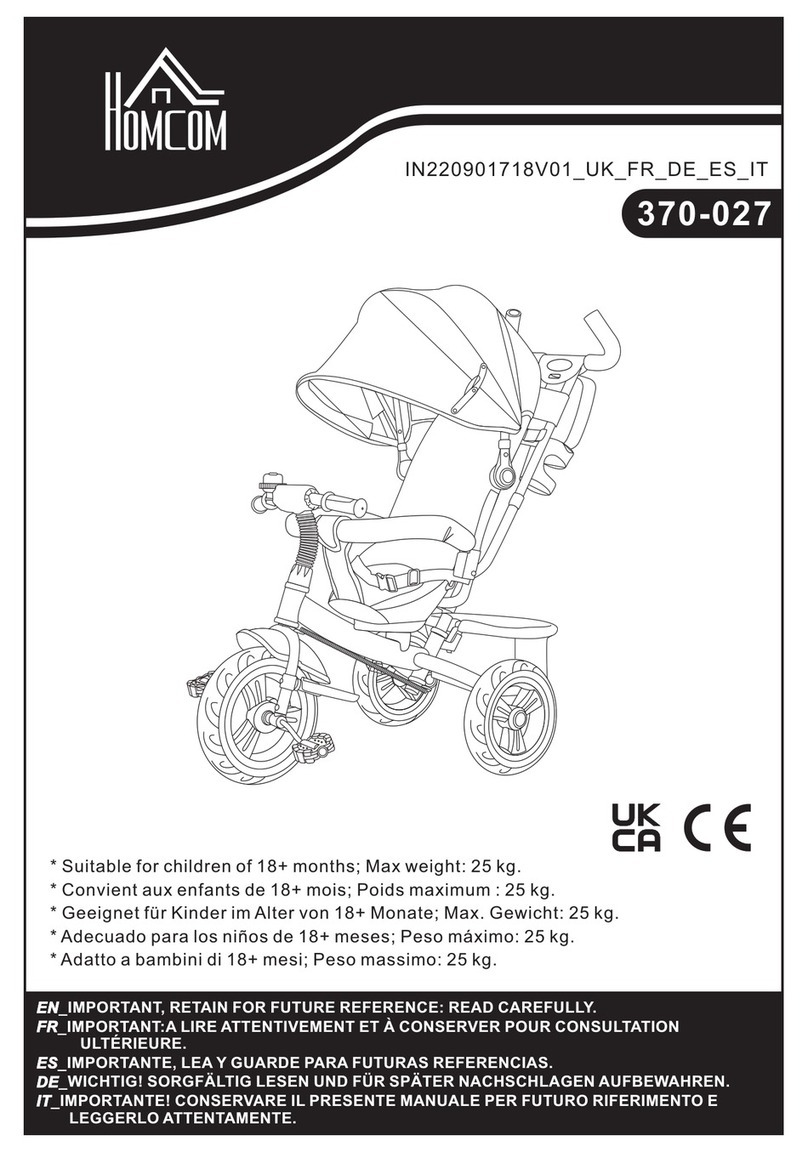
HOMCOM 370-027 User manual

HOMCOM
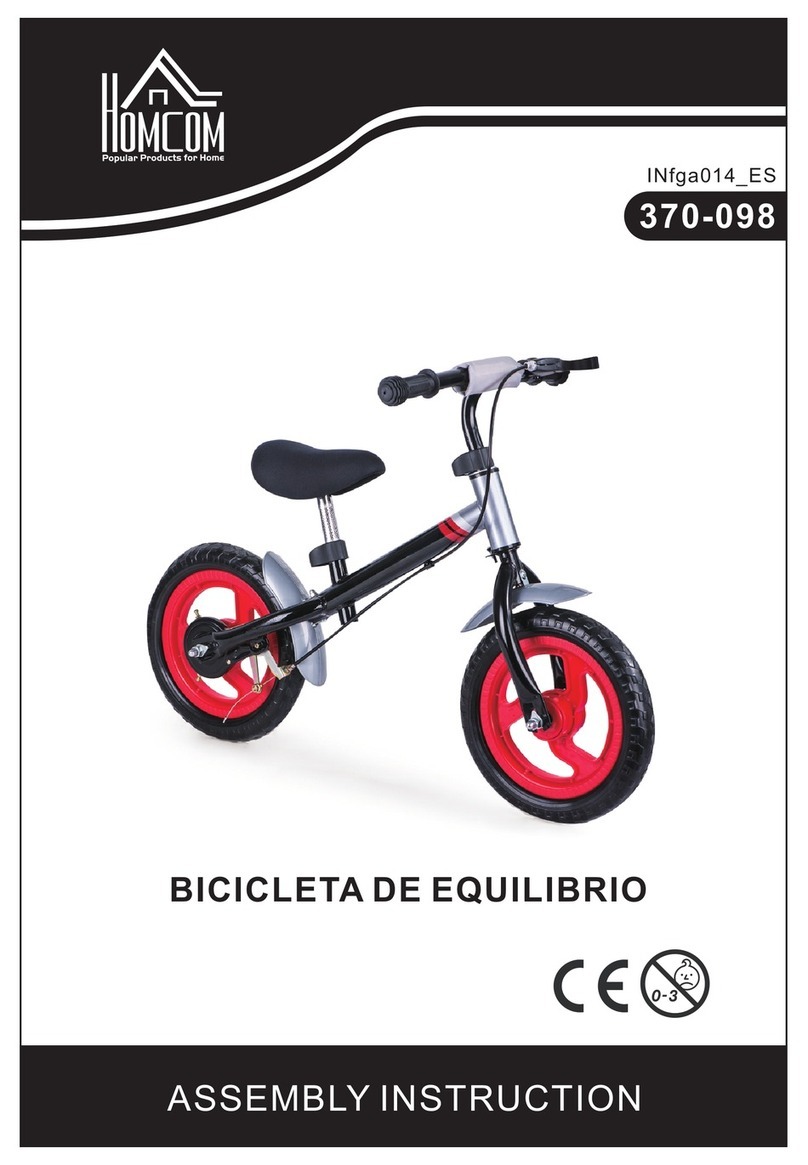
HOMCOM 370-098 User manual

HOMCOM
HOMCOM 370-156 User manual

HOMCOM
HOMCOM 370-061 User manual

HOMCOM
HOMCOM 370-092 User manual

HOMCOM
HOMCOM 712-046 Installation guide

HOMCOM
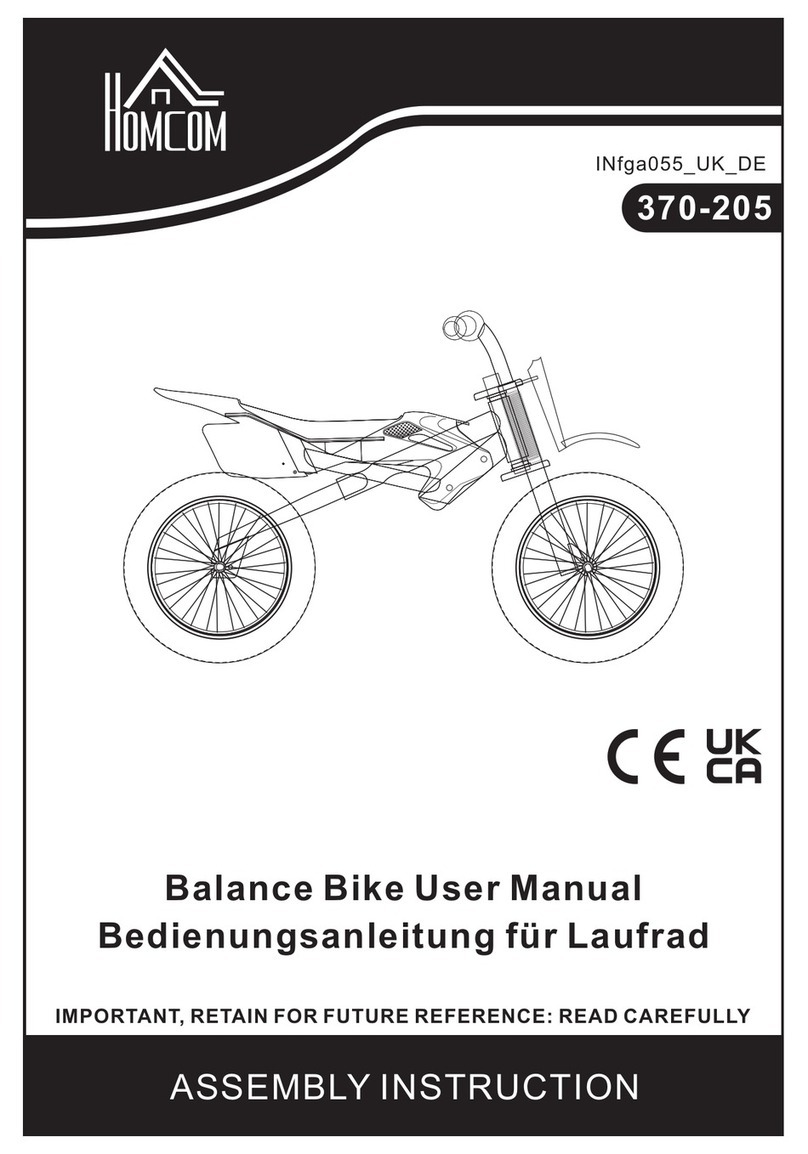
HOMCOM 370-205 User manual

HOMCOM
HOMCOM 370-188V90 User manual