- 6 -
3.6 When leaving your bicycle during hot weather always leave in a shaded well
ventilated area
3.7 For best results always recharge the battery at room temperature
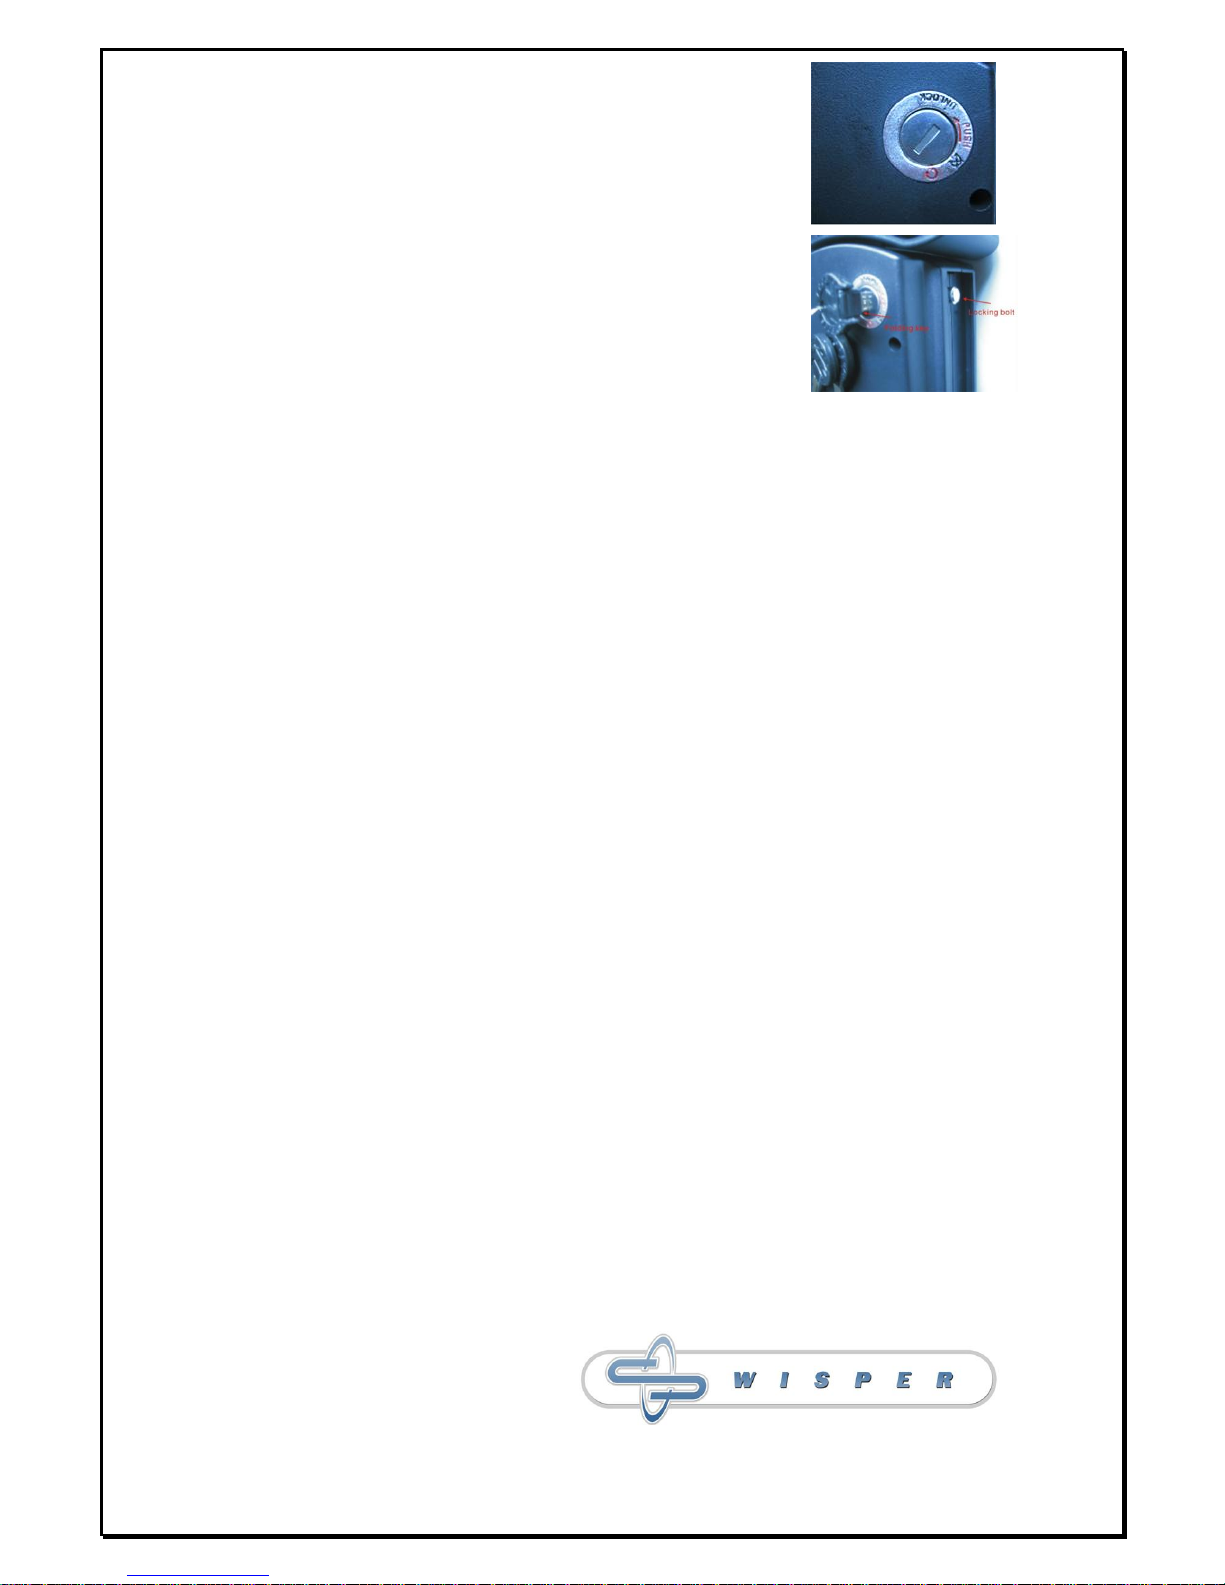
3.8 Before unloading the battery make sure it is turned off at the key, then raise the
saddle and unload the battery using its handle
3.9 If your battery is damaged or appears to be overheating for any reason
immediately return it to your retailer for advice and a safety check
4 Recharging your battery
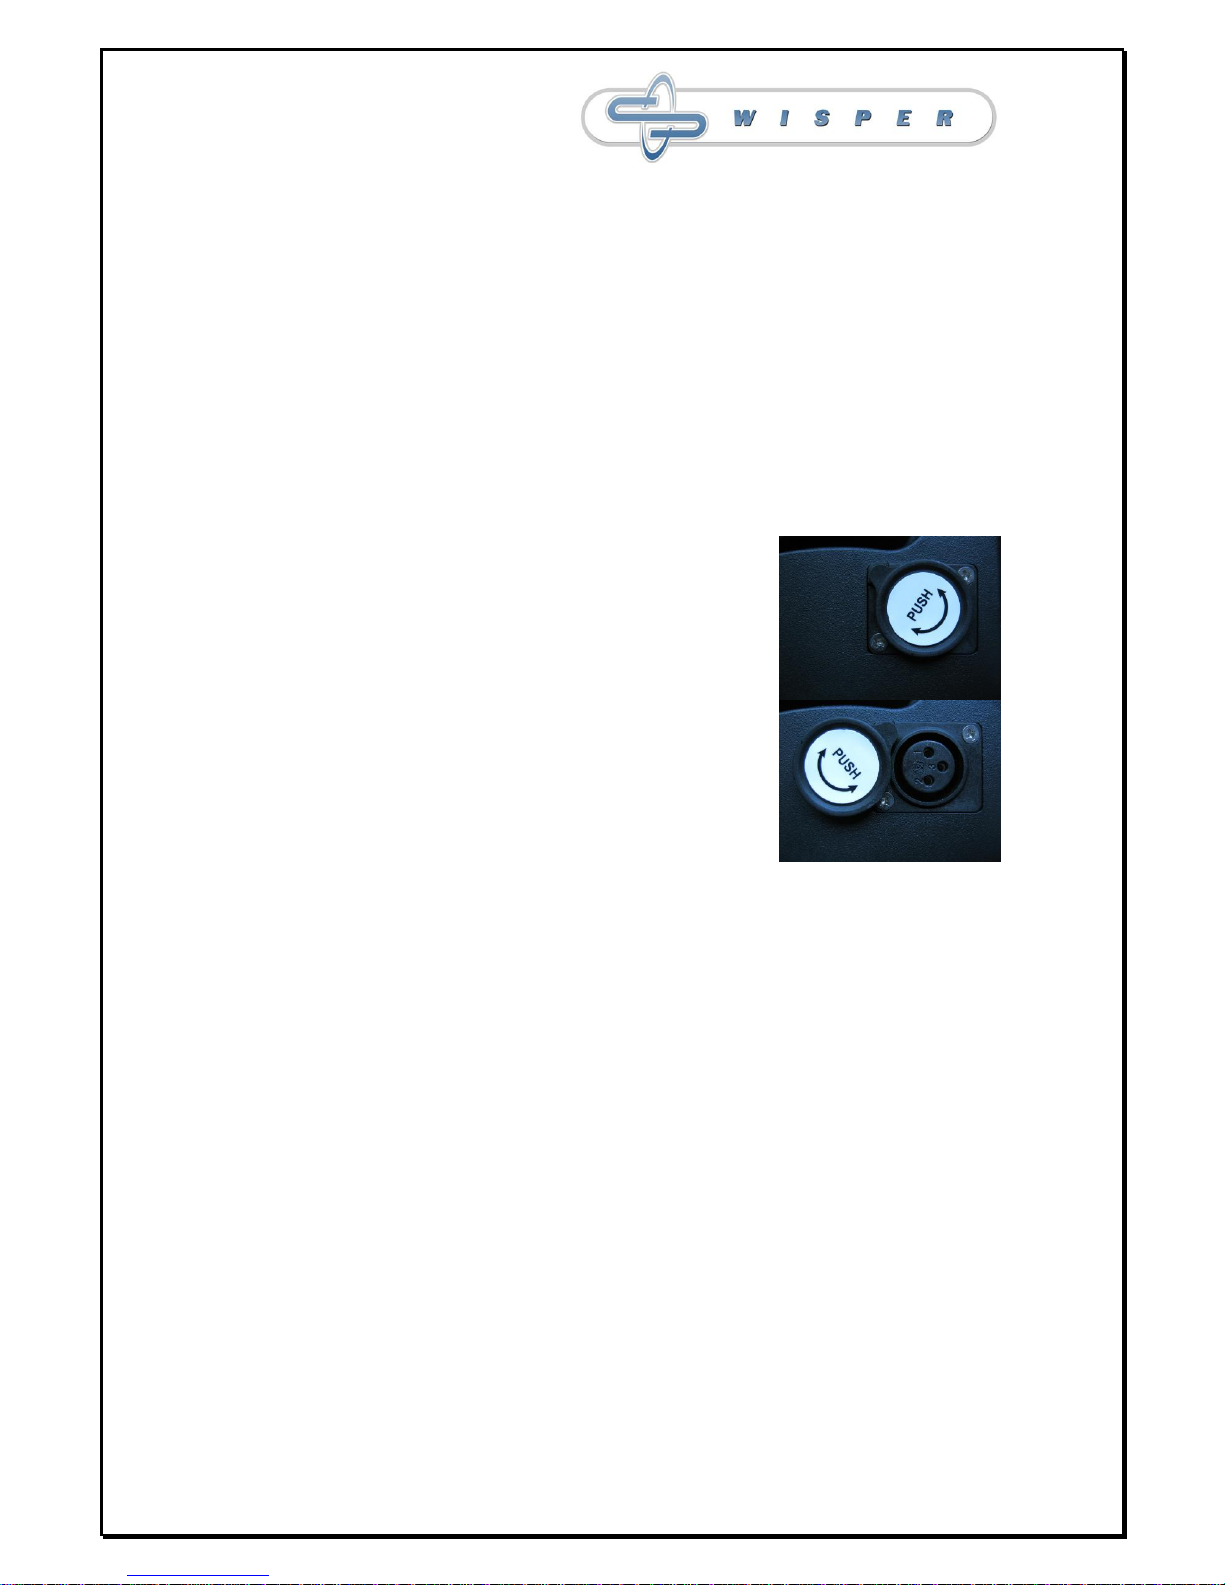
4.1 First connect the output connector plug with the battery (Refer to the recharge
point picture), then connect to the mains. Make
sure the charger is turned off and connect the
charger to your battery then turn on the charger.
Red and yellow lamps on the charger indicate the
battery is charging, when the yellow light turns
green the battery fully charged. Always turn off the
charger and disconnect from the mains after
charging. Always disconnect the charger from the
mains before disconnecting the charger from the
battery. It is possible that the battery will take up to
12 hours to charge on the first three charges.
4.2 When charging the battery always do so in a well
ventilated area.
4.3 Do not leave the charger connected to the mains when not in use.
5 Water
5.1 Your electric bicycle is rain and splash proof and can be used in all weathers.
5.2 The electrical components of the vehicle, such as motor, battery, and controller,
must not be submerged in water.
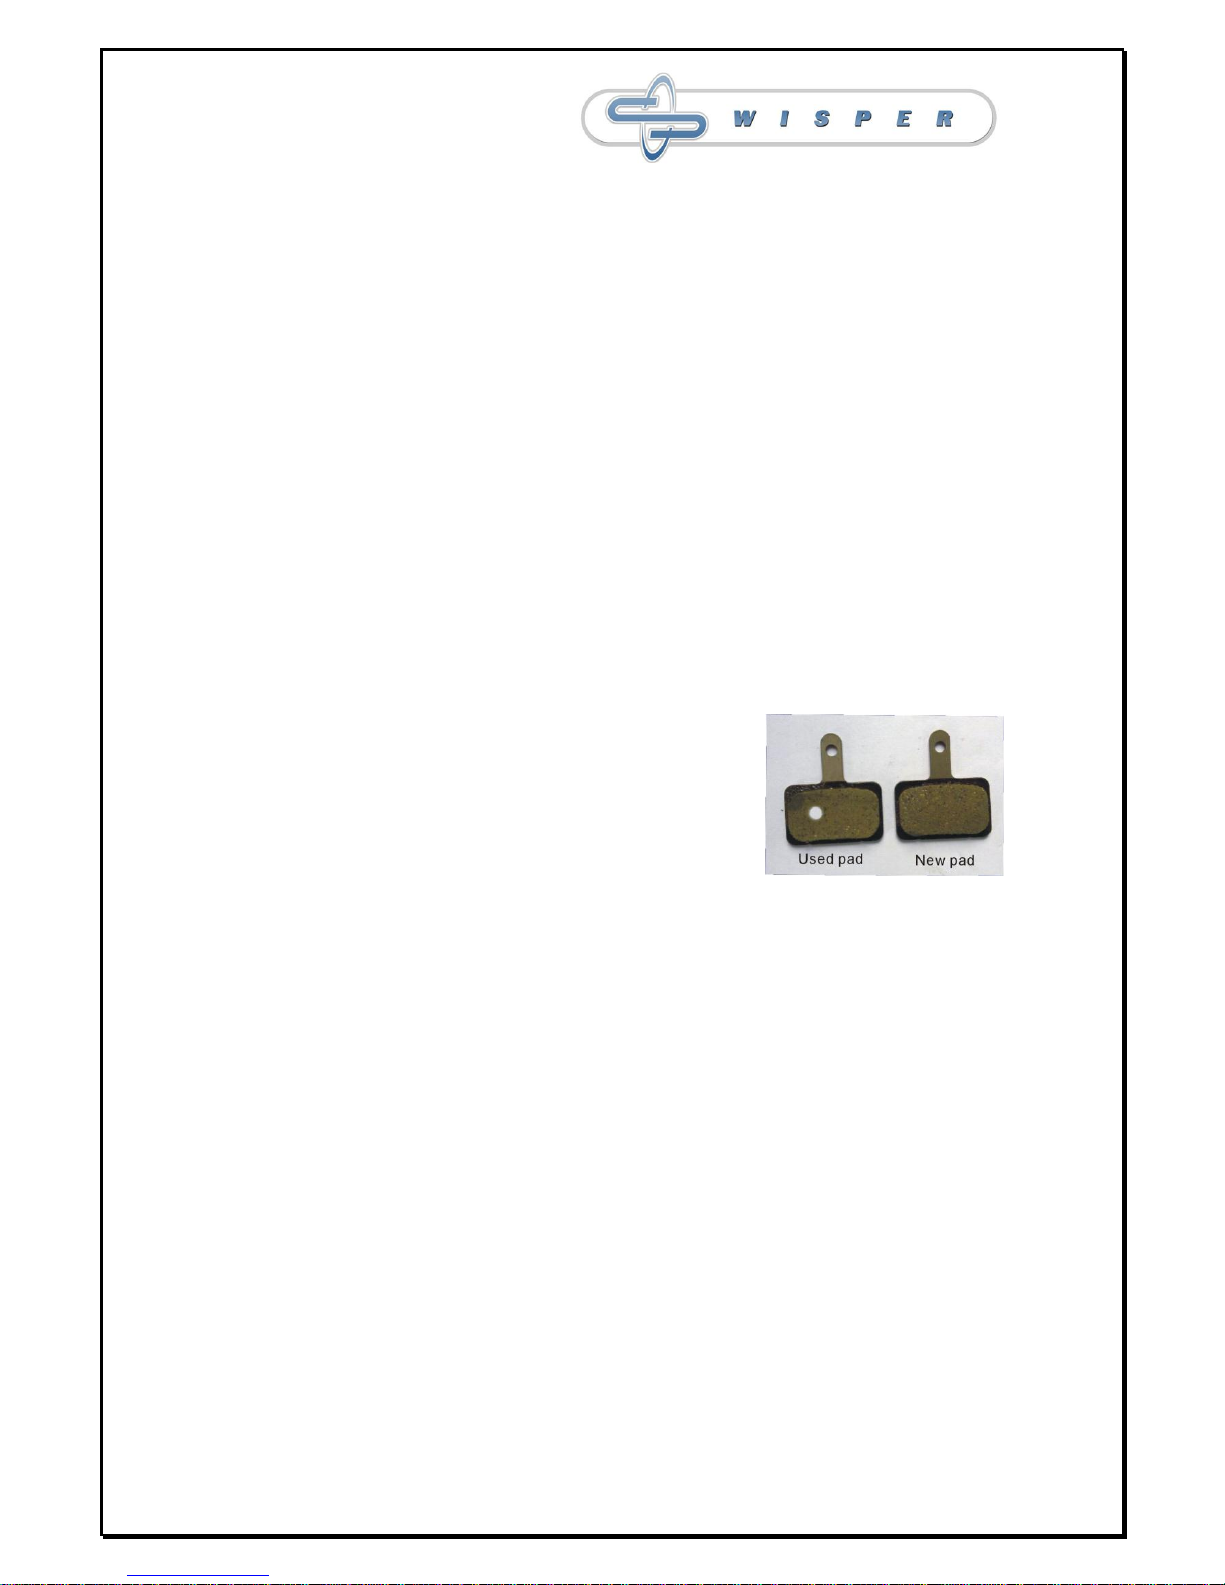
6 Maintenance and adjustments
6.1 IMPORTANT! Do not attempt to open the casings of the battery, motor or
controller it could be dangerous and all warrantees will become void. If you
experience a problem contact our service department or your retailer.
6.2 Wheel spokes should be adjusted after 300 miles riding. Handlebar and saddle
tubes should never be raised beyond the maximum indicated by a safety line
around the tubes. The recommendation of the torque on the nuts as follows:
(A) Front motor axle nuts. 70N.M
(B) Back axle nuts. 70N.M