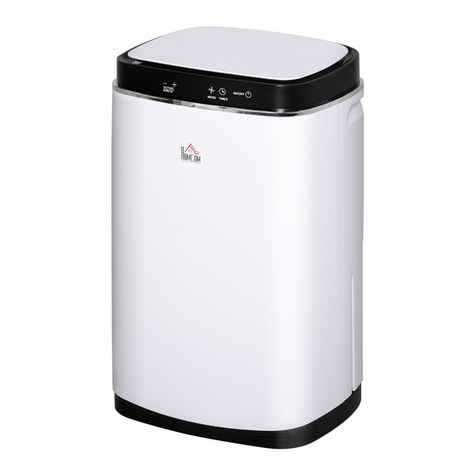
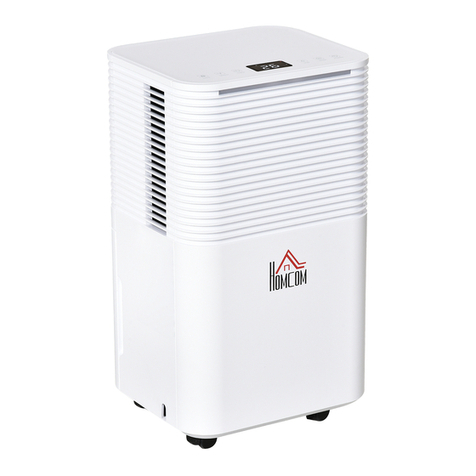
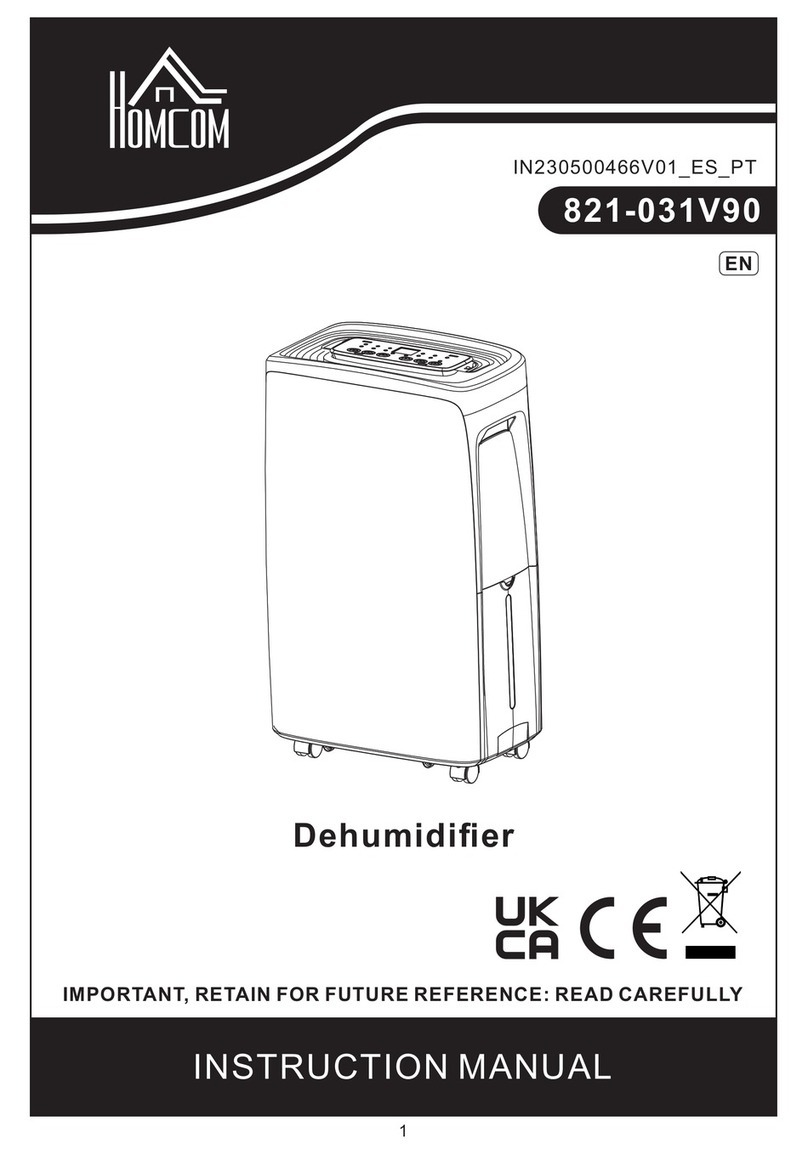
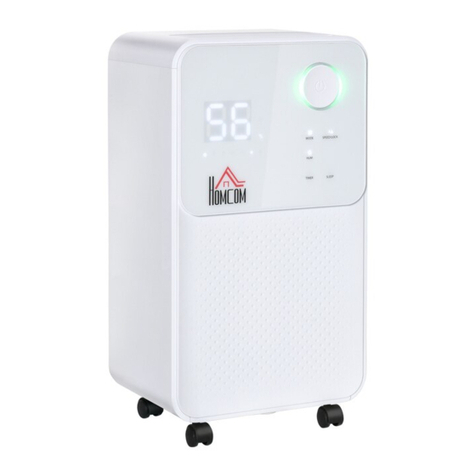
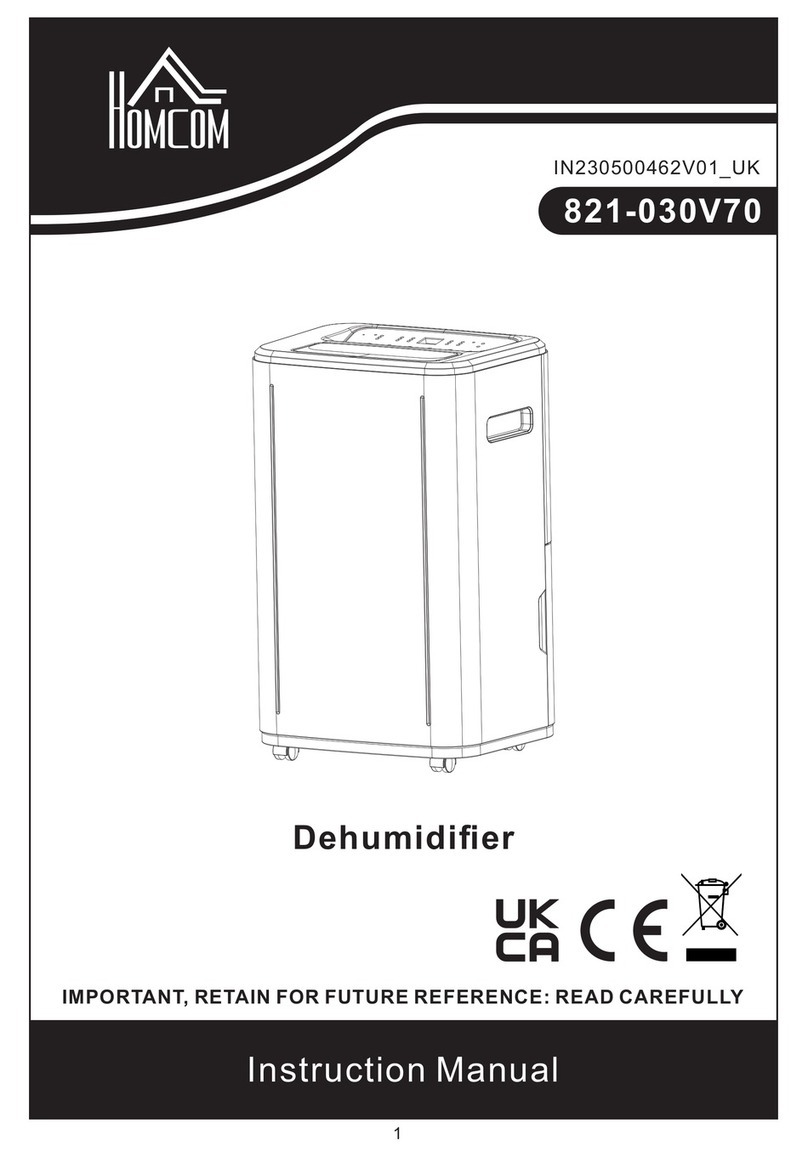
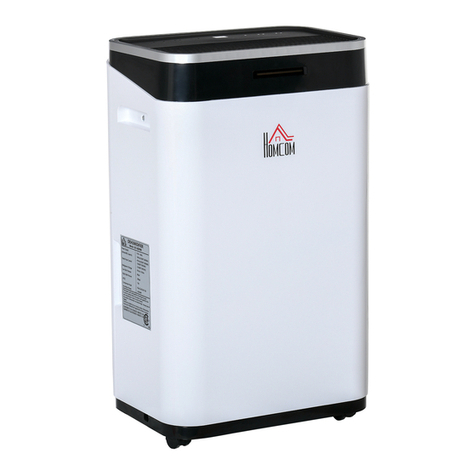
HOMCOM 821-025V70 User manual

INSTRUCTION MANUAL
IN230500562V01_UK
821-025V70
Dehumidifier
IMPORTANT, RETAIN FOR FUTURE REFERENCE: READ CAREFULLY

1
Precautions
Operation and performance
Parts names and functions
For selecting functions properly
Preparation and checking before operation
How to operate
Maintenance
Specification
Troubleshooting
Thank you for choosing this dehumidifier.
Please read this instruction manual carefully
before installing this appliance. Keep this manual
safe for future reference.
2
5
6
8
9
10
12
14
15

2
!
!
!
!
!
Please read 'Precautions' carefully before operating your dehumidifier.
Observe all warnings and cautions for safe operation.
Warning Improper handling could result in serious injury or death.
Cautions Improper handling could result in injury or property damage
This sign means prohibited.
This sign means compulsory
This sign means caution
If this appliance malfunctions or is damaged, do not repair it yourself. Contact the
manufacturer, its service agent or similarly professional personnel for inspection
and repair.
If there are any irregularities, turn off and unplug the appliance. Contact the
supplier for assistance. Using a damaged appliance could result in electric shock,
fire or other hazards.
Ensure the appliance is switched off before unplugging it.
Never modify the dehumidifier. Do not attempt to disassemble or service the
unit by yourself.
Ensure hands are dry when plugging and unplugging this appliance.
This appliance uses an AC220-240 current.
Remove any dust from the blades of the power plug, then insert it firmly into an
outlet.
To avoid the risk of fire or explosion, do not use sprays near this appliance.
Keep flammable objects and chemicals away from the appliance.
To prevent parts from melting or catching fire, keep the appliance away from
other heating appliances.
Do not connect the dehumidifier to an outlet with a lower electrical rating.
Do not damage or modify the power cord. Do not place hot or heavy items on
the cord. Do not pull or twist the cord in any way.
Unplug
Prohibit
Prohibit
disassembly
Prohibit wet hand
220 240V ~
alternating current
Wipe off dust
Prohibit
Prohibit
Prohibit
Prohibit

3
!
!
!
!
!
Keep the cord away from doors and other areas where it may get trapped.
Keep openings free of obstruction to avoid overheating.
Empty the water tank when it is full. Never drink the water from the tank.
Unplug the appliance before servicing to avoid electric shock. Do not operate the
unit without the back cover due to hot and moving parts.
The risk of electric shock remains even when the switch is in the off position, as not all loads are
de-energised.
Correct disposal of this product
WARNING
Do not use methods, which are not recommended by the manufacturer, to speed up defrosting
or cleaning.
Store the appliance in a room WITHOUT continuous ignition sources, such as open flames,
operating gas appliances or electric heaters.
Be aware that refrigerants may not contain an odour.
- Maximum refrigerant charge amount: 60g
Refrigerants need to be added to a factory or distributor at a designated place.
Waste electrical products should not be disposed of with household waste. Please
recycle where facilities exist. Check with your local authority or retailer for recycling
advise.
a. "The appliance shall be installed in accordance with national wiring
regulations”
b. "If the supply cord is damaged, it must be replaced by the manufacturer, its
service agent or similarly qualified persons to avoid a hazard."
c. "This appliance is not intended for use by persons (including children) with
reduced physical, sensory or mental capabilities, or lack of experience and
knowledge, unless they have been given supervision or instruction concerning
use of the appliance by a person responsible for their safety."
d. "Children should be supervised to ensure they do not play with the appliance."
The dehumidifier must be used on a level and stable surface.
To prevent the water from freezing, do not use the dehumidifier and drain hose at
ambient temperatures below 0℃.
Do not use the dehumidifier outside. Exposure to direct sunlight or rain may result
in overheating, electric shock or fire.
Use on flat ground
Prohibit
Prohibit
Throw away
Warning
Prohibit
Prohibit
4
!
!
!
Do not place drinks or anything else on top of the appliance.
If water gets inside the appliance, it will cause damage and could create a fire
hazard.
Do not use this dehumidifier for purposes other than its intended use.
Never use this dehumidifier near oil, flammable gas or chemicals.
For continuous draining, make sure the drain hose is correctly positioned without
any upward slopes.
Ensure heating appliances are not exposed to the airflow generated by this
dehumidifier.
Do not sit on the dehumidifier or use it as a footstool.
For safety purposes, unplug the appliance when not in use for long periods.
Grasp the plug firmly when unplugging the appliance. Do not pull the cord.
Keep small children away from this appliance whilst in use.
Do not remove the float lever from the water tank.
When moving the appliance, do not pull the power cord to avoid damaging it.
Do not block the air intakes and outlets. Do not cover the appliance with clothes,
towels or anything similar.
After using the appliance for long periods, we recommend checking the filter, drain
hose and other parts to ensure they are clean.
Before cleaning and maintenance, turn off and unplug the appliance.
To avoid electric shock, do not submerge the appliance in water.
Before moving, turn off the unit and empty the tank.
Prohibit
Prohibit
Prohibit
Prohibit
Ensure drain
hose
Prohibit
Prohibit
Prohibit
Prohibit
Prohibit
Prohibit
Schedule
check out
Prohibit
Shut off
operation and
drain water
when moving

5
When the defrosting function is activated, the dehumidifying and air-cleaning functions will
not operate.
During the defrosting function, do not turn off or unplug the appliance.
Note: This dehumidifier is not designed for maintaining a very low humidity level (50% or
less). Its purpose is to reduce uncomfortable humidity levels in daily living environments and
assist in drying washed clothes indoors.
Room temperature rises during use
This appliance does not have a cooling function. It produces heat during its use - the room
temperature will rise by 1-4°C. The temperature will rise higher if used in a closet or anything
similar. Room temperature will rise due to doors and windows being closed and other
appliances producing heat.

6
Up:30cm or more
Back:20cm or more
Left:20cm or more
Fornt:10cm or more
Right:20cm or more
Installation
For efficient use, ensure there is
enough space around the appliance
(use the picture on the right for
reference).
To prevent interference and noise
disturbances with electronic
devices (TV sets and radios),
ensure they are positioned at
least 70cm away from the
dehumidifier.

7
A
A. on/off switch: Press to turn the appliance on and off.
B. decrease/increase: Press to set the humidity or timer. The LED displays the 'Humidity' or
'Timer' value respectively. Hold + for three seconds. The display will show the temperature
value.
C. Press this button to set the shutdown time. The ‘TIMER’ indicator will turn on. Press + and
- to set a time between 0-24 hours. Each press will increase/decrease the time by one hour.
Once the timer is set, the remaining time will flash. If you keep pressing the button while the
time value is flashing, the value will reset to 0.
D. Fan Speed: Press to adjust the fan speed between high and low. The corresponding
indicator will turn on to indicate the selected speed.
E. Mode: Keep pressing this button to cycle through the different modes, which are: ‘DRY
CLOTHES’, ‘NORMAL OPERATION’, ‘AIR CIRCULATION' and 'AUTOMATIC’
The relative indicator is truned on.
F DRY CLOTHES indicator
G NORMAL OPERATION indicator
H AIR CIRCLUATION indicator
I AUTOMATIC indicator
J DEFROST indicator: When the indicator lights up, the unit is in the defrosting function. The
fan will work. The compressor will be off.
K HIGH Fan Speed indicator;
L LOW Fan Speed indicator;
M TIMER indicator;
N TEMPERATURE indicator: When it glows, 88LED displays room Temperature value.
O HUMIDITY indicator: When it glows, 88LED displays the current humidity value in the
room.
P TARGET HUMIDITY indicator: When the room humidity reaches the SET RH value, the
indicator glows.
Q TANK FULL indicator: When the water tank is full, the indicator glows. The unit will stop
working. It will work again after the tank is emptied.
R POWER indicator: The indicator will glow when the unit is on. The indicator will flash when
the unit is on standby.

8
AIR CIRCULATION
To dehumidify a room for comfortable humidity
To dehumidify a room or
keep a ceiling and/or walls
from dew and mould.
To dehumidify a closet
To dry wet clothes quickly
To dry a carpet or rug
To dehumidify a small
space or to dry shoes
To clean the air in
the room
This appliance has a built-in microcomputer that memorises its operation once set. By
pressing the power switch, the unit will repeat the same operation as before. Note: If the
dehumidifier is disconnected by unplugging or if a power failure occurs, you will need to set it
up again from the beginning.

9
Setting up the 'air cleaner' filter
1.Remove the filter holder from the front cover.
2. Toinstall the filter ontothe back cover:
• Remove the 'air cleaner' filter from the polyethylene bag.
• Place the filter onto the back filter.
• Align the 'air cleaner' filter with four catches on the back cover,
then secure it in place.
• Take the filter holder and position it on top of the cover, with the
flat surface facing up.
• Attach the filter holder to the four catches on the cover,
ensuring the convex portions of the holder are facing upward.
To set the holder securely, press its perimeter with your fingers.
Then check the condition
If the settings are not properly configured, you will be unable to attach the back
cover to the unit.
Make sure that the water tank is set properly.
This appliance does not work when the tank is full or not fitted properly.
How to remove
Pull the water tank gently toward you by holding the concave part of the tank.
How to set
Push the tank horizontally and gently.

10
Han dleHan dle
Emptying water from the tank
1. Remove the tank from the dehumidifier.
2. Hold the tank by the handle and carry it gently.
3. Tilt the tank in the direction shown. Slowly empty the
water out of the tank.
4. Place the tank in the dehumidifier.
After the dehumidifying operation, water is
collected in the tank. When the tank is full, the
dehumidifier stops operating and the buzzer
will sound.
The buzzer sounds for 20 seconds if the tank
is taken out during use.
For continuous drainage, see page 12.
For timer Operation
Press the 'TIMER' switch to set the timer.
Press the 'TIMER' button to activate the timer function. The 'TIMER' indicator light will be on.
Before programming the timer, ensure the function is not already activated (the indicator light
should be off).
There are two available programmes:
a) Delayed power-off function (while the appliance is operating):
• The appliance will automatically stop once the set time is reached.
• Press the 'TIMER' button to set the desired time (ranging from 0-24 hours).
b) Delayed power-on function:
• The appliance will start once the set time is reached.
• Press the 'TIMER' button to set the desired time (ranging from 0-24 hours).
NOTE: The 'TIMER' light is on while programming the timer. Once the time reaches the set
value, the corresponding action (power-off or power-on) will take place accordingly.

11
!
!
Keep the cord away from doors and similar areas to avoid
damage.
Keep small children away from the appliance.
Stop operating
Press again.
The 'mode select' indicator will turn off and the unit will stop operating.
Buzzer
Whenever any button is pressed, the buzzer will sound.
Ensure that one of the flaps is fully opened during operation. If the flap is
not opened completely, the overheat prevention device will activate - the
unit will stop operating.
After plugging in the unit or restarting it immediately after stopping, the
dehumidifying operation will start after approximately three minutes due
to the machine's protective function.
In the event of a power failure, the unit will automatically resume
operating in the mode it was in before the power failure.
The efficiency of the dehumidifier is affected by the air quality outside the
room. To maximise efficiency, try to avoid frequently opening and closing
the windows and doors.
To ensure proper performance, operate the dehumidifier within the usable
operating temperature range. For safety reasons, the dehumidifying
operation will automatically stop and switch to air cleaning mode if the
ambient temperature exceeds 32°C, When the operation starts, the
circulation of the refrigerant may cause some sound within the
dehumidifier. However, once the circulation stabilises, the sound will be
reduced

12
!
!
.
Never plug or unplug the appliance with wet hands.
Before cleaning and maintenance, turn off and unplug the
appliance.
Do not remove the float lever from the water tank.
When the unit is not in use for long periods
1. Unplug the unit, coil the power cord and hang it at the back of the unit as shown.
2. Empty the tank and wipe it down with a cloth. Then, place it back into the appliance.
3. Clean the filter.
4. When storing the appliance, keep it upright and out of direct sunlight.
Note
To avoid malfunction or abnormal sounds, keep the unit upright.
Body of Dehumidifier
Wipe the dehumidifier with a dry and soft cloth.
To remove dirt, wipe the appliance with a slightly damp cloth.
Never use a wet cloth for cleaning the controls.
To avoid damaging the surface, avoid using benzine, thinner or
liquid cleaners.
Do not use chemicals for cleaning the appliance.
Water tank
Remove the water tank from the appliance.
Wash the inside of the tank with water.
Strong brushes may scratch the tank.
Do not remove the float lever from the tank.
Dry the outside of the tank with a cloth, then place it back into
the appliance.

13
Back & Side Air Intakes (Maintenance every 2 weeks)
If the filter is clogged, the appliance capacity will reduce.
Remove the back cover from the unit and remove the filter holder. Take out the 'air cleaner'
filter and the back filter.
Pull the side cover towards you and remove it from the unit. Remove the side filter from the
unit.
To remove dust from the filters, use a vacuum cleaner or pat them lightly.
If there is a lot of dirt, wash the filter in water with a natural detergent. Rinse with water and
leave them to dry naturally.

14
Model No:
Power Supply:
Dehumidity Capacity:
Max. Input Power:
Max. Input Current :
Water Tank Capacity:
Dimensions:
Room Temperature:
Refrigerant:
Fuse:
821-025V70WT (FDD20-5255BR5)
220V-240V~ 50Hz
20L/ Day( 30°C /80 %)
420W
1.91A
6.5 L
Height 550mm, Length 340mm, width 210mm
5 °C-32 °C
R290/ 60g
AC250V 3.15A
The specification may be subject to change without notice for purpose of improvement .

15
Prior to requesting to repair please check for the following:
Malfunction Points to be checked
No operation
Measures to be taken
Check to see if the power plug
is disconnected.
Check to see if the water tank
is full of water.
Check to see if the water tank
is in the correct position.
Check to see if all the flaps are
closed.
Firmly insert the plug into an
electric outlet.
Empty the tank.
Ensure the tank is firmly in place.
Open one of the flaps.
Dehumidified
volume is small
Check if the filters are dirty.
Check to see if the air openings
are blocked.
Check to see if the
dehumidifier is in 'air clean'
mode.
Clean the filters as specified.
Remove obstacles from the air
openings.
Change the operation mode to the
'dehumiditying' mode.
Loud sounds
while operating
Check to see if the unit is
installed properly.
Install the unit on a level and stable
ground.
Operation
stops during
spot
dehumidifying
Check to see if the room
temperature is higher than the
set opeating temperature.
The dehumidifying operation will
start automatically when the
temperature lowers.
Washed
clothes are not
dried
Check to see if washed clothes
are exposed to the unit's
airflow.
Try to expose the washed clothes
to the airflow.
Check to see if the room
temperature is too low.
Washed clothes are hard to dry in
low temperatures.

16
Nothing is wrong with your dehumidifier in case of the following
phenomena
Phenomenon Reason
Operation stops occasionally
Dehumidified volume is small
The unit is defrosting (See the page 5).
The dehimidifier's volume decreases when the room
temperature is low (see page 6). The unit stops
operating when the room temperature falls below a
certain threshold. In 'Automatic' mode, the unit stops
dehumidying, then the room humididty drops to 60% or
lower (refer to page 5).
The humidity in a room is still
high
The room size may be too large. (see the page 5).
The doors or the windows of the room may be opened
and /or closed frequently. (See the page 5)
The dehumidifier is used together with a kerosene
heater which emits vapour.
Smell is emitted from the walls furniture or other
objects.
Circulation of the refrigerant may make a sound until
the unit is stable.
The water is left because the unit is subjected to
dehumidifying tests in the factory.
The buzzer sounds when the tank is full of water (see
the page11).
Bad smell during operation
Sound is produced within the
unit
Water is left in the water tank
The buzzer sounds
Caution: Refrigerant is required to be filled by the manufacturer, the factory or the seller.
If you have any questions, please contact our customer care center.
Our contact details are below:
0044-800-240-4004
enquiries@mhstar.co.uk
IMPORTER ADDRESS:
MH STAR UK LTD
Unit 27, Perivale Park,
Horsenden lane South
Perivale, UB6 7RH
MADE IN CHINA

17
Table of contents
Other HOMCOM Dehumidifier manuals

HOMCOM
HOMCOM 821-018V70 Installation guide

HOMCOM
HOMCOM 821-022V70 User manual

HOMCOM
HOMCOM 821-028V70 User manual

HOMCOM
HOMCOM 821-010V70 User manual

HOMCOM
HOMCOM 821-012 User manual

HOMCOM
HOMCOM 821-017V70 Installation guide

HOMCOM
HOMCOM 821-030V70 User manual

HOMCOM
HOMCOM 821-017V90 User manual

HOMCOM
HOMCOM 821-020V80 Installation guide

HOMCOM
HOMCOM 821-031V90 User manual
Popular Dehumidifier manuals by other brands

Condair
Condair DP 270 Installation and operation manual

Desert Aire
Desert Aire Aura QS Installation and operation manual

Sonnenkonig
Sonnenkonig SECCO 3000 instruction manual

Sandstrom
Sandstrom SDH12L13E instruction manual

Dometic
Dometic H30 Installation and operating manual

ATIKA
ATIKA ALE 500 Original instructions