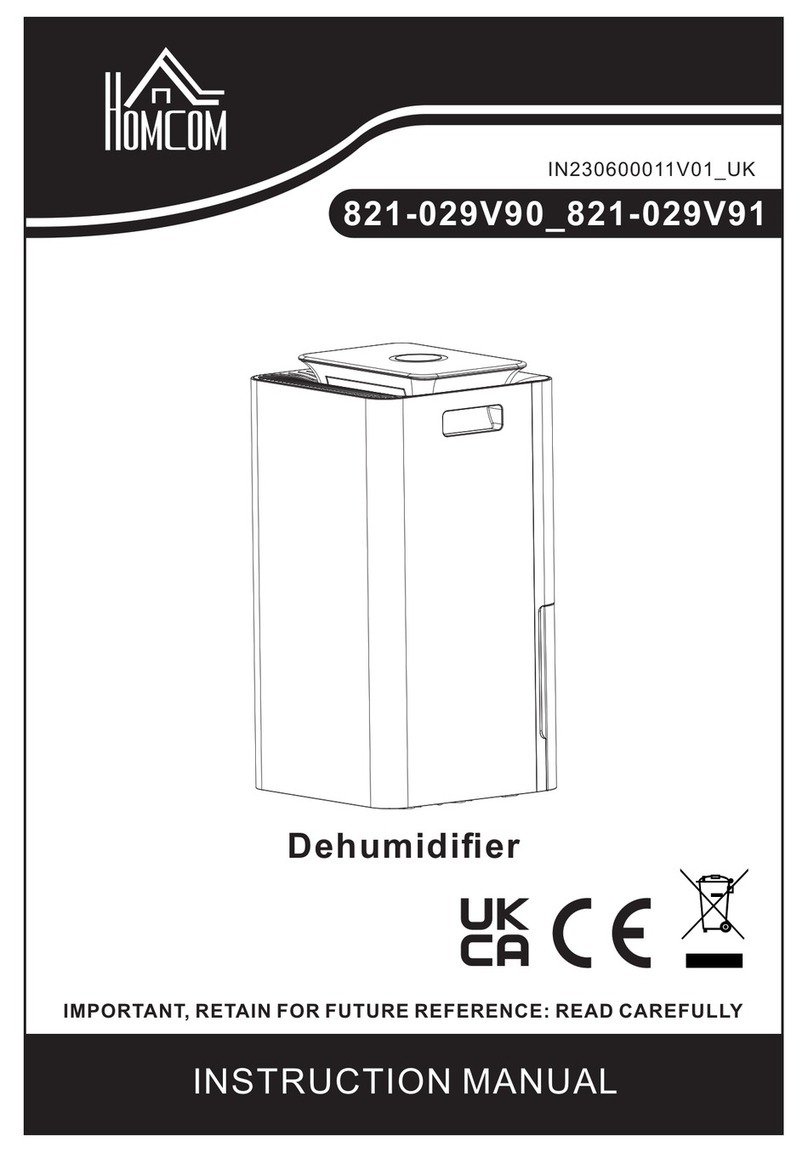
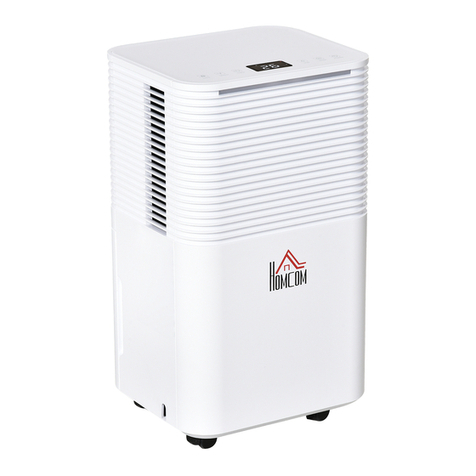
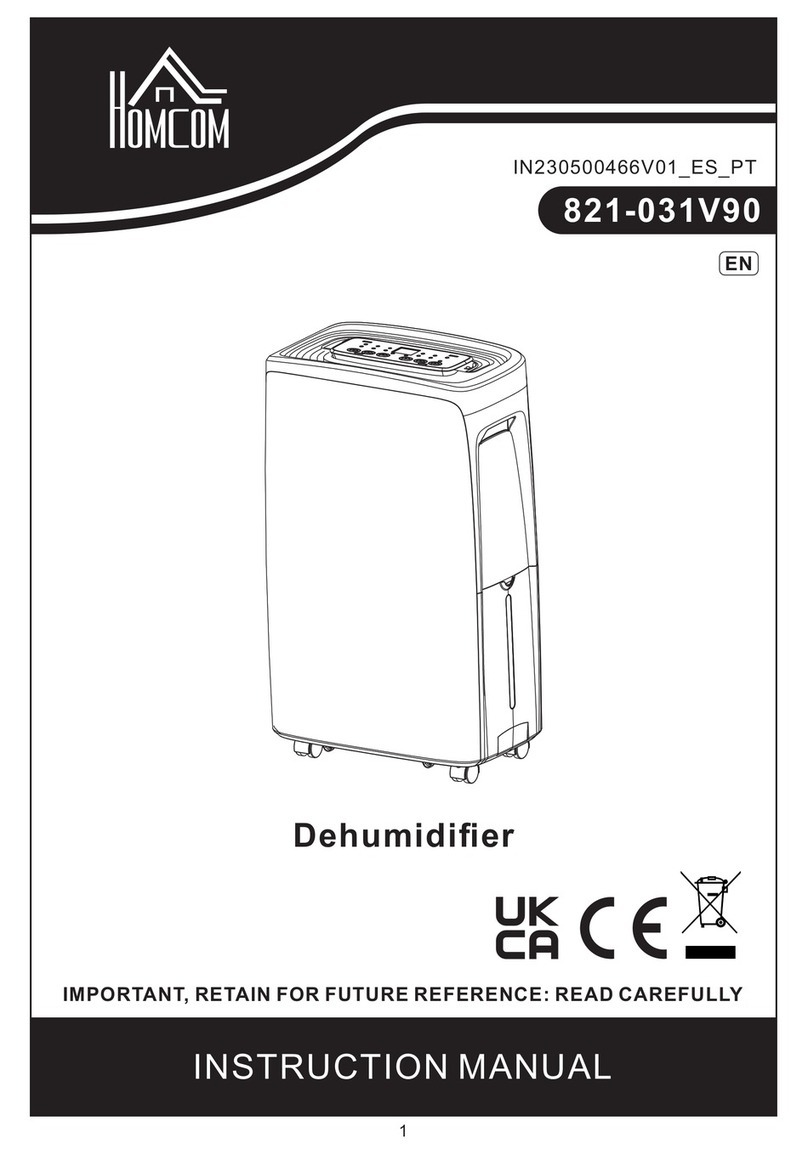
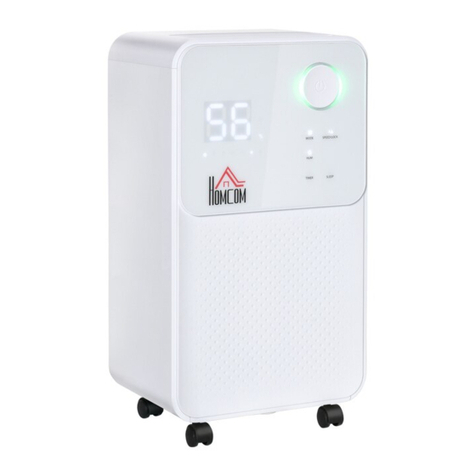
HOMCOM 821-023V70 User manual

1
INcqk003_UK
821-023V70
DEHUMIDIFIER
IMPORTANT, RETAIN FOR FUTURE REFERENCE: READ CAREFULLY
ASSEMBLY INSTRUCTION

2
Read this manual carefully before using
this dehumidifier. Keep for future
reference.
3
6
7
8
9
11
12
13
14
16
17
Precautions
Wheel Installation
Operation and efficiency
Part Names and Functions
Operation panel
Preparations and inspection while beginning the operation
Maintenance
Continuous drainage
Malfunction disposals
Performance parameters
Wi-Fi connection guide
CONTENTS

3
Precautions
SAFETY INSTRUCTIONS
READ AND SAVE THESE INSTRUCTIONS.
When using electrical appliances, basic safety precautions should
always be followed to reduce the risk of fire, electric shock and injury
to persons, including the following:
! WARNING: To avoid the risk of electrical shock, fire or injury to
persons, always make sure the appliance is unplugged before
moving, servicing or cleaning.
- Use this appliance only as described in this manual. Any other use, which is
not recommended by the manufacturer, may cause a fire, electric shock or
injury to persons.
- This appliance is not to be used by persons (including children) with
reduced physical, sensory or mental capabilities, or lack of experience and
knowledge, unless they have been given supervision or instruction.
- Never place anything on top of the appliance.
- Children must be supervised, ensuring they do not play with the appliance.
- Do not cover the appliance when in use.
- Do not immerse the appliance in water.
- Dispose of any water collected from the appliance. This water is not
drinkable.
- There must be at least 50cm of space from all sides of the appliance.
- Small children and pets should be kept away unless continuously
supervised.
- When in use, do not leave children unattended in the same area.
- Children should not clean or maintain this appliance.
- Place the appliance on a flat, stable and dry surface – keep it in an upright
position. Operating the appliance in any other position is a hazard risk.
- Do not place this appliance against the wall or other appliances.
- When in use, do not cover the appliance or restrict the air flow of the inlet or
exhaust grills.
- Never use this appliance with wet hands.
- Do not use this appliance near water or in the immediate surroundings of a
bath, shower or swimming pool.
- Do not let water or other liquids get inside the appliance – this is a fire and
electrical hazard.
- Do not use mechanical devices to accelerate the defrosting process.

4
- If the temperature falls below 1°C, do not place the hose outside.
- Do not use this appliance without the air filter.
- This appliance is for indoor household use. Do not use outdoors.
- When in use, never leave this appliance unattended. Always turn the
appliance off and unplug after use.
- Avoid placing the power cord in congested areas, where it could be
tripped over. Do not place the cord under carpeting or cover it with rugs,
furniture or anything similar.
- To avoid a circuit overload, do not operate another high-wattage
appliance on the same electrical circuit as this dehumidifier.
- Always plug directly into a wall socket. Avoid using extension leads if
possible – they could overheat and cause a fire.
- Do not use this appliance with an external programmer, timer switch or
any other device, which would switch the appliance on automatically,
unless it has already been prebuilt into the appliance by the
manufacturer.
- Do not pull on the power cord. Never move, carry or hang the appliance
by its cord.
- Do not kink or wrap the power cord around the appliance to avoid
damage.
- This appliance is only to be used with the power adapter provided. Do
not use other chargers or adapters – this could damage the product and
battery.
- Do not operate the appliance without the water tank.
- Ensure the mains cable is fully extended before use – arrange it,
ensuring it is not touching any part of the appliance.
- Do not operate the appliance with the safety guards removed.
- Do not attempt to repair or adjust any electrical or mechanical element in
the appliance. This is unsafe and will void your warranty.
- Ensure the mains supply (including voltage, frequency and power)
complies with the rating label on the appliance.
- Do not use the appliance near petrol, paint, flammable gases, ovens or
other heating sources.
- Never put fingers or metal objects into the vents and openings of the
appliance.
- If there are signs of damage to the appliance, power cord or any
supplied accessory, do not operate. If the power cord is damaged, it
must be replaced by the manufacturer, its service agent or a similarly
qualified person to avoid a hazard.
5
● This appliance must be installed,
used and stored in an area greater
than 4m².
● This appliance contains 35g of
R290 gas.
● R290 is a refrigerant gas the
complies with the European laws
on the environment. Do not
puncture any part of the refrigerant
circuit.
● R290 gas is odourless – it does not
have the smell normally
associated with natural gas or
propane tanks.
● Keep this appliance away from
open flames, gas, sources of
ignition and other electrical
appliances in operation.
● Do not puncture or burn this
appliance.
● If the appliance is stored in a non-
ventilated area, the room must
prevent the accumulation of
refrigerant leaks, which could
result in a fire or explosion.
INFORMATION ON R290 REFRIGERANT GAS
● The appliance must be stored in
such way to prevent mechanical
failure.
● Individuals who operate or work on
the refrigerant circuit, must have
the appropriate certification issued
by an accredited organisation that
ensures competence in handling
refrigerants.
● Maintenance and repairs must be
performed by an individual
specified in the use of flammable
refrigerants.
CAUTION
RISK OF FIRE
RECYCLING & DISPOSAL
The packaging of your new product has a recycle mark on it.
Please dispose of it as recycled paper. Waste electrical products
should not be disposed of with general household waste. This is
to prevent the possible harm to the environment and human well-
being. Contact your local council or government for information
regarding the collection schemes in your area.

6
1.Take the machine out of the box
2.Open the tank and remove the wheels from the tank
wheel
3.Tilt the machine and quickly put the wheels on without power
wheel
wheel
4. After the wheels are installed, put the machine upright and stand still
for more than 2 hours before turning it on for use
Wheel Installation

7
Defrosting operation
When frost builds up on the evaporator coils, the 'defrost indicator' will illuminate
and the automatic defrost function will start. The compressor will switch off and
the fan will continue to run until the frost is removed. When the unit is running in a
room temperature between 5-12°C, it will stop to defrost about every eight
minutes. When the unit is running in room temperature between 12-18°C, it will
stop to defrost about every 25 minutes. When the unit is running in a room
temperature between 18-24°C, it will stop to defrost about every 120 minutes.
● When defrosting, the humidification function may stop.
●Do not turn off the switch or unplug when defrosting.
Wait three minutes before resuming operation. After the compressor has
stopped, it cannot restart until three minutes has passed.
Humidity indicator light
During operation, the humidity indicator light shows the current humidity
level.
The room temperature increases during operation.
This humidifier does not have a cooling function. It produces heat during use and
increases the room temperature by 1-4 °C. This temperature rise may be very distinct
in a cabinet or other similar places. Closed doors and windows, other nearby
appliances and direct sunlight can also raise the room temperature.
The illustration below shows the daily dehumidifying capacity of this appliance. This
capacity is based on a 30°C room temperature, 80% of relative humidity and where
the air outlet is fully open. At different temperatures and humidity, the humidifying
capacities may differ.
In the same room temperature, when the relative humidity is low, the capacity will be
low – when the relative humidity is high, the capacity will be high. In the same relative
humidity, when the temperature is low, the capacity will be low – when the
temperature is high, the capacity will be high.
If the dehumidifier is placed in the cabinet, the capacity may reduce shortly after
operating.
Operation and efficiency
<50%

8
The dehumidifier may get
interferences from household
appliances, such as the television or
radio. Ensure the dehumidifier is at
least 70cm away from such
appliances.
Installation
The following space must be
maintained, ensuring the product
operates efficiently.
Part names and functions

9
Operation panel
Power

10
1. Power button:
This button turns the machine on and off.
2. Mode
This lets you choose either ordinary dehumidification, continuous
dehumidification, strong dehumidification or dryer.
3. Settings
Humidity can be set between 30-80% (5% adjustment factor). The
humidity setting only works under ordinary dehumidification.
4.Timer
Set a timer between 1-24 hours. During use, a timer can be set to shut
down the appliance. When on standby, a timer can be set to start the
appliance.
5. Air circulation
Press to activate or deactivate the air circulation. When air circulation is
on, the dehumidification is off.
6. Child lock:
Enter by holding the button for three seconds – all other buttons will be
invalid. To exit child lock, hold the button again for three seconds.
7. Fan speed:
For the fan speed to operate, the appliance needs to be on air circulation
and ordinary dehumidification. Switch between high and low speed.
8. Sleep:
Press to enter sleep mode. Press any button to exit sleep mode.
9. Wi-Fi
Download “Tuya Smart” or “Smart Life” app to your mobile
device. When on standby, hold the mode button for five
seconds, so the Wi-Fi indicator blinks – add the appliance to
'Your Devices' in the Tuya app.
0peration manual

11
Preparations and inspection while beginning the operation
Ensure the tank is installed in position.
If the tank is full or not installed properly, the dehumidifier will not work.
1. Moving the water tank
Hold the sides and pull out.
2. Emptying the water tank
- Pull out the tank from the dehumidifier.
- Slowly empty out the tank.
- Install the tank back into the dehumidifier.
After using the dehumidifier, the
tank may hold water. When the
tank is full, the dehumidifier will
stop working – the indicator will
illuminate.
Note

12
!
!
Maintenance
Pull off plug
Prohibit wet hand
Warning
Do not plug in with wet hands to avoid an electric shock.
Notice
Unplug the unit before cleaning and maintenance.
Do not dismantle the floater from the tank.
If the appliance is not in use for long periods:
1. Empty the tank and wipe it, then reinstall it.
2. Clean the filter.
3. Store the appliance upright – keep out of direct sunlight.
Requirement
Always keep the appliance upright to avoid any damages.
Machine body
Wipe the appliance with a slightly damp cloth. Do not clean the control
unit with a damp cloth.
Do not clean the machine with gasoline, thinner or liquid detergent to
avoid damaging the unit.

13
Clean the filter net (maintain every two
weeks).
The dehumidifying may reduce if the filter net is
clogged.
The dust collector helps keep the appliance
clean.
Continuous drainage
Continuous drainage
If you are not at home but need the appliance on for a long period, you can
use the continuous drainage feature.
Pull the plug and insert the pipe.
Continuous Drain Hose (Annex gift)
Length: 100cm
lnner Diameter: 17mm
Outer Diameter: 19mm
!
!
Prohibit
Prohibit
Warning
Do not catch the power cord in the door to avoid damage.
Notice
Keep small children away from the dehumidifier.

14
Malfunction disposals
Malfunction Possible causes Solution
Please check each item first before applying for maintenance:
Appliance does not
work.
The power plug is not
properly inserted.
The water tank is full.
The water tank is not
properly placed.
Ensure the appliance
is properly plugged in.
Empty the tank.
Ensure the tank is
properly placed.
Small dehumidifying
capacity.
The filter is too dirty.
The air inlet and
outlet are blocked.
Clean the filter.
Remove whatever is
blocking the inlet or
outlet.
Loud noises occur. The unit is not
properly placed.
Ensure the unit is on
a smooth and stable
surface.
The unit stops during
the dehumidifying
process.
The room
temperature may be
too high or low.
The dehumidifier may
start automatically
when room
temperature returns
within the working
scope of the appliance.
Clothes do not dry
fast The room
temperature is very
low.
Clothes will dry slow
when room
temperature is low.

15
Make sure the phenomena below happen while the malfunctions
not included:
Problem Cause
The machine stops
during operation. It is defrosting.
Small humidifying
capacity.
The dehumidifying capacity drops with the
room temperature and humidity. See the
illustration above for reference.
The humidity within
the room does not
reduce.
The room is too large.
The doors and windows in the room are not
closed.
The machine is operated with a kerosene
heater.
An unpleasant smell
occurs.
The smell could come from the wall,
furniture and other objects.
Water is in the tank. Each machine goes through operation tests
before leaving the factory. Some water
might remain in the tank.
The 'FULL'
indicator light is on. It is a reminder that the tank is full and
needs emptying.

16
Performance parameters
Model: 821-023V70WT(FDD10-5036BWR5)
Power supply: AC220V-240V~50Hz
Dehumidifying capacity: 10L/day (30℃ 80%)
5L /day (27℃ 60%)
Rated input power: 200w
Rated input current: 1.25A
Water tank capacity: 2.2L
Application scope: 5-32℃
Refrigerant : R290
The parameters above may change with the improvement of the
machine unit without further notice. See the nameplate for details.

17
The guide for the APP may not be updated regularly due to software
version upgrade or other reasons.
This instruction is used as a guide only.):
1. Search “Tuya Smart” or “Smart Life” in App Store (for iOS) or Google
play (for Android), download the application “Tuya Smart” or “Smart
Life” to your phone.
2. Sign up or log in
3. Make sure your appliance is in standby. Long press the mode button
(about 5s) until a beep sound is heard. The WIFI indicator light will
rapidly blinking.
4. Press the “+” at right top or button “Add Device” on the home page of
Tuya to add your appliance. Find the category of “ Small Home
Appliance” - “Dehumidifier”. Press its icon and you will get the prompt
that asks you to use the 2.4GHz Wi-Fi network. Enter your Wi-Fi
password and connect to the Wi-Fi. Confirm the WIFI indicator light
rapidly blink, press “Next”, the application will scan and add the
appliance.
5. When the appliance is added successfully, the WIFI indicator light will
illuminate still.
6. Now, You can use the APP to operate the appliance.
Wi-Fi connection guide

18
Note:
● When the network environment for the appliance has been changed, it
requires to be reconfigured.
● You can switch on/off the WIFI function by long pressing the mode
button on the control panel when the appliance is in standby. When
the WIFI indicator light rapidly blinks, the appliance is waiting to be
paired. When the WIFI indicator light illuminates still, the Wi-Fi has
been connected. When the WIFI indicator light goes out, the WIFI has
been shut off.

19
INcqk003_ES
821-023V90
Deshumidificador
IMPORTANTE, LEA DETENIDAMENTE Y GUARDE PARA FUTURAS
REFERENCIAS.
INSTRUCCIONES DE MONTAJE

20
Lea atentamente este manual antes de
utilizar este deshumidificador.
Guárdelo para futuras consultas.
21
24
25
26
27
29
30
31
32
34
35
Precauciones
Instalación de las Ruedas
Funcionamiento y Eficiencia
Nombres y Funciones de las Piezas
Panel de operación
Preparaciones e Inspecciones al Comenzar la Operación
Mantenimiento
Drenaje continuo
Disposiciones de Mal Funcionamiento
Parámetros de Rendimiento
Guía de conexión Wi-Fi
CONTENIDOS
This manual suits for next models
1
Table of contents
Languages:
Other HOMCOM Dehumidifier manuals

HOMCOM
HOMCOM 821-020V80 Installation guide

HOMCOM
HOMCOM 821-010V70 User manual

HOMCOM
HOMCOM 821-017V70 Installation guide

HOMCOM
HOMCOM 821-025V70 User manual

HOMCOM
HOMCOM 821-012 User manual

HOMCOM
HOMCOM 821-028V70 User manual

HOMCOM
HOMCOM 821-031V90 User manual

HOMCOM
HOMCOM 821-018V70 Installation guide

HOMCOM
HOMCOM 821-017V90 User manual

HOMCOM
HOMCOM 821-022V70 User manual