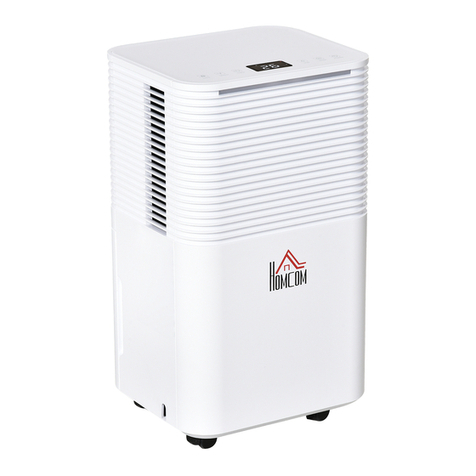
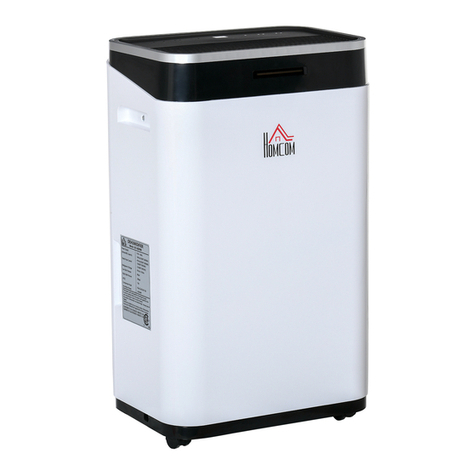
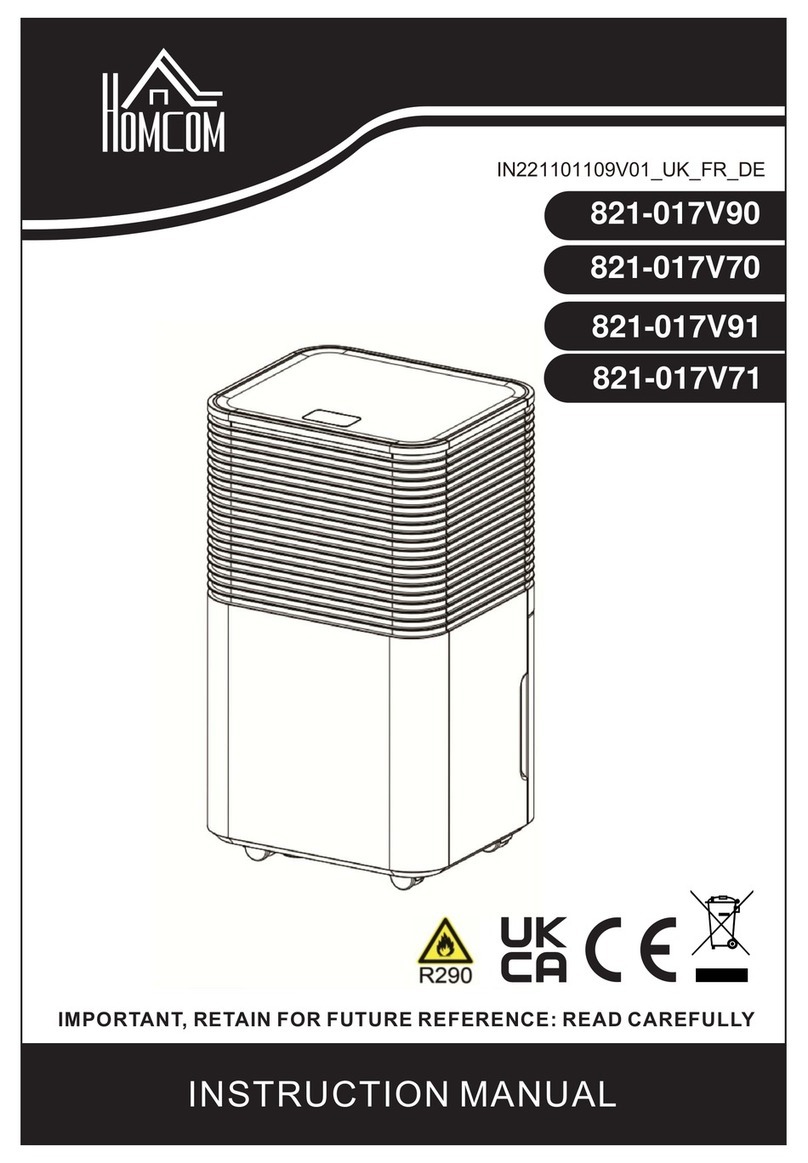
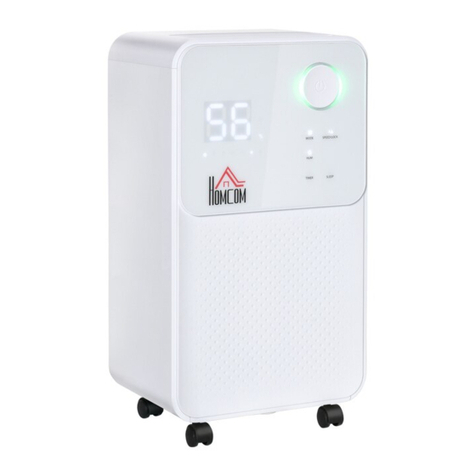
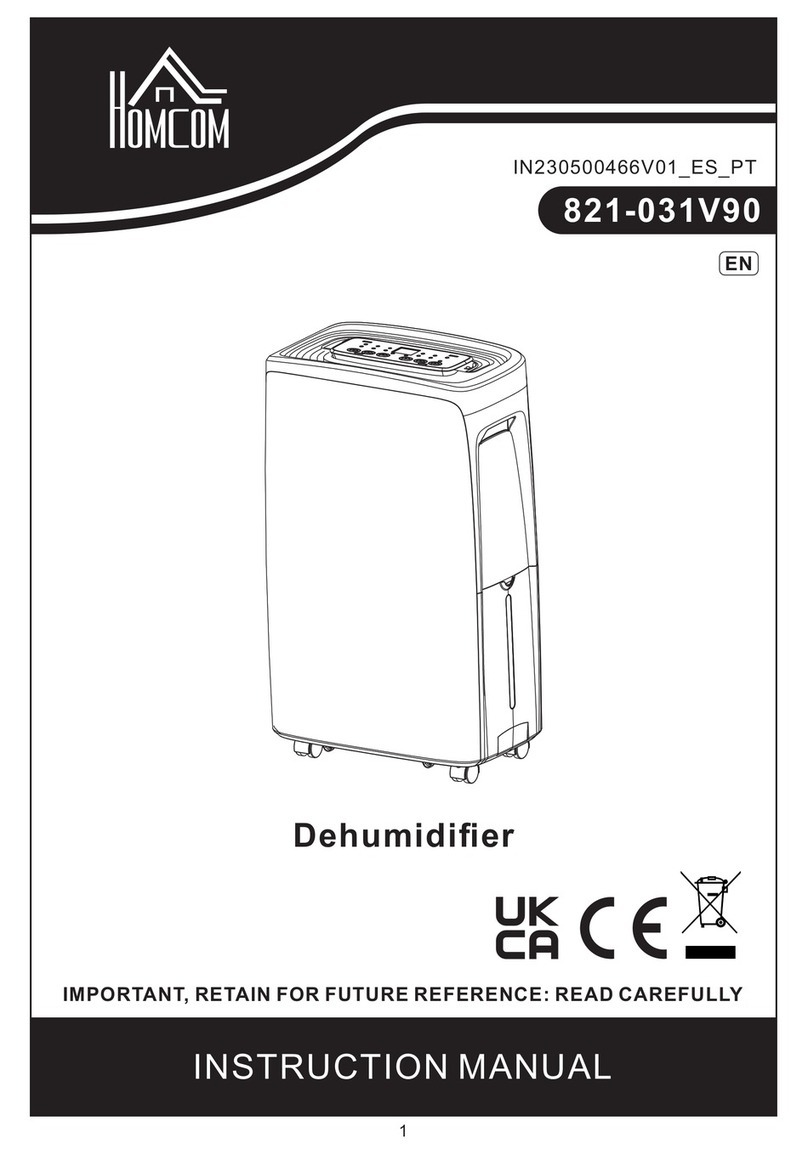
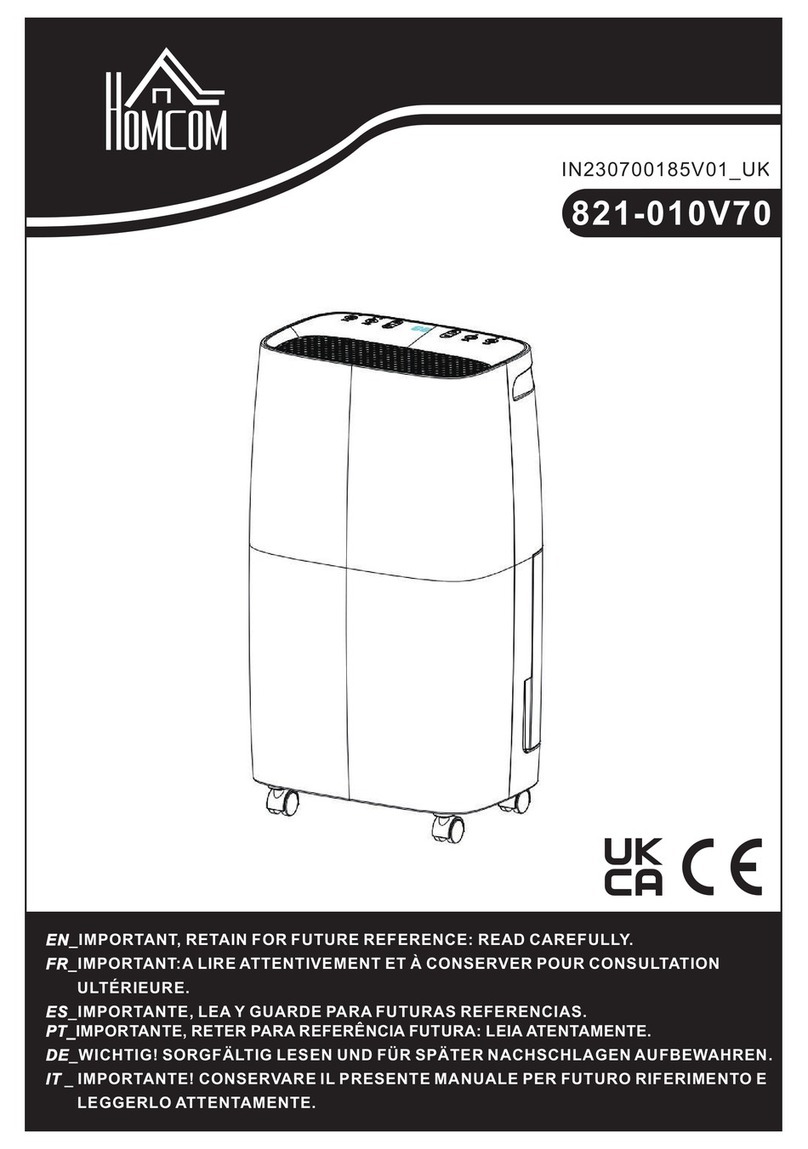
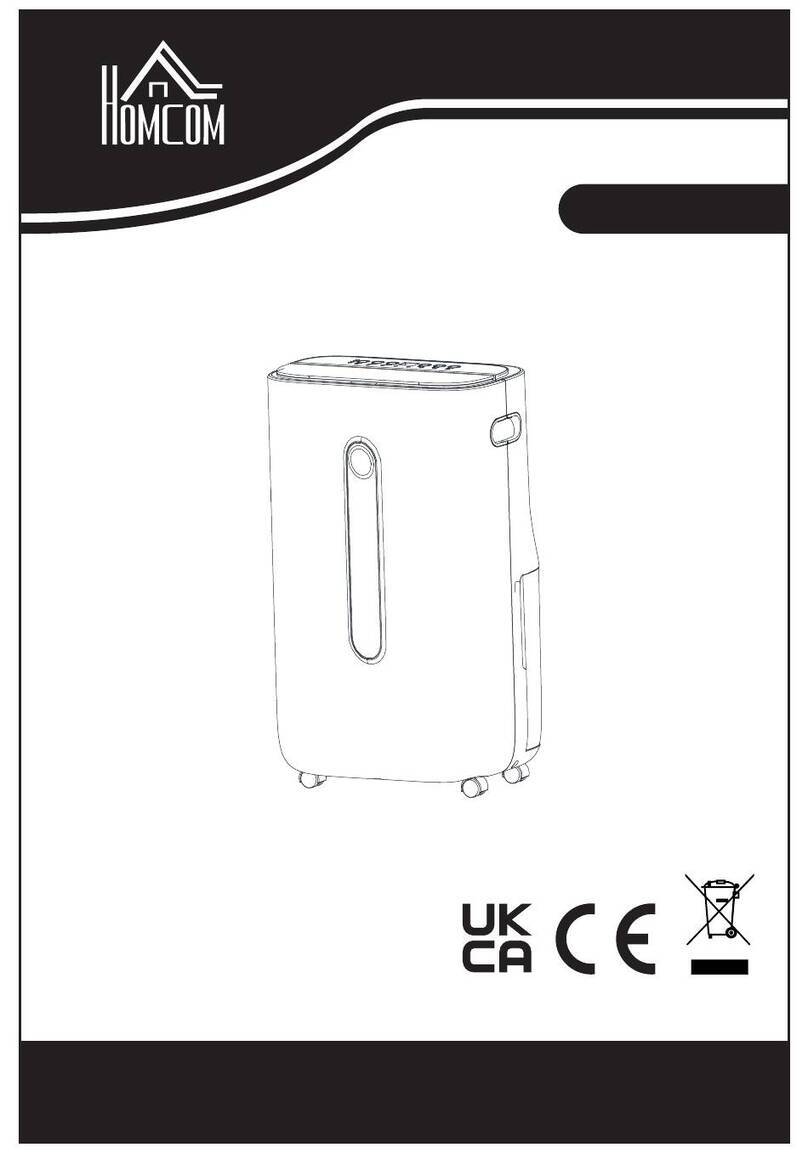
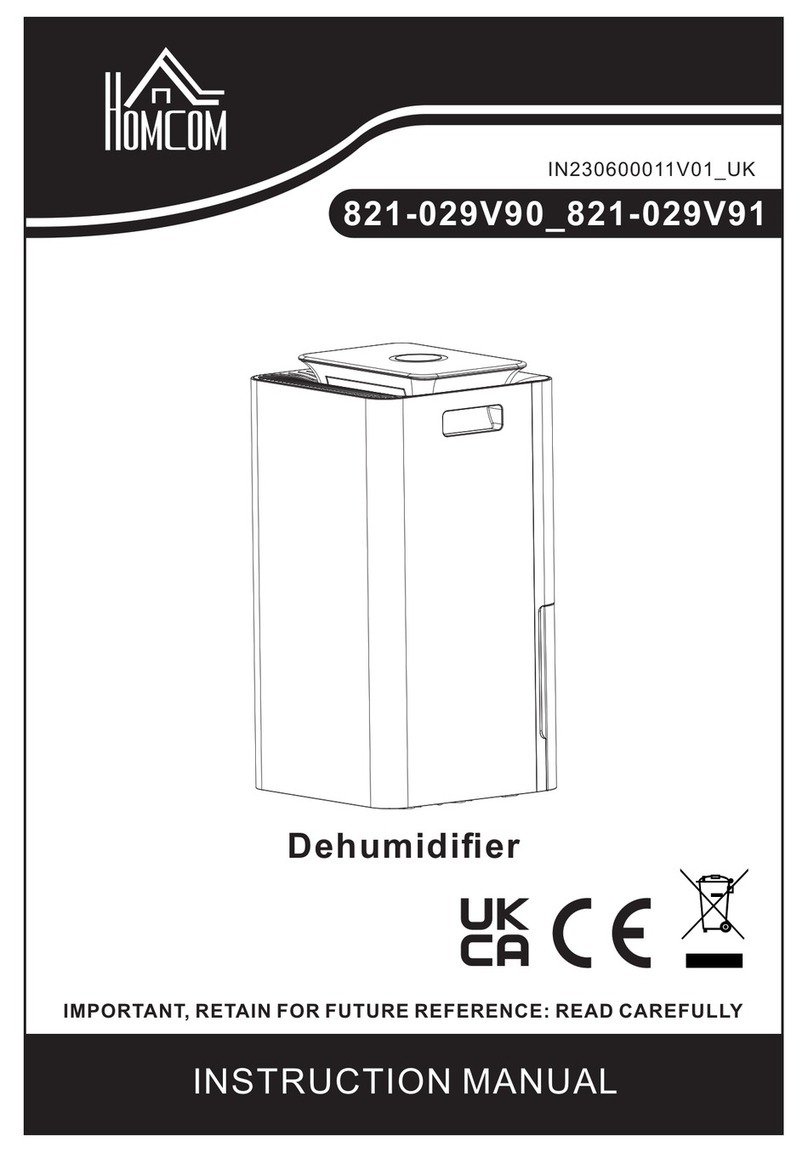
HOMCOM 821-012 User manual

USER MANUAL
821-012
READ AND SAVE THIS INSTRUCTION FOR FUTURE USE
INSTRUCTIONS FOR DEHUMIDIFIER 20 L
Manufactured to a high standard, this product will, if used according to these
instructions, and properly maintained, give you years of trouble free performance.
lMPORTANT: PLEASE READ THESE INSTRUCTIONS CAREFULLY. NOTE THE
SAFE OPERATIONAL REQUIREMENTS & WARNINGS & CAUTIONS. USE THE
PRODUCT CORRECTLY AND WITH CARE FOR THE PURPOSE FOR WHICH IT IS
INTENDED. FAILURE TO Do SO MAY CAUSE DAMAGE AND /OR PERSONAL
INJURY AND WILL INVALIDATE THE WARRANTY.
Pictures inside are for reference only, details shall be in accordance with final
product.
1
INcjd042_UK

1. SAFETY
1.1 ELECTRICAL SAFETY
WARNING! It is the user
’
s responsibility to check the following:
Check all electrical equipment and appliances to ensure that they are safe before using. Inspect
pow er supply leads, plugs and all electrical connections for wea
r
and damage.
If the dehumidifier is used on business premises, it must be maintained in a safe condition and
routinely PAT (Portable Appliance Test) tested.
Electrical safety information - it is important that the following information is read and understood.
1.1.1 Ensure the insulation on all cables and on the appliance is safe before connecting it to the
power supply.
1.1.2 Regula rly inspect the powe
r
supply cables and plugs fo
r
wea
r
o
r
damage and check
all connections to ensure they are secure.
1.1.3 Important: Ensure the voltage rating on the appliance suits the power supply to be used.
DO NOT pull or carry the appliance by the power cable.
DO NOT pull the plug from the socket by the cable.
DO NOT use worn or damaged cables, plugs or connectors. Ensure that any faulty item is
repaired or replaced immediately by a qualified electrician.
1.1.4 This product is fitted with a VDE 2-pin plug.
If the cable or plug is damaged during use, switch the electricity supply and remove
from use.
Ensure any repairs are carried out by a qualified electrician,
1.2 GENERAL SAFETY
Check that the dehumidifie
r
is in sound condition and good working orde
r.
Take
immediate action to repair or replace damaged parts.
2

Use recommended parts only. Unauthorised parts may be dangerous and will invalidate
the warranty.
DO NOT stand or place any object within 10cm from the front of the unit, 40cm from
the rear and sides of the unit, and 40cm above the unit.
DO NOT obstruct the air intakes or outlets of the dehumidifier. and do not cover with
washed clothes.
DO NOT get wet.
DO NOT place any object into the outlets-the unit has a fan running at high speed,
contact with this will cause injury.
DO NOT operate the dehumidifier when you are tired, intoxicated or under the influence
of alcohol and drugs or medication.
DO NOT switch the dehumidifier off by disconnecting it from the mains. ALWAYS
switch the unit “OFF
”
first.
DO NOT remove the float lever from the water collection tank.
DO NOT connect or disconnect the plug from the mains with wet hands.
DO NOT use an extension lead, and always unplug before moving.
DO NOT use the dehumidifier at temperatures below 0oC, to prevent the water from
freezing.
Place on a flat level ground which can hold the weight of the dehumidifier with a full water
tank. Always discard the water from the collection tank. DO NOT use it for any other
purposes.
DO NOT use the dehumidifie
『
outside.
When using on the continuous draining mode, ensure the drain hose is
positioned correctly.
Ensure that heating appliances are not exposed to the flow of air from the
dehumidifier.
3

Before attempting to move the dehumidifier, empty the contents of the collection tank.
Switch off and disconnect it from the mains before cleaning or other maintenance
work.
Ensure the dehumidifier is correctly turned off when not in use, and stored in a safe,
dry area, out of reach of children.
The appliance is not intended for use by persons (including children) with reduced
physical, sensory or
mental capabilities or lack of experience and knowledge, unless
they have been given supervision or instruction concerning the use of the appliance by a
person responsible for their safety. Children should be supervised to ensure that they do
not play with the appliance. This appliance can be used by children aged from 8 years
and above and persons with reduced physical, sensory or mental capabilities or lack of
experience and knowledge if they have been given supervision or instruction concerning
use of the appliance in a safe way and understand the hazards involved. Children should
not be allowed to play with the appliance. Cleaning and user maintenance should not
be carried out by children without supervision.
2. INTRODUCTION
Compact, efficient and portable unit that extracts 20L of water per day. Removes excess moisture from
the air to prevent build up of mildew and mold. Control panel allows user to select the mode, set the
desired humidity level and a 1 to 24 hour timer. Float switch and light warning notifies the user
when the tank is full. Refrigerant is environmentally friendly R290. Supplied with 320
mm drain hose for continuous operation along with four swivel wheels allowing the unit to be easily
maneuvered.
4

3. SPECIFICATION
Model no.: ..............................................821-012
Power :…...............................................360W
Supply: ...................................................220-240V
Dehumidifying capacity: ........................ 20L/day
Working space: ......................................80mtr
Maximum airflow: ...………………………200mtr3/hr
Refrigerant: ............................................R290A
Condensate tank: ..………………………8L(with auto shut-off)
Working temperature range: ..................5-35℃
Weight: ...................................................15.5kgs
4. OPERATION
4.1 SITING REQUIREMENTS
4.1.1 Make sure there is at least 400mm of space behind and above the dehumidifie
『
for operation.
4.1.2 Place on a flat, solid surface capable of withstanding the weight of the dehumidifier with a full tank.
4.1.3 Close all doors and windows when the dehumidifier is working. Damp air from outdoors will
incease the workload of the dehumidifier
4.1.4 DO NOT use the dehumidifier in a room where the temperature is lower than the machine's
minimum operation temperature of 5oC, and a maximum temperature not exceeding 35oC, this will
cause the unit to stop working,
5

LED Display
Air deflecto
r
-
一
• -
Front cover
4.2 STARTING AND STOPPING
4.2.1 Check the water tank is empty and in place
4.2.2 Each time the mains supply is switched off or there is an interruption to the power supply,
the controls will go back to their original setting.
4.2.3. Check operational temperature is between 5oC and 35oC.
4.2.4 Check humidity to be adjusted is within range: 30% RH-80% RH
4.2.5 When the LED screen indicates “CO” this means continuous dehumidification.
4.2.6 When the set humidity is reached, the compressor will stop working, and the fan will stop
for some time.
�-
Aot l
① ⑤
6

4.2.7 Plug the unit into the mains supply. Press the ON/OFF button to turn the dehumidifier on
(the power light is lit).
4.2.8 Press the “Mode” button, to choose the operation mode, sequentially: automatic, dry clothes,
or continuous dehumidifying, defrosting, tank full (pre-set is automatic dehumidifying)
4.2.9 Press the humidity adjustment key to set the humidity (humidity adjustment is only effective
in continuous mode), and the setting range is 25%-95%(5% pitch coefficient)-CO (forced
operation). The above setting cycle is adjustable. When setting the range, the digital tube
flashes for 5 seconds.
4.3.10 Before pressing the power button, the machine can be set on a timer between 1-24 hours.
Ensure the unit has power, but do not press the power button. Press the timer key to set the
desired time for the machine to start, and the number displayed in the digital tube is the
number of hours before the unit will switch on. The timer can be set in a cycle from 1-24 hours.
4.3.11 After use, press the ON/OFF button and turn off the dehumidifier. Note: the dehumidifier
will remember the humidity and air speed settings.
4.3.12 When starting again, it will enter int o previous sett ing st ate automatically. (If t he
plug is pulled out, and then plugged in again, it will restore the initial default setting.
4.4 WATER TANK
4.4.1
If the tank is full the dehumidifier will stop automatically, the Tankful indicator will light up.
Disconnect the dehumidifier from the mains supply, empty the water tank, remove it gently
and hold with both hands, and replace it properly. If it is not in its proper place, the LED will
illuminate and the dehumidifier will not work.
4.4.2 After replacing the water tank wait five minutes ( to preserve the compressor’s working life)
and restart using the mode selection.
7

4.5 MODE SELECTION
4.5.1 Press the ON/OFF button to turn on then press Mode button. Scroll through:
Automatic: Adjusts the fan speed automatically, in order to reach the
most body’s most suitable (55%)relative humidity. When the environmental humidity is 70% or
higher , the dehumidifier will operate automatically. When the environmental humidity is 55%-70%,
the automatic dehumidifying will work. When the environmental humidity is less than 55%,
compressor will stop working. Note: the humidity can not be adjusted in automatic mode.
Continuous: Sets the dehumidifier to slowly reach the required humidity setting. It is suitable to
use overnight as it gives quiet running and the indoor humidity will not be too high.
Dry clothes: Humidity cannot be set. Especially for a high humidity environment, sets the
dehumidifying with no interruptions. Suitable for clothes drying or person who needs low humidity
space.
Defrosting: If the temperature is below 0℃, the condenser is iced, press ON/OFF, it will defrost
automatically. Tankfull: Please empty the tank.
4.6 HUMIDITY SELECTION
4.6.1 Humidity can only be adjusted in Automatic mode.
4.6.2 Press the up and down keys to select humidity between 30%-80%. Note: the default
humidity preset is 55%.
4.6.3 If the indoor humidity is higher than the setting humidity, the compressor will start.
4.6.4 If the indoor humidity is lower than the setting humidity, the compressor will shut down.
4.6.5 After the 5 seconds, if the humidity display is no longer flashing, the setting has been
'successful'.
4.6.6 Continuous dehumidifying: In Continuous mode, continuous dehumidifying can be
selected. Press the LED Screen’s up and down keys on the left and right sides, select
the CO (continuous), meaning that the dehumidifier will operate continuously.
8

4.7 DIGITAL DISPLAY SCREEN
4.7.1 The screen will display the relative humidity and time ( depending on the setting).
4.7.2 When the dehumidifier is operating at the required humidity mode, the screen
will display the environmental humidity.
4.7.3 After selecting the timing, the screen will display the running time which the
dehumidifier is setting, 1-24 hours.
4.8 TIMING SETTING
4.8.1 Press the “timing” key, and the LED screen’s up and down keys.
4.8.2 Select the operation time setting 1-24 hours, After 5 seconds, the timing indicator
light will light up continuously (no longer flashing), indicating the setting has been
successful.
Note: in each mode the time can be set. When the set time has elapsed, the compressor will shut
down, the fan will stop running, the dehumidifier will enter into the standby mode.
4.9 DRAIN HOSE CONNECTION (WATER OUTLET)
4.9.1 With the drain hose connected water drainage from the dehumidifier is
continuous.
4.9.2 Remove water plug in the back cover and insert the water pipe into the water outlet.
4.9.3 Place the other end into the floor drain.
4.9.4 If the water hose is not being used, remove the water pipe and replace the water
outlet plug.
4.9.5 Whether the water outlet hose is used or not the water tank must be in position
otherwise the dehumidifier will not operate.
4.10 NORMAL OPERATIONAL SOUNDS
4.10.1 When the dehumidifier is operating normally the following sounds will be
heard. Compressor:- this sound may be loud, this is normal. When the dehumidifier
or the compressor stops, starts or turns off automatically, you will hear a clicking sound.
Air flowing sound.
9

4.11 AIR FILTER NET
4.11.1 The filte
「
net needs to be cleaned every two weeks for effective operation of the
dehumidifier.
4.11.2 Remove the plug from the mains supply.
4.11.3 Place finger into each of the recesses on the top edge of the filter and push down to
allow the filter to be removed.
4.11.4
Remove the net and wash in warm soapy water (below 40 ℃). DO NOT
place in a dishwasher dry in direct sunlight.
4.11.5 Once dry, place the filter back into the unit, ensuring it “clicks” back into place.
5. MAINTENANCE
5.1 Use a damp cloth to clean the outside DO NOT splash wate
r
onto the dehumidifier.
5.2 Clean the inside of the water tank with an antibacterial cleaner every few weeks to
avoid the build up of bacteria. The tank has a floating ball water level warning light and must
be placed in the right position. The dehumidifier will not work until the light turns off.
6. TROUBLESHOOTING
Dehumidifie
『
does not work:
- Is dehumidifier plugged in?
- Check the water tank is in the correct position.
- Check the water tank is not full (empty if required) and that float ball is in correct position.
The pipe is frozen:
-The dehumidifier has a defrosting function. The fan keeps working after the compressor
stops working. This will solve the problem of a frozen pipe. When the defrosting device
reaches room temperature, the dehumidifier will resume operation.
The dehumidifier runs as soon as it is switched on:
-Check if the dehumidifier is defrosting. After defrosting the dehumidifier will restart
automatically after defrosting
10

Dehumidifying capacity is too weak:
-Check the filter net is not blocked – remove and clean as per instructions if blocked
-Dehumidifying capacity will be weaker if the temperature and humidity levels are too low
-Check if air inlet is blocked- clean
Expected humidity takes long to be reached:
-Check whether doors and windows are open
-Check if anything is producing vapour
-Check whether the volume of the room is too large
Dehumidifier is noisy:
Check if surface it is placed on the smooth
Power light is on:
-Humidity sensor and/or temperature sensor broken or loose -please contact us.
11

12
Table of contents
Other HOMCOM Dehumidifier manuals

HOMCOM
HOMCOM 821-031V90 User manual

HOMCOM
HOMCOM 821-018V70 Installation guide

HOMCOM
HOMCOM 821-010V70 User manual

HOMCOM
HOMCOM 821-020V80 Installation guide

HOMCOM
HOMCOM 821-029V90 User manual

HOMCOM
HOMCOM 821-030V70 User manual

HOMCOM
HOMCOM 821-017V90 User manual

HOMCOM
HOMCOM 821-017V70 Installation guide

HOMCOM
HOMCOM 821-028V70 User manual

HOMCOM
HOMCOM 821-022V70 User manual
Popular Dehumidifier manuals by other brands

Condair
Condair DP 270 Installation and operation manual

Desert Aire
Desert Aire Aura QS Installation and operation manual

Sonnenkonig
Sonnenkonig SECCO 3000 instruction manual

Sandstrom
Sandstrom SDH12L13E instruction manual

Dometic
Dometic H30 Installation and operating manual

ATIKA
ATIKA ALE 500 Original instructions