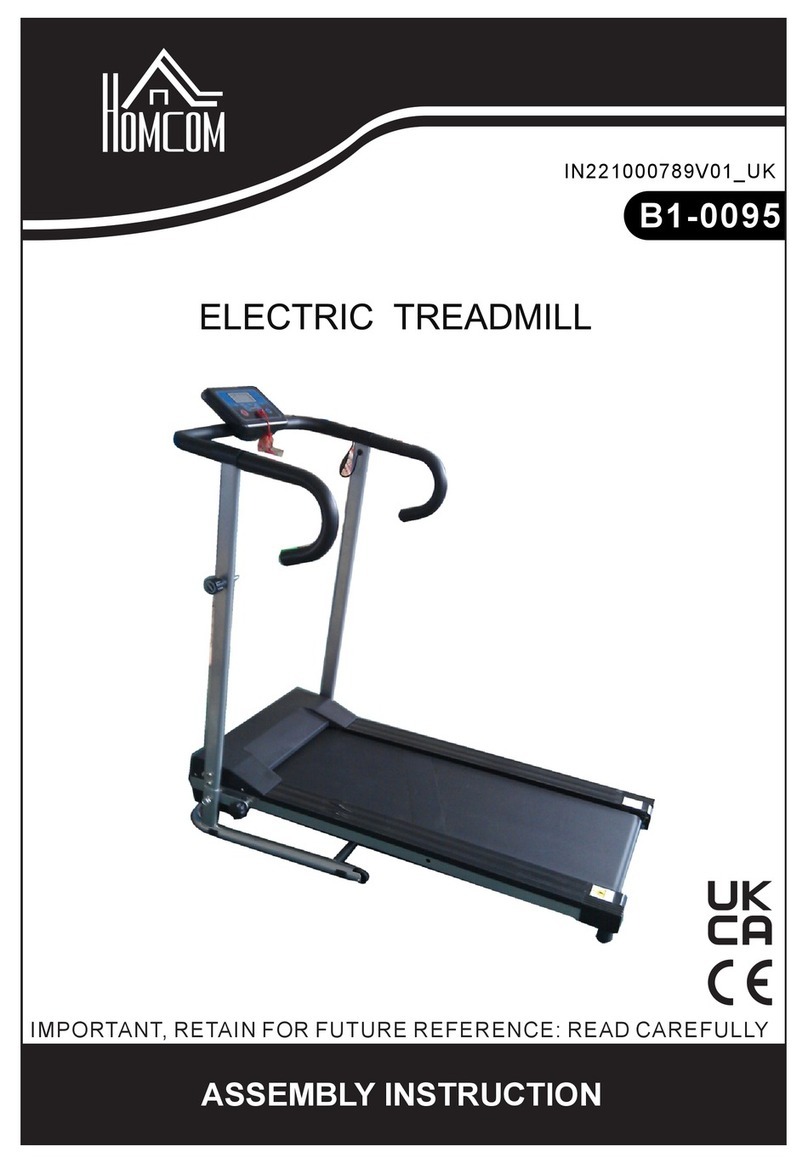
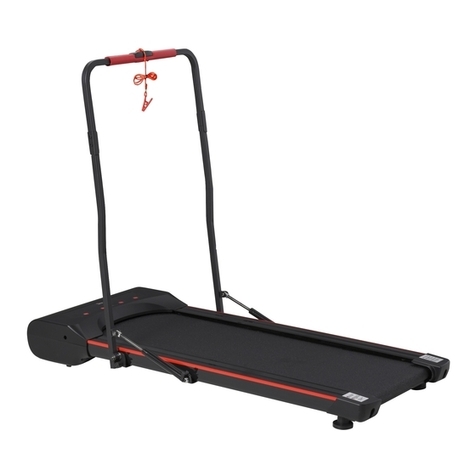
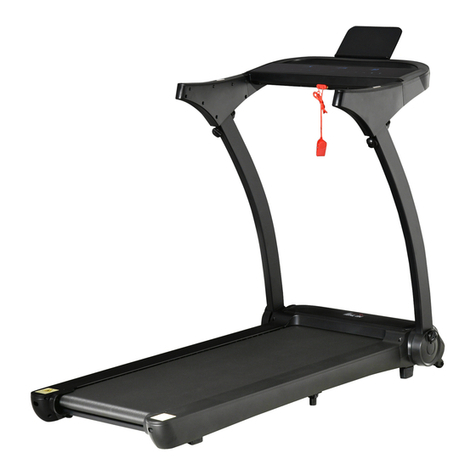
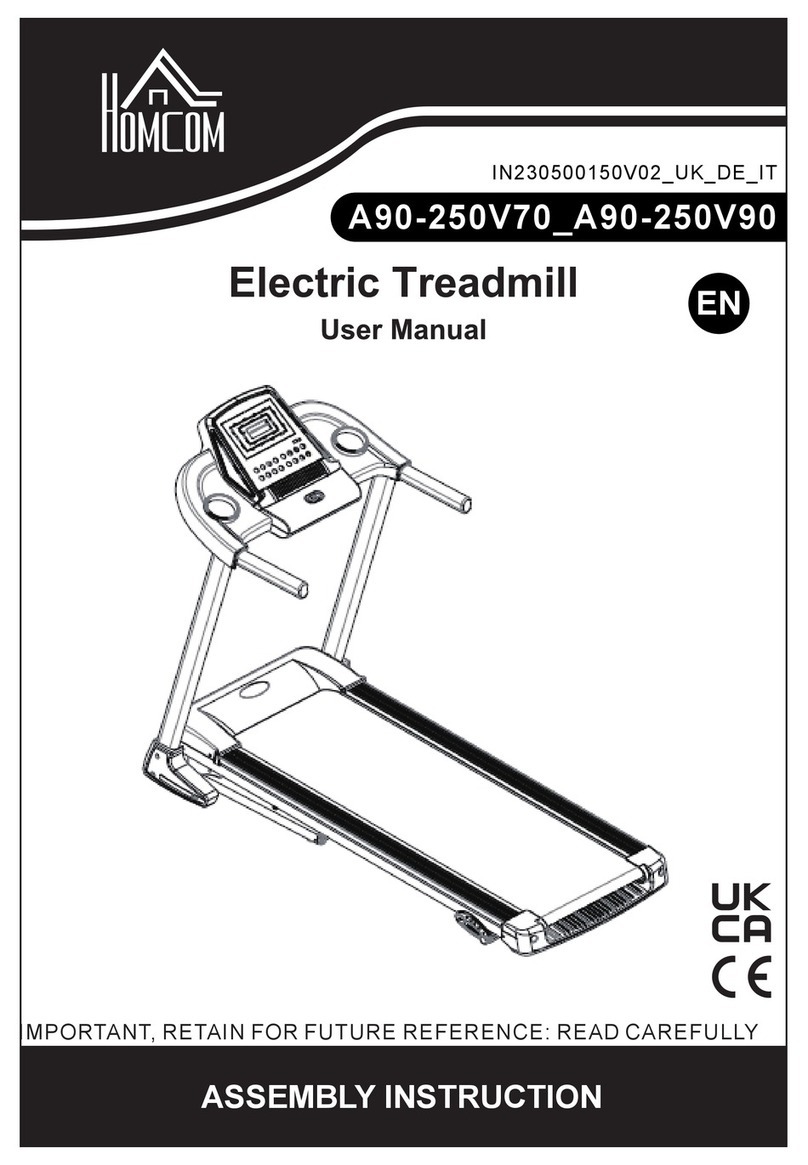
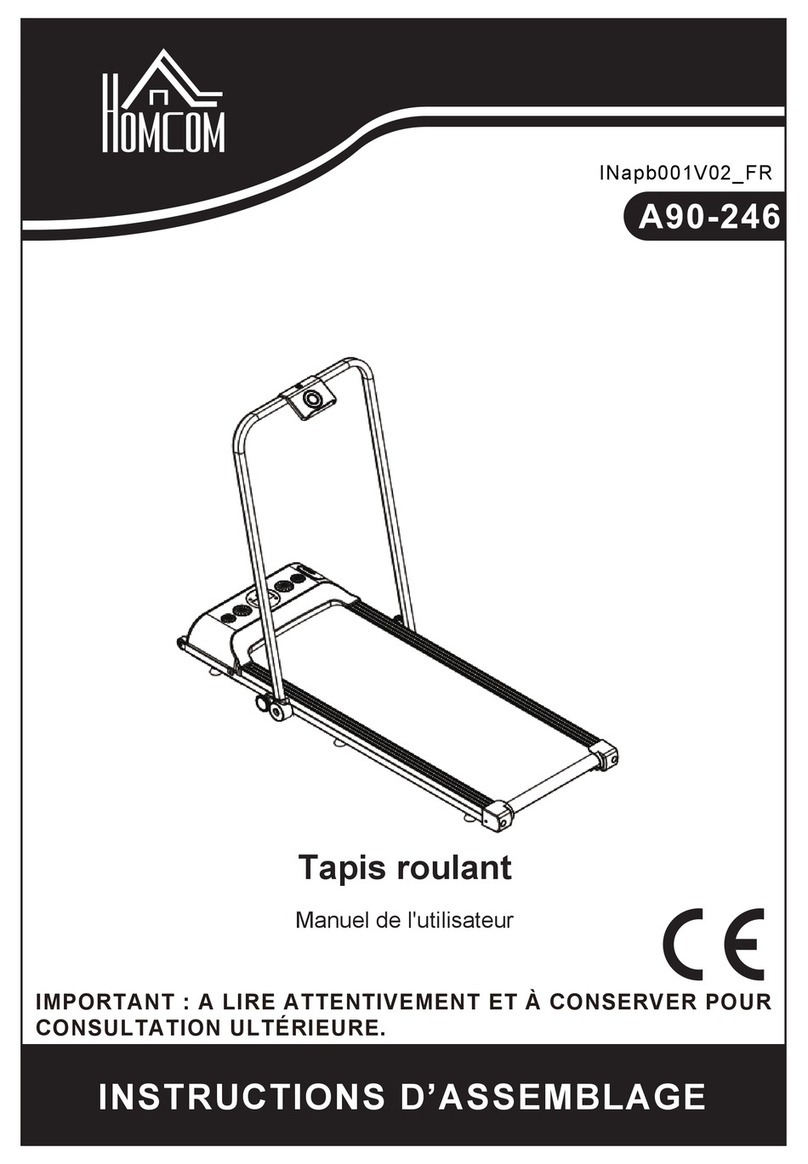
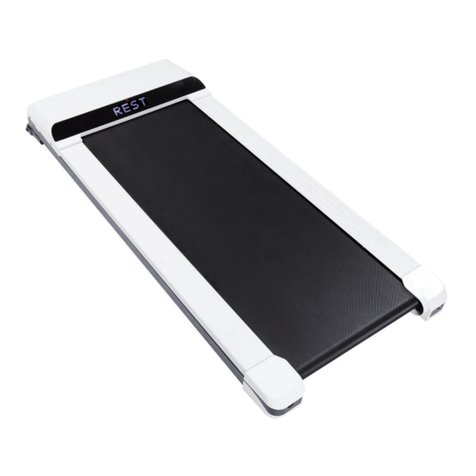
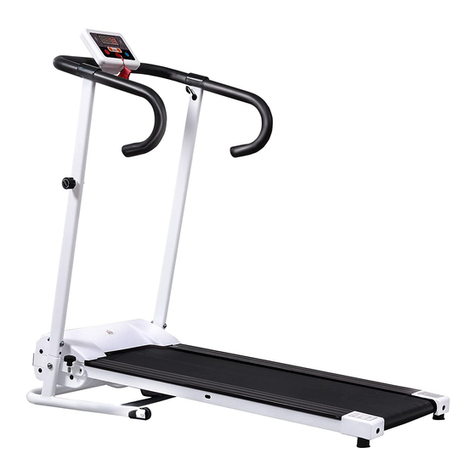
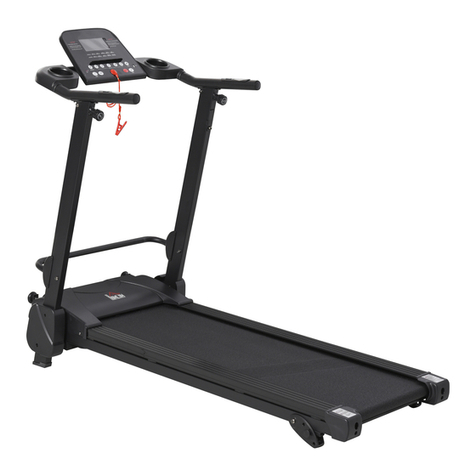
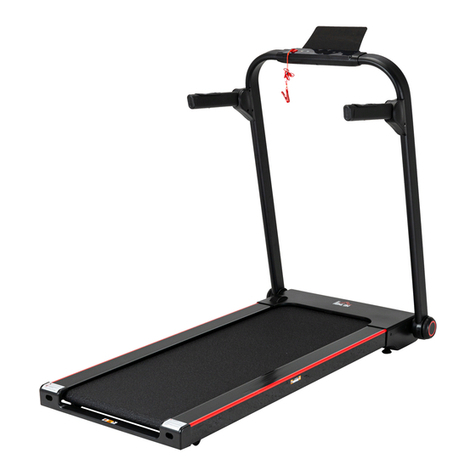
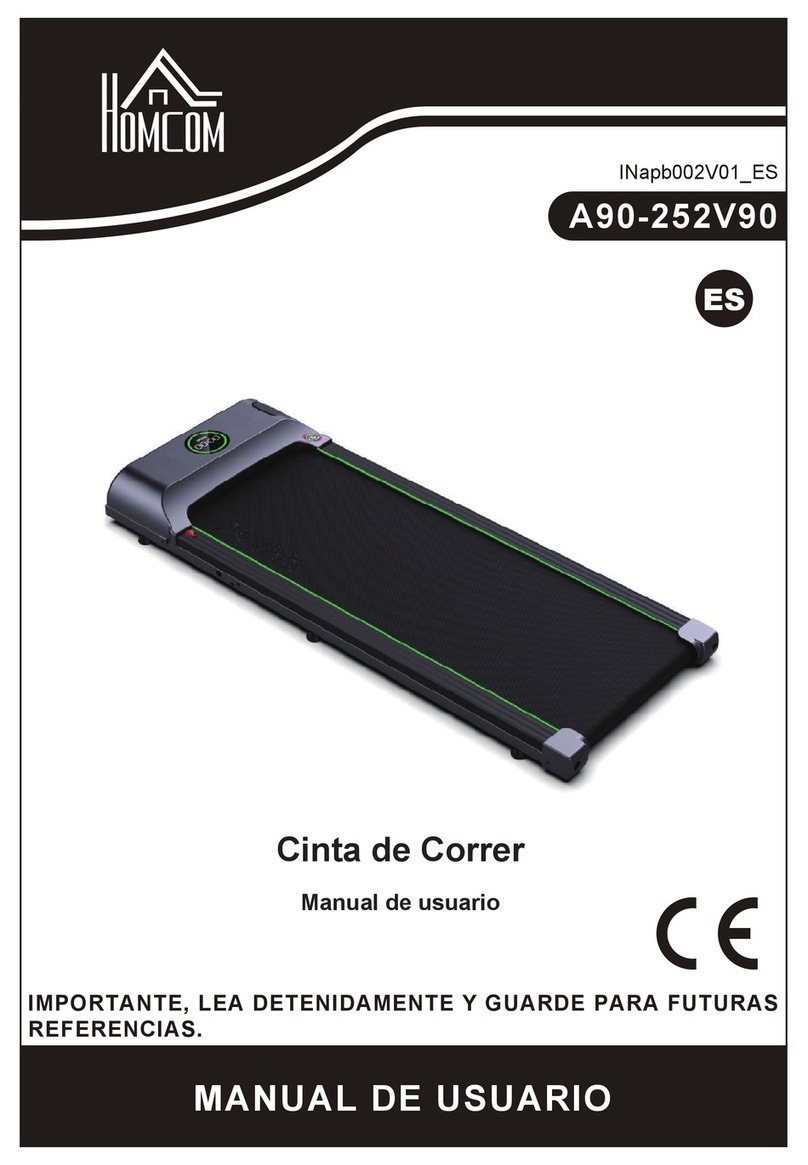
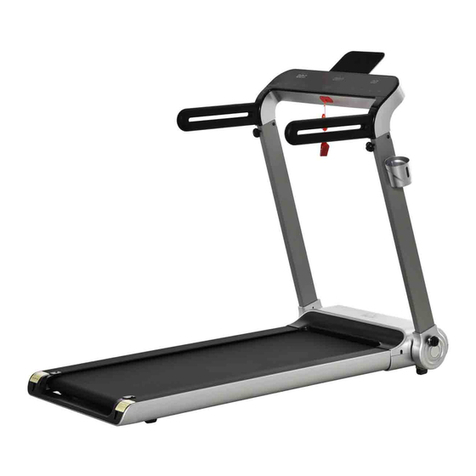
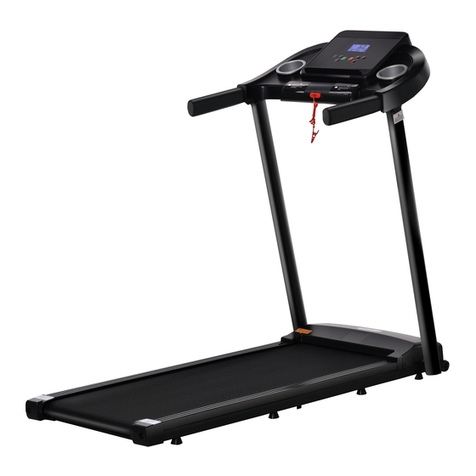
HOMCOM A90-252V70 User manual

ASSEMBLY INSTRUCTION
INapb002_UK
A90-252V70
IMPORTANT, RETAIN FOR FUTURE REFERENCE: READ CAREFULLY
Treadmill
User Manual

~ 1 ~
CONTENTS
1SAFETY INFORMATION..............................................................................................................................2
2TECHNICAL SPECIFICATIONS ..................................................................................................................3
3ELECTRONIC CONTROL INSTRUCTIONS................................................................................................4
4BUTTON FUNCTION ...................................................................................................................................5
5MAINTENANCE INSTRUCTIONS ...............................................................................................................5
6LUBRICANTS...............................................................................................................................................6
7ERRORS AND TROUBLE SHOOTING .......................................................................................................7
8WARM UP EXERCISES...............................................................................................................................9

~ 2 ~
1 SAFETY INFORMATION
Please read all contents of this manual carefully before use for the safety of all users. We are not liable for any injuries
because of improper operation.
Please follow the instructions below to avoid any accidents to you or others.
•The treadmill must be placed on a flat ground; the treadmill is suitable for indoor use only. Water should not
be splashed on the treadmill, and no foreign objects should be placed on the treadmill. The sides end the front
end of the treadmill should be 1 meter (1OOOmm) and the rear There should be a safe use space of 2mx1 m
(2000mmx1OOOmm) at the end to facilitate emergency escape.
•(Emergencies stop: While holding the armrests with both hands and propping up the body, step on the side
rails with both feet and jump away from the walking machine from one side.)
•The power plug must be reliably grounded, end 1he socket must have a dedicated loop to avoid sharing with
other electrical equipment.
•If the power cord is damaged, in order to avoid danger, it must be replaced by professionals from 1he
manufacturer, Its maintenance department or similar departments.
•When not using the treadmill, keep the safety lock out of the reach of children; if you will not use it for a long
time, please unplug 1he power cord.
•The lubricating oil bottle in the accessory kit should be kept out of the reach of children. If you accidentally
swallow it or get it into your eyes, rinse It with clean water and consult a doctor in time.
•This product is not suitable for use by disabled persons and children; it is forbidden to use it if the body feels
unwell or is mentally defective and lacks common sense, unless under the supervision or guidance of a
person responsible for its safety. ----If you do not comply, there may be a danger of injury.
•Do not use the treadmill in a dusty space and keep the indoor humidity at a certain level to avoid strong static
electricity, otherwise it may interfere with the normal operation of the electronic watch and the controller;
please use the original accessories, and it is strictly forbidden to replace it without permission. Avoid all
moving parts with hands, and it is forbidden to put hands and feet in the gaps under the running belt.
•Do not put the power cord near hot or moving objects; do not use the product outdoors, under high humidity
and sunlight.
•Unplug the treadmill before moving it. Non-professionals are not allowed to disassemble the machine without
authorization, otherwise serious consequences may occur.
•Please clip the safety lock cable clip to your clothes during exercise to prevent a safe shutdown in an
emergency.
•Before using the treadmill, please check whether the clothing is fastened or zippered, or the clothing is too
loose.
•If you feel uncomfortable and other abnormal conditions during use, please stop exercising and consult a
doctor.
•This product is not suitable for long-term use. Long-term use may cause the treadmill electrical appliances to
overheat and cause electrical malfunctions.
•Use qualified sockets to avoid danger. If the plug is not
•compatible with the socket, please do not move the plug and ask an electrician to handle it.
•The product is suitable for family use, not suitable for
•professional training and testing and cannot be used for medical purposes.
•Do not use it in a state where the outer shell is cracked, cracked and peeled off (internal structure is exposed),
or the welded part is cracked.
•Do not jump up or down on the machine during exercise --Injury may result from a fall.
~ 3 ~
•Do not use it after eating, fatigue, or poor physical strength - may cause damage to health.
•No needles, trash or water should be attached to the power plug - it may cause electric shock or short circuit,
fire. Do not use with wet hands!
•Please unplug the power plug from the socket when it is disabled, -dust and moisture will deteriorate the
insulation and cause leakage fire.
•The product must be grounded. In the event of malfunction, grounding will provide a path of least resistance
for current to reduce the risk of electric shock.
•The product is HC grade. If you have any doubts about the correct grounding of this product, please entrust a
professional electrician to inspect it.
2 TECHNICAL SPECIFICATIONS
Model Number XD-T1 Rated Frequency 50 Hz
Dimensions 1330 x 500 x 130mm Runnings size 400*1100mm
Speed 1- 6Km/h Max Weight 100Kg
Rated Vol 220V-240V Level HB
Rated Power 500W
Parts Specifications
To follow the principle of sustainable development, the product may be updated when necessary without further notice. In
case of any discrepancy between the instruction manual and the product, the actual product shall prevail.

~ 4 ~
3 ELECTRONIC CONTROL INSTRUCTIONS
Before using the Treadmill:
3.1 Plug in the power, turn on the switch (switch is red) (1), please wait for the screen to light up and enter the start
interface.
3.2 Screen
3.2.1 Time:
Display the exercise time, the forward timing is from 0:00-99:59, and the count will be restarted
at 99:59; the countdown will decrement from the set time to zero, when the countdown reaches 0:00, the
treadmill will slow down and stop. Run, and enter the standby state after a complete stop.
3.2.2 Speed:
The current speed value is displayed in the running state, and the speed display range: 1.0-12 km/h. At
the start countdown, "3", "2", and "1" are displayed.
3.2.3 Distance:
Display the movement distance, the forward count is from 0.0-99.9, and the count will be re-counted
after overflow, and the reverse count will be decremented from the set value to zero. When the
countdown reaches 0, the treadmill will slow down and stop running, and enter the standby state after it
stops completely.
3.2.4 Calories:
Display the calorie consumption value. When the calorie consumption value is displayed, it will count
from 000-990 when counting forward, and then count again after overflow. When counting backward, it
will count down from the set value to 0. When the countdown reaches 0, the treadmill will drop steadily.
It stops running quickly and enters the standby state after a complete stop.
3.2.5 Mileage
Shows the accumulated mileage since the first start.

~ 5 ~
4 BUTTON FUNCTION
5 MAINTENANCE INSTRUCTIONS MAINTENANCE INSTRUCTIONS
Proper maintenance keeps your treadmill in optimal condition, improper care and maintenance can result in an injury or
shorten the life of the treadmill.
Warning: Always unplug the treadmill before cleaning or maintaining the appliance!
1. Regularly remove dust to keep the parts clean.
2. After each use of the treadmill, use a clean towel or cloth to clean the meter and other parts with sweat and
debris. Please be careful not to splash water on any electrical components and under the running belt.
3. Please place your treadmill in a clean and dry environment, ensure the power is turned off and the power cable
has been unplugged.
4. To facilitate easy movement, the treadmill is equipped with wheels, please ensure you disconnect the power
supply and fold the body before moving.
5. Check and lock all parts of the treadmill frequently.
6. To maintain and extend the life of the treadmill, it is recommended that you rest the treadmill for 10 minutes after
30 minutes of continuous use.
7. The running belt has been adjusted before leaving the factory, but after use, the running belt will be stretched and
will deviate from the centre position, causing the running belt to rub the side bars and the rear cover and damage
it. It is normal for the running belt to be forced to stretch during use. After using the treadmill for a period, if the
running belt slips or is not smooth when using the treadmill, you can adjust the tightness of the running belt to
improve it, as indicated below.
5.1 Running belt loose adjustment.
If the running belt is too loose, step off the treadmill, insert a hex wrench into the
adjustment hole of the left guard and rotate clockwise 1/4 turn, and then rotate
1/4 lap clockwise on the right foot. Pay particular attention when tightening the
belt and ensure both sides are adjusted synchronously, so that the running belt
can be tightened and will not deviate from the centre point. If the running belt is too
tight, adjust the left and right synchronisation counter clockwise.
plays the current running speed.
3.1 START/STOP
When the power is turned on, press the “START/STOP” button at any time to start the running of the treadmill.
Press the STOP button to stop the treadmill during exercise. Press and hold the STOP button to put the treadmill
into sleep mode and press any button to restart the machine.
3.2 “-“ “+”
Use to adjust the speed of the treadmill after starting up. The adjustment range is 0.1km/h. When held for more
that two seconds, it will automatically increase or decrease the speed by 0.5km/h.
3.3 Standby
If the treadmill does not detect any input after being in the standby mode for more than 10 minutes, it will enter
into the energy-saving mode. During this time, there is no display on the screen. Pressing any button will exit
the standby mode.

~ 6 ~
Note: The running belt cannot be adjusted too tightly. This will pull the running belt, increase the
pressure of the front/rear drum, and damage the drum bearings, resulting is damage to the treadmill.
Only adjust the running belt so that it does not slip during operation.
5.2 Running belt alignment.
When you use a treadmill, the pressure on the running belt is unbalanced because the force of both feet is not the
same when running, causing the running belt to deviate from the centre. This deviation is normal, and when no one
is running on a running belt, it automatically returns to the centre. If your belt does not do this, you will need to run
the belt back to centre.
Run the treadmill without stepping onto it, and increase the speed to 6th gear, observe the distance from the left
and right-side bars:
● If left, use a hex wrench to rotate the left screw clockwise 1/4 turn.
● If right, use a hex wrench to rotate the right screw clockwise 1/4 turn.
● If the running belt is still not in the middle, repeat the above action until adjusted to the middle.
After adjusting the belt to the middle, adjust the speed to 6th gear, and observe the deviation of the running belt
and the smoothness of the run, if there is a deviation, repeat the adjustment step.
Warning! Do not over tighten the drum! This will result in permanent damage to the bearings!
6 LUBRICANTS
Treadmills are oiled when they are shipped, but the lubricity of the treadmills is often checked to help keep the
treadmills at peak use. The treadmill must be lubricated after one year of use or 100 hours of operation.
After 30 hours or 30 days of use, in the treadmill stationary state, pull the starting belt from the side to reach as far as
possible to touch the table surface, if you feel touch the lubricant, do not need to add lubricant;(Use non-petroleum
lubricants).
How to add lubricant.
Please adhere to the following instructions carefully.
Open the side bar on the front left of the refuelling decorative cover. Insert the bottle into the opening to
measure the size, use a pair of scissors or art knife to cut off tip of the bottle to size. Place the bottle
into the hole and squeeze the bottle (as illustrated to refuel). Please ensure the oil bottle tip of the thin
rod is inserted correctly and securely into the fuel pipe on the platform and then pour oil into it.

~ 7 ~
7 ERRORS AND TROUBLE SHOOTING
7.1 The electronic table displays the error message codes:
7.2 Common problems and troubleshooting methods.
7.2.1 Some or all the buttons are not working well.
➢Uncover the upper case of the electronic watch and test whether the buttons are working.
➢Check or replace the electronic board.
➢Check the button can be worked after the power is turned back on .
7.2.2 The electronic watch has no display.
Troubleshooting methods:
FAULT CODE ISSUE SOLUTION
Er1 The display board does
not have a signal
✓Checking whether the communication line is loose, dropped, or damaged.
✓Check or replace the electronic watch board.
✓Check or replace the controller.
Er2 Over pressure ✓Please check whether the voltage on the power supply line is at a normal
value: AC 200-240V.
✓Check or replace the controller.
✓Check or replace the motor.
Er3 Over current ✓Check whether it is overloaded.
✓Check whether the mechanical moving parts are jammed.
✓Check whether there is a lack of release agent, if yes, the friction between the
running belt and the running board will increase,
✓Check whether the running board is severely worn.
✓Check whether the running belt is severely worn.
✓Check whether there is a short circuit in the motor connection line.
✓Check or replace the controller.
✓Check or replace the motor.
Er4 Overload ✓Check whether it is overloaded.
✓Check whether the mechanical moving parts are jammed.
✓Check whether there is a lack of release agent. If there is a
✓lack of release agent, the friction between the running belt and
✓the running board will increase;
✓Check whether the running board is severely worn.
✓Check whether the running belt is severely worn.
✓Check whether there is a short circuit in the motor connection line.
✓Check or replace the controller.
✓Check or replace the motor.
Er5 Motor is not connected ✓Check whether the motor wire is loose or falling off.
✓Check or replace the motor.
✓Check or replace the controller.
Er6 Motherboard is not
connected to receive
signal
✓Check whether the communication line is loose, falling off or damaged.
✓Check or replace the electronic watch board.
✓Check or replace the controller.
Er13
IGBT short circuit
✓Check or replace the controller.
Er14 Load short circuit ✓Check if there is any foreign matter at the output terminal of the controller
causing a short circuit.
✓Check or replace the motor.

~ 8 ~
➢Check if the input voltage is within the allowable range:AC 200-240V.
➢Check if the switch on the electric running machine is turned on.
➢Check if the fuse inside the power outlet is blown. If it is blown, replace it with a spare fuse.
➢Check the controller if LED is lit.
➢Check each cable.
➢Check or replace the electronic board.
➢Check or replace control board.
➢Other problems and troubleshooting
7.2.3 The treadmill does not start.
➢Check if the power plug is plugged in, the power switch is turned on, and the safety switch is
removed.
7.2.4 Treadmill slips
➢Adjust the running belt tightly by referring to the instructions.
7.2.5 Running belt deviation.
➢Refer to the instructions to adjust the running belt to centre.
7.2.6 Running abnormal sound.
➢Check if the machine screws are loose and the running belt needs to be lubricated .

~ 9 ~
8 WARM UP EXERCISES
Warm-up and soothing exercise: A successful exercise program must include warm-up, aerobic and soothing
exercises. The number of exercises should start with at least two or three times a week, increasing to four or
five times a day after a few months. Warm-up is an important part of your fitness routine and should not be
skipped. Carrying out warm up exercise before your workout can help prepare your body for more intense
exercises as it helps muscles warm, stretch, improve blood circulation, increases pulse, and delivers more
oxygen into the muscles. After the aerobic exercise, repeated warm-up exercises can also reduce muscle
soreness. We recommend the following warm-up and soothing exercises.
1. 1.Stretch down:
The knees are slightly curved, the body slowly bends
forward, let the back and shoulders relax, hands
touch the toes as much as possible. Hold for 10-15
seconds and then relax. Repeat 3 times
2. The tendon stretches:
Sit on a clean cushion, straighten one leg, and then
put the other leg inward so that it fits snugly against
the inside of the straight leg and try to touch the toe
with your hand. Hold for 10-15 seconds and then
relax. Repeat 3 times for each leg
3. The calf and heel are stretched:
Hold the wall with both hands or stand with one foot
behind, keep the hind legs upright, and the heels
touch the ground and tilt toward the wall. Hold for 10-
15 seconds and then relax. Repeat 3 times for each
leg
4. Quadriceps stretching:
Grasp the balance with your left hand or the table,
then extend your right hand backwards and grab the
right heel and slowly pull it toward your hips until you
feel the muscles in front of your thighs. Hold for 10-
15 seconds and then relax.
5. The sartorius muscle (muscle inside the thigh)
stretches:
The soles of the feet are opposite, the knees are
seated outwards, and both hands grasp the feet and
pull toward the groin. Hold for 10-15 seconds and
then relax. Repeat 3 times

Table of contents
Other HOMCOM Treadmill manuals

HOMCOM
HOMCOM A90-224 User manual

HOMCOM
HOMCOM A90-225 User manual

HOMCOM
HOMCOM A90-246 User manual

HOMCOM
HOMCOM B1-0095 User manual

HOMCOM
HOMCOM A90-116 User manual

HOMCOM
HOMCOM A90-252V90 User manual

HOMCOM
HOMCOM A90-203V70 User manual

HOMCOM
HOMCOM A90-225V70 User manual

HOMCOM
HOMCOM A90-287V70 User manual

HOMCOM
HOMCOM A90-201V70 User manual

HOMCOM
HOMCOM A90-001V70 User manual

HOMCOM
HOMCOM A90-250V70 User manual

HOMCOM
HOMCOM A90-136 User manual

HOMCOM
HOMCOM A90-030V01 Installation guide

HOMCOM
HOMCOM A90-284V90 Installation guide

HOMCOM
HOMCOM A90-247 User manual

HOMCOM
HOMCOM A90-282V90 User manual

HOMCOM
HOMCOM A90-252V91 User manual

HOMCOM
HOMCOM A90-283V90 Installation guide

HOMCOM
HOMCOM A90-284V90 User manual