manuals.online logo
Brands
  1. Home
  2. •
  3. Brands
  4. •
  5. Honeywell
  6. •
  7. Accessories
  8. •
  9. Honeywell ADEMCO 5821 Quick start guide

Honeywell ADEMCO 5821 Quick start guide

Contact Information
Website: www.LifeShield.com
Mail: LifeShield, Inc. Customer Support
2021 Cabot Blvd.
Langhorne, PA 19047
Phone: 1-888-392-2044
E-mail: [email protected]
Testing as a Temperature
(Hot, Cold, Warm) Sensor
The temperature sensing aspects of the
Honeywell Model 5821 can be tested in the
same manner as above with the use of
specialized equipment that is capable of
increasing or lowering the ambient temperature
in the environment surrounding the Sensor
(as needed to result in activation).
Once the Sensor has been added to the
LifeShield system:
7. Use the Edit feature to rename the device
(optional). NOTE: Press DELETE to erase
text and use the keypad keys to type in a
new name. Once you are satisfied with the
entered name, press OK.
8. Scroll down to select the type of condition
to which this Sensor will be associated
(Flood, Cold, Warm or Hot) and press
SELECT.
9. Press OK to return to the Main Menu.
10. Position the top cover in place over the
wireless transmitter and snap it into place,
being careful not to pinch or cut the wires
leading to the Water Probe (if the Sensor
is set up for Flood detection).
If the Sensor test is successful, the LCD screen
will display "Sensor xxx Passed". If these words
do not appear, return to "Add the Sensor to the
LifeShield System".
NOTE: If you require additional assistance with setup and
installation please contact LifeShield Customer Support at
1-888-392-2044.
Testing as a Flood (Water)
Sensor
1. On the Handset (or Console), Press MENU
2. Scroll to Utilities, press SELECT.
3. Scroll to Test, press SELECT
4. Enter your Master Code
5. Select System Test
6. Press the SKIP soft key to skip the
Siren Test
7. Press the OK soft key on next screen for
Starting Comm Test
8. Scroll to the name of the Sensor that you
would like to test, and press SELECT
9. Place the Water Probe directly into water
(or alternately place a piece of wet cloth
between the probe legs) and wait at least
three (3) minutes.
Water & Temperature Installation
Instructions
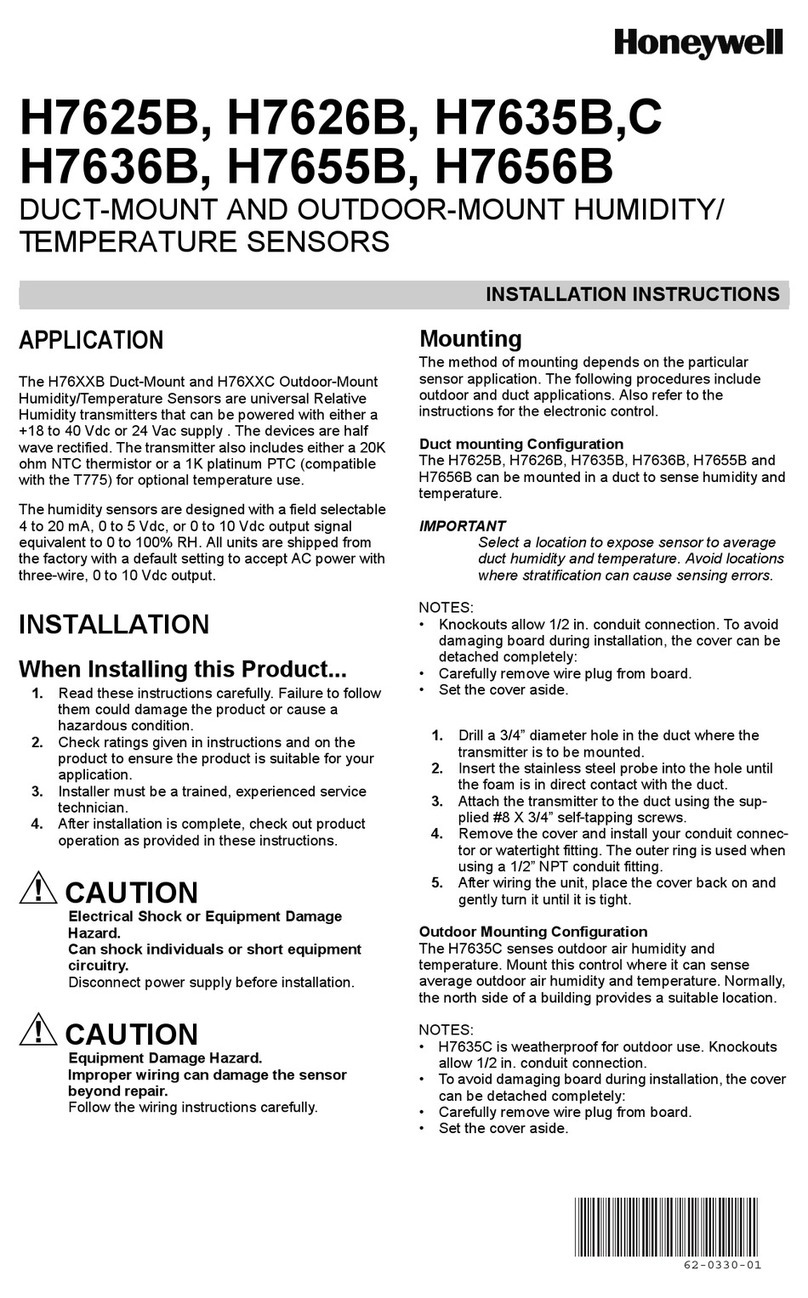
Honeywell Model 5821
Honeywell is a trademark of
Honeywell International, Inc.
Battery
L feSh eld Supported Operat ng
Modes & Sett ngs
ii. Loop the free end of the Water
Probe wire through the back of the
wireless transmitter (as shown in
Figure A) and connect the wire pair to
the loop terminal block by inserting
the wires (individually) into the loop
terminals and tightening the screws.
6. Install the CR123 battery (supplied) into the
wireless transmitter noting the correct
orientation of the positive (+) and negative
(-) ends.
7. Position the wireless transmitter over the
mounting plate and slide the wireless
transmitter securely into place (until it
“clicks”).
ote: Do not re-attach
cover until you have
added this device to the
LifeShield System
Add the Sensor to the L feSh eld
System
Once the Temperature and Flood (Water)
Se sor is installed it must be “added” to the
LifeShield system in order to function. You will
need a Ha dset (or Co sole) to add it.
3. Press down on the mounting plate bracket
release tab to remove (slide off) the mount-
ing plate. Place the mounting plate aside.
4. Reference Table 1 to determine the desired
sensing type (Hot Temp, Cold Temp, Warm
Temp or Flood [water]). Using the tip of a
paperclip (or similar object) push the white
(sliding) buttons of the DIP switch (see
Figure A) into the configuration that
corresponds to the desired sensing type.
5. Follow the appropriate steps associated
with the sensing type of the Se sor.
a. Temperature Se sor (Hot, Warm or
Cold) se si g: Locate the mounting
bracket where it will be most suitable for
Temperature Sensing (for example on a
wall, ceiling, etc.). Using either the
supplied screws or double-faced
adhesive tape, secure the mounting
bracket to a flat surface (wall or ceiling).
b. Flood (water) se si g:
i. Locate the water probe assembly (with
wires attached as shown) and mount it
near the “baseline” surface (ex. floor)
using the supplied double-faced tape
or suitable wall mounting screws (not
supplied). It is recommended that the
probe be mounted between 0 to 1/8”
above the baseline surface.
iii. Determine the best location to install
the mounting plate above the loca-
tion where the Water Probe has
been installed, being careful not to
position it too high (beyond the length
of the wires now connecting the
water probe and wireless
transmitter).
iv. Using either the supplied screws or
double-faced adhesive tape, secure
the mounting bracket to a flat surface
(wall or ceiling).
Install The Sensor
1. Locate the Honeywell 5821 (red and white)
box and remove the white wireless
transmitter from the box.
2. Using a flat object such as a screwdriver,
pry off the top cover of the transmitter and
set it aside.
Enter the Security menu on
the Ha dset (or Co sole)
1. On the Ha dset
(or Co sole),
Press ME U.
2. Scroll to Security Setup,
press SELECT and enter
the Master Code.
3. Scroll to Se sors, press
SELECT.
4. Scroll to <Add New>,
press SELECT.
5. Scroll to E viro me tal,
press SELECT.
6. Following the instruc-
tions displayed on the
Ha dset (or Co sole),
wait 5 seconds, then
press and release the
red tamper switch button
on the wireless
transmitter (see
Figure A).
Other manuals for ADEMCO 5821

3

Other Honeywell Accessories manuals

Honeywell SS431P User manual

Honeywell

Honeywell SS431P User manual

Honeywell NAHA003WK01 User manual

Honeywell

Honeywell NAHA003WK01 User manual

Honeywell RDWL917AX2000 Operating instructions

Honeywell

Honeywell RDWL917AX2000 Operating instructions

Honeywell GENT S-Quad Instruction manual

Honeywell

Honeywell GENT S-Quad Instruction manual

Honeywell DC915 series User manual

Honeywell

Honeywell DC915 series User manual

Honeywell RPW201A User guide

Honeywell

Honeywell RPW201A User guide

Honeywell Fire-Lite Alarms SD365TA User manual

Honeywell

Honeywell Fire-Lite Alarms SD365TA User manual

Honeywell RPW213A User guide

Honeywell

Honeywell RPW213A User guide

Honeywell C7632A Operation manual

Honeywell

Honeywell C7632A Operation manual

Honeywell V4043 User manual

Honeywell

Honeywell V4043 User manual

Honeywell RPW313 Manual

Honeywell

Honeywell RPW313 Manual

Honeywell RPW202A User guide

Honeywell

Honeywell RPW202A User guide

Honeywell CTP-20 User manual

Honeywell

Honeywell CTP-20 User manual

Honeywell DC515 Series User manual

Honeywell

Honeywell DC515 Series User manual

Honeywell E3Point User manual

Honeywell

Honeywell E3Point User manual

Honeywell Ex-Or MSB1001DT Installation and operation manual

Honeywell

Honeywell Ex-Or MSB1001DT Installation and operation manual

Honeywell RCW101N User manual

Honeywell

Honeywell RCW101N User manual

Honeywell HS 20 Instruction Manual

Honeywell

Honeywell HS 20 Instruction Manual

Honeywell C7110C1001 User manual

Honeywell

Honeywell C7110C1001 User manual

Honeywell IDENTLOC 032236.17 Instruction manual

Honeywell

Honeywell IDENTLOC 032236.17 Instruction manual

Honeywell DUAL TEC DT8360ACM-SN User manual

Honeywell

Honeywell DUAL TEC DT8360ACM-SN User manual

Honeywell Ex-Or MSB1000DT Installation and operation manual

Honeywell

Honeywell Ex-Or MSB1000DT Installation and operation manual

Honeywell SHK8M User manual

Honeywell

Honeywell SHK8M User manual

Honeywell FSL Series User manual

Honeywell

Honeywell FSL Series User manual

Popular Accessories manuals by other brands

Quincy lab 140AE-1 operating manual

Quincy lab

Quincy lab 140AE-1 operating manual

HomePro ZIR000 user manual

HomePro

HomePro ZIR000 user manual

DOL 20SCR Technical user guide

DOL

DOL 20SCR Technical user guide

RAB Smart Task installation manual

RAB

RAB Smart Task installation manual

Kemppi KMS 300 quick guide

Kemppi

Kemppi KMS 300 quick guide

Stearns 57,500 Series Installation and service instructions

Stearns

Stearns 57,500 Series Installation and service instructions

iGuzzini TWILIGHT COPENAGHEN manual

iGuzzini

iGuzzini TWILIGHT COPENAGHEN manual

Adelaide Annexe & Canvas Avan Deluxe installation guide

Adelaide Annexe & Canvas

Adelaide Annexe & Canvas Avan Deluxe installation guide

OHAUS 5000 instruction manual

OHAUS

OHAUS 5000 instruction manual

HOME8 WLS1300 quick start guide

HOME8

HOME8 WLS1300 quick start guide

MAXBOTIX MaxSonar quick start guide

MAXBOTIX

MAXBOTIX MaxSonar quick start guide

ioSmart iSmart56 Installation and user guide

ioSmart

ioSmart iSmart56 Installation and user guide

Focusrite Scarlett 18i8 user guide

Focusrite

Focusrite Scarlett 18i8 user guide

Velleman ED38105 user manual

Velleman

Velleman ED38105 user manual

JumpSport SkyBounce user manual

JumpSport

JumpSport SkyBounce user manual

Prima-Temp PRIYA Instructions for use

Prima-Temp

Prima-Temp PRIYA Instructions for use

Tefcold BC85I-BC85I W user manual

Tefcold

Tefcold BC85I-BC85I W user manual

Vaisala WMS302 user guide

Vaisala

Vaisala WMS302 user guide

manuals.online logo
manuals.online logoBrands
  • About & Mission
  • Contact us
  • Privacy Policy
  • Terms and Conditions

Copyright 2025 Manuals.Online. All Rights Reserved.