manuals.online logo
Brands
  1. Home
  2. •
  3. Brands
  4. •
  5. Hoover
  6. •
  7. Vacuum Cleaner
  8. •
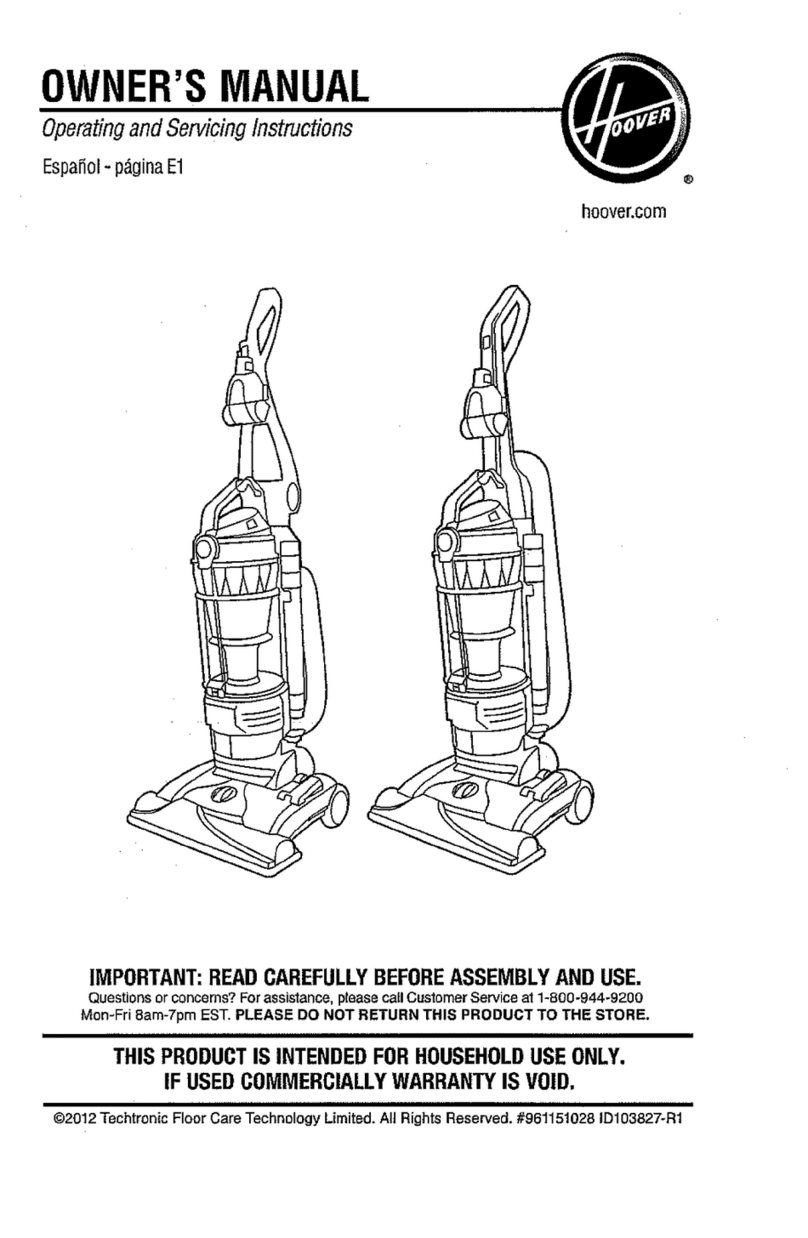
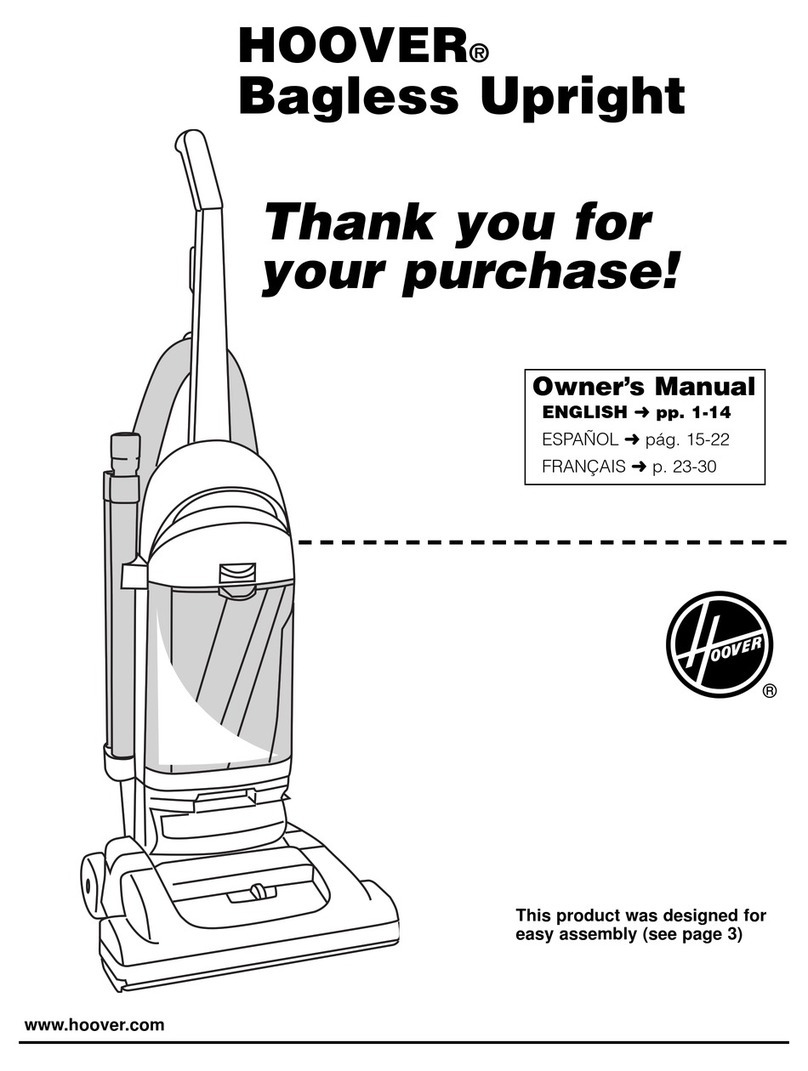
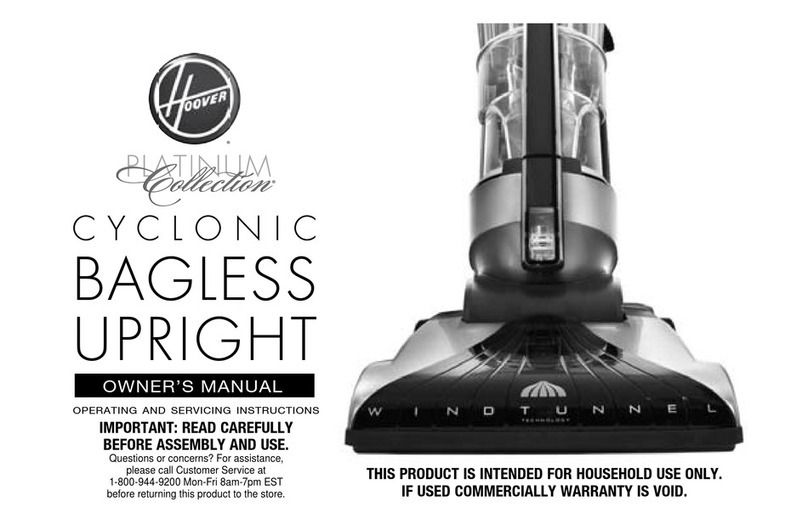
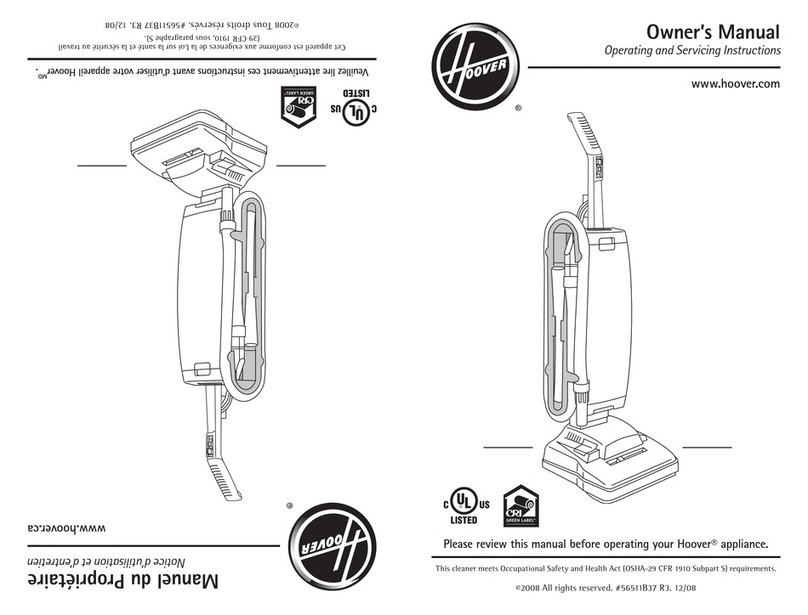
  9. Hoover UH50000 - Self Propelled WindTunnel Anniversary... User manual

Hoover UH50000 - Self Propelled WindTunnel Anniversary... User manual

Other manuals for UH50000 - Self Propelled WindTunnel Anniversary...

1

Other Hoover Vacuum Cleaner manuals

Hoover HF522SFP 011 User manual

Hoover

Hoover HF522SFP 011 User manual

Hoover CH50015 User manual

Hoover

Hoover CH50015 User manual

Hoover Ranger 5241 User manual

Hoover

Hoover Ranger 5241 User manual

Hoover UH73201 User manual

Hoover

Hoover UH73201 User manual

Hoover SteamVac Dual F7225-900 User manual

Hoover

Hoover SteamVac Dual F7225-900 User manual

Hoover WindTunnel WindTunnel vacuum cleaner User manual

Hoover

Hoover WindTunnel WindTunnel vacuum cleaner User manual

Hoover KS42JCAR 011 User manual

Hoover

Hoover KS42JCAR 011 User manual

Hoover Twin Chamber Operating instructions

Hoover

Hoover Twin Chamber Operating instructions

Hoover TASKVAC CH20110 User manual

Hoover

Hoover TASKVAC CH20110 User manual

Hoover TE70-TE75011 Quick guide

Hoover

Hoover TE70-TE75011 Quick guide

Hoover Power Force HT87-T1-ME User manual

Hoover

Hoover Power Force HT87-T1-ME User manual

Hoover Pet Max Complete User manual

Hoover

Hoover Pet Max Complete User manual

Hoover DIAL-A-MATIC 1130 User manual

Hoover

Hoover DIAL-A-MATIC 1130 User manual

Hoover HURRICANE User manual

Hoover

Hoover HURRICANE User manual

Hoover CH86000 User manual

Hoover

Hoover CH86000 User manual

Hoover WR71WR01001 User manual

Hoover

Hoover WR71WR01001 User manual

Hoover Freedom FD22L User manual

Hoover

Hoover Freedom FD22L User manual

Hoover Vacuum cleaner User manual

Hoover

Hoover Vacuum cleaner User manual

Hoover FM18B2 User manual

Hoover

Hoover FM18B2 User manual

Hoover U8181900 User manual

Hoover

Hoover U8181900 User manual

Hoover SP48DRB6 User manual

Hoover

Hoover SP48DRB6 User manual

Hoover U5268 User manual

Hoover

Hoover U5268 User manual

Hoover HWD35MAX Installation guide

Hoover

Hoover HWD35MAX Installation guide

Hoover WindTunnel U5720-960 User manual

Hoover

Hoover WindTunnel U5720-960 User manual

Popular Vacuum Cleaner manuals by other brands

Shark KD400WM owner's guide

Shark

Shark KD400WM owner's guide

Shark CORDLESS SV780_N 14 user manual

Shark CORDLESS

Shark CORDLESS SV780_N 14 user manual

Philips FC9176/08 manual

Philips

Philips FC9176/08 manual

Kenmore KW3030 user manual

Kenmore

Kenmore KW3030 user manual

AMiO YF-101 user manual

AMiO

AMiO YF-101 user manual

Beko VRT 94929 VI user manual

Beko

Beko VRT 94929 VI user manual

Shark CORDLESS SV780 Series quick start guide

Shark CORDLESS

Shark CORDLESS SV780 Series quick start guide

Lumme LU-3203 instruction manual

Lumme

Lumme LU-3203 instruction manual

Melissa 640-040/051 instruction manual

Melissa

Melissa 640-040/051 instruction manual

Makita DVC152L instruction manual

Makita

Makita DVC152L instruction manual

Bosch BSN1 instruction manual

Bosch

Bosch BSN1 instruction manual

King Canada 8560LST Service manual & parts list

King Canada

King Canada 8560LST Service manual & parts list

EUFY RoboVac 11c+ owner's manual

EUFY

EUFY RoboVac 11c+ owner's manual

Panasonic MC-E4101 Service manual

Panasonic

Panasonic MC-E4101 Service manual

Panasonic MC-V9658 operating instructions

Panasonic

Panasonic MC-V9658 operating instructions

Bosch BGB 2 Series instruction manual

Bosch

Bosch BGB 2 Series instruction manual

FGE Far Tools NET UP 20 manual

FGE

FGE Far Tools NET UP 20 manual

MARIMEX SPA VAC user manual

MARIMEX

MARIMEX SPA VAC user manual

manuals.online logo
manuals.online logoBrands
  • About & Mission
  • Contact us
  • Privacy Policy
  • Terms and Conditions

Copyright 2025 Manuals.Online. All Rights Reserved.

Owner's
Manual
0
pe
rotin
go
n
dSe
rvi
ci
n
gInstru
ctions
www.hoover.com
Pleasereviewthismanualbeforeoperating
your
Hoover@
product.
=z
=2
=z
=t
l=t
@2008
Healthy
Gain
lnvestments,Ltd.Allriqhtsreserved.#56511C74.31O8
Thank
you
forchoosing
Please
enter
thecomplete
model
andserial
numbersinthespaces
provided.
Model
aHOOVER'
product.
ff@,lffifiiklfliitlll,
#Fffqlra"*.@"
frnf.lm-ffi lrE
IIilEL|h[t[ M
mffi**
I*r/FtEtIE
l||fiffi|slEilil
-rs!:*
UXUXXINXX
SerialNumber
Hint:
Attach
your
salesreceiptto thisowner's
manual.Verifrcationof date
of purchase
maybe
requiredforwarrangrserviceof
your
HOOVER
product.
Besuretofrlloutand
return
the
product
registration
card
included
with
your
cleaner.
Contents
Assembling
Cleaner
CartonContents
Cleaner
Descriptions
....
HowToUse..
Cleaning
Tools.
EnrbeddedDirtFINDER""
Feature.
Carpet
HeightAdjustment
lf YouHaveaProblem
Clearing
Blockages
lmportant
Safeguards
Lubrication.
Maintenance
AuthorizedService
Cleaning
filter.
ReplacingAgitatorBrushRoll..
Replacing
BrushRollBelt... ..
ReplacingPoweredHand
Tool
AgitatorBrushRoll.
.
Replacing
PowerHandToolBelt
...
ReplacingHeadlight
ThermalProtector
Parts
tt accessories
mail
orderform
lf you
needassistance:
Visitourwebsiteat
hoover.com.Follow
theservicecenter
link
tofindthe
serviceoutlet
nearest
you0RCall
1-800-944-9200foranautonrated
referral
ofauthorized
service
outlet
locations
(U.S.
only)
0RCall
1-800-263-6376tospeak
witharepresentativein
ourConsumer
Response
Center;
Mon-Fri
Bam-7pm
EST.
Pleasedonot
return
this
product
tothestore.
This
carpetcleaner
isintendedfor household
use.
Notintendedfor commercialusein anyhouseholdorfor any
Operatecarpetcleaneronlyatvoltagespecifiedondata
plate
Plug
carpetcleaner
into
a properlygrounded
outlet.
...,''4
.., ,..4
......6
...6-10
......9
.'...,7
......8
.....17
.....17
......3
.....t6
.....16
.....t0
.....14
.....13
.....14
.....15
.....12
.....16
.....t9
othercommercial
purpose.
onback
of cleaner.
lmportant
Safety
lnstructions
Whenusinganelectricalappliance,
always
follow
basic
precautions,
including
the
following:
READALLINSTRUCTIONS
BEFORE
USING
THIS
APPLIANCE
WARNINGI Toreduce
the
riskof fire,
electricshock,orinjury:
oDo
notuseoutdoors
oronwetsurfaces.
oClosesupervision
isnecessary
whenanyappliance
isusedbyornearchildren.Donot
allowvacuumcleaner
to beusedasatov.
oDonotrununattended
atanytime.
r Keep
hair,loose
clothing,
fingers,feetandall
parts
of bodyaway
from
openings,
rotating
agitatorandother
moving
parts.
oDo
notpick
upanythingthat
is
burning
orsmoking,suchascigarettes,
matches,
orhotashes.
oDonotuseto pick
upflammableorcombustible
materialssuchas
gasoline
orfinewood
sandingsoruse
in areaswherethey
may
be
present.
o
Always
turn
off thisappliancebeforeconnectingordisconnecting
hose.
oUnplugcleaner
beforeconnectingthe
powered
hand
tool.
r Donotusewithoutdirtcuporfiltersin place.
Empty
cupandclean
filterfrequently
when
picking
up
veryfinematerialssuchas
powder.
oUseextra
carewhencleaningonstairs.
oDonotputany
object
into
openings.
Dortot
usewithanyopeningblocked;
keepfree
of
dust,
lint,hair,
oranythingthat
mayreduceairflow.
o
Alwaysdisconnectcordfromelectricaloutletbeforeservicingthecleaner.
o
Alwaysunplugcleanerwhen
notin use.
Turnoff allcontrolsbeforeunplugging.
oDonotunplugbypulling
oncord.
Tounplug,
grasp
the
plug,
notthecord.
Neverhandle
plug
orappliancewithwet
hands.
o
Theuseof anextensioncord
isnotrecommended.
o
Donotusewithdamagedcordor plug.
lf appliance
is
notworkingas
it should,hasbeen
dropped,damaged,
left
outdoors,
ordroppedintowater,take
it to a Hoover
Salesand
ServiceCenterorAuthorizedHoover
WarrantyService
Dealer
(Depot).
oDonotpull
orcarrybycord,usecordasahandle,
closedooroncordorpull
cordaround
sharpedgesorcorners.
Donotrunapplianceovercord.Keepcordawayfromheatedsurfaces.
r Usevacuumcleaner
onlyforitsintendeduseasdescribed
in the
instructions.
Useonly
attachments
recommended
bvHoover:
others
mavcause
hazards.
WARNING:
o
This
product
containschemicals
known
to theState
of California
to cause
cancer
and
reproductivetoxicity.Washhandsafter
handling.
oDonotoperatecleaner
in bare
feetorwhenwearingopentoeshoesorsandals.
o
Avoid
picking
up hard,
sharpobjects
withthecleaner.
Theymay
damagethecleaner.
Savethese
instructions!
1.
Assembling
cleaner
Thiscleanerwas
inspectedand
packaged
carefullybeforebeingshipped
from
the
factory.
lf
you
should
happento
need
assistanceduring
assenrblyoroperation,call
1-800-944-9200
for
anautomated
referral
ofauthorizedserviceoutlet
locations
(U.S.
only)or
Visitusonline
atwww.hoover.comto find theservice
outletnearest
vouIclick
on
the
"Service"
button)or
1-800-263-6376to speakwith arepresentative
in ourConsumerResponseCenter.
Cartoncontents
Ill
[\tt]
fiH|l
v!J
cll
rE
E
A
A
ne
li\=
!A
B
STEPI
Attach
handleLookingattheback
of thecleaner,
make
sure
switch
(A)
is
in the
0FF
position.
Push
screws
into
holes
onbackof
handle.
Usinga
Phillips
screwdriver,
tight-
en
screws
securely.
Removelabel
(D)
from self-propel
button.
Removeall
parts
from
cartonand
identify
each
item
shown.Makesureall
parts
are
located
beforedisposingof packing.
A.Handle
screws
(in
bagwith owner's
manual)
B.Hose,cleaningtoolsandwands
C.
Handle
D.
Cleaner-Powered
HandTool
packed
in
storagearea
STEP
ll Attachhose
Align
endof
hose
with
projection
(E)
overslots
(F)
in
dirt
ductonbackof
handle.
NOTE:
Hosemust
beconnectedas
shown
for all
operations.
Slide
hoseinto
(F)
andtwisthoseto
lock
itinto
place.
Positionhose
over
rack
and
intohose
tube
(G).
STEPlll Positiontools
Place
smallerdiam-
eterendofwand,
into
bottomof rack.
Snapwand
into
clip
at
thetop. Repeat
with otherwand.
Open
tool cover.
The
powered
hand
toolis
shipped
in
a plastic
bag
for
protection.
Remove
tool from
storageareaand
discard
bag.
Repo-
sitiontoolandclose
tool cover.
Snap
dusting
brush
(H),
crevice
tool
{l)
and
furniture
nozzle
(J)
into
stor-
ageareaon backof
clea
n
er.
2.
How
to use
Cleanerdescription
Operatecleaneronlyat voltagespecifiedon
data plate on bottom of cleaner.
Theassembledcleanerwill looklike
the
drawing.
l.Handle
2.
Self-propel
button
3.0N-0FF
switch
4.Hose
5.
Tool
cover
6.
Poweredhandtool
7.Finalfilterdoor
B.
Handle
releaselever:
stepon lever
to
lowerhandleto operatingor
low
positions.
9.
Edge
groomers
10.Furniture
guard:
helps
preveltt
clearter
frommarking
furniture.
ll. Brushroll
control:slide
controlto
"Carpet"
for
cleaningwith brush
roll0N
orto "Hard"
for
cleaningwith brush
roll
OFF.
12.
Carpet
height
control:slide
knob
to
correctsetting
for heightof carpetbeing
clea
ned.
13.Headlight
14.
'Dirt
FINDER'display*
15.Embedded
'Dirt
FINDER'sensitivity
switch*
16.Checkbag
indicator
17.Bag
door
18.Cord
hooks:
wrapcord
aroundhooksfor
storage.
The
top
hook
canbe
rotated
right or left for easycordrelease.
19.Carrying
handle
20.
Wands
2l.Dusting
brush
22.Furniturenozzle
23.
Crevicetool
*some
modelsonlv.
This
cleaner
isintendedfor householduse.
Not intendedfor commercialusein any
household
orfor anyothercommercial
purpose.
Polarized
plug
Toreduce
the
risk
of electricshock,this
appliancehasa polarizedplug
(orre
bladeis
widerthantheother).
This
plug
will fit in
a
polarized
outletonlyoneway. lf the
plug
does
not fit fully in the outlet,
reverse
the
plug.
lf it stilldoes
notfit, contacta quali-
fied
electrician
to install
the
proper
outlet.
Do not changethe
plug
in anyway.
ON-OFFSwitch
Plug
cord
into
elec-
tricaloutlet.
Toturn cleaner0N,
push
switchup.
To
turn cleaner
0FF,
push
switch
down.
Note: Toreduce
the
risk
ofelectric
shock,thisappli-
ancehas
a
polarizedplug
Ione
blade
is
wider
thantheother).
This
plug
will fit in a
polar-
ized
outletonlyoneway. lf the
plug
does
notfit fullyin theoutlet,
reverse
the
plug.
lf it stilldoes
notfit, contacta
qualified
electricianto installthe
proper
outlet. Do
notchange
the
plug
in anyway.
Self-propel
Thisfeatureallows
you to control
how
[H:r] thecleaner
Note: The
self-
propel
feature
operates
onlywhen
the cleanerswitch
and
the self
propel
button areboth ON.
Tomove
forward, push
handle
forwardand
guide
cleaneraway
fronr
you.
Tomove
backward,
gently
pull handle
back
and
guide
the
cleanertoward
you.
Guide
cleanercarefullyatfirst
untilyou have
adjustedto the
ease
of operation.
For
increased
control
in tight places
(e.9.,
aroundandunderfurniture,
non-carpeted
floors),
slidetheself-propelbutton
to OFFto
deactivatethefeature.
feature
Tra
nsportin
g
cleaner Ca
rryin
g
cleaner Handle
positions
Tomove
your
cleaner
from
room
to
room,
put
handle
inupright
position,
tilt cleanerback
on rear
wheelsand
push
forward.
The
cleanercan be
moved
by using
thecarrying
handle
Iocated
ontheback
of thecleaner.
The
handle
ofyour
cleanerhas
three
positions;
upright
for storage
and
when
usingclean-
ing
tools;operating
position
for general
operation
on carpet
andfloors;lowfor
reaching
underlow
furniture.
Stepon handle
re-
leaselever
to lower
handle.
.\-_-.
r.-l
',/
Embedded
DirtFINDER" featuf€ (some
modets
onty)
Withredand
green
lights
(A),
the'DirtFINDER'system
alerts
theuser
to areasof carpettlratmayneedmore
cleaningattention.lt isableto
sensewhen
larger
arnounts
of dirt
particles,
especially
entbeddeddirt,
areremoved.
To
letyouknow
thatthe'DirtFINDER'featureisready
the
redlight
will comeonwhen
thecleaner
isfirst
turnedon. After
a few
seconds,
the
red
lightwillgooff and
the
green
light
will comeon. Cleaning
may
then
begin.
The
green
light
willremain
on throughoutcleaning
exceptwhenthe
detector
senses
that
a
larger
amount
of dirt
is
being
picked
up;then
the
redlight
willcomeon.
(continued
on next
page)
(Fig.
2.7
Continued)
Whenthe
redlightis
on,
you shouldtake
additionalcleaningstrokes
in the
areauntil
it changes
to green.
o
Theredlightmayseldomcomeon during
cleaning.
Thismeansthat
your
cleaner
is
picking
upprimarily
fine
surfacedust
and
lint
whichthe
systemmaynotdetect,orthat
thecarpet
is
generally
clean.To
increase
the
feature'ssensitivityto dirt,set
tlre
switch
(B)
to the
"Hi"position.
o
At other
times,theredlightmaystayon
for
aconsiderable
amountof time. This
means
thatthecarpet
containsahigh
levelof dirt
whichisbeingremovedbythe
cleaner.
Todecreasethefeature'ssensitivity
to dirt,settheswitchto the
"Reg."
(Regulad
nosition.
Carpet
height
adjustment
When
it isneces-
saryto raise
and
lower
the front
of thecleaner
for
variouscarpet
pile
heights,slide
the
carpet
height
control (C)
to the
desired
setting.
Formaximum
cleaning
performance,
the followingcarpet
height
settingsare
recommended:
o Low
setting: foralltypes
of carpet
. Higher
settings:
for
verydeep
pile
carpet
whereeasier
pushing
effortis
desired,
while
maintaining
good
cleaning
performance.
Note:lf thecleaner
is
difficultto push,
slide
controlto the
nexthigher
setting.
Brushrollcontrol
Note:
Whenhandle
isinupright
position,
brush
rollis
auto-
matically
OFF.
Move
thebrush
roll
control
onlywhen
thehandle
isin
the
upright
position.
Slidecontrol
to
"Carpet"
toturn
brushroll0N
for
cleaningcarpetor
rugs.
Slidecontrol
to
"Hard"
toturnbrush
roll
0FFwhencleaning
barefloors.
Automaticbrush
When
redisin the
OFFwindow,
brush
rollis
ST0PPED.
When
redisin the
0N windowbrush
rollisROTATING.
rollindicator
Cleaning
lightweight
flexible
rugs
Standononeend
ofrugand
move
cleanertoward
otherendoredge.
Beforereaching
edge,
push
down
on
handle.This
will lift up the
front
of cleanerasshown
andwillprevent
rugfrom
clinging
to cleaner.
Continueto lift front
of cleanersothatwhen
you havereached
theedge,
it is
conrpletely
off the
rug. Movecleaner
back
to start
again,
lowerfront
of cleaner,anduseonly
forward
strokes.
Edge
cleaning
Specialedge
groomers
are pro-
videdonbothsides
of thefront
of the
cleaner
to rellrove
dirtin carpetnear
baseboardsand
fu
rn
iture.
Cuideeitherside
parallel
to the
edge
of carpetor
furniture.
toolcoverHowto attach
The
toolcover
isdesignedwith
a "break-away"
featurewhichal-
lows
it to snap
free
if it is
pushed
open
too far.
To
reattach,
align
hinges
of cover
with slotsonsides
of toolstoragearea.
Pushcoverdown to
secure
in place.
Howtocleantools
To
clean
thehose,wipeoff dirtwith acloth
dampened
in a milddetergent.Rinsewith a
damp
cloth.
Cleaningtools
may
bewashed
inwarm
water
with adetergent.
Rinseandairdrybefore
using.
Cleaningtools Qr
d_h
U
E"#
When
usingclean-
ing
tools,cleaner
handleshouldbe
in
the upright
position
to activate
the
automatic
"brush
rollOFF"and
for
convenience
in
movingthe cleaner
from oneareato
another.
TurncleanerOFF
beforedisconnect-
ing
andconnecting
hose
to hose
tube
(A).
Touse
hose,lift
hose
end
asshown.
Select
proper
tool
B.Dusting
brush
maybeused
for
carved
furniture,
tabletops,
books,
lamps,lighting
fixtures,venetianblinds,baseboards,shut-
ters,and
registers.
C.
Furniturenozzlemaybeused
for
up-
holstered
furniture,
draperies,
mattresses,
clothing,
automobile
interiors,and
carpeted
stairs.
D.
Crevicetool
maybeused
intightspaces,
corners
andalongedges
in
such
places
as
dresserdrawers,
upholstered
furniture,
stairs
andbaseboards.
E.Wands
are
usedto
give
extra
length
to
your
hose.Usethemwithanyoftheabove
tools.
F.Poweredhandtool
may
beused
for
upholstered
furniture,
carpeted
stairsand
hard-to-reaclr
places.
Attachwandandtools
Attachanytoolorwandto tlre
hose
(G)
by
pushing
it firmly
intohose.
Attach
second
wandortoolto wand
(H)
by
pushing
it firmlyontothewand.
Twistwandortoolslightlyto tightenor
loosen
theconnection.
Sta
ir
Cleaning
Usethe
hose
and
powered
hand
tool
orfurniturenozzle
for
staircleaning.
CAUTION:
To
prevent
the cleaner
from falling, always
place
it at the bot-
tom of the stairs.
Withhandle
in
upright
position,
clean
from bottorn
to top.
Extrareach
hose*
The
extra
reaclr
hose
provides
an
extra
20 foot reach
foreasierclean-
ing
of stairsand
hard
to reaclrhigh
pla
ces.
Attachhose
Push
ON/OFFswitch
toOFF
position.
Align
endofextra
reach
hose
with
projections
(l)
over
slots
(J)
in
dirt
duct.
Slide
hoseinto
(J)
and
twist
hose
to
lockit into
place.
(To
detach
hose,
reverse
procedure.)
Attach
wandsor
toolsto the
other
endof hose.
*Available
atad-
ditional
cost.
Checkbagindicator
Theindicator
(K)
willbeginto show
red
asthe
filter
bag
fills
with dirt.
Thereare
three
conditionsthatwill
causethe
indicator
to becomecom-
pletely
red:
l.
lf thebag
isfull;
changethebag.
2.If veryfinernaterialshave
been
picked
up,cloggingthebag
pores;
change
thebag.
3.
lf there
isa blockageatthefront of the
cleaner,
inthe
hose,
toolsoratthebag
opening;renrove
theblockage
(see
"Clearing
blockages"section).
3.
Maintenance
Familiarize
yourself
with thesehorne
maintenance
tasksas
proper
useand
careof
your
cleanerwill
ensurecontinued
cleaning
effectiven
ess.
Filter
bag
When
to replace
Checkfilter
bag
from
tinre
to time.Change
thefilter
bagwhen
it becomesfull. lf too
rnuch
dirtaccumulates.
vourcleaner
will not
operate
effectively.
Note: All new
carpethasloose
fiberswhich
canfill the bag
quickly
while
vacuuming.
This
typeof debrisdoesnot
activatethe
"Check
Bag"indicator,
available
onsome
models.
So,if you
areusing
the cleaner
on new
carpet,besureto change
the filter bagoften,
evenifyou have
a "Check
Bag"indicator
and
it doesnot
show
red.
CAUTION:Veryfine materials,
suchas
face powder,
cornstarch,fireplace
ashes
or
fireplace
soot,may
sealthefilter bagand
maycauseit to bursteventhough it isonly
partially
full of dirt. When
cleaner
is
usedto
remove
material
of thisnature,
change
filter
bagoften.