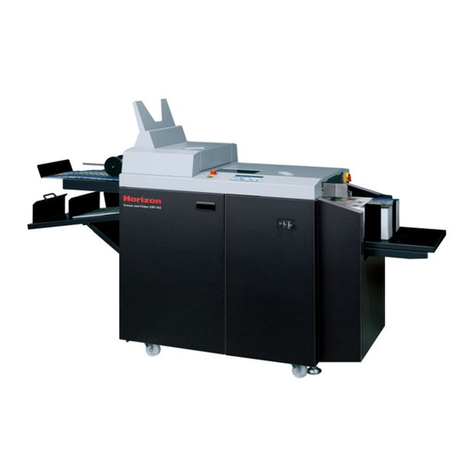
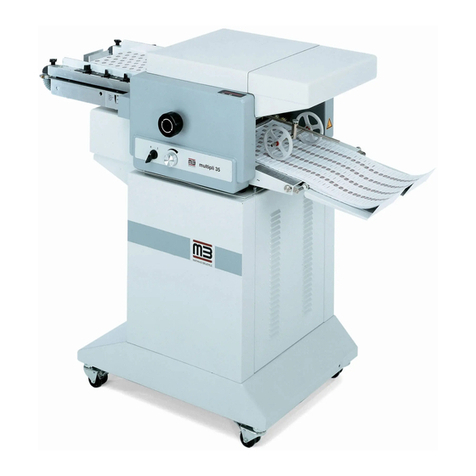
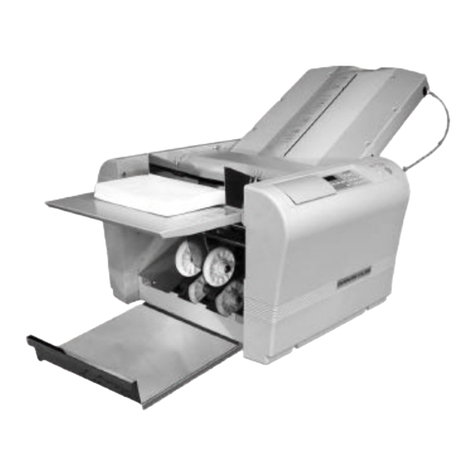
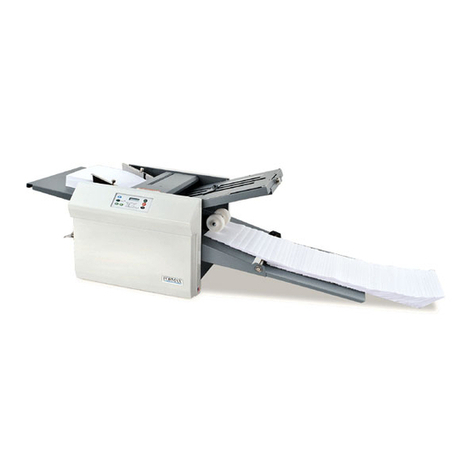
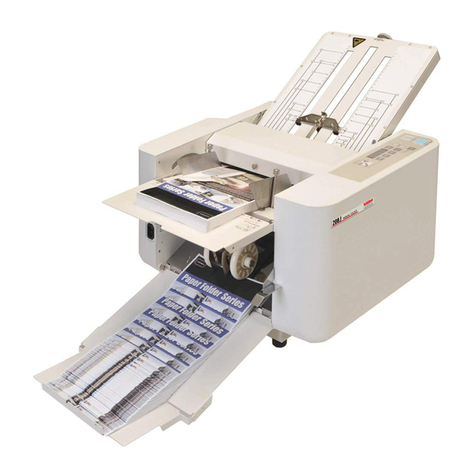
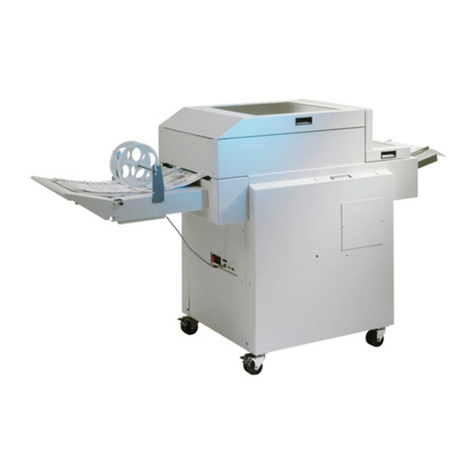
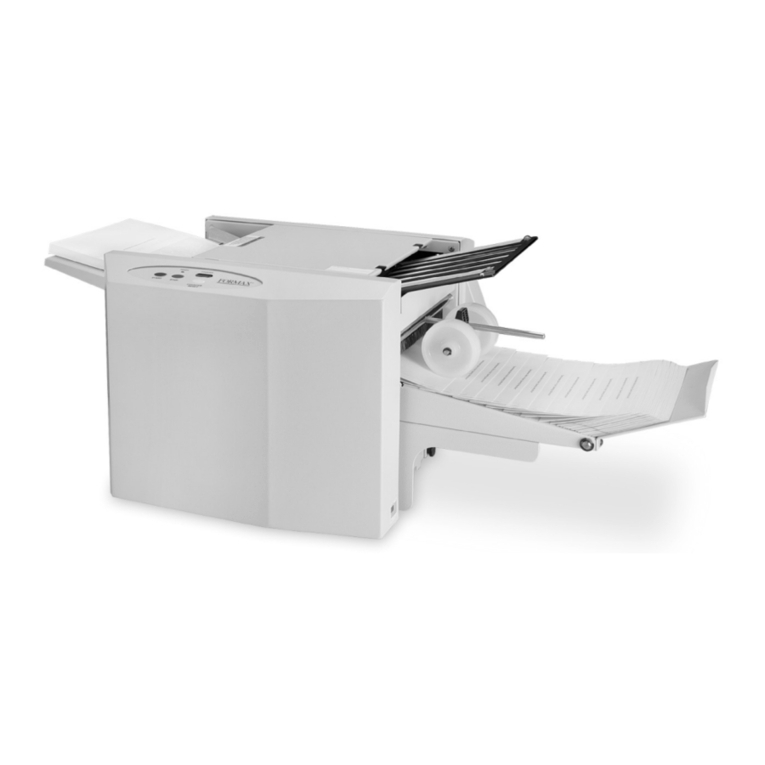
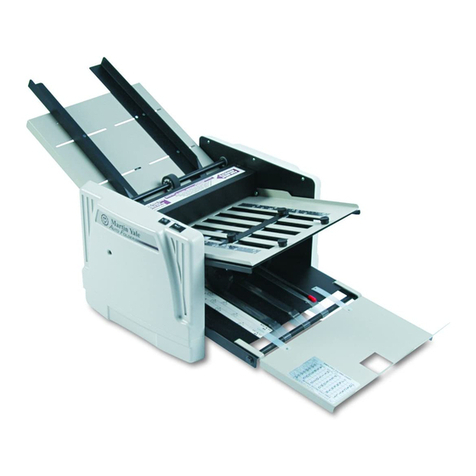
Horizon Fitness PF-P3100 User manual


I
• This manual is designed to help you to install, operate and maintain the PF-P3100
Paper Folder. Please read and understand this manual, and keep it in a safe and
convenient place.
• Do not operate the PF-P3100 until you read and understand the instructions in this
manual.
• Horizon International Inc. shall not be liable for incidental consequential damages
resulting from: improper or inadequate maintenance by the customer, unauthorized
modification or misuse, or operation outside of the environmental specifications for the
product.
• Horizon International Inc. pursues a policy of continuing improvement in design and
performance of the product. Therefore, the product design and specifications are
subject to change without prior notice and without our legal obligation.
• All rights are reserved. No part of this manual may be photocopied, reproduced or
translated to another language without the prior written consent of Horizon
International Inc.
Important Information
PF-P3100
PAPER FOLDER
PAPER FOLDER
070621/PFP3100/02E/HS UM203056-02

II
- Horizon International Inc. cannot anticipate every possible situation that might involve a
potential hazard. The instructions in this manual and warning labels on the machine are
therefore not all inclusive.
- All equipment shall be locked out or tagged out to protect against accidental or inadvert-
ent operation when such operation could cause injury to personnel. Do not attempt to
operate any switch, valve, or other energy isolating device where it is locked or tagged out.
- Do not operate the machines when any covers are removed.
- Some of the drawings in this manual show the machine uncovered for explaining the
detail or inside of machine.
Safety Precautions
Safety precautions are indicated in this manual as follows:
The term WARNING indicates a potentially hazardous situation which, if not
avoided, could result in death or serious injury.
The term CAUTION indicates a potentially hazardous situation which, if not
avoided, may result in serious injury, or damage to the machine.
This symbol indicates a note which includes important information. Follow the
note to operate the machine safely.
This symbol indicates a prohibited action. Do not perform any prohibited action.
This symbol indicates an essential procedure. Follow the procedure to operate
the machine safely.
Important • This lists the range of acceptable values and operating
conditions.
Attention • This information will help you to avoid problems with the
machine or help you learn how to operate the machine.
Note • Refer to this note when you operate the machine.
Additional
Information • This explains a mechanism in the machine.

III
Operating Safety Precautions
WARNINGS for Operation
CAUTIONS for Operation
WARNING for Installation
CAUTIONS for Installation
WARNING
This machine must be operated by
just one person at a time.
Turn off the power switch before cleaning or
replacing the feed rollers or the double feed
stop plate.
Do not remove any covers. Electrical
shock can cause severe personal
injury.
Do not touch any moving belts when
removing the sheets. This may cause
severe personal injury.
CAUTION
If you turn off the power switch, wait
about 10 seconds before turning it on
again. Otherwise, the P.C.board may
be damaged.
Do not turn the stopper knobs past
their normal range. This could cause
the sheets to jam, and may damage
the machine.
The stopper knob should only be
turned within a certain range. Do not
use force to turn the stopper knob.
Otherwise, the machine may be damaged.
If the stopper knob is heavy, sheets
may jam inside the buckle chute. Do
not rotate the stopper knob forcibly.
Otherwise, the machine may be damaged.
Span that the stopper knob can turn
smoothly is the movable range. Do
not turn the stopper knob by force.
Otherwise, the machine may be damaged.
WARNING
Be careful when plugging or unplugging the power cord. Do not overload the electrical out-
let supplying power to the machine. This could cause a fire or electrical shock.
CAUTION
Do not install the PF-P3100 in a location where
it will be exposed to direct sunlight, high tem-
perature or humidity.
Do not install the PF-P3100 in a loca-
tion which is dusty. This can cause a
fire or damage the machine.
Do not install the PF-P3100 near any
device which produces strong mag-
netic fields.
Do not install the PF-P3100 on an
unstable floor surface. This may allow
the PF-P3100 to fall over, and this can
cause severe personal injury. This can also
affect the performance of the machine.

IV
Let'sStart
Folding
Folding Standard Size Sheets •••••••••••••••••••••••••••••••••••••••••••••••••4
Correcting Folding Problems ••••••••••••••••••••••••••••••••••••••••••••••••••9
Advanced
Setup
Folding Custom Size Sheets ••••••••••••••••••••••••••••••••••••••••••••••••• 12
Cross Fold/12-Page Letter Fold ••••••••••••••••••••••••••••••••••••••••••••• 14
Additional Adjustments for Smooth Folding •••••••••••••••••••••••••••• 19
Troubleshoot-
ing
If an error code appears••••••••••••••••••••••••••••••••••••••••••••••••••••••• 22
Troubleshooting••••••••••••••••••••••••••••••••••••••••••••••••••••••••••••••••• 23
Maintenance
Removing Jammed Sheets: Fold Roller Section ••••••••••••••••••••••• 32
Removing Jammed Sheets: Buckle Chute ••••••••••••••••••••••••••••••• 34
Cleaning and Replacing the••••••••••••••••••••••••••••••••••••••••••••••••••••••••••••••• 35
Cleaning and Replacing the Fold Rollers••••••••••••••••••••••••••••••••• 38
Cleaning the Sensors •••••••••••••••••••••••••••••••••••••••••••••••••••••••••• 41
Installation Installation •••••••••••••••••••••••••••••••••••••••••••••••••••••••••••••••••••••••• 43
Appendix
Specifications •••••••••••••••••••••••••••••••••••••••••••••••••••••••••••••••••••• 46
Machine Description ••••••••••••••••••••••••••••••••••••••••••••••••••••••••••• 47
Fold Mechanism ••••••••••••••••••••••••••••••••••••••••••••••••••••••••••••••••• 49
Accessories••••••••••••••••••••••••••••••••••••••••••••••••••••••••••••••••••••••• 50
Consumables, Optional Parts ••••••••••••••••••••••••••••••••••••••••••••••• 51
Index •••••••••••••••••••••••••••••••••••••••••••••••••••••••••••••••••••••••••••••••• 52
Contents

1
1
2
3
5
6
7
4
Page 4
Page 5
Pages 5 and 6
Page 7
Page 6
Page 7
Set the stoppers.
Position the delivery roller.
Press once.
One sheet will be folded.
Check the folded sheet.
If there is a folding problem, see page 9.
If the sheet is folded correctly
Start folding.
Power Switch : ON
Place the sheets
Select job pattern and
sheet size on the touch
panel screen.
Raise the
feed tray
lever.
2
5
4
1
3 7
6
23056
10101A1
SS
LL
Align the pointer
for the stopper with
the illuminated LED.
Pointer
Stopper Knobs
Quick Guide Copy this page and post it in a prominent place. This will be helpful to the
operators.

Quick Guide
2
23056
10101B1
1
2
ABC
1
2
1
2
1
1
2
1
2
Single Fold
Parallel Fold
Short Fold
Letter Fold
Accordion Fold
Gate Fold
Speed Button
This button selects the
folding speed.
Sheet Size Select Button
This button selects the size of the sheet to be folded.
Clear Button
This button resets the number of folds to zero.
Display
0, 1, 2, - - - : Number of folds
H1 to H4 : Delivery Roller Position (Refer to page 6)
E1 to E7 : Error Code (Refer to page 22)
Fold Pattern Select Button
This button selects the fold pattern.
Start/Stop Button
This button starts or stops the
folding.
Test Button
This button feeds one sheet for
test folding.
Control Panel
Selecting the Sheet Size and Fold Pattern
1 = Fold location set by 1st stopper knob 2 = Fold location set by 2nd stopper knob
= Indicates the back side of the sheet.
- When you are only making a single fold, the 2nd stopper knob can be set any position.

3
Let's Start Folding
Folding Standard Size Sheets................................. 4
Correcting Folding Problems .................................. 9
Let’s Start Folding
This section explains how to prepare the folder and perform some basic
operations.

Folding Standard Size Sheets
4
This section explains how to fold standard size sheets (A4, A3, B5 and B4).
Attach the support table.
Open the delivery tray.
- This tray receives the folded sheets.
Attach the delivery roller.
- Insert the rear end of the pin in the rear hole, and push
back in the direction shown by arrow 1. Pull the front
end of the pin into the front hole in the direction shown
by arrow 2.
Plug the power cable into an outlet.
Turn on the power switch.
- If the machine waits more than 3 minutes before being
used, it goes into power saving mode.
Lower the feed tray lever.
- The feed table lowers so you can add sheets.
23056
20101A1
Delivery Tray
Support Table
23056
20101B1
Delivery Roller
1
2
23056
20101C1
Power Switch : ON
Be sure to connect the
ground wire.
WARNING
When plugging in or unplugging the unit, do
not overload the electrical outlet supplying
power to the machine. This could cause a
fire or electrical shock.
23056
20101D1
Folding Standard Size Sheets

Folding Standard Size Sheets
5
Let's Start Folding
Fan or separate the sheets.
- If the ink on the sheets is wet, allow them to dry before
folding. Wet ink can stain the fold rollers or rub off onto
the other sheets. Wet ink can also cause the paper
feed problems.
- If you are going to fold paper from a photocopier, wait
about 30 minutes to reduce any static electricity.
- Fan the sheets completely and stack them evenly.
Uneven stacking can cause jams or misfeeds. Uneven
stacking can also affect the fold accuracy and delivery
stacking.
- If the sheets are bent or curled, straighten them before
stacking.
Load the sheets in the feed table.
- Push the end of the stack of sheets toward the feed
roller and align the stack with the size marks on the
support table.
- Move the sheet guides against the sides of the stack.
- Do not push the guides too hard against the stacked
sheets, and do not leave any gaps between the
guides and the stacked sheets
Set the support rollers.
- Set the two outer rollers about 10 mm (0.39”) inside the
edges of the stacked sheets.
- Space the other support rollers evenly.
Select the sheet size.
- Press the Sheet Size Select button to select the correct
sheet size.
- To fold custom size sheets, refer to "Folding Custom
Size Sheets" on page 12.
23056
20101E1
23056
20101F1
Toward feed
roller.
1
2
Sheet Guides
23056
20101G1
Support Roller
10 mm (0.4") 10 mm (0.4")
Feed Roller
Feed Roller
Feed Roller
Stacked
Stacked
Sheets
Sheets
Stacked
Sheets
Select the sheet size.
23056
20101H1

Folding Standard Size Sheets
6
Select the fold pattern.
- Press the Fold Pattern Select button to select the
correct fold pattern.
Select the fold speed.
- Press the Speed button to set the correct speed mode.
Set the delivery roller.
- Once the sheet size, fold pattern and fold speed have
been set, the delivery roller position (H1 to H4) will be
displayed.
- Move the delivery roller assembly to the position
indicated on the display.
- When the rollers are set in the indicated position,
heavier sheets may be bounced back by the rollers.
If this happens, move the roller slightly to the left
(downstream).
23056
20101I1
Select the fold pattern.
23056
20101J1
Select the fold speed.
2
3056
2
0
1
0
1K
1
H4
H3
H3
Nip, then move.
Display

Folding Standard Size Sheets
7
Let's Start Folding
Note: If you select High speed folding
Set the stopper positions.
- Turn the 1st and 2nd stopper knobs to align the stopper
pointers with the illuminated LEDs.
- If High speed is selected, see the note at the bottom of
the page, and also adjust the position of the delivery
rollers.
Lift the feed tray lever.
- The feed tray raises and the delivery belts begin to
move.
Press the Test button.
- One sheet will be folded.
- Check the folded sheet.
- If the folding is not correct, refer to "Correcting Folding
Problems" on page 9. After making an adjustment,
press the Test button again and check the fold.
- If you select High speed, set the stopper position 1
mm shorter than the normal stopper position.
(This is because the faster feed speed causes the
sheets to bend.)
- To set the stopper 1 mm shorter than the normal
position, align the stopper pointer with the left edge
of the lamp.
23056
20101M1
SS
L
L
Align the pointer for
the stopper with the
illuminated LED.
Pointer
1st Stopper Knob
2nd Stopper Knob
23056
20101N1
23056
20101O1
Press the Test button.
23056
20101P1
To set the stopper position
1mm (0.04") shorter, align
the stopper pointer with the
left edge of the LED.
1 mm
(0.04")
Pointer

Folding Standard Size Sheets
8
To reset the sheet count to 0, press the
Clear button.
- If the power is turned off, and then on again, the sheet
count will be reset to zero.
Start folding using the Start/Stop
button.
- The machine will start to fold sheets.
- The display will show the number of sheets folded. Be
sure to keep track of the count for any jammed sheets.
To pause the machine
- Press the Start/Stop button.
- Lower the feed tray lever.
To resume folding
- Raise the feed tray lever.
- Press the Start/Stop button again.
When the folding job is complete
- Lower the feed tray lever, then turn off the power switch.
- Unplug the power cable.
23056
20101Q1
Press the Clear button.
23056
20101R1
Press the Start button.
23056
20101S1
Press the Stop button.
23056
20101T1
Power Switch: OFF

9
Let's Start Folding
Two types of folding problems
- Uneven Folding; Refer to the instructions below.
- Fold Skewing: Refer to the instructions on the next page.
- If uneven folding and fold skewing happen at the same time, correct the skewing first. See the instructions on the next
page.
Correcting Uneven Folding
Correcting for uneven folding
Use the stopper knobs to correct uneven
folding.
- Turn each stopper knob by small amount, and then
check the fold.
- If the folding problem cannot be corrected following
the instructions on these pages 9 and 10, refer to "If
there is a fold problem:" on page 23.
- The illustration below shows the sheet as it is
delivered into the delivery tray. Turn the stopper knob
to change the length of the part of the sheet.
23056
20201F1
SS
L
L
1st Stopper Knob
2nd Stopper Knob
Gate Fold
Accordion Fold
Letter Fold
Short Fold
Parallel Fold
Single Fold
Gate Fold
Accordion Fold
Letter Fold
Short Fold
Parallel Fold
Single Fold
Appearance of
Delivered Sheet 2nd Stopper Adjustment Appearance of
Delivered Sheet 1st Stopper Adjustment
23056
20201A1
Lengthen the part in the direction
by turning toward S
Shorten the part in the direction
by turning toward L
Lengthen the part in the direction
by turning toward S
Shorten the part in the direction
by turning toward L
Lengthen the part in the direction
by turning toward S
Shorten the part in the direction
by turning toward L
Lengthen the part in the direction
by turning toward S
Shorten the part in the direction
by turning toward L
Lengthen the part in the direction
by turning toward L
Shorten the part in the direction
by turning toward S
Lengthen the part in the direction
by turning toward S
Shorten the part in the direction
by turning toward L
Lengthen the part in the direction
by turning toward L
Shorten the part in the direction
by turning toward S
Lengthen the part in the direction
by turning toward S
Shorten the part in the direction
by turning toward L
Lengthen the part in the direction
by turning toward L
Shorten the part in the direction
by turning toward S
Lengthen the part in the direction
by turning toward S
Shorten the part in the direction
by turning toward L
Lengthen the part in the direction
by turning toward S
Shorten the part in the direction
by turning toward L
Correcting Folding Problems

Correcting Folding Problems
10
Correcting Fold Skewing
NOTE
Example of skewed fold
Correct the skewed fold.
- Adjust the angle of the feed guide using the fold skew
correct lever.
- In the default position, the fold skew correct lever is
aligned with the red dot on the feed table.
23056
20201B1
23056
20201C1
Fold Skew Correct Lever
Default Position
23056
20201D1
Delivery
Direction
If the fold is skewed
like this -
23056
20201E1
Delivery
Direction
If the fold is skewed
like this -

Advanced
Setup
11
Folding Custom Size Sheets................................. 12
Cross Fold/12-Page Letter Fold............................ 14
Additional Adjustments for Smooth Folding .......... 19
Advanced Setup
This section includes set up instructions for custom sheet sizes and fold patterns.

12
This section shows the setup procedure for folding custom size sheets..
Fold the sheet to the desired fold
pattern.
Measure the length of each folded part.
- Use these lengths to set the positions of the 1st stopper
and 2nd stopper.
For different kinds of folds, you will measure different
parts of the sheet. See the note on the next page.
Select the fold pattern.
- On pages 4 and 5, follow the steps from "Attach the
support table." to "Set the support rollers." Select the
fold pattern using the Fold Pattern Select button.
Set the stoppers.
- Adjust the 1st stopper to match the 1st measured
length, and the 2nd stopper to match the 2nd measured
length.
- Complete the setup for the stoppers. On page 7,
follow the steps starting with "Lift the feed tray
lever."
23056
30101A1
23056
30101B1
23056
30101C1
Select the fold pattern.
23056
30101D1
SS
LL
Ex: Adjust to 250 mm (25 cm)
1st Stopper Knob
2nd Stopper Knob
CAUTION
- Turn the stopper knobs gently. If the
stopper reaches the end of its normal
range, do not turn the stopper knob any
further.
Folding Custom Size Sheets

Folding Custom Size Sheets
13
Advanced
Setup
Advanced Setup NOTE
- 1 = Set this length using the 1st stopper knob 2 = Set this length using the 2nd stopper knob
Shows the front or face of the printed sheets.
- When you are doing single folds, the 2nd stopper knob can be set any position.
23056
30101E1
ABC
ABC
ABC
ABC
ABC
ABC
ABC
ABC
ABC
ABC
ABC
ABCABC
ABCABC
ABCABC
ABCABC
ABCABC
ABCABC
1
1
2
1
2
1
2
1
2
ABC
1
2
a
Single Fold
Appearance of delivered sheet
Front side down
(face down).
Parallel Fold Front side down
(face down).
Short Fold Front side up
(face up).
Letter Fold Front side down
(face down).
Accordion Fold
Front side down
(face down).
Gate Fold Front side down
(face down).
If the length of part 1 is too long, the
edge of this part will be folded.
If part a is open too far, the machine may
jam or do double step folding.

14
This section shows how to do cross folds and 12-page letter folds with A3 size sheets.
NOTE
- It may be difficult to make accurate 2nd folds on sheets
which are wider than 210 mm (8.5").
- This machine will do cross folds or 12-page letter folds
on sheets of up to 64 gsm (18# bond or 43# book).
About the cross fold
- The single fold is made first. Next the machine makes
two second folds across the first fold. When the folded
sheet is opened, the two fold lines will cross.
About the 12-page letter fold
- The single fold is made first. Next the machine makes
two second folds across the first fold.
Make a single fold.
- Set the machine to make the single fold according to the
instructions in "Folding Standard Size Sheets." Refer to
pages 4 through 8. Press the folded edge of the sheet
firmly.
- If the folded edge is not pressed firmly, the corner of
the sheet will be folded as shown in the figure to the
left.
23056
30201A1
Cross Fold
23056
30201B1
12-Page Letter Fold
23056
30201C1
23056
30201D1
Cross Fold/12-Page Letter Fold

Cross Fold/12-Page Letter Fold
15
Advanced
Setup
Load the sheets on the feed table.
- Follow the procedure listed in "Let’s Start Folding" on
page 3 and load the sheets on the feed table.
- Load the sheets so that the folded edges are close to
the center of feed table so the sheets feed smoothly.
In the figure to the left, the folded edges are placed
facing the operator side of the machine.
- Do not stack the sheets more than half of the height of
the feed guide. If too many folded sheets are loaded
onto the feed table at once, the sheets may not be fed
straight.
Set the feed guides.
If the width of the folded sheets is less than
185 mm (7.2"):
1. Set the front side feed guide (1) as far back as
possible.
2. Push the stack of sheets against the front side feed
guide (1).
3.Set the rear side feed guide (2) so that it just
touches the stack.
If the width of the folded sheets is 185 mm
(7.2”) or more:
1.Set the rear side feed guide (1) as far back as
possible.
2. Load the sheets against the rear side feed guide
(1)
.
3.Set the front side feed guide (2) so that it just
touches the stack.
Set the support rollers.
- Set the support rollers about 20 mm (0.78”) inside both
edges of the stack.
- Space the other support rollers evenly.
23056
30201E1
Towards the
feed roller.
Folded Edges
23056
30201F1
Sheet Guides
1
2
Less than
185 mm (7.2")
23056
30201G1
Sheet Guides
1
2
185 mm (0.20")
or more
23056
Support Roller
20 mm (0.79") 20 mm (0.79")
Feed Roller
Feed Roller
Feed Roller
Sheets
Sheets
Sheets
Other manuals for PF-P3100
1
Table of contents
Other Horizon Fitness Folding Machine manuals

Horizon Fitness
Horizon Fitness SPF-20A User manual
Horizon Fitness
Horizon Fitness SPF-10II User manual

Horizon Fitness
Horizon Fitness PF-P280 User manual

Horizon Fitness
Horizon Fitness CRF-362 User manual

Horizon Fitness
Horizon Fitness H-1000XP User manual

Horizon Fitness
Horizon Fitness PF-P3100 User manual

Horizon Fitness
Horizon Fitness SPF-10 User manual
Horizon Fitness
Horizon Fitness PF-P320 User manual

Horizon Fitness
Horizon Fitness AFC-566F User manual

Horizon Fitness
Horizon Fitness PF-P330 User manual