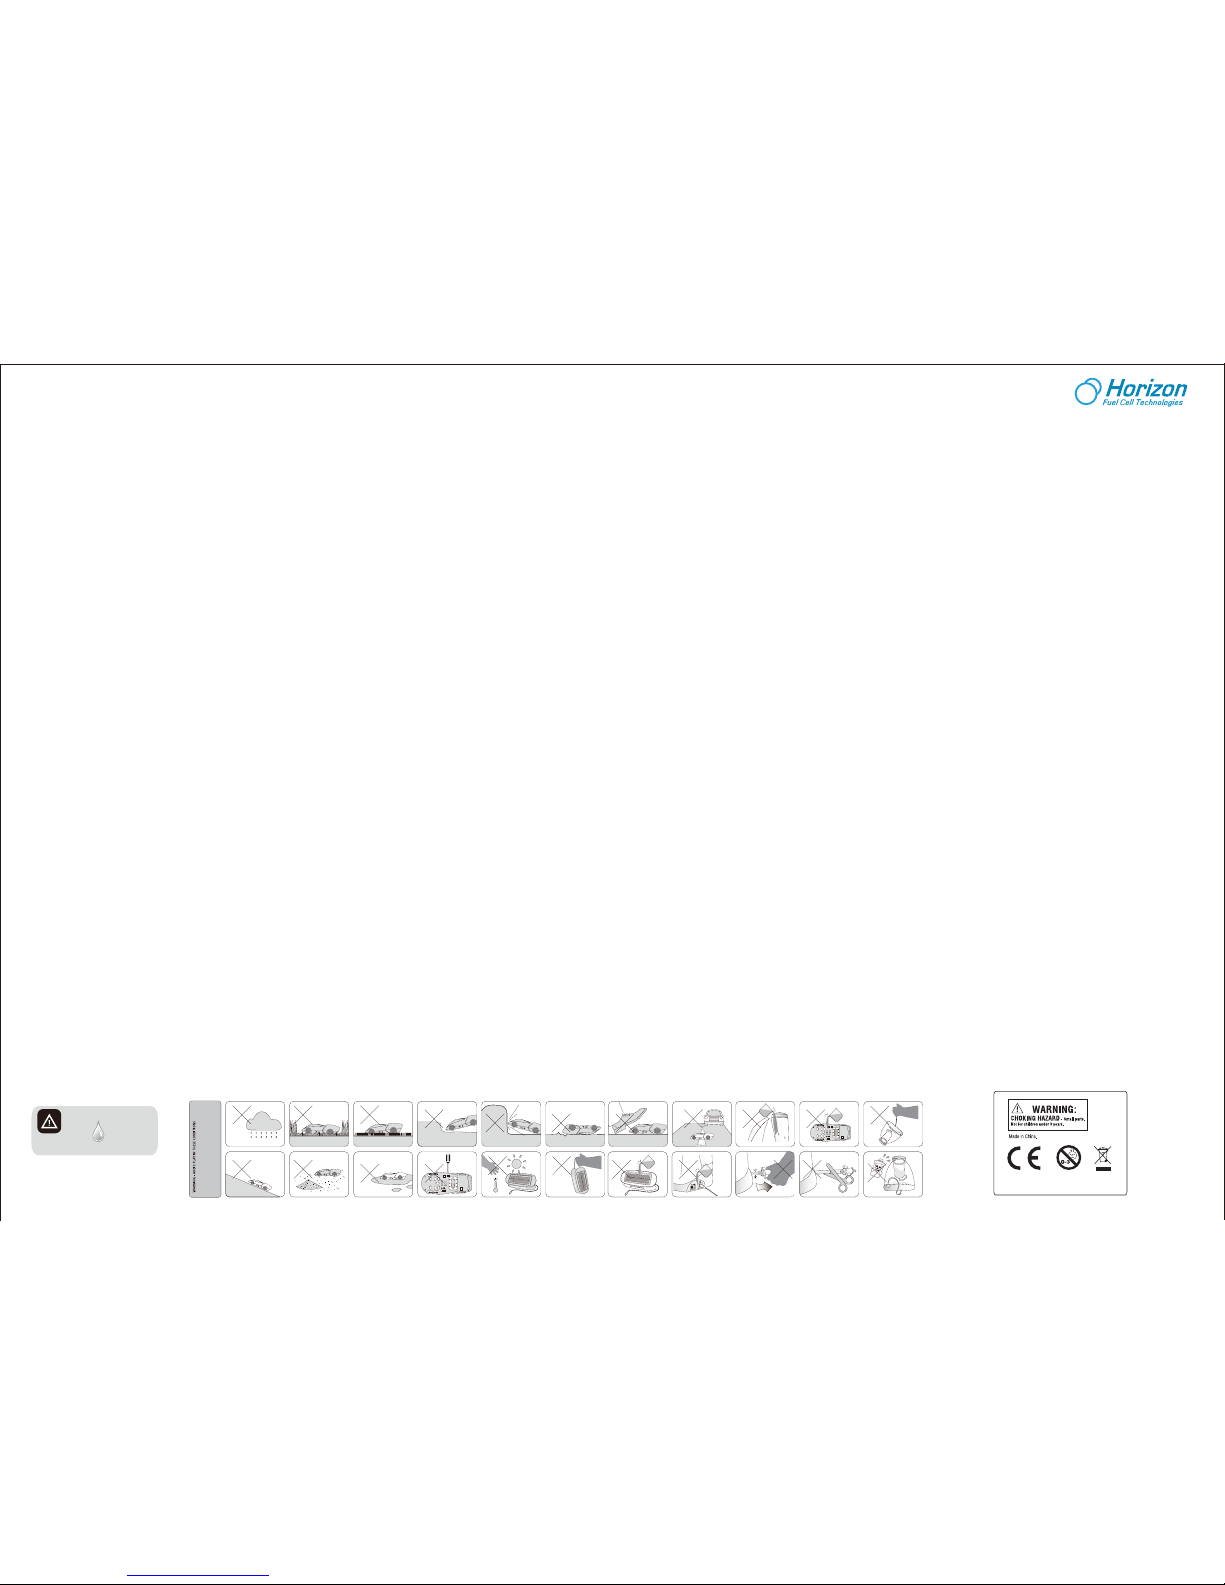
i-H2GO_UM_EN_V1.1
4. CONNECT THE CAR TO THE REFUELING STATION
TO CHARGE THE CAPACITOR
Connect the “Hydrogen Hose” to the car’s “Female
Input Valve” push lightly unl it locks. The le
LED in the refueling staon should flash red. When
the le LED turns from red to green, the capacitor is
fully charged.
3. PRODUCE HYDROGEN
Switch the refueling staon to “ON”. You will noce 2 bright blue
LED lights, bubbles coming out from the outlet and the plunger
should be slowly rising. If this is not happening, please refer to
the note below or the trouble shoong secon. When the
plunger stops rising and there are no more bubbles, the tank is
full and the electrolysis process stops automacally.
Note: During hydrogen producon, bubbles should be
connuously coming out from the outlet. If there are no
bubbles coming out, and the refueling staon is fully charged,
posion the p of the syringe on the outlet where the bubbles
are released from, and use the syringe to suck in some water.
You can add this extra water to the water tank. Repeat this step
several mes unl you see bubbles coming out of the outlet.
5. PURGE THE IMPURE GAS
Check the water window on the back of the refueling
staon. If there is water inside, go to step 8 to drain
water first.
If there is no water visible inside the window, proceed
directly to next step.
a. Switch the car to “OFF”.
b. Press the car’s purge valve for 1 second and release.
c. Push down the refueling staon’s plunger about 1/3
of the way slowly and carefully to fill the car’s
“Hydrogen Balloon”.
d. Press the car’s "Purge Valve" to release impure
hydrogen unl the "Hydrogen Balloon" is empty. You
must do this EVERY TIME you fill the car.
Note: The small amount of hydrogen you put in the car
must be purged in order to remove the impuries from the
system. If the impuries are not purged, the i-H2GO will
either not work, be very slow, or the running me will be
reduced.
Press
Release
USER MANUAL
7. WARM-UP THE CAR
This is a very important step for your car to operate
correctly.
a. Set the “ON/OFF/WARM UP” Switch on the
boom of the car to the “WARM UP” posion.
b. Wait unl the hydrogen in the fuel tank is empty.
c. Switch “OFF” the car.
d. Wait unl the plunger has finished rising and the
bubbles stop. Then complete steps 4-7 a few mes.
Now your i-H2GO is warmed and ready to go.
Note: If the balloon does not empty completely, or
stops emptying, use the “Purge Valve” to release
the hydrogen.
Download the i-H2GO APP
on your handset or tablet
Pairing the i-H2GO with your iPhone, iPad or iPod Touch
Works with iPhone, iPad and iPod Touch with iOS 4.3+
1. Download iTunes from www.apple.com.
2. Install iTunes on your computer.
3. Open iTunes and log on to APP STORE.
4. Search for “i-H2GO” and download it
to your computer.
5. Install i-H2GO to your iPhone or iPad
FCJJ-25
Parts List secon
8. DRAIN WATER FROM REFUELING STATION
Be sure to take the refueling staon to a place that can
capture the water safely.
1) If the plunger is up:
a. Open “Rubber Cap” (see photo).
b. Press down the plunger all the way slowly and
carefully.
c. Replace “Rubber Cap” securely.
d. Wipe away any water.
OR
2) If the plunger is not up:
a. Open the “Rubber Cap” (see photo).
b. Lightly li the plunger about 1/3 of the way.
c. Push the plunger down slowly.
d. Replace “Rubber Cap” securely.
e. Wipe away any water.
Note: It is recommended to remove water from the
refueling staon aer using 5-6 tanks of hydrogen and
when you are finished playing with your i-H2GO.
Controlling the i-H2GO
When you open the applicaon you will see the following:
SPEED LOCK CONTROL
1. Touch the “Speed lock funcon” (3).
2. Set the desired speed using the “Throle control” (1) by moving it forward or
backward and then release.
3. The car will run at the same speed.
5
SCREEN TOUCH MOTION CONTROL:
1. Moving the “Throle control” (1) up moves the car forward.
2. Moving the “Throle control” (1) down moves the car backward.
3. Moving the “Direcon sck” (5) to the le, the car turns le.
4. Moving the “Direcon sck” (5) to the right, the car turns right.
2 3
4
1
2. ADD WATER
Carefully fill with purified/dislled water to a level covering the
“Bubble Outlet”. Even clean tap water will reduce the lifeme of
the refueling staon. Avoid over-filling.
Note: Purified/dislled water must be used or else you
will damage the refueling staon.
Just 8 steps and you are ready to i-H2GO!
You must complete all 8 steps for your car to work correctly.
1. CHARGING THE REFUELING STATION
10 - 16 HRS
Make sure the refueling staon is switched “OFF” when charging. Even if your staon
produces hydrogen immediately, you must charge it unl the
LED on the right side of the staon turns green.
5-6 HRS
Note: Some computers do not charge the staon in the sleeping or off mode. The
refueling staon should be in the "OFF" posion when being charged. To protect the
refueling staon DO NOT use the staon while you are charging it. When charging you
can see the right LED is red. Charging is complete when this light turns green and then
you can unplug and use the refueling staon. A fully charged staon should fill up the car
about 10 mes.
SOLAR CHARGING: The refueling staon can be fully
recharged using the included Solar Power plant
(charge me is 10 hours minimum in direct strong
sunlight). 16 hours is preferred for ulmate
performance - it is recommended to recharge any
me the unit is unused. The refueling staon is
fully charged when the right LED light turns green.
Or USB CHARGING: It will take 5-6 hours to fully
charge the refueling staon before use.
6. FILL THE CAR’S TANK WITH HYDROGEN
a. Slowly and carefully push the plunger all the way
down to fill the car’s fuel tank with the remaining
hydrogen.
b. Be sure the le LED light in the refueling staon turns
green before going to “C”.
c. Disconnect the “Hydrogen Hose” from the “Female
Input Valve” – the car’s tank is full of hydrogen but now
it needs to be warmed up! Be careful, do not touch the
“Purge Valve” while disconnecng the car or you will
purge the hydrogen from the tank.
d. Once the car is fully charged, the hydrogen producon
will automacally start up again if the staon is in the
“ON” posion. Leave the staon “ON” if you want to
connue to use the car.
Note: Once the le LED light turns green, which mean
the car is ready, the hydrogen producon will start
again automacally.
6
OR 1. Log on to APP STORE.
2. Search for “i-H2GO” and download it
to your iPhone or iPad.
3. Install i-H2GO to your iPhone or iPad.
2. Go to Bluetooth in your device's Sengs
3. Turn Bluetooth on, it will take a second to search for devices.
1. Turn the ON/OFF/WARM UP Switch to "ON", you can see the blue lights in the car are flashing.
4. Select i-H2GO. When prompted for a PIN code enter: 0000 and press “Pair”.
5. Wait unl you see it display “Connected”. You can now exit sengs and open the i-H2GO
applicaon.
Pairing the i-H2GO for the first me
R1
R2
R3
R4
R5
R6
R7
R8
R9
R10
R11
R12
R13
R14
R1 Bubble Outlet
R2 Water Tank
R3 Water Inlet
R4 Electrolyzer
R5 Hydrogen Hose
R6 Base
R7 Plunger
R8 Gas Window Marking
R9 Hydrogen Storage Tank
R10 Water Window
R11 Rubber Cap
R12 Hydrogen Male Output Valve
R13 ON/OFF Switch
R14 DC Input Jack
C1 Hydrogen Fuel Tank
C2 Hydrogen Balloon
C3 Car Pairing L.E.D.
C4 Purge Valve
C5 Female Input Valve
C6 Rubber Tires
C7 Fuel Cell Ventilation Holes
C8 Hydrogen Fuel Cell
C9 ON/OFF WARM-UP Switch
S1 Solar Power Plant Accessary
S2 Hinge Tilt with +/- 45 Degrees
S3 Power Output Plug
Refueling Station
Solar Panel
S1
S2
S3
i-H2GO car
USB Cable
C1
C2
C3
C4
C5
C6
C7
C8
C9
Syringe with Tube
When you use the “GYRO” (4), “Speed lock” (3) to control the car, we suggest you
build up speed slowly and carefully.
GYRO CONTROL
1. Tap the “GYRO steering funcon” (4).
2. To turn the car le, lt your device to the le.
3. To turn the car right, lt your device to the right.
It is recommended to recharge the refueling staon any me the unit is not used.
The refueling staon is fully charged when the right LED light turns green.
6
TAP THE TO GET THE FOLLOWING INTERFACE
SCREEN TOUCH MOTION CONTROL:
1. Moving the “Throle control” (3) up moves the car forward and the speed locks.
2. Moving the “Throle control” (3) down moves the car backward and the speed locks.
3. Use the “Le Turn Control” (1) to move the car le.
4. Use the “Right Turn Control” (5) to move the car right.
4
3
1
NOTES: Once your car has been connected to your iPhone, you will not have to
re-connect it for further use. But if your car has been connected to another
iPhone, and you want to use your own phone to run the car, you have to
reconnect them again.
1. Throle Control (accelerate, brake and reverse)
2. Change Control Mode
3. Speed Lock Funcon
4. Gyro Steering Funcon
5. Direcon Sck (right and le)
6. Go To Instrucons
CONTROL MODE 2
When you use the “Throle Control” (3) sengs to control the car, we suggest
you build up speed slowly and carfully.
1. Le Turn Control
2. Change Control Mode
3. Throle Control
4. Go to Instrucons
5. Right Turn Control
2
5