manuals.online logo
Brands
  1. Home
  2. •
  3. Brands
  4. •
  5. Hoshizaki
  6. •
  7. Ice Maker
  8. •
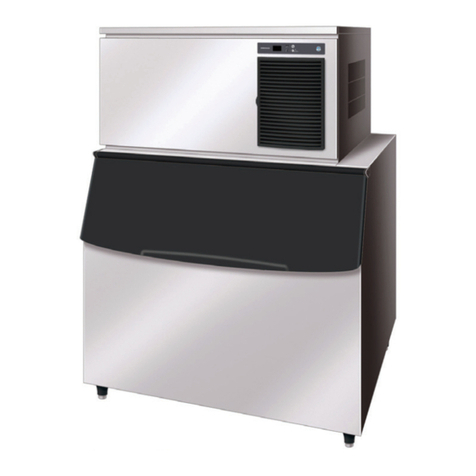
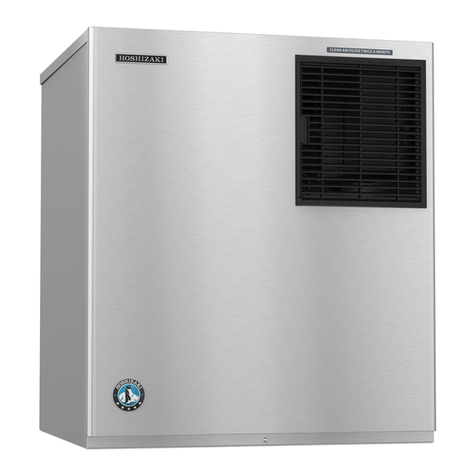
  9. Hoshizaki KM-1301SRH/3 User manual

Hoshizaki KM-1301SRH/3 User manual

Cleaning Prep:
Remove the Front Panel, move the control switch to OFF.
After 3 min., move the switch to ICE, then replace the panel
.
After 3 min., remove the Front Panel, move the switch to OFF.
Remove all ice from the ice storage bin and/or dispenser.
WARNING! IF ON DISPENSER, turn off the dispenser power
supply after dispensing all the leftover ice.
Cleaning:
Remove the Front Insulation Panel, remove the Drain Plug. After the water tank
has drained, replace Drain Plug. Replace the Front Insulation Panel.
NOTICE! DO NOT cross thread the drain plug.
Refill water tank by moving the control switch to ICE,
replace the Front Panel. After 3 minutes, remove the
Front Panel, then move the control switch to OFF.
Remove the Front Insulation Panel. Pour Hoshizaki
Scale Away into the water tank (see Table).
Replace the Front Insulation Panel. Turn the cleaning valve left until completely
vertical (open).
NOTICE! AVOID EXCESSIVE FOAMING, wait
1 minute before next step.
Ice Machine
KM-1301SAH/3, SWH/3, SRH/3
KM-1601SAH/3, SWH/3, SRH/3
KM-1900SAH/3, SWH/3, SRH/3
KM-2100SWH3, SRH3
KM-2500SWH3, SRH3
OPEN
3
min.
Sanitizing:
•Fill the water tank
•CLOSE the cleaning valve
•Move control switch to ICE,
replace the front panel
•After 3 minutes, remove the
front panel
•Move control switch to OFF
•Remove the front insulation
panel
•Pour chlorine bleach* into the
water tank (see below)
KM-1601 and smaller
3.75 fl. oz (110 ml)
KM-1900 and larger 5 fl. oz (148 ml)
•Replace the front insulation
panel
•OPEN the cleaning valve
* Use bleach without additives.
Additives cause excessive foaming, and
reduces effectiveness of the cleaning.
•Wait 1 minute to avoid
excessive foaming
•Move control switch to WASH,
replace the front panel
•After 45 minutes, remove
the front panel
•Move control switch to OFF
3
min
3
min.
Cleaning & Sanitizing
AMMONIA
Cleaners
The ice maker must be cleaned & sanitized at least once a year.
WARNING!
DO NOT leave icemaker
unattended when panels are off
continued on the back…
Tech Support: 1.800.233.1940
1
2
3
4
14
15
16
17
5
6
Front View of Ice Maker with Front Panel removed
#51002 | 7.21.2016
Page 1
Move the control switch to WASH, replace Front Panel.
After 30 minutes, remove Front Panel, then move the
control switch to OFF.
NOTICE! DO NOT leave the control switch on WASH
for extended periods when water tank is empty. It will
damage water pump seals.
Remove the Front Insulation Panel, remove the Drain Plug. Clean all items (See
Step 10). Once water tank has drained, replace all items.
In bad water conditions, a more thorough cleaning may
be required. Turn off power supply, clean all items in a
solution of 5 oz. of Scale Away per gallon of warm
water. Rinse and replace the cube guides, float switch,
water supply tubes, spray tubes and spray guides. Turn
on power supply. Otherwise, continue to Step ⓫.
Cleaning Rinse:
Turn the cleaning valve to the right until completely
horizontal (closed). Move the control switch to ICE,
replace Front Panel. After 3 minutes, remove the
Front Panel, move switch to OFF.
NOTICE! ICE MACHINE WILL NOT WORK,
unless valve is completely closed.
Turn the cleaning valve to the left until completely
vertical (open). Move the control switch to WASH,
replace the Front Panel. After 5 minutes, remove
the Front Panel, switch to OFF.
Remove the Front Insulation Panel, then remove
the Drain Plug. After the water tank has drained,
replace all items. Continue to Sanitation – Step ⓮
on front...
Tech Support: 1.800.233.1940
CLOSE
CONTROL PANEL
ICE >3 minutes >OFF
OPEN
30
min.
Page 2
#51002 | 7.21.2016

sanitizing continued…
•Remove the front
insulation panel and drain
plug
•After the water tank has
drained, replace drain plug and
front insulation panel
RINSE 1: (Steps 19-21)
•CLOSE cleaning valve
•Move control switch to ICE,
replace the front panel
•After 3 minutes, remove the
front panel
•Move control switch to OFF
•OPEN cleaning valve
•Move control switch to WASH,
replace the front panel
•After 5 minutes, remove the
front panel
•Move control switch to OFF
•Remove the front
insulation panel and drain
plug
•After the water tank has
drained, replace drain plug and
front insulation panel
RINSE 2 & 3: (Steps 22-28)
•Repeat 2x (Steps 19–21) for
complete ice/food safety
•Clean the dispenser /
storage bin liner with a
neutral cleaner (dish soap)
•Rinse thoroughly
•CLOSE cleaning valve
•Move control switch to ICE,
replace the front panel
•Replace all panels in their
correct positions
CONTROL PANEL
WASH >5 minutes > OFF
DOWNLOAD COMPLETE
INSTRUCTION MANUAL:
hoshizakiamerica.com/support
Type in the model number of your
ice machine (including dashes) to
download manuals
OPEN cleaning valve:
•
To allow cleaning solution flow to
the inside the evaporator
•
Turn left to open (vertical)
CLOSE cleaning valve:
•
Must be closed for normal ice
making operation
•
Turn right to close (horizontal)
NOTICE!
IF ICE MAKER IS ON DISPENSER,
remember to turn on the dispenser
after cleaning
WARNING!
DO NOT use
ammonia type
cleaners. Can cause
damage to icemaker
WEAR liquid-proof
gloves and goggles
to
protect skin & eyes
from cleaning &
sanitizing chemicals
●Scoop
● Water Filters
●Exterior
● Bin Door/Top Kit
● Ice Maker/Bin
● Water Supply Inlet
● Condenser
● Water Hoses
Dish soap, rinse well
Check psi, change if req’d
Dish soap & damp cloth
Warm water & clean cloth
Follow these instructions
Clean inlet screen
Inspect. Clean with brush
Inspect. Replace if req’d
●●●
18
7
8
9
10
11
12
13
AMMONIA
Cleaners
19
20
21
22
30
29
Need Service or Repair? Locate your closest Hoshizaki Certified Service Tech: hoshizakiamerica.com/locate-service-rep
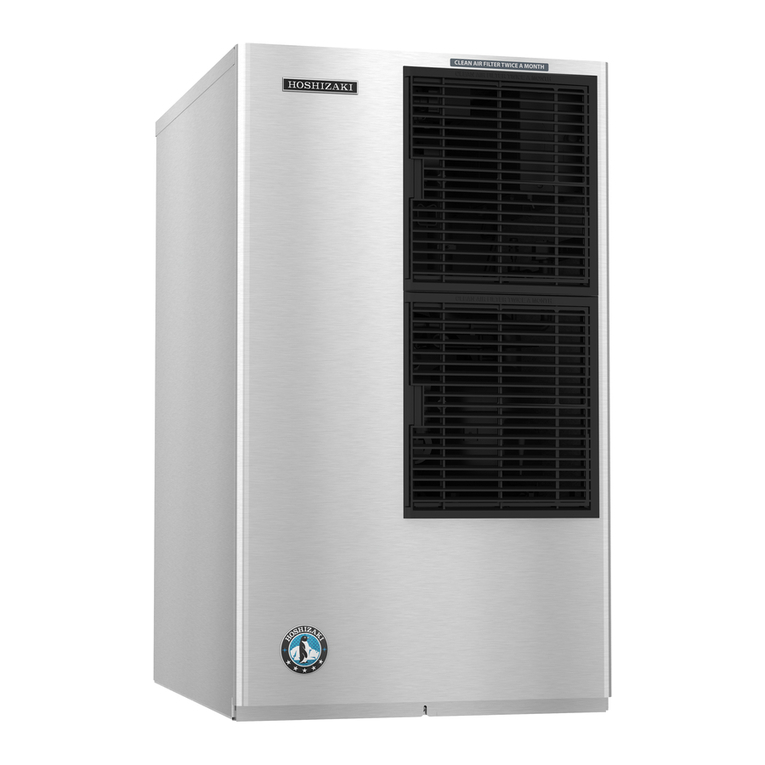
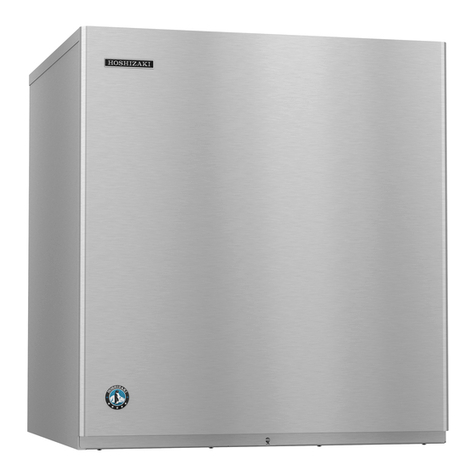
This manual suits for next models

12

Other Hoshizaki Ice Maker manuals

Hoshizaki KM-350MWJ User manual

Hoshizaki

Hoshizaki KM-350MWJ User manual

Hoshizaki KM-600MAH User manual

Hoshizaki

Hoshizaki KM-600MAH User manual

Hoshizaki KML-350MAH User manual

Hoshizaki

Hoshizaki KML-350MAH User manual

Hoshizaki RELIABILITY IS A BEAUTIFUL THING... User manual

Hoshizaki

Hoshizaki RELIABILITY IS A BEAUTIFUL THING... User manual

Hoshizaki KMS-750MLH User manual

Hoshizaki

Hoshizaki KMS-750MLH User manual

Hoshizaki KMS-1230MLH User manual

Hoshizaki

Hoshizaki KMS-1230MLH User manual

Hoshizaki KM-250BAE User manual

Hoshizaki

Hoshizaki KM-250BAE User manual

Hoshizaki IM-21CNE User manual

Hoshizaki

Hoshizaki IM-21CNE User manual

Hoshizaki KM-420MAJ User manual

Hoshizaki

Hoshizaki KM-420MAJ User manual

Hoshizaki FM-300AKE-HC User manual

Hoshizaki

Hoshizaki FM-300AKE-HC User manual

Hoshizaki AM-50BAE-ADDS User manual

Hoshizaki

Hoshizaki AM-50BAE-ADDS User manual

Hoshizaki IM-500SAA User manual

Hoshizaki

Hoshizaki IM-500SAA User manual

Hoshizaki DCM-500BAF User manual

Hoshizaki

Hoshizaki DCM-500BAF User manual

Hoshizaki FM-170EE-HC User manual

Hoshizaki

Hoshizaki FM-170EE-HC User manual

Hoshizaki KM-40B User manual

Hoshizaki

Hoshizaki KM-40B User manual

Hoshizaki KMD-850MAH User manual

Hoshizaki

Hoshizaki KMD-850MAH User manual

Hoshizaki F-250BAA User manual

Hoshizaki

Hoshizaki F-250BAA User manual

Hoshizaki F-2000MRB User manual

Hoshizaki

Hoshizaki F-2000MRB User manual

Hoshizaki FM-1000AKE User manual

Hoshizaki

Hoshizaki FM-1000AKE User manual

Hoshizaki KML-250MAH User manual

Hoshizaki

Hoshizaki KML-250MAH User manual

Hoshizaki FM-170EE-HC User manual

Hoshizaki

Hoshizaki FM-170EE-HC User manual

Hoshizaki F-251U User manual

Hoshizaki

Hoshizaki F-251U User manual

Hoshizaki F-1001MAH(-C) User manual

Hoshizaki

Hoshizaki F-1001MAH(-C) User manual

Hoshizaki DCM-500BAH User manual

Hoshizaki

Hoshizaki DCM-500BAH User manual

Popular Ice Maker manuals by other brands

Koldfront KIM202W owner's manual

Koldfront

Koldfront KIM202W owner's manual

Cornelius XTREME 631805001 Illustrated parts list

Cornelius

Cornelius XTREME 631805001 Illustrated parts list

ITV SPIKA NG 125 Service manual

ITV

ITV SPIKA NG 125 Service manual

Follett Ice Pro EDB1000-SA Series brochure

Follett

Follett Ice Pro EDB1000-SA Series brochure

Cornelius ED150 "K" Style Lid Kit installation instructions

Cornelius

Cornelius ED150 "K" Style Lid Kit installation instructions

Perlick H80CIMS-AD product manual

Perlick

Perlick H80CIMS-AD product manual

Oceanic OCEAMG01 instruction manual

Oceanic

Oceanic OCEAMG01 instruction manual

Chard HZB-15/BF user manual

Chard

Chard HZB-15/BF user manual

Element EAIMM19 user manual

Element

Element EAIMM19 user manual

Cornelius Xtreme 322 Series Pocket guide

Cornelius

Cornelius Xtreme 322 Series Pocket guide

U-Line 3018CLR SERIES Use and care guide

U-Line

U-Line 3018CLR SERIES Use and care guide

U-Line UHNB115 User guide & service manual

U-Line

U-Line UHNB115 User guide & service manual

Omcan IC-CN-0050 instruction manual

Omcan

Omcan IC-CN-0050 instruction manual

Diamond WR-SP41-A/R2X Technical manual

Diamond

Diamond WR-SP41-A/R2X Technical manual

Snowie LITTLE SNOWIE 2.0 user manual

Snowie

Snowie LITTLE SNOWIE 2.0 user manual

Victorio VKP1101 instruction manual

Victorio

Victorio VKP1101 instruction manual

DEVANTI IM-ZB-18F-SS user manual

DEVANTI

DEVANTI IM-ZB-18F-SS user manual

New Air AI-350S owner's manual

New Air

New Air AI-350S owner's manual

manuals.online logo
manuals.online logoBrands
  • About & Mission
  • Contact us
  • Privacy Policy
  • Terms and Conditions

Copyright 2025 Manuals.Online. All Rights Reserved.