HP HP-67 User manual

Meet the HP-67*
Congratulations!
With your purchase of the HP-67 Programmable Pocket
Calculator, you have acquired a truly versatile and unique
calculating instrument. Using the Hewlett-Packard RPN logic
system that slices with ease through the most difficult
equations, the HP-67 is without parallel.
As a personal programmable calculator. The HP-67 is so
easy to program and use that it requires no prior programming
experience or knowledge of arcane programming languages.
Yet even the most sophisticated computer experts marvel at
the programming features of the HP-67:
Magnetic cards that record data or programs.
26 data storage registers.
224 program memory steps (expandable to 999**)
Three levels of subroutines, four flags, 20 easily-accessed
program labels.
Indirect addressing using the “I” register.
*Excerpt from the original HP manual
**Added in this emulator!

Topics
In the following pages, we will cover a few topics to get you
started with this emulation of the original HP-67 calculator:
Keyboard layout.
Manual problem solving.
Running programs.
Creating your own programs.
Printing your program listings!
Creating charts!
Instructions on using the built-in program and chart cards.
Keyboard Layout
Each key on the keyboard can have up to three sub-functions
depending on which shift-key is chosen first. The functions
are colored the same as the shift-key: !, !, or !.
For example, this key has three possible shifted functions:!
Black: 1/x, Yellow: SIN, Blue: SIN-1

Manual problem solving
To get the feel of your HP-67, try a few simple calculations.
First, make sure the slider switches at the top are as follows:
(tap them to change their current setting if needed)
!!
!
To solve: 5 + 6 = 11 , press:!
!!!!
You should see 11.00 in your display. This method of
entering calculations, where the numbers are separated with
the ENTER key and the function is selected last, is called
Reverse Polish Notation (RPN), or Postfix entry. It seems a
little odd the first time, but it allows you to enter calculations
without parentheses. For example, if you wanted to divide the
above total by 4, you would simply press 4, then the divide
key:!
!!
You should see 2.75 now in your display. Intermediate
results are stored automatically when you key in new
numbers. This is how you string calculations together.

The value currently displayed is automatically stored as X, it
is always visible. The value that was previously in X is stored
as Y. Functions such as !swap the two values. Press
this:
! ! !, You should see 4.
Now press: !!, You should see 8.00
repeat the above two key and you’ll see 4.00
Some functions, such as Y to the power of X , or !
depend on the numbers being entered as Y ENTER X, then
entering the function !!. If you find you have
entered numbers in reverse, then simply swap them using the
!function. When you select a function, the letters X
and/or Y may appear in the function label - this reminds you
how the function uses the values X and Y.
Negative Numbers
To key in a negative number, press the keys for the number,
then press CHS (change sign). The number, preceded by a
minus (–) sign, will appear in the display. Pressing CHS
again makes it positive again.

Chain Calculations
When you are solving a problem such as:!
(3 x 5) / (3 + 4)
You proceed from inside the parentheses and work your way
out left to right. Intermediate results are displayed and kept as
you go. For the above problem, proceed as follows:
3ENTER 5, then press ×- result 15.00
3ENTER 4, then press +- result 7.00
Finally, press ÷- final result 2.14
As you can see, each sub-result is “stacked” when you begin
a new “nENTER n” calculation. You can go as deep as four
levels. If you need to, you can always save intermediate
results in a register for later recall.
Display more digits after decimal
Press DSP (display), followed by the number of places you
want to see.
Try DSP 4now - if you did the above calculation, you will
now see 2.1429 in the display.

Register Storage
In addition to the automatic storage used during calculations,
there are registers you can store your numbers to and recall
them for later use. These registers are: 0 to 9 and A to E.
To store the displayed number in a register, press the STO
key followed by the register name. To recall a number in a
register, press the RCL key followed by the register name.
You can swap all 0-9 registers between the P(primary) and S
(secondary) banks (the STO/RCL functions only work on the
registers in the P-bank.) Use the !function under the
(F, CHS) key to swap banks. You can keep up to 20 numbers
stored this way - 10 in each bank. (See Charts below).
Running Programs
Use the “Load Card” button to open a program book. The
book graphic emulates the way the original magnetic cards
looked when stored.
Select the program you want, then press “Open.” An
animation will play of the card loading and the sound of the
“card motor”. This is the actual sound recorded from a real
HP-67. When the card is done loading, it will be displayed in
the card holder area above the A-E keys. Note function key
notes can be stored with a program, allowing you to

remember the functions on the program. Notice some built-in
programs are available such as MOON LANDER.
Instructions for that program are in the appendices). To pause/
resume a running program, press R/S key.
Data and Chart Cards
When you see cards in the “Load Card” dialog, you will see
some built-in chart cards with “_C” extension in their names.
These are special data cards stored as charts. After you load
one of these, the “Open” label will appear over the A
function key. Pressing Awill open the chart graphic.
Data-only Card” cards will have a “_D” extension. Loading a
data card will update all the registers from data on the card
saved when it was created.
Saving Programs
Press the “Save Pgm” button to save the currently loaded
program. You will see another dialog allowing you to enter a
name and any function key note labels you might want
displayed.
More on this when we discuss writing programs.

Saving Data
Press “Save Data” to save data from your storage registers
0-9 (Both S and P banks), A-E, and I. They can be copied to a
“Data Card.” There are two types. Both can be used to save
and restore data. The “Data Card” type simply stores the
registers. The “Chart Card” stores the data but allows you to
specify a chart type to display when the card is loaded and
“Open” is run.
Creating Your Own Programs!
Creating programs is, at the most basic, simply storing the
key strokes you would use to complete a calculation and
assigning the keystrokes to a function key for later execution.
There are also advanced commands that let you loop and
branch according to conditions, pause to display output, etc.
However, to start with, you can create simple programs to
automate keystrokes and work your way up to more complex
programs. Programming can be fun! (and addictive), so be
warned.
There is much more on programming the HP-67 on a few
websites. Links will be provided in the Appendices.
Let’s create a simple program to get your started.
Key Codes

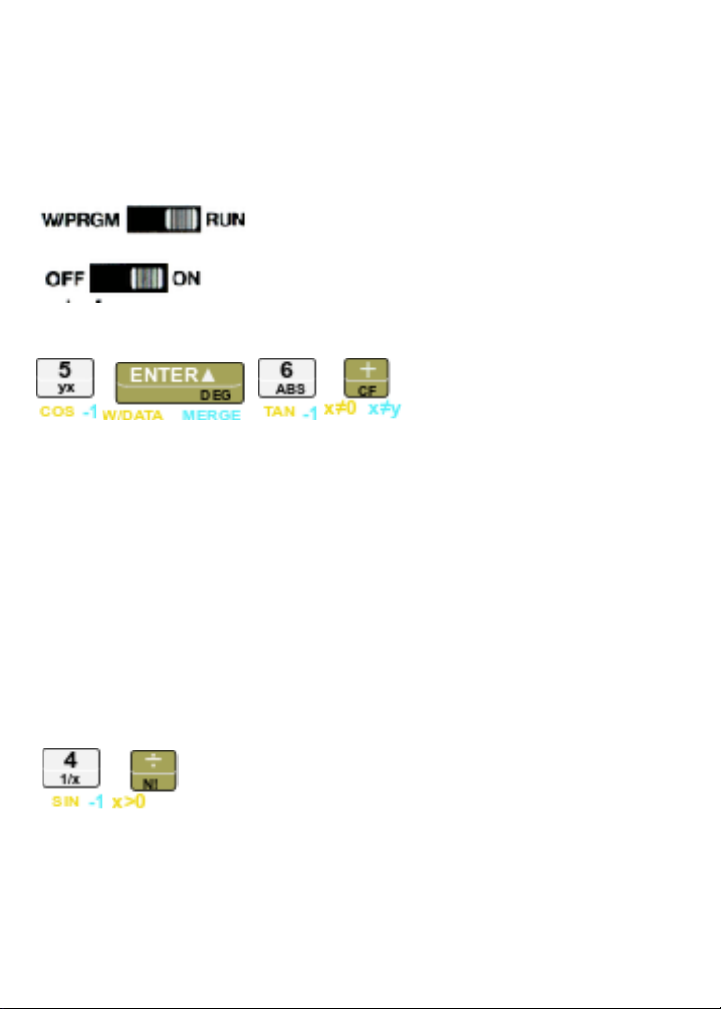
First a word about key codes. When you enter a key sequence
into the calculator while in “W/PRGM” mode, you will see
up to three 2-digit numbers in each instruction line. For
example: 31 25 11.
Each of these is a row/column code that maps to your
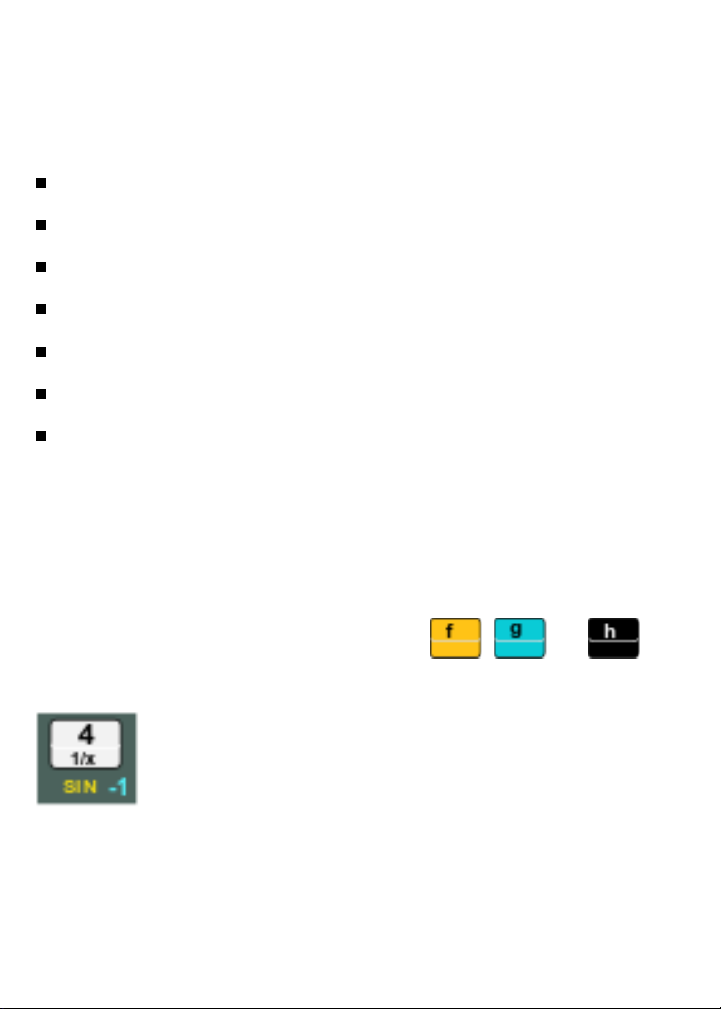
keyboard. “31” means row 3 column 1 - which is the “f”
shift-key, and so-forth for “25” and “11”.
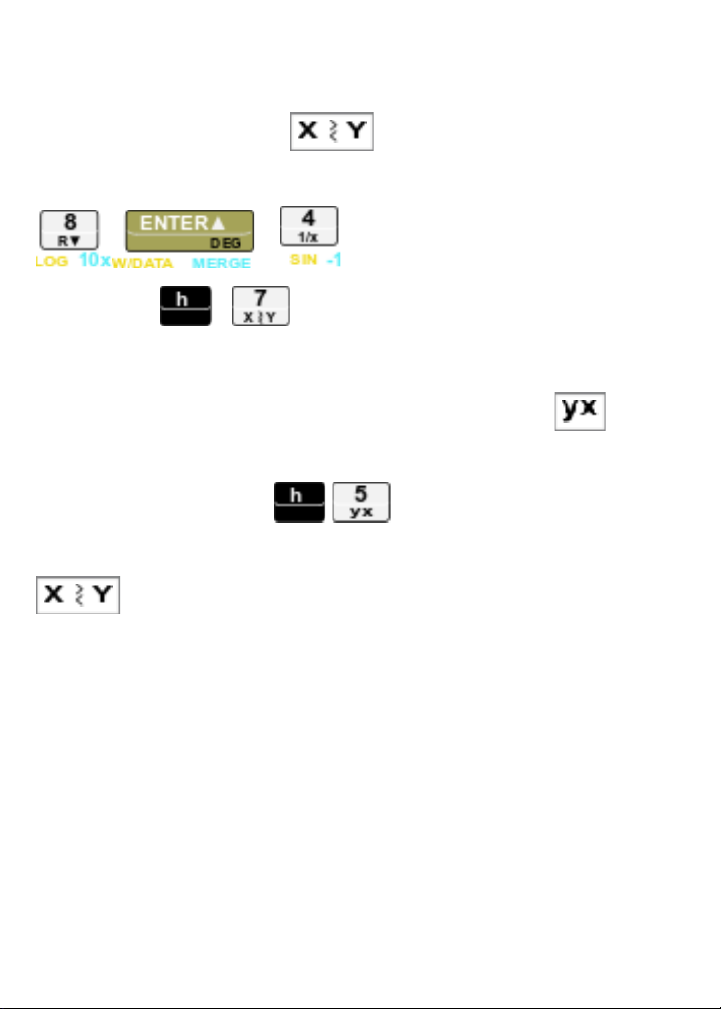
The one exception is the digit keys. These will be the actual
value such as ’01’ for the 1digit, ’09’ for the 9digit. Since
there is no row “0”, this doesn’t interfere with the other key
codes, and it makes reading the program a little easier, as
numbers are simply the values you enter. However it takes
one line per digit, so try to store large numeric constants in a
register to keep your programs shorter.
Your Own Program
Now let’s try something a little more involved. To calculate
the surface area of a sphere, the formula A= πd2 can be used,
where:
•Ais the surface area of the sphere,
•dis the diameter of the sphere,
•πis the value of pi, 3.141592654.

Ganymede, one of Jupiter’s 12 moons, has a diameter of 3200
miles. You can use the HP-67 to manually compute the area
of Ganymede. Merely press the following keys in order. For a
3200 mile diameter:
3 2 0 0
X2(g-shift 9 key)
π(h-shift 2 key)
×
The result should be 32169908.78
You calculated the surface area of Ganymede! Now, if you
wanted the surface area of each of Jupiter’s moons, you could
repeat that procedure 67 times, using a different value for the
diameter deach time. An easier and faster method, however,
is to create a program that will calculate the surface area of a
sphere from its diameter, instead of pressing all the keys for
each moon.
Creating the Program. A program is nothing more than the
series of keystrokes you would execute to solve the same
problem manually. Two additional operations, a label and a
return are used to define the beginning and end of the
program.
Entering the Program. To load the keystrokes of the
program into the calculator:

Slide the W/PRGM-RUN switch to
!
Now Press:
F, CL PRGM (CLx key)
to clear the calculator.
Press the following keys in order. (When you are loading a
program, the display gives you information that you will find
useful later, but which you can ignore for now.)
F, LBL (SST), A
Defines the beginning of the program and labels it “A”.
Now for the keys you pressed to solve the problem manually:
X2(blue-shift 9 key)
π(black-shift 2 key)
×
Now end the program with RTN (return):
H, RTN (GTO key)
The calculator will now remember this keystroke sequence
when you press “A” while the calculator W/PRGM switch is
in the RUN position.
(next page)

Running the Program
Switch to “RUN”
Enter the number 3200.
Press “A” key.
You will see the display flash while it thinks, then stop and
display 32169908.78
Congratulations!
Now you can try different radius values, followed by “A” and
see the results.
Navigating the program editor using:!
SST - single step,
BST (h-shifted SST) - back step,
DEL (h-shifted CLX) - delete instruction
If your program didn’t work the first time, you may need to
edit it. Switch the W/PRGM switch to
!
When you press SST, the next line in the program appears. If
it is OK, you go on to the next one. If not, use the DEL
command to delete the line, then you can re-enter a new line

in its place. Finally, If you step too far, you can always use
BST to go back one line.
When you are done editing, switch back to “RUN”.
Remember, you can always use the “Print Pgm” button to
see a printout of your program. Have fun experimenting!
You might want to save your new program now.
Print Your Program Listing!
Press the “Print Pgm” button on the bottom menu and you
will get a nice printed report of the currently loaded program
along with all the internal registers and flags on the calculator
at the time of printing.
This is really useful for editing and debugging larger
programs, but can also be useful on smaller programs.
Create Charts!
Charts are useful to see the “shape” of your data and do
analysis. This was not a feature of the original HP-67, but
I’ve added it because it is fun and useful. It also brings the
calculator up to par with more complicated graphing
calculators. More charts will likely appear in future updates,
but for now there are: Scatter, Line, Bar, and Spline charts. To
create a chart, you need to setup data in the 0-9 registers in
both the primary P, and secondary S banks.

The P-bank can store up to 10 numbers for the “X” series of
data. When you have filled those, swap in the S-bank and fill
in up to 10 numbers for the “Y” series of data.
When you done, swap in the S-bank once more to bring back
the “X” series values to the primary P-bank.
Finally, you may use up to 10 numbers, but you don’t have to.
Enter the total number of items into the “ST I” (H-shifted
STO) register as the last step. The “I” register will be used by
the chart builder to count the numbers in registers 0thru “I”
register when you create your Chart Card.
Note: you can, of course write a program to generate and
store the values based on a custom function you want to chart.
See the “Create Chart Data Example” program for an
example that generates Y=X^2.
To create the chart, click the “Save Data” button on the
bottom menu. Then click “Save as Chart Card”. A set of
input fields will appear:
Chart Title
Chart Type (Scatter, Line, Bar, Spline)
Show Legend
X Label
Y Label
When you click OK the card will be saved.

To open the chart, click the “Load Card” button and select
the chart card you saved - it will have a “_C” extension on it.
When the card loads, you will see the Akey labeled “Open.”
Press the Akey and the chart will render.
You can save your data with different chart types and card
names. Experiment to explore all the options.
Acknowledgments
This is where I’d like to thank all the people who have helped
me in various ways while building this program:
Thanks to HP for creating such a wonderful and useful
tool. It was a triumph in art, design, and technology. The
first page of this manual is excerpted from the incredible
manual that HP delivered with the original HP-67.
Also, my thanks to all the volunteer testers both for this
new version, and for all the older versions I have done of
this program since it’s first incarnation as a Windows app.
Thanks to my Dad who bought this calculator and allowed
me to play with it when he wasn’t using it. It taught me a
lot about programming!

Appendix A - MOON ROCKET LANDER
The game simulates a rocket attempting to land on the moon,
with you as the pilot. As the game begins, you are descending
at a velocity of 50 ft/sec from a height of 500 feet. Velocity
and altitude are shown in a combined display as –50.500, the
altitude appearing to the right of the decimal point and the
velocity to the left. The negative sign on the velocity indicates
downward motion. As the game begins, you have 60 units of
rocket fuel.
The object of the game is to control your descent by keying in
fuel “bums” so that when you reach the surface of the moon
(altitude O), your velocity is also zero and you settle down
gently into the powdery moon dust.
When you press A, the game begins. The velocity and altitude
are shown in the calculator display. Then the number of
remaining fuel units are shown, and the display begins
countdown to burn time. The display counts “3”. “2”, “1”,
“0”. When the countdown reaches zero, you have one second
to key in a fuel burn. The best choices for fuel burns are digits
of 1 through 9. A zero burn, which is very common, is
accomplished by doing nothing.

After each burn, the calculator display will show first the new
velocity and altitude, then the remaining fuel units, then will
count down to zero for you to key in another burn. This
sequence is repeated until you successfully land (when the
display will show you flashing zeros), or you smash into the
lunar surface (when the display shows you the blinking crash
velocity).
If you attempt to key in a fuel burn during any time other than
the one-second “fire window,” the rocket engine will shut off
and you will have to restart it by pressing B. Restarting
automatically uses up five units of fuel and gives no thrust.
So, press Anow and try to land on the moon with your
HP-67.
Other manuals for HP-67
1
Table of contents
Other HP Calculator manuals