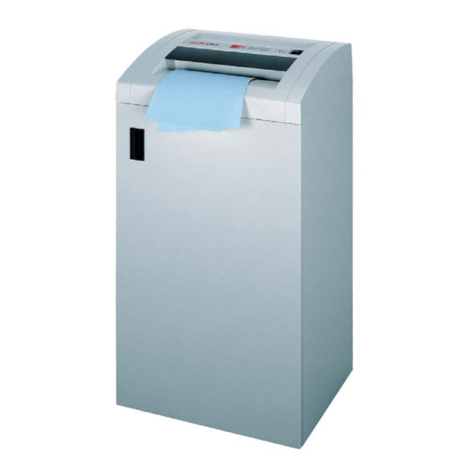
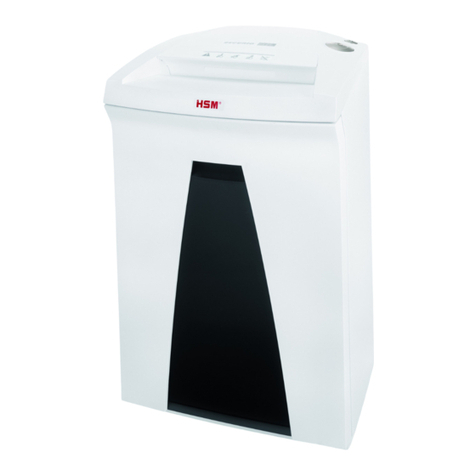
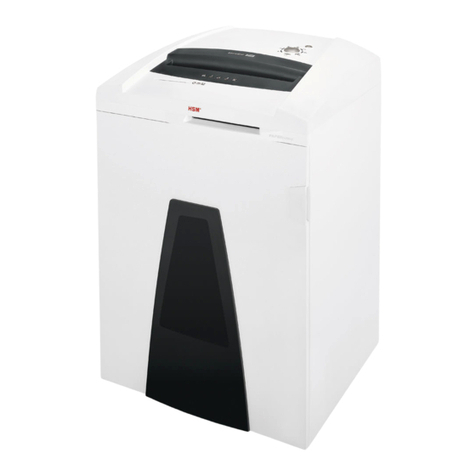
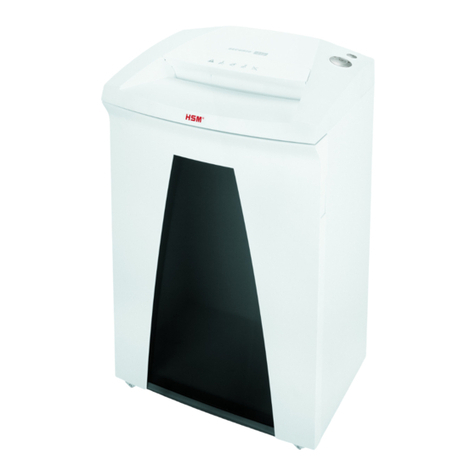
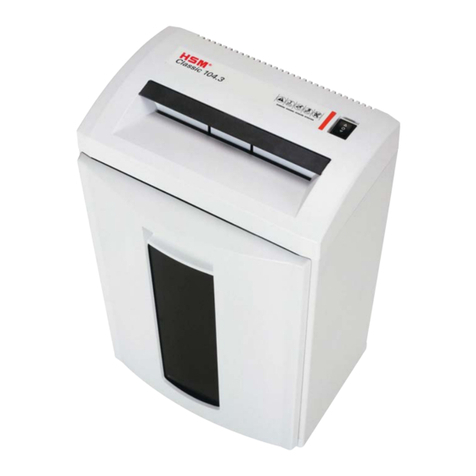
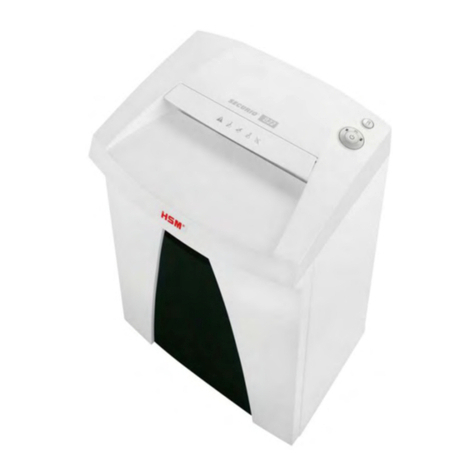
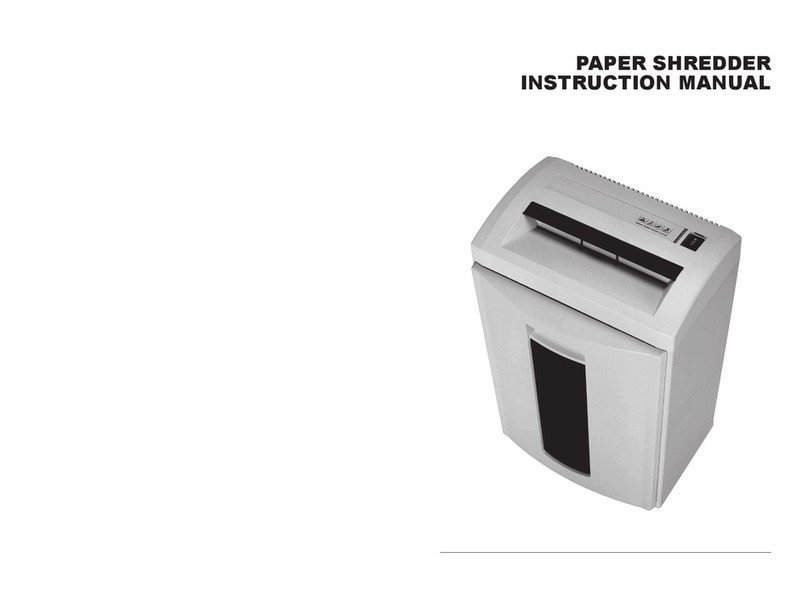
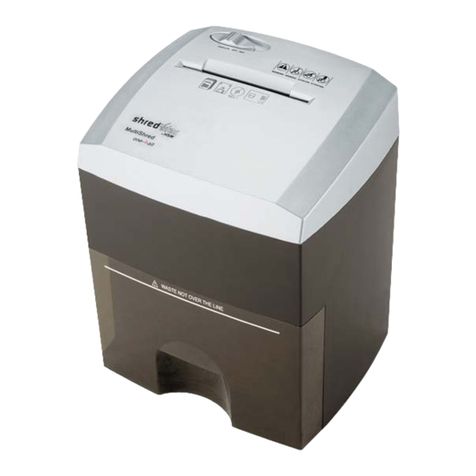
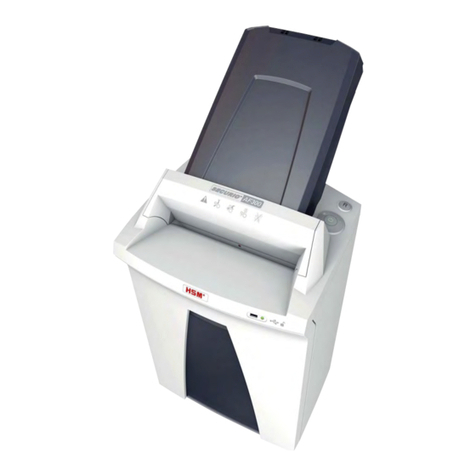
Cutting type Strip cut Cross cut
Shred size 1/4" 1/8" 1/16" 1/8" x
1 1/8"
1/16" x
5/8"
1/32" x
7/16"
1/32" x
3/16"
Safety rating DIN 32757 – 1 2 2 3 3 4 5 Level 6*
Cutting capacity (sheets) 70 g/m2
DIN A4
28 - 30
23 - 25
17 - 19
16 - 18 12 - 14 7 - 8 4 - 5
Weight 57 lbs. 66 lbs.
Noise level (Idle running/ load) 60 dB(A) / 64 dB(A) 62 dB(A) / 64 - 70 dB(A)
Cutting speed 24 ft./min. 26 ft./min.
Loading width 10"
Voltage 115 V, 60 Hz
Power for the maximum number of sheets 670 W
Dimensions W x D x H 17.6"x 13.6" x 32.6"
Volume of shredded material bag 20 gallons
OPERATING INSTRUCTIONSOPERATING INSTRUCTIONS
3. Safety instructions
• Read all instructions before start-up of the paper shredder. Save these
instructions for later use.
• Follow all warnings and instructions marked on the product!
• Make sure no liquid is spilled on or in the paper shredder.
•If the shredder is damaged or does not function properly, switch the device off,
pull out the power plug and inform our service engineers.
• Keep paper shredder out of the reach of children.
• This shredder should be operated only with an operator in attendance.
Risk of injury!
Do not reach into the paper feed slot.
Risk of injury from slivers!
Wear protective goggles when destroying hard credit cards.
Risk of injury by pulling in!
Keep long hair, loose articles of clothing, ties, scarves, jewelry
etc. away from feed opening. Material with the tendency to form
loops, e.g. tapes, strapping material, etc. must not be shredded.
Before changing the location, cleaning or anything else other
than normal operation
turn off and unplug the paper shredder!
Maintenance and service work may be performed only by:
• Customer service
• Spciay traind staff (.g. quaid ctricians)
• An authorized service technician
4. Installation
• This paper shredder should never be placed near
or over a radiator or heat source.
• The ventilation slots must not be blocked or
covered and they must be at a distance of at least
4” away from walls or furniture.
• Make sure the power plug is easily accessible.
• Before plugging in the power plug, check that the
voltage and frequency of your local main supply
correspond to those stated on the type plate.
• After putting the collection bag in place, push
the frame (with bar A pointing to the front of the
cupboard) back into the guide rails.
A
9. Technical Data
* Tchnica and optica modications rsrvd
