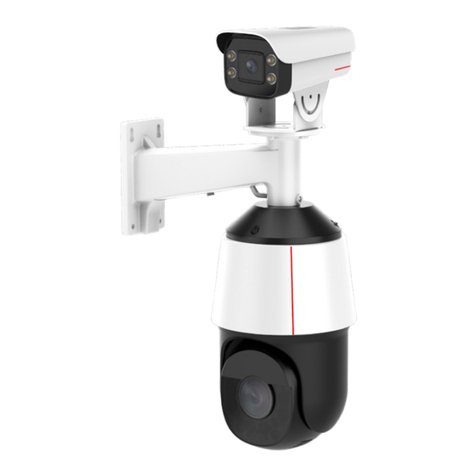
Construction scheme overview:
Pole height: 6 m; standard lane width: 3.75 m
The checkpoint camera must be installed above the
center of all lanes to be monitored.
The radar is installed above the center of each lane.
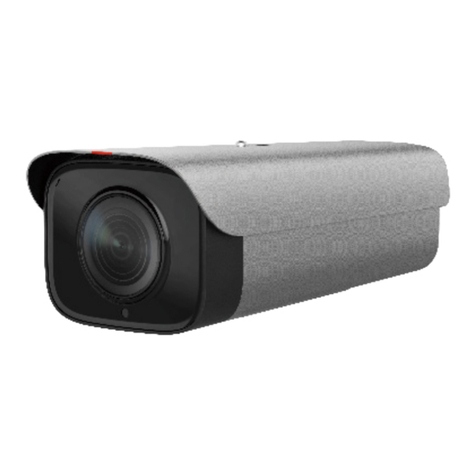
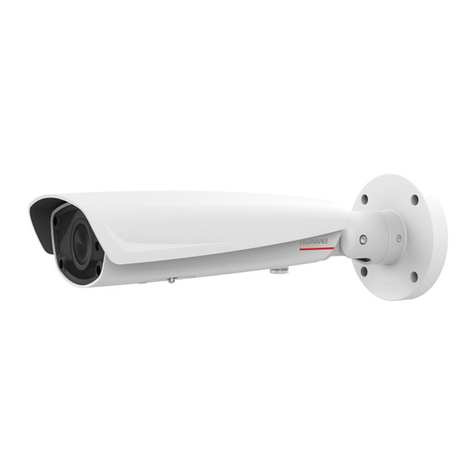
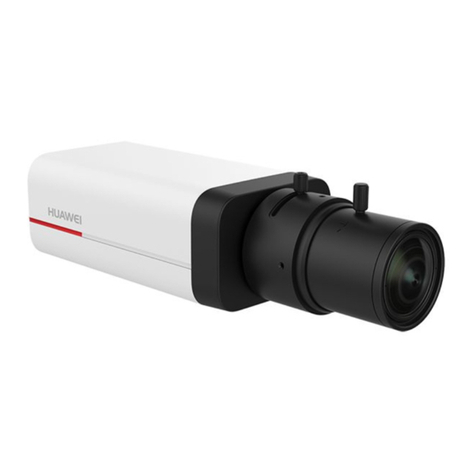
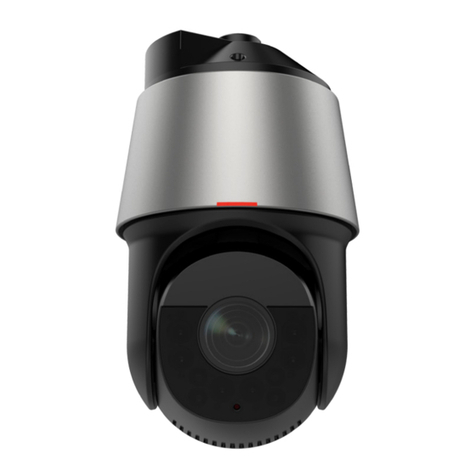
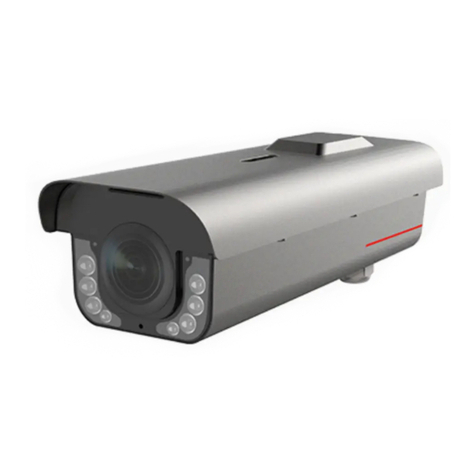
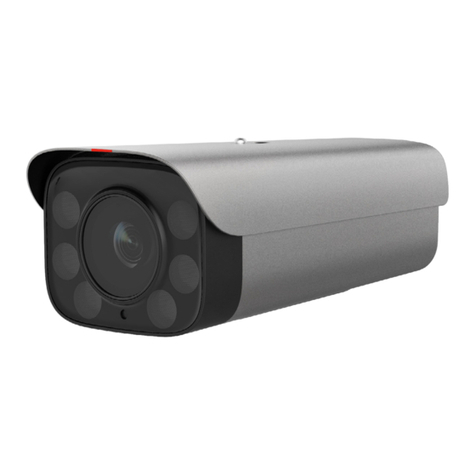
CameraType CameraModel Numberof LanesMonitored Lens Configured
3-megapixelcheckpoint
camera
X2331-EPL Single-lane and dual-lane surveillance Motorized zoom lens (11-40mm)
M2331-T
M2331-TG Single-lane and dual-lane surveillance Singlelane: 35 mm lens
Two lanes: 25 mmlens
3-megapixelsuper low-light
checkpointcamera X2331-10-TL Single-lane and dual-lane surveillance
9-megapixelcheckpoint
camera
X2391-EPL Dual-lane, three-lane, and four-lane
surveillance Motorized zoom lens (11-40mm)
M2391-T
M2391-TG Dual-lane, three-lane, and four-lane
surveillance Two lanes: 50 mm lens (clear faces inside the vehicle; up to 80 pixels)
Three lanes: 25 mm lens
Four lanes: 25 mm lens
9-megapixelsuper low-light
checkpointcamera X2391-20-T Dual-lane, three-lane, and four-lane
surveillance
Distance from the strobe light to the camera: ≥ 2 m
Distance from the flash light to the camera: ≥ 5 m
Distance from the Smart LED illuminator to the
camera: ≥ 3 m
X series cameras supportthesix-in-one function.M series cameras do not supportthe six-in-one function.If the ePolice six-in-onefunction is not required,M series camerasare
preferred.
ePolicesix-in-one function:One ITS camerain ePolicemodefunctionsas the masterdevice, and one ITS camerain checkpointmode functions as the slave device. The ePolice cameraand checkpoint
cameraare installedon the samebeam. The ePolicecamerais used to motorroad intersectionsand take snapshotsof vehicle rears. The shootingdirectionof the checkpointcamera is opposite to that
of the ePolicecamera.The checkpointcameratakes snapshotsof vehicle fronts. The ePolice camera integrates all snapshotsand data.The ePolice camera synthesizesthree commonsnapshotsand
one close-up snapshottakenby the ePolice cameraand one commonsnapshotand one close-upsnapshot takenby the checkpointcamera into one image.
Device models and matching surveillance scenes
3
Check Installation
Environment Install the Camera and
External Devices on the Pole Adjust the Camera Shooting
Angle and Focal Length Adjust
Illuminators
Determine
System Scheme Verify
Installation Troubleshoot
Faults
